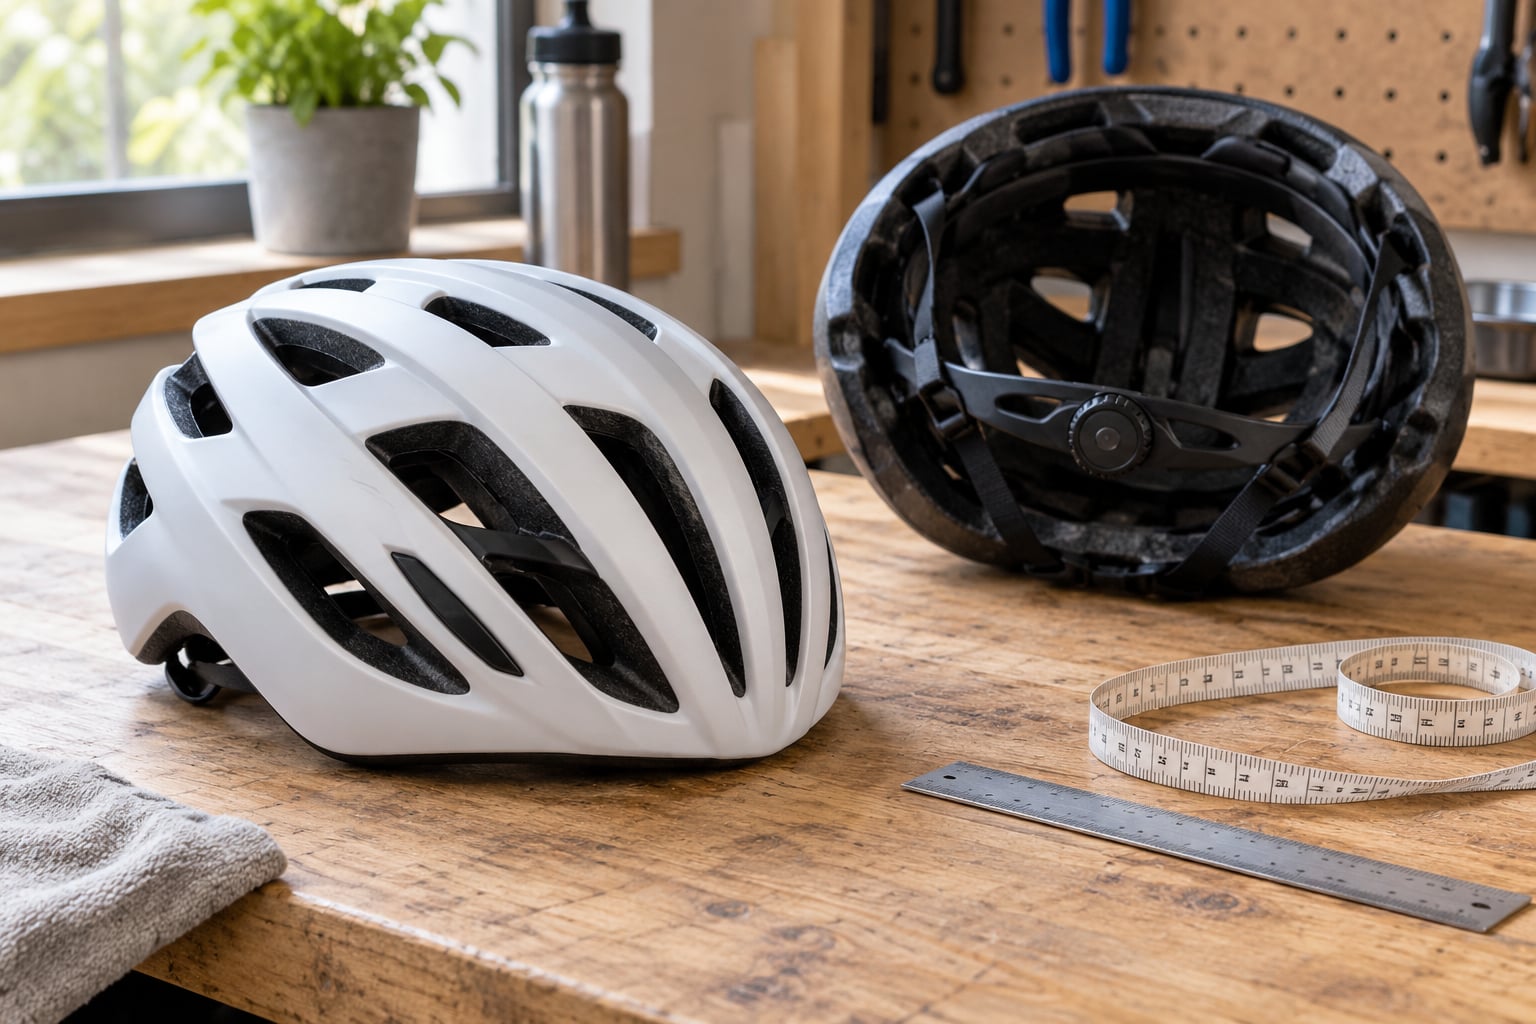
If you are learning how to pick a helmet that fits, the short version is this: measure your head, then try the helmet on and treat it as a position problem rather than a tightening problem. A road bike helmet fits correctly when the front edge sits about two finger-widths above your eyebrows, the side straps form a V just below each ear, and the helmet does not roll or shift when you shake your head or push it front to back.
Two things decide fit: your head circumference, which picks the shell size, and your head shape, which decides whether that shell actually matches you. This guide is about bicycle helmets for road riding, not motorcycle helmets, since search results for this question mix both badly.
Table of Contents
- What You Need
- Step-by-Step: How to Pick a Helmet That Fits
- Measure Your Head Before Shopping
- Head circumference to bike helmet size
- Compare Helmet Shapes With Your Head
- Try the Helmet in Your Normal Riding Position
- Adjust the Retention System
- Check Comfort, Visibility, and Venting
- Perform a Final Safety Check
- Common Mistakes
- Tips for Testing Before You Buy
- Frequently Asked Questions
- What size cycling helmet should I buy?
- How tight should a road cycling helmet fit?
- When should I replace a bicycle helmet?
- How should a helmet fit over a ponytail?
- Do I need a different helmet type for road cycling?
- Final Fit Check
What You Need
You need four things, and three of them are free.
- A soft tape measure. A cloth or flexible tailor tape works best. No tape measure? Use a piece of string wrapped around your head, mark the overlap, then lay it flat against a ruler.
- The manufacturer’s sizing chart. Every helmet brand publishes a circumference range. Save it before you start browsing so you are not comparing a S from one brand to an M from another.
- A mirror. Two if you can borrow one. You cannot see the back of the fit on your own.
- Your normal riding position. Drop your hands to the drops or onto the hoods before you judge the fit. Head angle changes everything about how a helmet sits.
- What you actually ride in. Glasses, sunglasses, your ponytail, a winter cap if you use one. All of it goes on before you decide.
Step-by-Step: How to Pick a Helmet That Fits
Measure Your Head Before Shopping
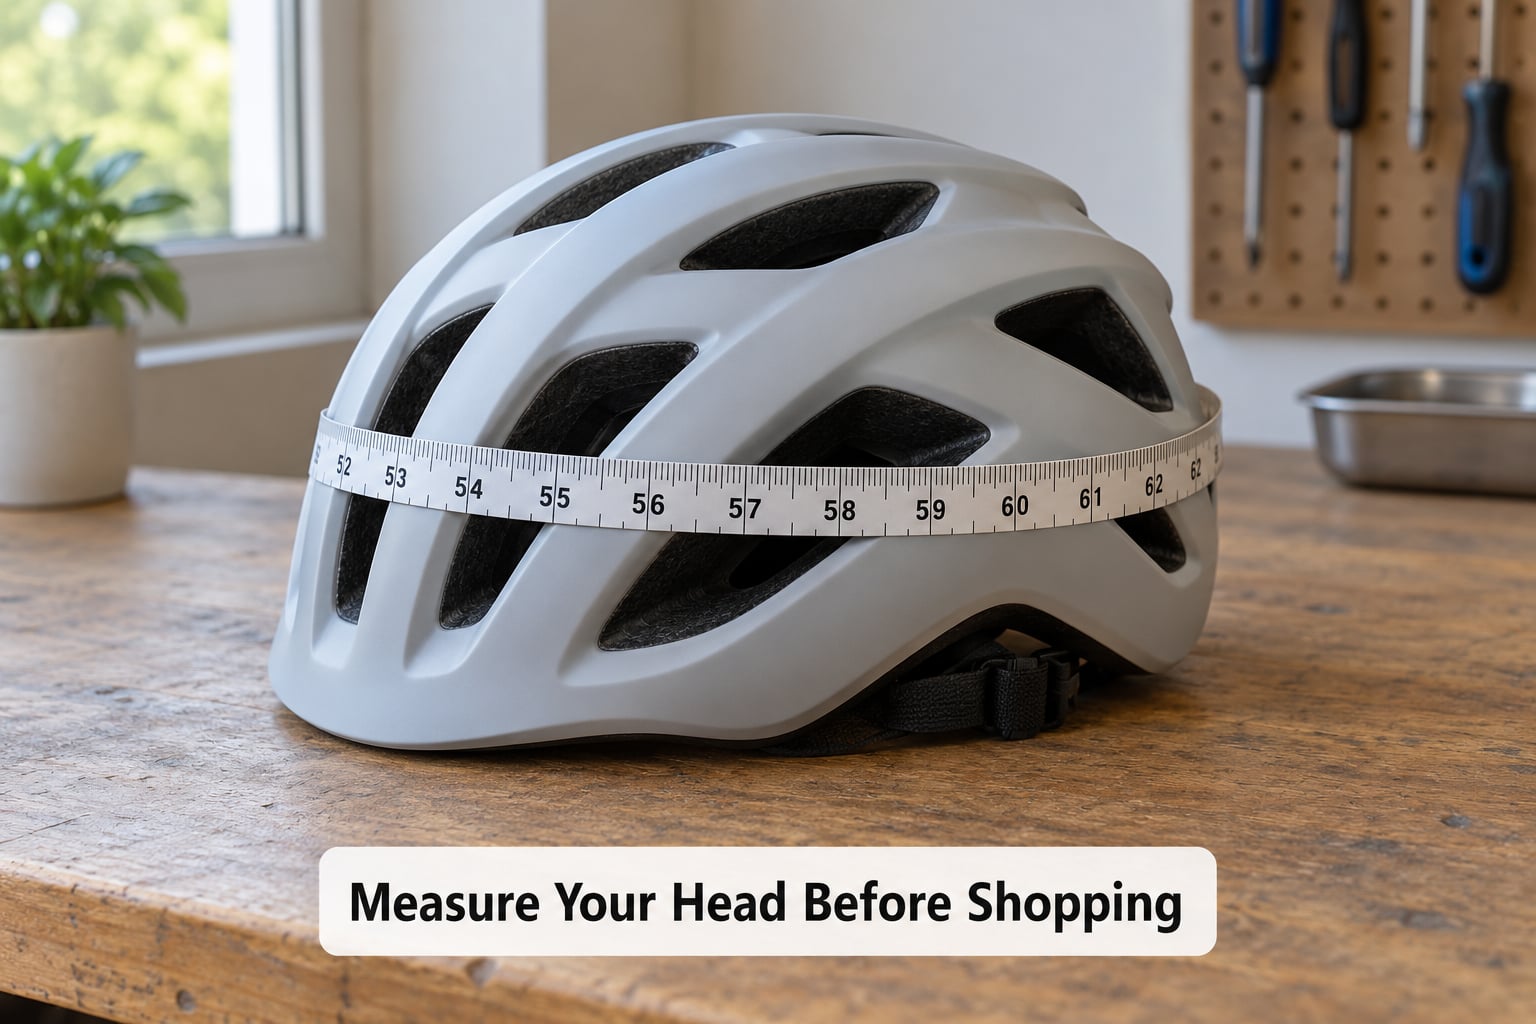
Measure the circumference at the widest point of your head, keeping the tape level all the way around, roughly 25 mm (1 inch) above your eyebrows and just above the top of your ears. Do it twice. If the two numbers differ by more than half a centimetre, measure a third time and go with the reading you get most often, because heads are rarely symmetrical and the helmet has to sit on the larger one.
Then take two more measurements: front-to-back length from the top of your forehead to the back of your skull, and side-to-side width across the widest part above the ears. Divide the length by the width. A number around 1.15 or lower usually reads as a round oval head; higher than about 1.3 reads as long oval. Circumference alone cannot tell those two apart, which is the actual reason so many riders buy a “right size” helmet that still feels wrong.
Head circumference to bike helmet size
| Size | Head circumference | What it usually covers |
|---|---|---|
| XS | 51-53 cm | Smaller adult or youth riders, some Asian headform ranges |
| S | 53-55 cm | Small adult and youth, common narrow headforms |
| M | 55-57 cm | The most common adult size |
| M/L | 57-59 cm | Overlap size for riders between bands |
| L | 59-61 cm | Larger adult, often the long oval fit |
| XL | 61-63 cm | Large adult headforms |
Overlap is normal. Brands size by internal shape as well as circumference, so an M and an M/L from the same brand can feel completely different. If your measurement lands exactly on a boundary, try both and keep the one that holds position at moderate dial tension. Buy from a shop that will adjust the helmet in front of you, and if the size label inside the shell disagrees with the chart on the website, trust the label.
Compare Helmet Shapes With Your Head
Brands describe shells in four broad shapes and the terms overlap, so treat them as a starting point rather than a category.
| Shape | How to spot yours | What to look for when fitting |
|---|---|---|
| Round | Length and width nearly equal, M/L ratio near 1.15 or below | Helmets with a rounder internal profile; watch for side pressure above the ears |
| Oval or long oval | Noticeably longer front to back, M/L ratio above 1.3 | Longer, lower-profile shells; watch for a gap at the back of the head |
| Intermediate | M/L ratio between 1.15 and 1.3 | The easiest to fit, most mid-size road shells |
| Square | Flat temples, broad across the parietal bones | Rounder shells leave space at the sides; square internal profiles suit this better |
On a round or oval head, a round shell leaves a gap you can feel at the back of the helmet while the sides squeeze. Riders often respond by cranking the rear cradle, which tilts the front down and leaves the forehead bare. That is a shape mismatch, and no amount of adjustment fixes it.
Try the Helmet in Your Normal Riding Position
Put the helmet on before your glasses, then tighten everything, then put the glasses on. Glasses arms have to clear the retention cradle, and if you do it in the wrong order you will spend your ride shifting frames and pads.
Get into your riding position and hold it. Check four things: no pressure band across the forehead, no pinch above the ears, no exposed skin above the front edge, and no forward slide when you look down at your bars or check over a shoulder.
Long hair changes the shape of your head. Pull a ponytail through the rear vents and the occipital area, never over the cradle, then re-tighten. If you cannot get the tail through without forcing it, the helmet has no ponytail channel and will not sit right over a thick head of hair.
Riders in the drops hit a specific problem: a rear adjuster that sits too low bumps the neck when the head is down. If the cradle has height adjustment, raise it. If it does not, that helmet does not suit your position.
Adjust the Retention System
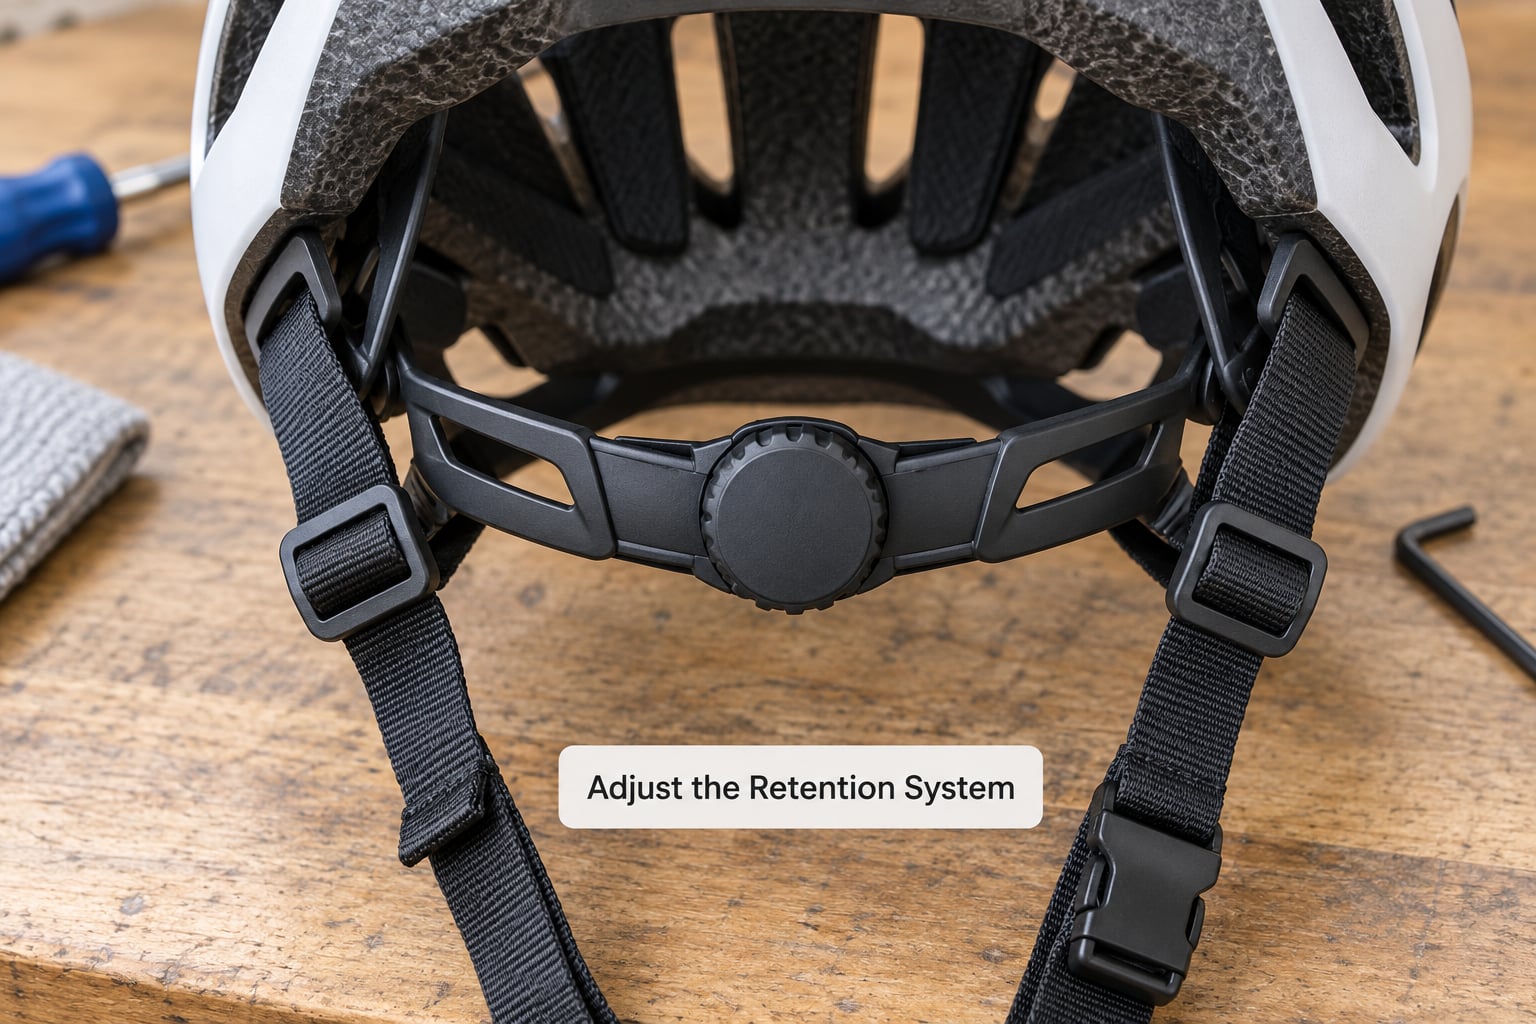
Set the retention cradle to moderate tension. The dial should need a deliberate click or two to move, and it should not be at the end of its travel. Riders routinely wind it to maximum as a default fix, and that is masking a size or shape problem rather than solving one.
Work the cradle in a circle around the back of your head so it wraps the narrowest point behind your ears, rather than sitting high on the wider part. Use the side straps’ divider sliders to change cradle height: tighten in front of the ears and loosen behind to move the cradle down without moving the helmet.
Then set the straps. The two side straps should meet just below each earlobe in a V, not in a straight line across the side of the head and not up on the temple. Slide the chin strap so one or two fingers fit between it and your chin, then open your mouth wide: the helmet should not lift.
Check Comfort, Visibility, and Venting
Wear the helmet indoors for ten to fifteen minutes before you buy. Pressure points at the temples and across the forehead are delayed, and a two-minute try-on in a shop will hide them completely. Comfort after ten minutes is the thing you will feel after ninety kilometres.
Check brow clearance, side vision and forward tilt together. If the front edge sits low enough that your eyebrows or the top of your glasses get pressed in the drops, the helmet is too low or too short front to back. If the front edge sits high, you are exposed at the forehead, which is the most commonly struck area in a cycling fall.
Vents, weight and integrated lights all matter, but they are secondary to fit. A helmet with better airflow that sits on your head correctly will always beat the one that does not. MIPS and similar rotational systems add a second layer of protection, but they only work when the helmet is in the right place at impact.
Perform a Final Safety Check
Run the tests before every ride, not just on day one. Shake your head side to side and forward; there should be no more than about a centimetre of movement in any direction. Push the front of the helmet back and up with an open palm: it should not come off your head. Open your mouth wide to test the chin strap, and pull the strap dividers to confirm they hold.
Look for a CPSC or EN 1078 certification mark inside the shell, and note the manufacture date. Independent ratings from the Virginia Tech STAR lab are free, published data that compares rotational performance across many models without any marketing language. Reject any helmet with cracks, a visible impact mark, or a hard knock, even if it looks intact. EPS foam is single-use by design: it crushes once to save your skull and does not recover.
The 2-2-2 rule is the shorthand for the main checks: two finger-widths between the front edge and your eyebrows, two fingers between your chin and the chin strap, and two seconds of shaking your head to confirm nothing moves. Some shops use a 2-4-1 variant instead: two finger-widths above the eyebrows, four fingers from the bottom of the shell to the eyebrow line for the low position, and one centimetre of tolerance when you push the helmet front to back.
Common Mistakes
Almost every uncomfortable helmet I have seen come back to one of these six.
- Buying a size too large. Fix: measure again, and take the smaller size. A gap at the back that the cradle cannot close is a size problem.
- Choosing by appearance or brand name. Fix: try at least three brands in the same size band before deciding.
- Wearing it too far back or tilted up. Fix: level it front to back and bring the front edge down to two finger-widths above the eyebrows.
- Tightening the side straps until your ears hurt. Fix: the cradle does the holding, the straps only position. Loosen them until the V sits below the earlobe.
- Testing without your glasses or hair as you wear them. Fix: wear the real kit, then re-run the shake test.
- Keeping a damaged or outdated helmet. Fix: replace after any impact, and treat anything past its manufacture window as decoration.
Here is the shortcut version, mapped to what you actually feel.
| What you feel | What it usually means | What to change |
|---|---|---|
| Pressure band across the forehead after an hour | Shell too round for an oval head, or one size too small | Try a longer shape or size up, keep the dial at moderate tension |
| Hot spots above the ears | Shell too narrow front to back, cradle too high | Lower the cradle, move to an intermediate or round shape |
| Ears pinched by straps or padding | Straps too high, or ear pockets too small | Slide dividers so the V sits below the earlobe |
| Gap at the back, dial at maximum | Helmet too large, not too small | Size down; a real gap cannot be dialled out |
| Helmet lifts when you look down | Cradle not wrapped, or chin strap slack | Re-circle the cradle, tighten the chin strap |
| Tight for the first rides, fine after a few hundred | Normal break-in, not a size fault | Nothing. Return it if pressure is painful at ride two |
Tips for Testing Before You Buy
Spend ten minutes in the shop and it saves a return. Wear the helmet indoors, look down, look up, and check over your shoulder like you would in traffic. Ask the shop to adjust it for you in front of you, so you learn where the dial, the cradle height and the strap dividers actually are.
Keep the receipt and the box with the size sticker on it. If the size range on the helmet differs from the chart on the website, that label is what you need for a swap.
Two situations deserve their own rule. Parents should fit a child to the head they have today, not with room to grow into; a loose helmet is useless, so expect to replace it as they grow. On second-hand helmets, check the manufacture date, look for impact dents in the EPS, make sure the dial and straps still tighten, and assume unknown history means unknown damage.
Frequently Asked Questions
What size cycling helmet should I buy?
Measure your head circumference about 25 mm above your eyebrows and level around your ears, then match that number to the brand’s chart. Most adult riders fall between 55 and 59 cm. Sizes overlap by design, so treat the chart as a starting point and try both sizes when your measurement sits on a boundary. Repeat the measurement twice, since one third of us have a larger head on one side.
How tight should a road cycling helmet fit?
Snug, not tight. The retention cradle should sit at moderate tension, never at the end of its travel, and the side straps should form a V below each ear with one or two fingers under the chin strap. You should be able to fit no more than about a centimetre of movement when you shake your head. If the dial has to be cranked to maximum, the helmet is usually the wrong size.
When should I replace a bicycle helmet?
Replace it after any impact, even a minor one, because EPS foam crushes once and does not recover. Most riders also replace a helmet three to five years after the manufacture date, and sooner if it has been left in a hot car. Check the date label inside the shell and the certification mark against CPSC or EN 1078 requirements before you buy a replacement.
How should a helmet fit over a ponytail?
Pull the ponytail through the rear vents so the tail sits below the retention cradle, then tighten the cradle at moderate tension. Never route the tail over the cradle, which lifts the helmet at the front. Long hair also changes the effective head shape, so it is worth trying on a helmet with a rear channel. Re-run the shake test with your hair done the way you actually ride.
Do I need a different helmet type for road cycling?
Yes. Road helmets are lighter, more ventilated and shaped for an aggressive position, with fewer ear and visor coverage. Mountain bike helmets add a visor and ear pockets, commuter helmets add lights and rear coverage, and full-face helmets protect the jaw and face for downhill and gravel racing. Choose the type for the riding you do, then apply the same fit check to whichever you pick.
Final Fit Check
Start with the tape measure, not the colour chart. Note your circumference, then note your approximate shape from the length and width ratio, and use those two numbers to narrow the models worth trying. Fit is decided in the shop and confirmed on a ten-minute indoor wear, and no retention dial or brand reputation substitutes for it.