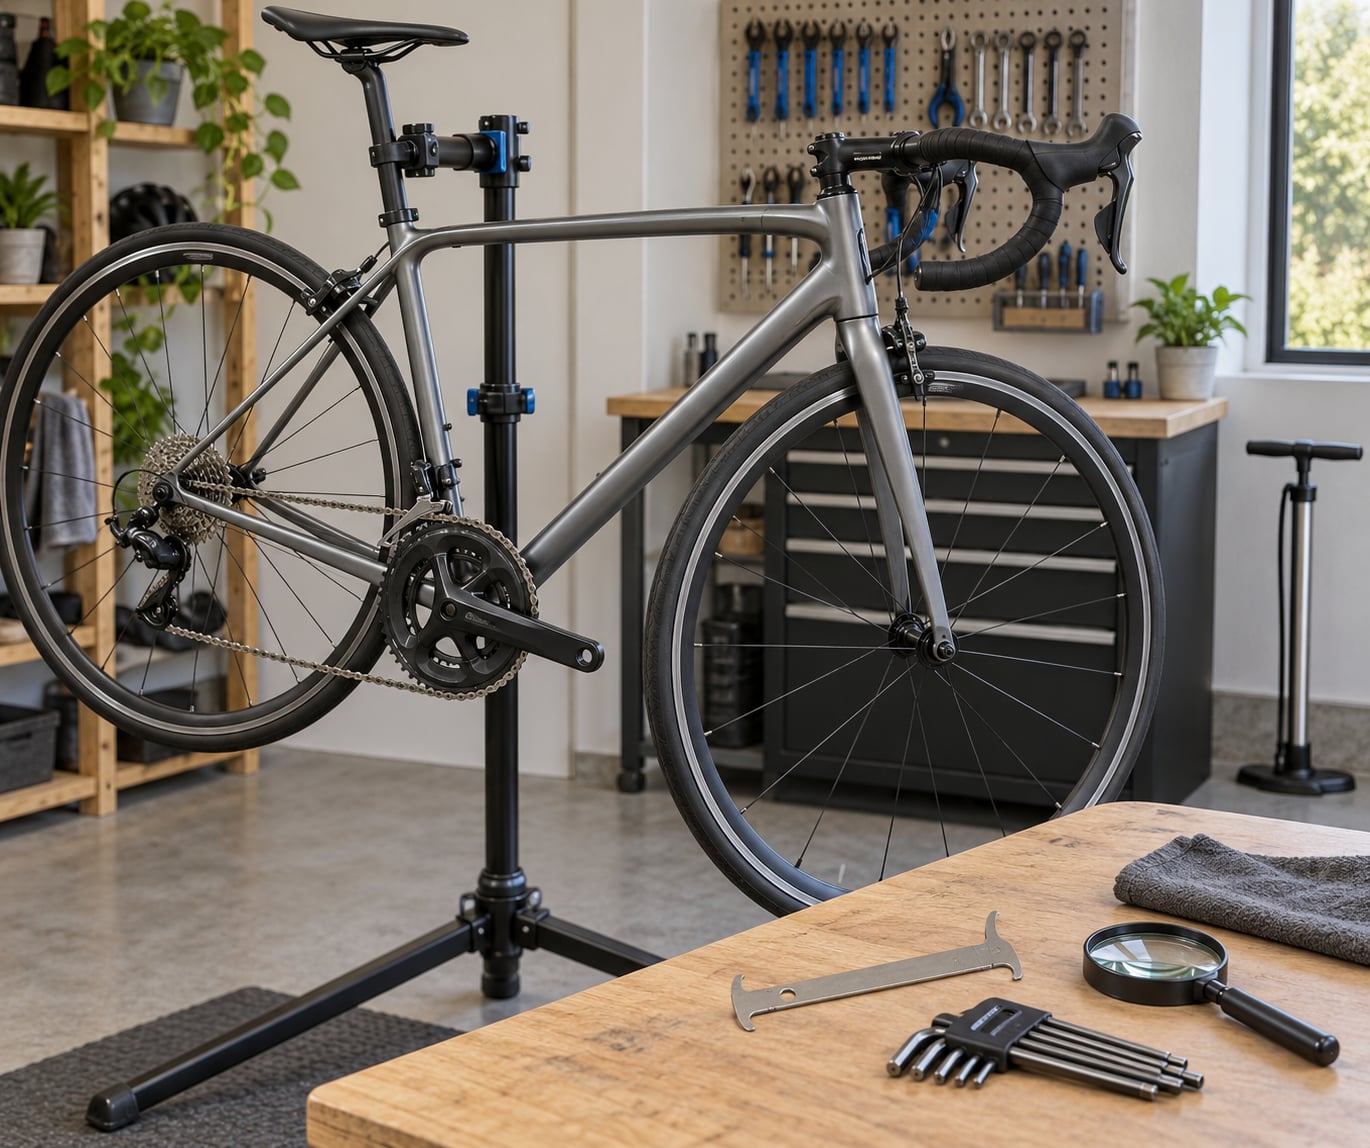
How to inspect a used road bike comes down to one repeatable routine: verify the serial number, study the frame and fork, measure drivetrain wear, test the brakes and steering, then finish with a road test. Give yourself 45 to 60 minutes in good daylight, and bring a chain checker and a floor pump.
The order matters. Inspect the bike before you talk money, because every fault you find turns into negotiation leverage instead of an argument about fairness. Riders on cycling forums repeat the same lesson: a dirty drivetrain, a bent derailleur hanger, or a seller rushing you usually tells you more than the paint job does.
Table of Contents
- What You Need
- How to Inspect a Used Road Bike Step by Step
- 1. Confirm the Bike’s Identity and Service History
- 2. Inspect the Frame, Fork, and Steerer
- 3. Check the Wheels, Tires, and Suspension
- 4. Evaluate the Drivetrain and Crankset
- 5. Test the Brakes, Cables, and Steering
- 6. Inspect the Saddle, Seatpost, and Cockpit Fit
- 7. Estimate the Cost of Required Service
- 8. Complete a Full Safety Check and Test Ride
- Common Mistakes
- Frequently Asked Questions
- Should I have a used road bike inspected by a mechanic before buying?
- How do I know if a used road bike is the right frame size?
- Is the age of a used road bike’s components important?
- What should I look for during a used road bike test ride?
- What are warning signs that I should walk away from a used bike?
- When do repair costs make a used road bike no longer worth buying?
- Conclusion
What You Need
Start with the paperwork. Find the frame serial number, any receipts, service records, and the original warranty card if one exists. A bike shop’s printed job history for the bottom bracket, headset, and cable service is worth more than a seller’s memory.
For tools, a short list covers almost everything:
- A chain wear checker, plus a 12-inch ruler as a backup method
- Metric Allen keys, usually 4mm through 8mm
- A floor pump with a pressure gauge and a tire lever
- A 5x magnifying glass for paint cracks and brake pads
- A phone for the serial number lookups and photos
A spoke key and a small torque wrench are worth packing if you know how to use them. Light matters more than almost anything else, so inspect outdoors or in a bright garage rather than in a dim hallway or at dusk. Bring your own helmet and lights if you plan to ride it away.
Know when to stop and call a mechanic. Carbon damage, a seized seatpost, hub bearing service, and hydraulic bleeding all need tools or experience you probably do not have. Paying a shop for a pre-purchase inspection is usually the cheapest money you will spend on the whole purchase.
How to Inspect a Used Road Bike Step by Step
Run the eight stages below in sequence. Each one ends with a decision: keep looking, subtract from the price, or walk away.
1. Confirm the Bike’s Identity and Service History
Start with the numbers. Photograph the frame serial number, usually under the bottom bracket, and run it against the manufacturer’s database and a national bike register. A number that has been ground off or re-stamped is a reason to stop.
Then ask the seller direct questions: has it ever been crashed, what was replaced and when, why is it being sold, and who has worked on it. Riders in r/cycling and r/bicycling consistently advise photographing everything at the viewing so you have a record of the bike’s condition if a dispute comes up later. Matching wear across the drivetrain, wheels, and tires tells a consistent story; mismatched parts suggest a hidden repair.
2. Inspect the Frame, Fork, and Steerer
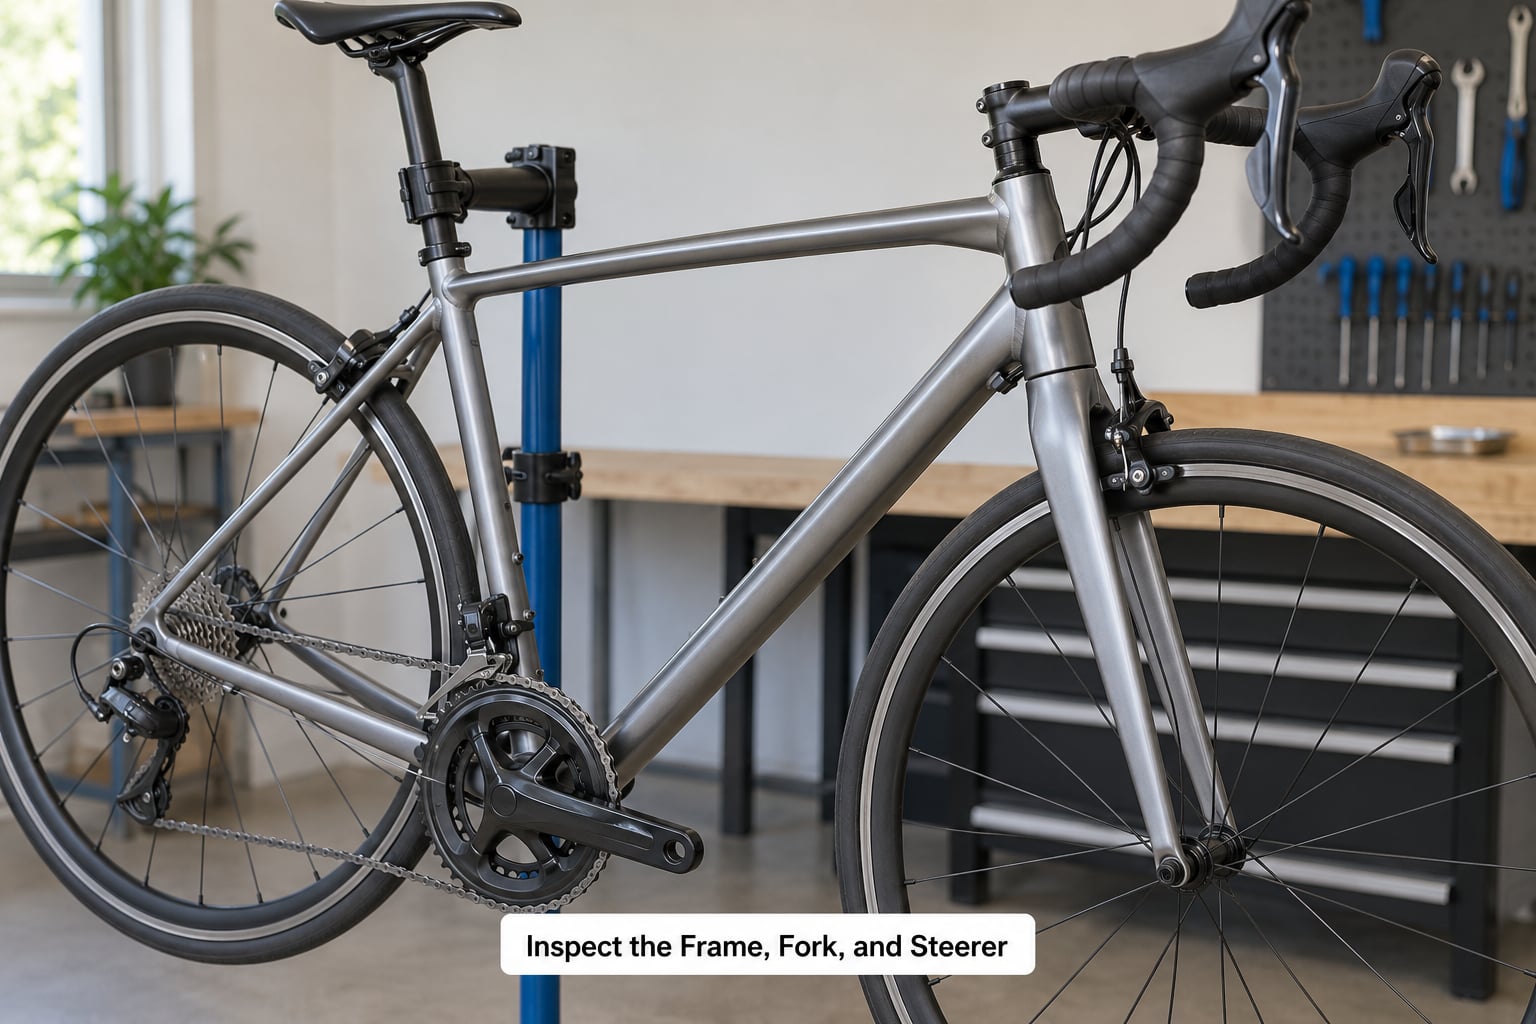
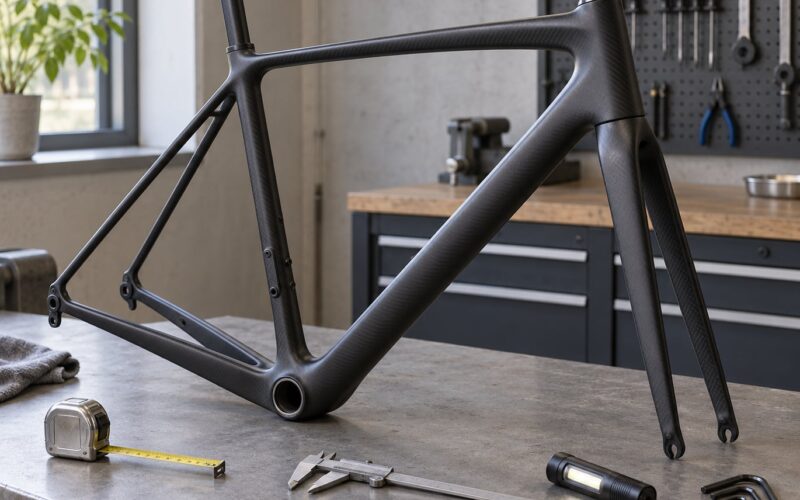
Look at the frame the way you would look at a used car body. Check for cracks, deep scratches, dents, corrosion around bolt holes, and any impact mark near the head tube, bottom bracket shell, or seatstay junctions. On alloy, run a fingernail along every weld bead looking for a bright spot where paint has broken through. On carbon, tap the frame with a knuckle: a sharp high ding means intact material, a dull thud means you are hearing a void underneath.
Magnifying glass plus light is the real test for carbon. Look for spider-web cracks around the chainstay bridge, under the down tube, and at the fork crown. Straighten the bike by sighting down the fork blades and the seat tube; if the front end looks crooked, something has been bent.
Check the fork stanchions for scratches that would let oil past the seals, and for oily residue around the crown. Make sure the fork is actually installed correctly, with the steerer cut to the frame manufacturer’s minimum insertion mark.
3. Check the Wheels, Tires, and Suspension
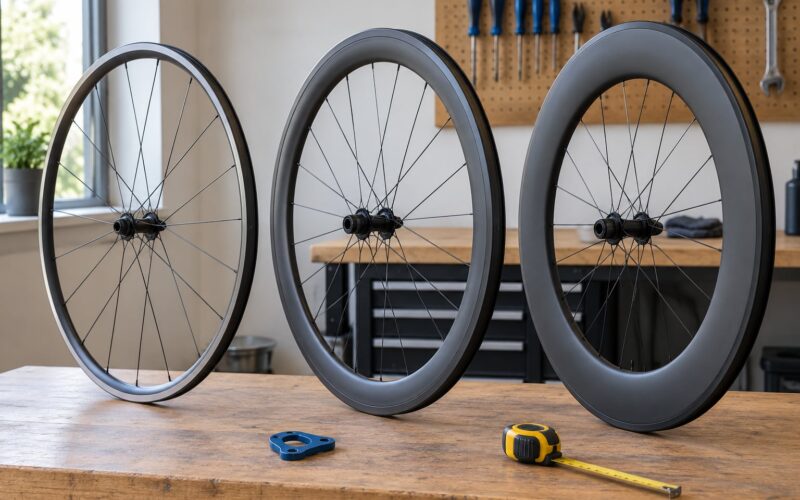
Lift each wheel and spin it. A wheel that wobbles noticeably at the rim or flutters side to side is out of true, and retruing or rebuilding is a shop job. Squeeze the spokes gently; a spoke that feels slack next to its neighbours means the wheel has been tensioned badly or has suffered a hit.
Feel for hub play and rough bearings. Hold the rim and rock it side to side: any noticeable free play points at loose cones or a damaged axle. Spin it again with your fingers close to the axle, because grit and rumble are easier to hear than to see.
On rim brakes, the brake track should be flat and straight. A brake surface worn concave means material has worn away and the tire sidewall now sits closer to the rim, which raises the risk of a blowout on a hard stop.
Rubber tells its age. Press the tire hard: sidewall cracks, flat spots, or a rock-hard tread mean the casing has gone brittle, usually from months of sitting. Any cut, bulge, or exposed casing means replace it before you ride. Tubeless-ready rims are worth noting, since that is an easy upgrade later.
4. Evaluate the Drivetrain and Crankset
The drivetrain decides the price more than the frame does. Shift through every gear, up and down, and listen. Hesitation, a clunk on upshifts, or a chain that hesitates between two cogs usually means stretched cables or a bent derailleur hanger, the sacrificial aluminum tab that bends in a crash to save the frame.
Measure the chain. A chain wear checker is the accurate method: replace at 0.5% stretch, replace the chain again along with the cassette at 0.75%, and consider the whole drivetrain finished at 1.0%. Without a tool, lay a ruler across the chain over a one-inch section and compare against the manufacturer’s spec for an 11- or 12-speed chain.
Look at the cassette teeth. Sharp, symmetrical teeth are healthy. Hooked, shark-fin, or rounded teeth are worn past the point where a new chain will hold, which means the cassette and often the chainrings go with it.
Grab both crank arms and push them sideways against the frame. Lateral movement means bottom bracket bearings are worn and will need service. Check that the crank bolts are tight, and note any bolt with rounded or stripped heads, since those turn a five-minute job into a parts problem.
5. Test the Brakes, Cables, and Steering
Squeeze each brake lever hard. On a hydraulic lever, the feel should stay firm after one third of the available travel; a lever that runs nearly to the bar usually means air in the line or fluid that needs bleeding.
On rim brakes, check pad clearance and pad condition. Worn pads below roughly 0.5mm of material are done, and pad wear that is uneven often traces back to a bent wheel. On discs, the rotor should sit at or above the 1.5mm minimum marked on the center lock or rotor body, with no blue, cracked, or scored surface.
Flex the brake and shift cables, or trace the housing on a bike with internal routing. Look at the bends where cable enters the frame, the classic failure point on modern bikes, for fraying or kinks.
Test the steering next. Apply the front brake and rock the bike back and forth. A knock or rattle at the head tube means headset play. Then check the handlebar, stem, and quick releases for looseness, and confirm every thru-axle or quick release is properly tightened before the bike moves.
6. Inspect the Saddle, Seatpost, and Cockpit Fit
Check the saddle rails and clamp for cracks or pulled hardware, and look at the seatpost for deep scoring or rust pitting inside the frame. Make sure the seatpost sits above the minimum insertion mark; too little insertion is a genuine safety issue.
Try the saddle at your normal riding position. Excessive setback or a seatpost stuck at one height forces an awkward position, and fitting a different post can cost more than you expected. Handlebar tape that is torn, slick, or lifting is cheap to replace and worth doing before any long ride.
7. Estimate the Cost of Required Service
Sort what you found into two piles: cosmetic and safety-critical. Scratched paint and a worn saddle are cosmetic. Chain stretch, worn pads, brittle tires, rough bearings, and a bent hanger are not.
Add up the immediate parts and labor: chain, chainrings, cassette, cables, pads, tires, tubes, and a bearing service on the hubs, headset, or bottom bracket. Electronic shifting adds a line of its own, since a Di2 or AXS battery past its expected service life can be a significant replacement. Internal cable routing that needs opening is labor-heavy, so price it carefully before you commit.
Then subtract that total from the asking figure. What remains is what the bike is actually worth to you, and it should still leave room for a first service and a couple of tubes. If the gap closes to nothing, a different bike is the better decision.
8. Complete a Full Safety Check and Test Ride
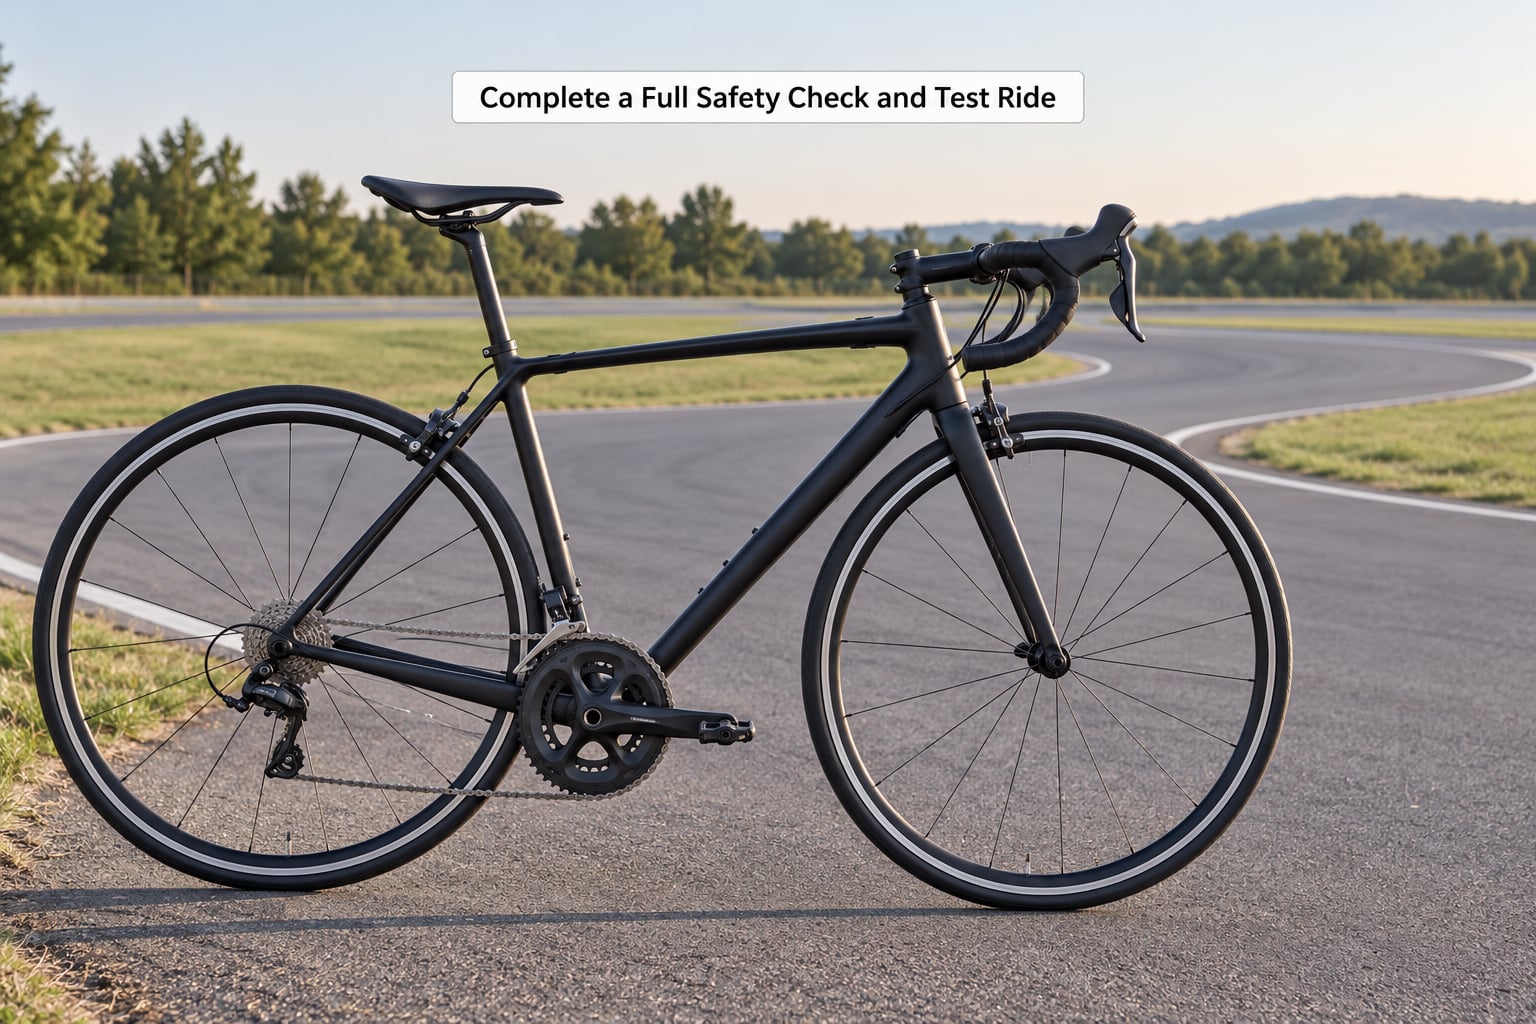
Before rolling out, confirm tire pressure, axle security, brake operation, steering, drivetrain shifting, and saddle position. The test ride then has a shape: ride one kilometer straight and steady to feel any drift, pull hard on both brakes in a safe clear area, work through the full gear range, then try a short climb, a descent, and a sprint.
Pay attention to what your hands and body report. A brake lever that fades, a chain that skips, a front end that shudders, or a clunk from the headset on a rough patch all fail the test. Where the law requires it, take ID when you ride someone else’s bike and ask them to hold your phone and wallet, which experienced riders say is normal and reasonable.
Walk away if anything structural shows up during the ride. A cracked frame, a fork that leaks, or a braking system that fades under repeated hard stops is not a negotiation item.
Common Mistakes
Trusting the paint. A repainted or wrapped frame can hide a crash. Sighting down the fork and steering column catches what the finish conceals.
Looking only at the frame. Most of the money hides in the drivetrain, and a chain at 0.75% stretch with shark-shaped cassette teeth dictates the price far more than the carbon.
Skipping the serial number check. It takes a minute and prevents the worst possible outcome. Verify it before any money changes hands.
Ignoring bolt condition. Rounded seatpost clamp, brake, and crank bolts are a headache later, and rust near one bolt usually means others have seized too.
Letting the seller set the pace. Insisting on a daylight viewing with plenty of time, and leaving when someone pressures you, is the practical defense. Riders on bike forums treat a rushed viewing as its own red flag.
Buying on aesthetics. Glossy paint and a clean drivetrain are nice, and they say little about bearing condition or tire age.
Frequently Asked Questions
Should I have a used road bike inspected by a mechanic before buying?
On any bike above mid-range value, yes. A shop pre-purchase inspection catches what a buyer misses: carbon cracks, bottom bracket play, headset play, wheel trueness, and internal cable wear. It costs less than replacing the parts it finds. For an inexpensive steel or alloy commuter bike, a careful self-inspection following an eight-stage routine is usually enough.
How do I know if a used road bike is the right frame size?
Sit on the saddle and check standover clearance first, then confirm reach and stack feel right by riding it. Compare the frame size stamped on the frame against the size you already ride, and confirm the seatpost sits above the minimum insertion mark. A bike that is one size too big can often be fixed with a different stem, but a seatpost that will not move is a problem.
Is the age of a used road bike’s components important?
Age matters less than condition, but two things track with time. Tires that have sat inflated for years develop sidewall cracks and go hard, and hydraulic fluid absorbs water until braking feel degrades. Electronic shifting batteries also have a finite service life, with Di2 packs typically rated around five years. Everything else, from chains to bearings, is driven by miles and maintenance rather than age.
What should I look for during a used road bike test ride?
Ride a kilometer straight and steady first, watching for drift or a pull to one side. Then hard-brake in a clear area, work through every gear in both directions, and try a climb, a descent, and a sprint. Note any lever that fades, chain that skips, front end that shudders, or clunk from the headset over rough pavement. Any of those means stop and re-inspect.
What are warning signs that I should walk away from a used bike?
Walk away on a cracked or dented frame, a fork with damaged stanchions or a leak, a ground-off serial number, or a seller who refuses daylight inspection or a test ride. Other red flags include a bent derailleur hanger paired with a claimed accident-free history, brake levers that run to the bar, and an asking figure far below comparable bikes, which can signal theft or hidden damage.
When do repair costs make a used road bike no longer worth buying?
Add up the safety-critical items first: chain, cassette and chainrings, cables, pads or rotors, tires, and any bearing or hanger work. Subtract that total from the asking figure. If what remains barely covers the bike and a first service, the negotiation has run out of room and a different bike is the better buy. Cosmetic issues should never enter this calculation.
Conclusion
If you only remember three checks, make them the serial number, the frame and fork for cracks, and the drivetrain wear measurement. Those three decide whether the bike is safe, legal, and fairly priced.
Work through the remaining stages in good daylight with time to spare, and price the safety-critical repairs before you talk money. Frame condition, brakes, steering, and wheel integrity matter far more than a scratched top tube, and a bike that needs everything replaced is simply a different purchase.