How to choose a rear light for road riding comes down to four things: how visible you need to be, how long the light must last, where it can mount securely, and how you will charge it. A light that is perfect for a 45-minute twilight club ride can be wrong for a two-hour rural route with no street lighting, or for a winter commute where your hands stay in thick gloves.
This guide walks through the same seven-step check I use before buying a light for a new bike, and the setup routine I run before every long evening ride. It takes about ten minutes of reading and saves a lot of guessing later.
Table of Contents
- What You Need
- Step-by-Step
- Step 1: Identify Your Riding Conditions
- Step 2: Choose the Right Brightness and Beam Pattern
- Step 3: Check Battery Life for the Longest Ride
- Step 4: Select a Secure, Compatible Mount
- Step 5: Evaluate Charging and Controls
- Step 6: Look for Visibility and Durability
- Step 7: Test It Before You Need It
- Common Mistakes
- Frequently Asked Questions
- How many lumens should a rear bike light have for road riding?
- Is 500 lumens bright enough for a rear bike light?
- Do I need a rear light during the day?
- Are rear bike lights required by law?
- Do I still need reflectors if I run a rear light?
- Conclusion
What You Need
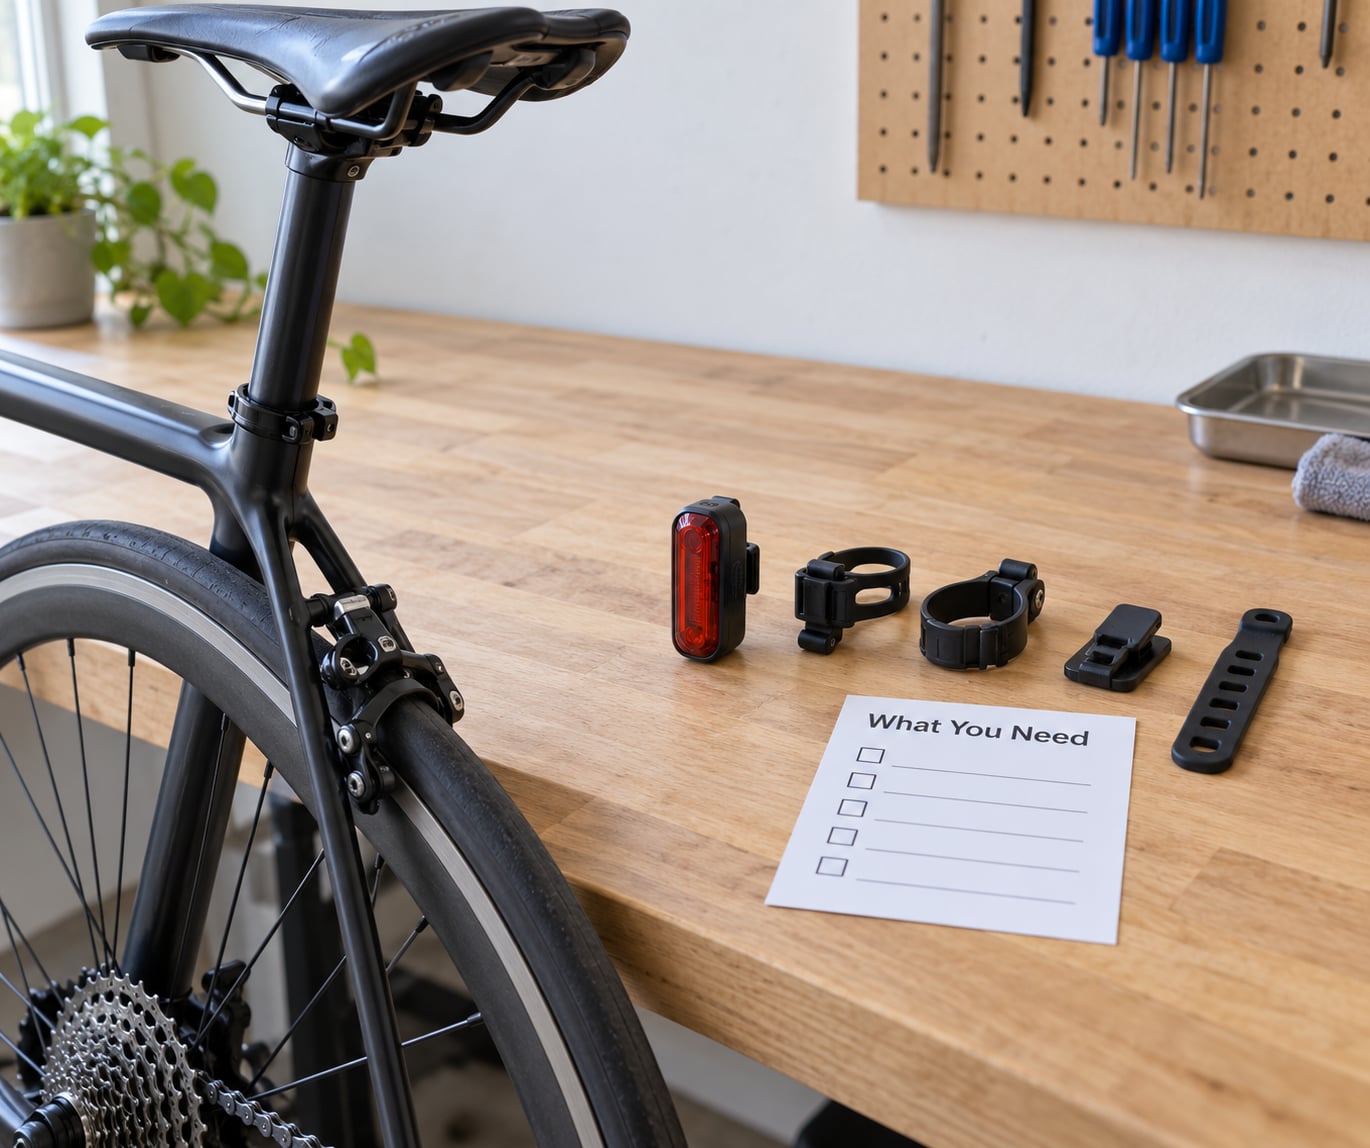
Before you compare anything, write down what your riding actually looks like. Most buying mistakes come from answering “what is the brightest light?” instead of “what does my week require?”
- Ride duration: your shortest typical ride and your longest. A century is a different problem from a 30-minute spin home.
- Conditions: daylight, twilight, full dark, or a mix across the year. Note whether your routes are lit, partly lit, or unlit.
- Riding pattern: solo, two-up, or a club pace line. Group riding changes how bright your flash should be.
- Mounting points: check your seatpost shape and diameter, whether you have a rack or fender, and whether you use a helmet-mounted option.
- Charging habit: whether you will plug things in at a desk nightly or top up only at the weekend.
- Weather: rain, salt spray, winter cold. Cold shrinks battery capacity, and a wet road season punishes cheap seals.
- Local rules: rear lights are required for night riding in many countries and states, and the rules vary where you live.
Step-by-Step
Step 1: Identify Your Riding Conditions
Daytime visibility, twilight commuting, club rides and full night riding each need a different light. Daytime riding is about being noticed in daylight against a busy background. Night riding is about being seen at distance in the dark, where a driver has more time to react.
Note typical ride length and how often you ride. If your longest regular outing is under an hour, runtime is a minor concern. If you ride four-hour routes on weekends, battery life becomes the deciding factor.
Road quality matters too. Smooth tarmac is kind to mounts. Chip seal, gravel shoulders and winter grit shake straps loose and rattle lens housings, so a sturdier mount matters more than a slightly brighter output.
If you ride an e-bike, decide whether the light should work independently of the bike battery. A USB light that charges from the frame is the simple, dependable choice.
Step 2: Choose the Right Brightness and Beam Pattern
For road riding, most rear lights fall well below what people assume they need. Lumen figures for rear lights are frequently quoted at a level you cannot actually compare with headlight figures, because the beam is spread over a wide angle and aimed at a driver, not at the road surface.
Look for a steady rear-facing output that is clearly visible from behind. What matters more than the headline number is how wide the light spreads and how bright the side angles are. A narrow, intense spot can read as invisible when a driver glances at you from a shallow angle at an intersection.
Flash versus steady is a real choice, not a preference. A steady light holds its position in a driver’s field of view, which is why steady modes tend to work better at night. A flash draws the eye and reads better in daylight. Most riders run a flash during the day and switch to steady or pulse after dark.
Compare lumen or candela claims only when the same measurement is published for every light you are considering. If a brand does not publish the figure, judge the light on its beam spread and daytime visibility instead.
Step 3: Check Battery Life for the Longest Ride
Runtime claims are usually quoted for the brightest mode, which is the mode you will never use on a rear light. Look for the runtime at the mode you will actually run, and treat the max-runtime number as marketing rather than a planning figure.
Compare against your longest ride with a comfortable reserve, not a perfect match. A light that dies at 95 minutes on a 100-minute ride is not usable. Aim for roughly a third more than you need.
Battery capacity fades over time. Riders report losing meaningful charge capacity within three to six months on some models, and forum threads about the Cygolite Hotshot focus on exactly this. Older Bontrager models are praised for running eight hours or more on flash, while some newer versions with automatic day/night sensors are reported closer to three. Cold mornings make it worse again.
Charging access is a daily-use question, not a spec. A light you can top up while it sits on the bike gets charged more often than one buried in a bag.
Step 4: Select a Secure, Compatible Mount
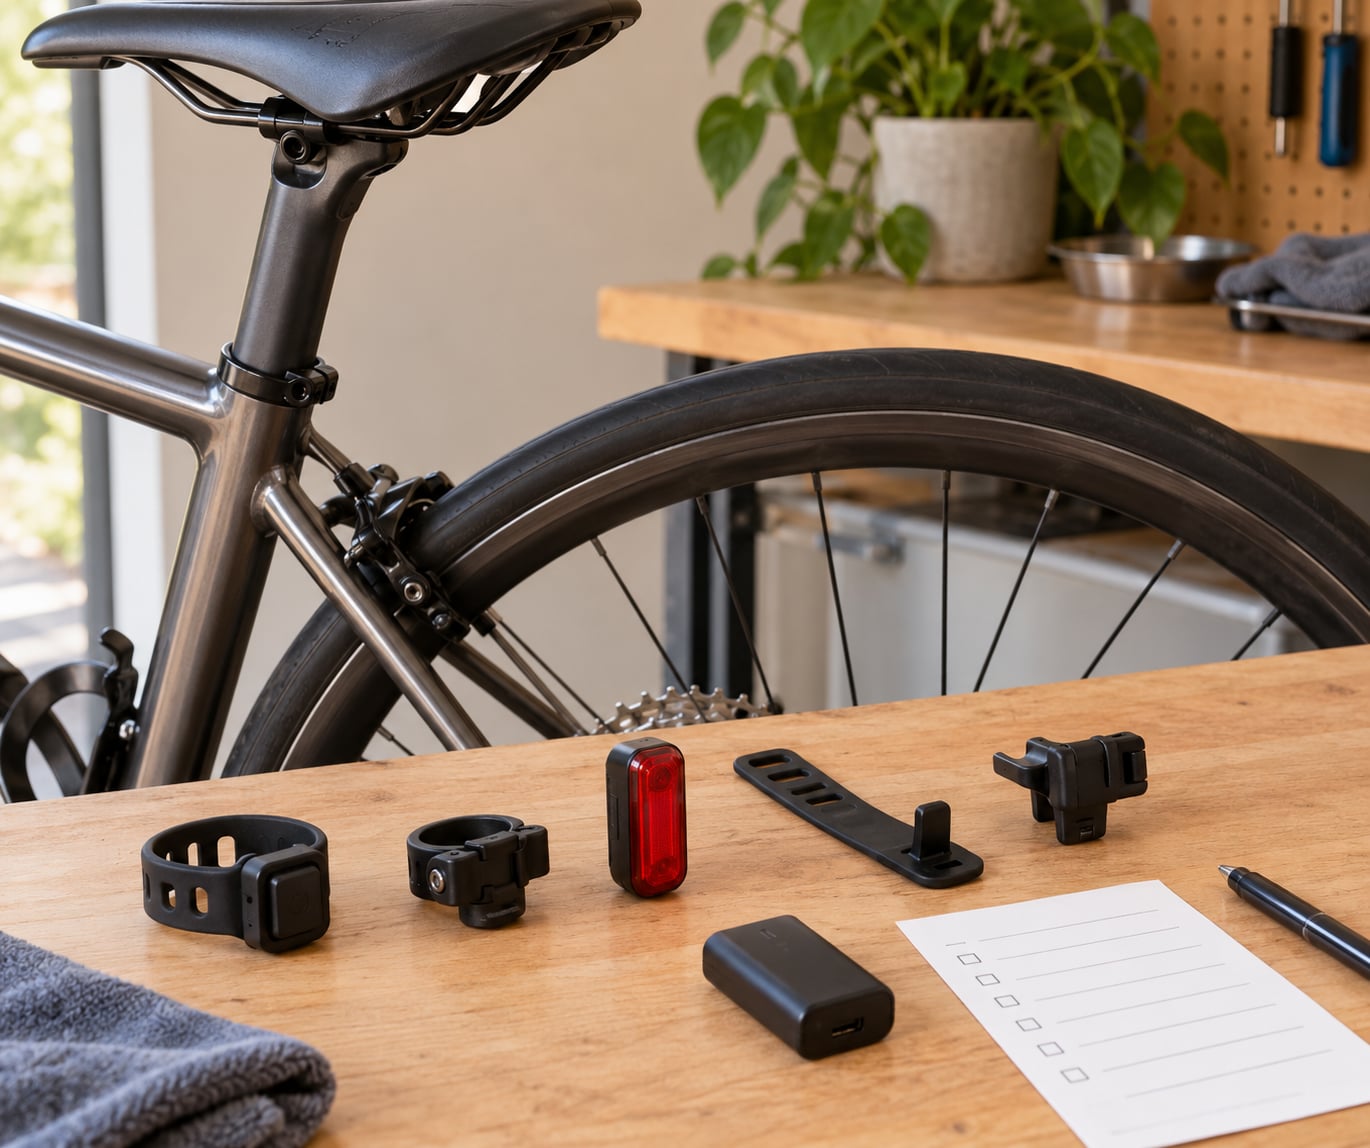
Match the light to where it will live: seatpost, saddle rail, rear rack, seatstay, helmet, or a frame bracket. A strap around a round 27.2 mm seatpost is easy. A strap on an aero or D-shaped post often does not sit flat, and that is the mounting problem riders complain about most.
Check clamp diameter against your post, strap tension at that diameter, and whether the light can be angled without slipping. Tighten it fully, then check it again after a ride; strap mounts loosen with vibration.
On carbon frames, use a mount designed for carbon contact surfaces or add a protective layer under the clamp so it cannot cut into the paint. Whatever you choose, you should be able to remove it without gouging the frame or leaving a mark.
Step 5: Evaluate Charging and Controls
Compare charging methods, charging time, and whether the battery is replaceable. USB-C is common now; older micro-USB models mean carrying a second cable. A replaceable cell saves money over years, though few built-in batteries are user-swappable.
Buttons are where usability shows up. A large, recessed button you can find by feel in the dark is worth more than an extra mode. Look for mode memory, so the light returns to your daytime setting after you switch off at a red light.
Glove-friendly controls matter from October to March. Test whether the button can be pressed through a thick winter glove without hitting it twice. Water resistance keeps rain and road spray out; an IPX4 rating handles splashes, while IPX7 means it survives immersion, which matters more if you ride in coastal weather or wash the bike with a hose.
Step 6: Look for Visibility and Durability
Check lens visibility from several angles: directly behind, and slightly to each side. Drivers rarely see you square on. A light with a slightly proud body or wraparound lens gives you side visibility without needing two lights.
Housing quality shows in the details: how the strap seats, whether the seam line is clean, whether the button feels positive. Water resistance and shock tolerance predict whether it still works after a winter of wet commutes and wash days.
Reflective elements still matter. A rear light supplements reflectors rather than replacing them, because a light that dies gives you nothing, while a reflector always works. Pedal and wheel reflectors, plus a reflective strip on your helmet or jacket, are free insurance.
Step 7: Test It Before You Need It
Install the light firmly, then run through the routine I use before any evening ride. Cycle through every mode and confirm each one works, because a dead mode often is not obvious until you are relying on it.
Walk behind the bike and check visibility from directly behind and about 45 degrees to each side. Then ride a short loop on rough roads and re-check for movement or rotation.
Carry a small backup light or spare batteries on long rides, and recharge before you leave rather than the night before. Long rides also benefit from a second light: one running steady and one flashing gives two chances to be noticed. Riders who pair them this way report it is the cheapest visibility upgrade available.
Common Mistakes
- Buying for the biggest lumen number. Fix: judge beam spread and side visibility instead, and confirm runtime at your chosen mode.
- Mounting the light where it is blocked. Fix: a light tucked behind a saddle bag or under a pannier is invisible. Mount it where nothing sits behind it.
- Using a weak strap mount. Fix: tighten fully, re-check after the first ride, and use a proper bracket for aero or carbon posts.
- Relying on reflectors alone. Fix: keep reflectors as passive backup, but treat them as supplementary, not as your primary light.
- Leaving the light uncharged. Fix: plug it in the same time you fill your water bottles, and do a battery check before long rides.
- Choosing controls you cannot use in gloves. Fix: press the button while wearing winter gloves in the shop if you can, or pick a light with a large, tactile button.
Two more habits keep a light working for years. Wipe the lens occasionally; grime and winter road film dull output more than most riders expect. And check the strap and charging port seal before winter, since those are the two places water gets in.
Frequently Asked Questions
How many lumens should a rear bike light have for road riding?
Most rear lights for road riding sit far below the brightness people expect. A light that is clearly visible from behind in daylight is enough for daytime and twilight riding, and you do not need thousands of lumens. Judge output by beam spread, side visibility and runtime in the mode you use, since a narrow bright spot can still be hard to see at a shallow angle.
Is 500 lumens bright enough for a rear bike light?
Yes, 500 lumens is more than enough for a rear light. That figure is already at the high end for this category and, if anything, may be more than you need on a group ride. What matters more is how the light is distributed, whether it stays visible from the side, and whether the battery lasts your longest ride at the mode you actually run.
Do I need a rear light during the day?
Most riders are safer with one. A steady or flashing rear light makes you more noticeable in daylight against traffic, parked cars and roadside clutter, which is where a lot of close calls happen on shared roads. A daytime flash mode is designed for exactly this and uses less battery than the brightest night setting. It adds nothing to your legal obligations, but it adds visibility.
Are rear bike lights required by law?
Requirements vary by country, state and local authority, and they change, so check the rules where you ride rather than assuming. Most jurisdictions require a working red rear light after dark, and some require approved reflectors and front lights as well. Rules are about minimum compliance, which is a lower bar than what makes you comfortable on an unlit road.
Do I still need reflectors if I run a rear light?
Keep them. A rear light needs a charged battery and a secure mount, so it can fail in ways a reflector cannot, and a dead light gives you nothing. Reflectors cost nothing, need no power, and work from any angle when light hits them. Treat the light as your primary signal and reflectors as backup rather than a replacement.
Conclusion
Start by writing down your real riding conditions. Then check runtime in the mode you will use and confirm the mount fits your seatpost properly. Finally, install it and test it from behind and from both sides on a short ride, well before you need it on a dark road. That sequence takes less than an hour and covers most of what separates a light you forget about from one you rely on every week, 2026 riding season and all.