How to choose cycling glasses comes down to three things: the light you ride in, the shape of your face under a helmet, and how much protection you want from wind and debris. Match the lens tint to your usual conditions, try the frame in a dropped riding position before you pay, and everything else is detail. This guide walks through that decision in the order that actually saves you money.
I have swapped glasses more often than any other piece of kit, and almost every switch came down to a fitting problem rather than a lens problem. Riders tend to obsess over tint names and then discover the frame rides up on a long climb or fights their helmet vents.
Table of Contents
- What You Need
- Step-by-Step
- Identify Your Main Riding Conditions
- Choose Cycling Glasses by Lens Tint
- Check Fit, Coverage, and Comfort
- Confirm UV and Eye-Performance Features
- Compare Durability, Vents, and Lens Options
- Test the Glasses Before Buying
- Compare Price and Value Without Overspending
- Where Most Riders Buy Wrong
- Common Mistakes
- Frequently Asked Questions
- What color lens is best for cycling?
- Are clear cycling glasses safe for bright sun?
- Can I wear prescription glasses while cycling?
- Are dark cycling glasses suitable for riding at night?
- What UV protection should cycling glasses have?
- How should cycling glasses fit with a helmet?
- Conclusion: Start With Your Riding Needs
What You Need
Before you compare anything, four answers shape the whole search: what light you ride in, whether you need a prescription, how much of your face you want covered, and how long you are out in one go.
Riding conditions. Bright open road, dappled woodland, gravel haze, all-weather commuting and after-dark riding all point at different lenses. Note where and when you ride before you look at a single product.
Prescription needs. If you wear glasses already, you have three routes: prescription inserts that drop into a normal frame, lenses glazed directly into the frame, or a hybrid that lets you swap between the two. Your prescription strength narrows the options further.
Coverage preference. A tall shield lens keeps wind, spray and dust out of your eyes on a road descent. A frameless pair feels lighter and shows more of the road. Riders coming from mountain biking usually want more coverage than road riders do.
Comfort. Pressure behind the ears, a nose bridge that slides after twenty minutes and rubber that grips too hard all show up as long-ride problems. If your rides run past two hours, comfort is not a nice-to-have.
Essential, then: UV protection on every lens including clear ones, a tint matched to your conditions, and a frame that stays put. Nice-to-have: photochromic lenses, magnetic lens swaps, hydrophilic temple tips, spare lens availability years later.
Step-by-Step
Identify Your Main Riding Conditions
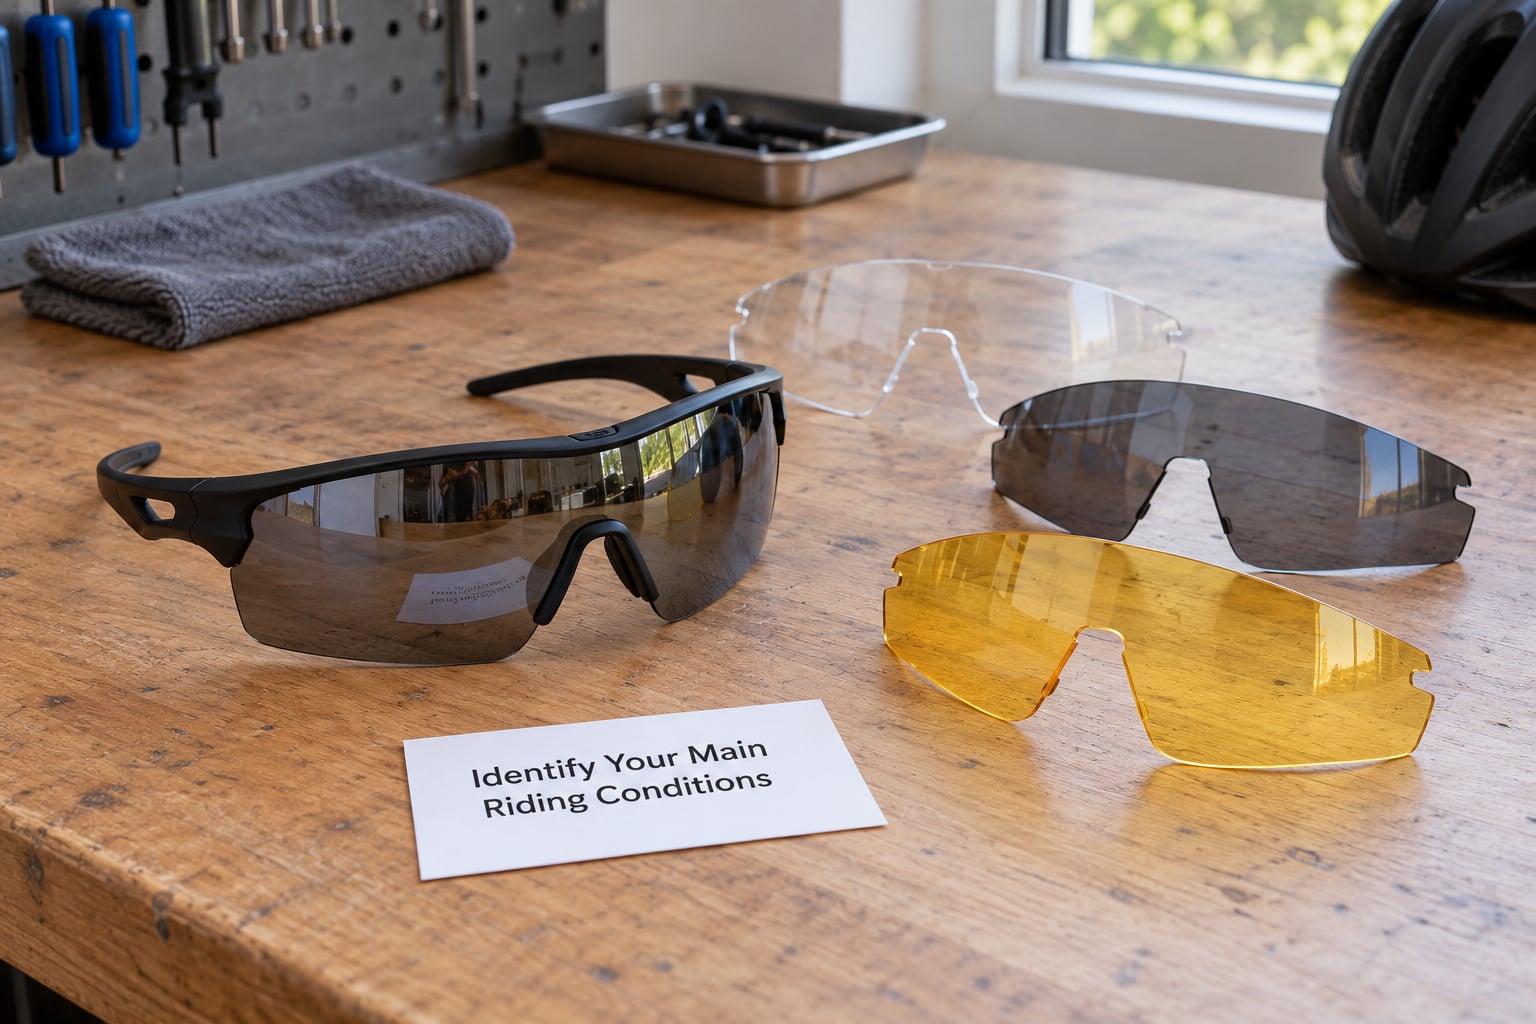
Start here because it decides everything else. Daytime brightness, variable light, shade, night riding, wind, rain and distance each push the lens and frame in a different direction.
Riders who do most of their miles at midday on open tarmac need real light management. Riders in dense forest or underpasses want contrast in flat light, not darkness. Commuters crossing town at dawn and dusk are the hardest case, because the light changes faster than any photochromic lens.
Long distance changes things too. Two hours of wind dries your eyes out and makes you squint, and a half frame that leaves the sides open feels very different at hour three than at hour one.
Choose Cycling Glasses by Lens Tint
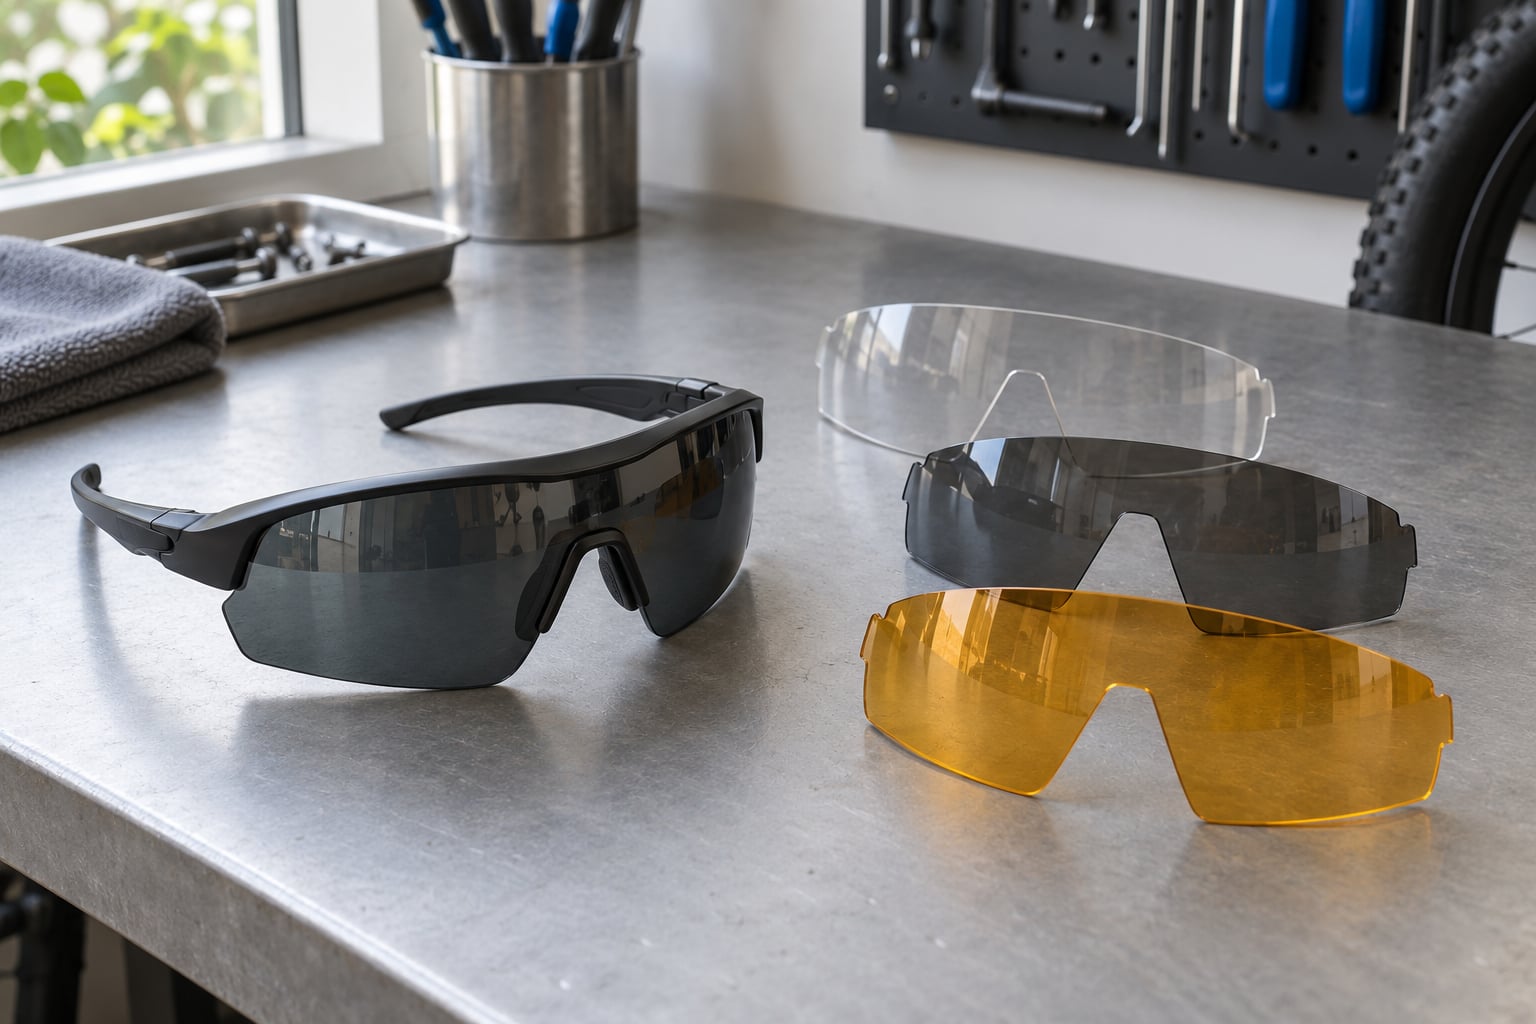
The best lens tint is the one that matches your conditions, which is usually grey or smoke for bright sun, amber or rose for low light and variable weather, and clear for darkness. Yellow works for overcast riding and night visibility, while mirror tints cut glare hardest in open desert sun but can wash out detail in shade. Darker is not better.
Visible light transmission, usually listed as VLT, is the percentage of visible light that passes through the lens. A VLT of 100% means no tint at all; around 10% is a very dark lens for genuine bright sun. Most manufacturers also print a lens category from 0 to 4, where 0 is clear and 4 is very dark.
| Lens tint | Approximate VLT | Conditions | Best for |
|---|---|---|---|
| Clear | 100% (category 0) | Night, dusk, heavy overcast, indoors | Night commuting, winter twilight |
| Light tint, yellow or amber | 80-90% (category 0-1) | Overcast, dawn, forest canopy | Riders in changeable weather |
| Medium dark, grey or brown | 30-50% (category 2-3) | Bright but variable daylight | All-round road riding |
| Dark smoke | 15-25% (category 3) | Bright open sun | Summer road and gravel |
| Very dark, mirrored | Under 10% (category 4) | Harsh sun, glare, snow, water | Open desert or coastal riding |
Colour matters as much as darkness. Grey and smoke are neutral, so the world keeps its natural colours. Amber, rose and copper shift the scene toward warm tones and pull out contrast, which helps in flat light and at dawn. Yellow brightens a grey morning. Brown adds contrast without the colour shift people find distracting.
One warning on polarisation. Polarised lenses cut glare from wet roads and water brilliantly, but they suppress depth cues by design, which is why riders on a road bike mostly leave them off. Reserve them for gravel, fishing, beach riding and driving, where the glare reduction matters more than judging distance at speed.
Check Fit, Coverage, and Comfort
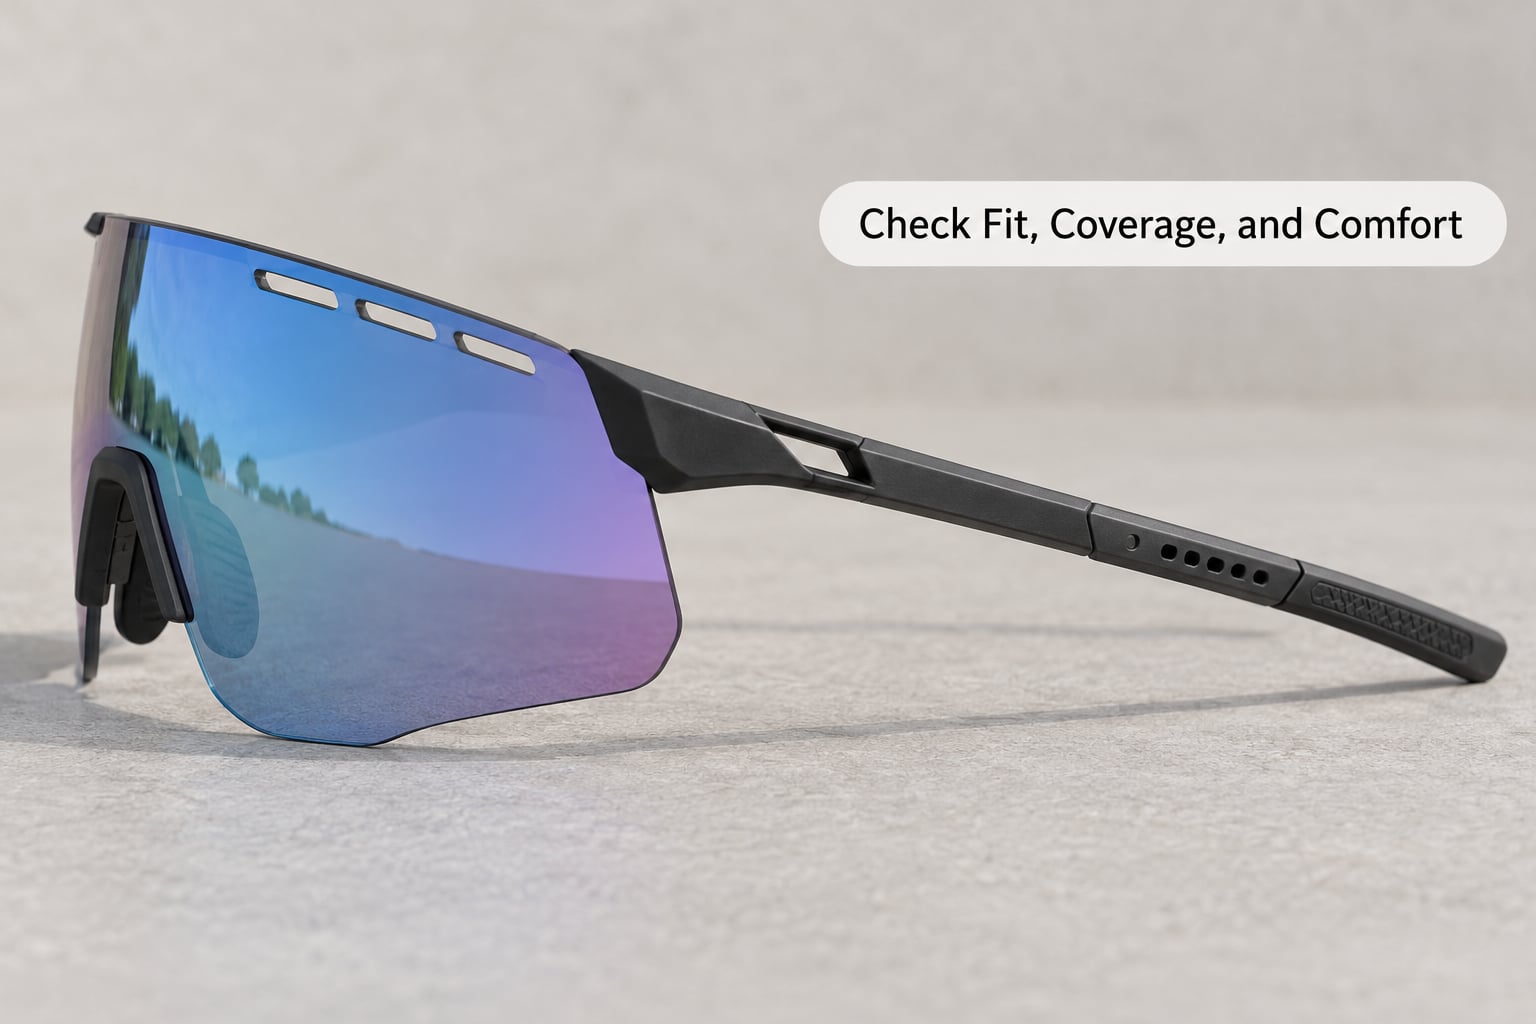
Fit decides whether you keep wearing a pair. A good pair sits level, does not slide, leaves no pressure points after an hour, and keeps your peripheral vision clear.
Nose fit is where most failures happen. Adjustable nose pads let you move the lens up or down and change the angle, which matters if your nose bridge is narrow or your face is long. Hydrophilic rubber temple tips get grippier with sweat instead of slippier, which is the difference between a pair that stays on in July and one that ends up hanging from your jersey.
Lens height is the detail almost everyone gets wrong. Look down into your drop position and check that you can see the road, your handlebars and the front wheel without tilting your head back. If the lens is too short, you will spend a whole climb craning your neck.
Then look for interference. Glasses with thick temples may not fit under your helmet straps, and a wide shield frame can hit the helmet shell or the brow bar. Wraparound shapes give more side coverage but reduce peripheral view, so make sure the frame does not cut your view of the shoulder you check before turning.
Confirm UV and Eye-Performance Features
Every lens you should buy blocks 100% of UVA and UVB, including clear and lightly tinted ones. A UV400 rating means protection across the full UV spectrum regardless of how light the lens looks, because tint and UV protection are separate things.
Contrast is the quiet advantage of tinted lenses on the road. Road surfaces are grey and low-contrast, and a lens that shifts contrast makes potholes, painted lines and gravel shoulders easier to pick out at distance. That matters more than most riders expect.
Watch for colour distortion instead. Some cheap tints make blues and greens look wrong, which turns a clear day muddy. Named lens technologies such as Oakley Prizm, Smith ChromaPop and Shimano Ridescape all aim at consistent colour with boosted contrast, which is worth something if you ride in mixed light.
Frame shape handles the rest. A tall lens on a wrap frame blocks wind, road spray and insects from the side, and stops the tearing you get above 30 km/h in a headwind. It also keeps dust out on gravel.
Compare Durability, Vents, and Lens Options
Polycarbonate lenses are the default and should be. They are impact resistant and shatter rather than splinter, which is why safety guidance for cycling eyewear points that way. Nylon and glass lenses exist but are not what you want on a bike.
Coatings do the quiet work. A hydrophobic coating makes water bead and run off instead of sitting on the lens, an anti-fog coating keeps a clear film from forming, and an anti-scratch layer buys you a few seasons of grit and trail. None of them last forever, and a lens bag in your jersey pocket matters more than people expect.
Ventilation is usually vents along the top rim, and it matters more in the summer than people expect. Vents only help if warm air can escape from the top; a frame sealed except at the front just traps fog. Running the lens under warm water before a ride, or opening it under a cold tap for ten seconds, clears a surprising amount of fog before you set off.
Lens systems come in three flavours. Photochromic lenses darken with light on their own, which suits riders who want one pair, but they lag behind fast transitions and rarely get truly dark. Interchangeable lenses let you carry a second tint, which is the most flexible option and the one most riders end up with. A single-lens setup is simplest and cheapest.
If you need a prescription, inserts clip or screw into the frame behind the tinted lens and let you keep using the frame you like. Direct glaze bakes the correction into the lens itself, which gives a cleaner look and better optical alignment but costs more and rules out swapping tints easily. Hybrids do both, and flip-up styles let you lift the lens when you need a clear view.
Test the Glasses Before Buying
If you have read this far and still have two frames in the basket, never buy cycling glasses without wearing them in the position you actually ride in. Five checks tell you nearly everything in about two minutes.
- Grip. Press down on the frame and shake your head. Nothing should move.
- Drop position. Wear them with your helmet and look down at the road. You should see the front wheel without raising your chin.
- Helmet fit. The temples must run clear of the retention cradle and not press into the straps.
- Peripheral view. Turn your head left and right and check the shoulders you check before turning.
- Sweat test. Leave them on for fifteen minutes or do a hard climb at a shop if one is nearby. Nose pads that slip after sweating are out.
If a shop allows it, ride ten minutes before committing. Buy with the return policy in mind, and keep the packaging.
Compare Price and Value Without Overspending
Spend more where it changes your ride, not on branding. The three things worth paying up for are lens quality, fit and construction, and a brand whose replacement lenses you can still find in three years.
At the entry level you get a polycarbonate lens, UV protection and a moulded frame that may be heavy, slippery and prone to pressure points. Mid-range is where fit options appear: adjustable nose pads, better rubber on the temples and vented rims. Higher tiers add lighter materials, tighter tolerances, magnetic lens swaps and multi-lens packages.
Nothing above that tier reliably makes you faster. The honest test is whether you can name a specific feature you would miss if it disappeared. Usually it is the replacement lens, not the frame.
Check spare lens availability before you buy the frame. This is the most common regret riders report, along with models that have been discontinued with no lens stock left. A brand with a long lens catalogue is a better long-term bet than a cheaper pair you cannot maintain.
Where Most Riders Buy Wrong
The most expensive mistake is buying on darkness alone. A very dark lens looks serious and is genuinely unsafe on an overcast winter morning, where you will be riding with reduced light and no warning.
The second is skipping the drop position test. A pair that looks great standing up can push your view of the road up into the top of the lens, and riders often blame their eyes for it.
The third is ignoring helmet compatibility until the first long ride. A frame that cannot be worn with your helmet is a frame you will leave on the kitchen table.
Also common: buying cheap instead of buying simple. Frame fit and lens quality matter, and a cheap pair that fits well beats an expensive one that does not.
Common Mistakes
How to choose cycling glasses goes wrong in predictable ways, and each one has a simple fix.
- Choosing the darkest lens as the safest one. Fix: match VLT to conditions using the table above, and keep a light or clear spare for winter.
- Ignoring fit because the brand looked good. Fix: run the five-point check, especially the drop position and sweat test.
- Wearing dark lenses at dusk or after dark. Fix: carry a clear lens or use photochromic lenses and accept the slower transition.
- Skipping the eye test. Fix: get an up-to-date prescription before ordering inserts or direct glaze, since a wrong Rx is expensive to redo.
- Buying without testing with the helmet on. Fix: bring the helmet to the shop or test at home before the first long ride.
- Buying a frame whose replacement lenses will disappear. Fix: check lens availability for the specific model and year first.
- Overvaluing polarisation. Fix: keep it for gravel and water, leave it off for fast road riding.
Final tips: pick the frame first if your face is unusual, the tint second if your light is predictable. Buy polycarbonate lenses with full UV protection no matter what. Keep a microfibre cloth and a spare lens in your jersey. And when in doubt, choose the frame that stays on your face.
Frequently Asked Questions
What color lens is best for cycling?
Grey or smoke for bright sun, because it cuts brightness without shifting colour. Amber, rose or copper for variable and overcast light, because they raise contrast and brighten flat scenes. Yellow for dull winter days and clear for night riding. The colour matters less than matching the light transmission to the light you actually ride in.
Are clear cycling glasses safe for bright sun?
Clear lenses give you full UV protection and good colour and contrast, but almost no glare reduction, so bright sun feels harsh and you will squint. For daytime road riding in summer, a light or medium tint is more comfortable. Keep clear lenses for night rides, indoor trainers and dusty trails where you want every bit of light.
Can I wear prescription glasses while cycling?
Yes, in three ways. Prescription inserts clip into a frame behind the tinted lens and let you keep the frame you already like. Direct glaze puts your correction into the lens itself, which looks cleaner and often costs more. Hybrids swap between the two. For strong prescriptions, direct glaze usually gives better optical alignment than an insert.
Are dark cycling glasses suitable for riding at night?
No. Dark lenses cut the light reaching your eyes, and at night that reduces contrast and detail exactly when you need it most. Night riders should use a clear lens with UV protection, or an amber-tinted lens for a small contrast boost. Photochromic lenses help if you move between daylight and darkness, but they darken slowly, so clear lenses are safer for genuine night riding.
What UV protection should cycling glasses have?
Look for a UV400 rating, which means the lens blocks the full UVA and UVB spectrum. Make sure the rating applies to clear lenses too, since clear lenses often block UV as well as tinted ones. Polycarbonate lenses naturally block both UVA and UVB and are also impact resistant, which is why they are the standard choice for cycling.
How should cycling glasses fit with a helmet?
The temples should run under or alongside your helmet straps without pressing them, and the frame should not hit the helmet shell or brow bar. Check it in your riding position, because a frame that fits while you sit upright can lift when you drop into the bars. Bring your helmet to the shop, or test at home before a long ride.
Conclusion: Start With Your Riding Needs
Start with the lighting you ride in most, pick the lens tint to match it, then find a frame that stays put in a dropped position and clears your helmet. Everything after that, UV protection, polycarbonate lenses, vents and interchangeable spares, is a refinement rather than the deciding factor.
If you only remember one thing from this guide on how to choose cycling glasses: try them on in the position you actually ride, with your helmet on, before you pay. Updated for 2026.