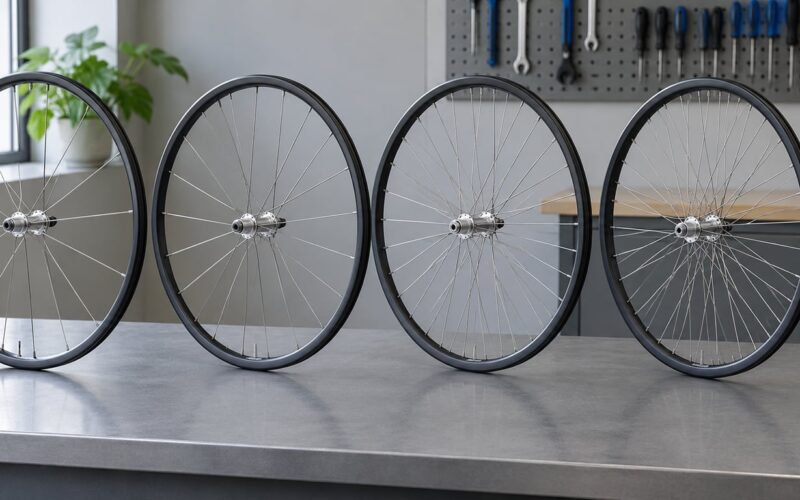
Choosing wheels for a heavy rider comes down to five numbers: spoke count, spoke gauge, rim depth, internal rim width, and the tyre pressure you plan to run. A wheelset rated for a 70kg rider will not serve a 110kg rider, no matter how good the rim profile looks, and the fix is usually more spokes, a shallower rim, and wider tyres rather than a deeper and lighter wheel.
This guide walks through the whole decision in order: work out your real system weight, read what the manufacturer actually guarantees, then match rim depth, spoke design, hubs, brakes and tyres to how you ride. Budget an hour and a bike scale, and you will never again be guessing.
Table of Contents
- What You Need
- Step-by-Step: How to Choose Wheels for a Heavy Rider
- 1. Calculate Your Actual System Weight
- 2. Check the Manufacturer’s Weight Limit
- 3. Choose a Rim Depth for Your Priorities
- 4. Match Spoke Count and Construction to the Load
- 5. Select Hubs and Brakes You Will Use Every Day
- 6. Choose Tires That Control Load and Comfort
- 7. Compare Complete Wheelsets by Total Value
- 8. Test the Wheelset Before a Long Ride
- Common Mistakes
- Frequently Asked Questions
- What wheel weight limit should I choose if I weigh 220 pounds?
- Are more spokes always stronger for a heavy rider?
- Are deep-section carbon wheels better for heavier cyclists?
- What is the best wheel material for a heavy rider?
- How do I choose wheels for touring with camping gear?
- Should a heavy rider have new wheels installed by a bicycle mechanic?
- Conclusion
What You Need
Most wheel buying mistakes come from shopping before measuring. Gather these five things first.
- A bike scale or two bathroom scales. Weigh the bike unloaded, then weigh yourself and your loaded kit separately.
- The published weight limit for your current and candidate wheelsets. Some brands print rider plus bike limits on the rim decal; others publish nothing.
- Your terrain. Smooth tarmac, rough chipseal, cobbles, gravel and singletrack all change the answer.
- Tire clearance on your frame. Check the widest tyre the fork and frame allow, not the widest the wheel accepts.
- Your brake and axle standards. Centerlock or six-bolt rotors, thru-axle or quick release, and your drivetrain’s freehub body.
Rider weight on its own is a poor guide, because it ignores the bike and the load you carry. Here is the split that actually matters.
| Measurement | What it includes | Why it matters |
|---|---|---|
| Rider weight | Body weight in riding kit | The number brands print as “max rider weight” |
| Bike weight | Frame, wheels, drivetrain, brakes, cockpit | 8 to 12 kg of unsprung and rotating mass you did not choose |
| Loaded kit | Bottles, tools, jacket, food, luggage | Commuting and touring add 5 to 20 kg |
| Total system weight | Rider plus bike plus kit | The number to compare against a published system limit |
This is the lookup table no competitor publishes. Use it as a starting point, then verify against the manufacturer’s own figures.
| Rider weight | Spokes per wheel | Spoke gauge | Rim depth | Internal width | Tyre width |
|---|---|---|---|---|---|
| 70 to 85 kg | 24 to 28 | 2.0 mm | 35 to 50 mm | 21 to 23 mm | 28 to 32 mm |
| 85 to 100 kg | 28 to 32 | 2.0 to 2.3 mm | 35 to 45 mm | 21 to 25 mm | 30 to 35 mm |
| 100 to 115 kg | 32 to 36 | 2.0 to 2.3 mm | 30 to 45 mm | 23 to 25 mm | 35 to 40 mm |
| 115 to 130 kg | 36 to 40 | 2.3 mm or double-butted | 30 to 40 mm | 23 to 25 mm | 38 to 45 mm |
| Over 130 kg | 40 to 48, hand-built | 2.3 mm, triple-butted | 25 to 35 mm | 23 to 25 mm | 40 to 50 mm |
Rider forums consistently repeat one rule above 100kg: 32 spokes is the floor, not the target, and the rear matters far more than the front. Riders running loaded tours report moving to 36 or more for exactly that reason.
Step-by-Step: How to Choose Wheels for a Heavy Rider
1. Calculate Your Actual System Weight
Stand on a scale, then subtract your normal riding kit, then add your loaded kit back on. Most riders underestimate their touring and commuting load by more than they expect.
Add the bike’s own weight. A good all-round road bike with wheels, bars and pedals typically lands around 8 to 12 kg before you add anything to it.
Now split the figure into two states: your everyday riding load, and your worst realistic load for a long day or a loaded tour. Design for the worst one. A wheelset that only just copes at your normal load will tell you about it on the fifth loaded century, not the first.
Why rider weight alone misleads: two riders of identical weight on identical bikes generate very different wheel loads depending on where that weight sits, how hard they sprint and corner, and what roads they ride.
2. Check the Manufacturer’s Weight Limit
The stated limit is a ceiling, not a target. Read it as system weight or rider-plus-bike weight and find out which, because brands rarely label it consistently.
Three things to establish:
- What the number covers. The whole wheelset, including axle, hub, spokes, rim and tyre, or just the rim alone?
- Which component sets it. The lowest-rated component controls, so a strong rim with a weak hub is still a weak wheelset.
- Why you want a margin. Potholes, cobbles and curb impacts create peak loads well above your static weight.
A margin of 15 to 20 percent above your heaviest loaded system weight is a sensible target for road riding on decent tarmac. Cut that margin to 10 percent or less and only do it on a wheelset you trust and ride gently.
Riders report that some brands print the limit on the rim decal; check your own rims tonight with a flashlight. Silence is a warning sign, not a green light. Brands that publish nothing are telling you the wheelset was validated at a lighter rider weight and nobody checked above it.
3. Choose a Rim Depth for Your Priorities
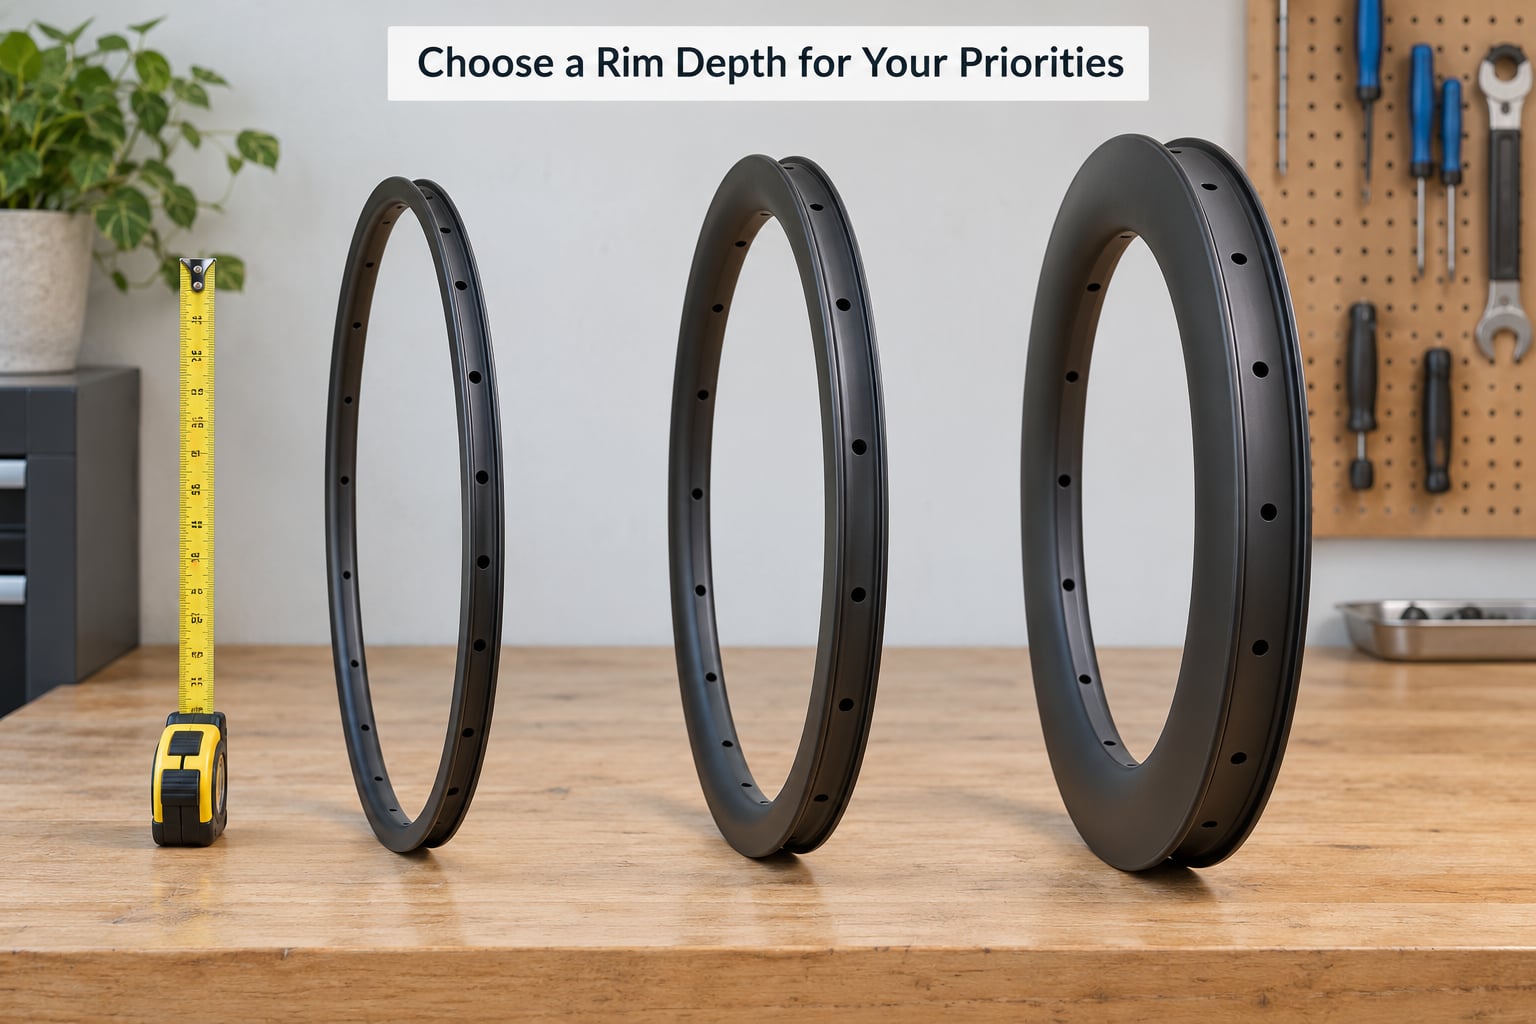
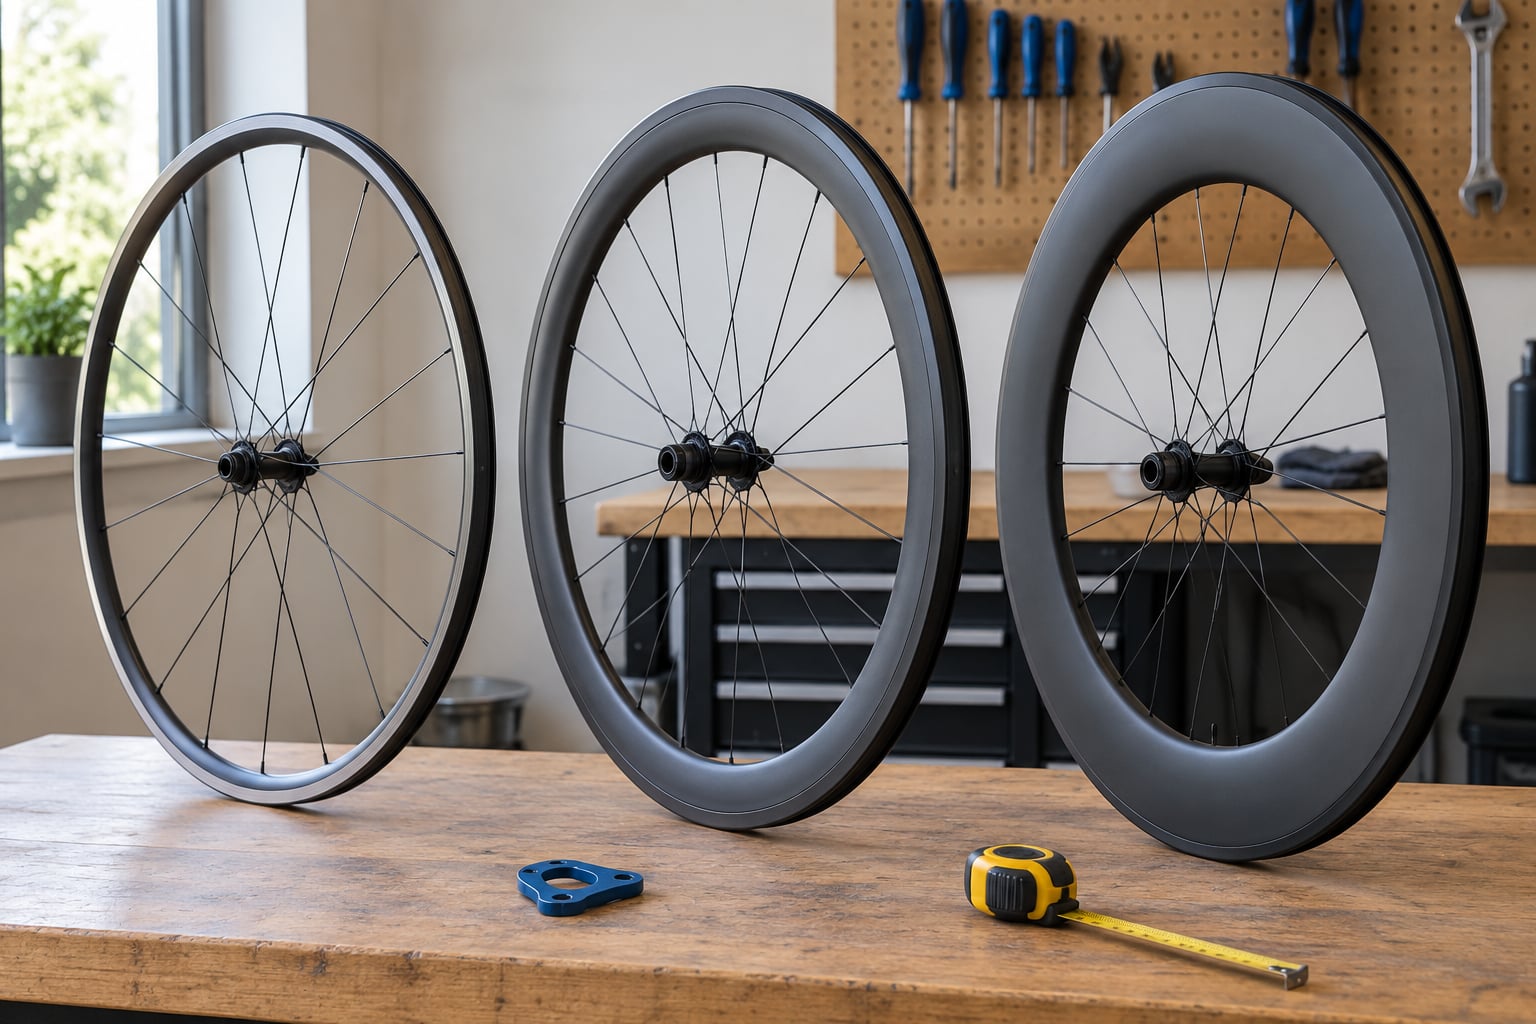
Rim depth buys aerodynamics and lateral stiffness. It also buys crosswind instability, added weight and a stiffer ride on rough surfaces.
| Depth | Aerodynamics | Crosswinds | Weight | Terrain | Best fit |
|---|---|---|---|---|---|
| Shallow, under 35 mm | Minimal gain | Very stable | Lightest | Anything rough | Loaded riders, climbing, touring, cobbles |
| Medium, 35 to 50 mm | Useful gain | Stable | Moderate | Mixed tarmac | Heavier riders doing most of their riding on road |
| Deep, over 50 mm | Largest gain | Unstable | Heaviest | Smooth, fast, open | Lighter riders on flat, fast, exposed routes |
For most riders over 100kg, 35 to 45 mm is the practical window. The deepest rim is not automatically the strongest or the most comfortable choice, because added depth means a heavier rim sitting further from the hub, which is exactly where inertia hurts your handling.
There is a real aerodynamic threshold worth knowing: drag only becomes the dominant force above roughly 22 km/h. Below that speed you are paying weight and stiffness for nothing.
4. Match Spoke Count and Construction to the Load
More spokes do not automatically mean stronger, and this is the most misunderstood part of wheel selection. What matters is the total steel in tension, how evenly that load is spread, and whether the build is tested for your weight.
Start with the basics:
- Count and gauge. 32 spokes at 2.0 mm and 24 spokes at 2.3 mm carry different loads. A heavier rider wants more of both, not a trade between them.
- J-bend versus straight-pull. J-bend spokes pass through a bend in the hub flange. Straight-pull spokes anchor in a straight pull and allow finer, stiffer bladed designs. Both work; straight-pull generally holds tension better.
- Double-butted versus triple-butted. Butted spokes are thick in the middle, which is where the load is, and thin at the ends. Triple-butted saves a little more weight. Butting does not change strength, only mass.
- Lacing pattern. Two-cross is supple and comfortable. Three-cross adds lateral stiffness and resists the side loads that snap spokes on heavy bikes. Heavy riders should be looking at three-cross or more.
- Nipples and rim bed. Brass nipples deform slowly under sustained load and are gentler on alloy rim beds than aluminium ones.
Why spokes break on a heavy bike, in order of likelihood: lateral load from cornering and crosswinds, brake rub creating side force, tension loss from a stretched or settling rim bed, and repeated impacts. Almost always it is the rear wheel first, because it carries more load, more brake torque and more drivetrain torque.
Practical examples: training on smooth tarmac at 95kg, 28 to 32 spokes is fine. Racing at 105kg with repeated high-power sprints, 32 to 36 with three-cross. Commuting at 110kg over chipseal, 36 and a slightly wider tyre. Fully loaded touring above 120kg, a hand-built wheel at 36 to 40 spokes is the reliable answer.
Above roughly 130kg, off-the-shelf wheelsets stop publishing honest limits and the answer is a custom or hand-built wheel with an increased spoke count. That is the recommendation forum riders converge on, and it is not a compromise.
5. Select Hubs and Brakes You Will Use Every Day
The hub carries your load and everything that load does to the bearings. Weigh it carefully, and check the rear freehub body matches your cassette: HG, XDR and Microspline are not interchangeable without adapters.
On braking, rotor size matters more than most riders expect. A larger rotor spreads heat and gives a lever you can actually modulate. Check whether your frame and fork accept the bigger size, and confirm the mount: centerlock or six-bolt.
Also check the axle standard. Thru-axle is stiffer and safer under load; quick release is lighter. Do not mix an axle standard the frame does not accept, and do not assume a thru-axle wheel will fit a QR fork.
For a heavier rider, unsprung mass matters. A heavy wheel that stops and starts in corners, and a rotor that runs too hot, will show up as brake fade on a long descent. Sealed cartridge bearings that a shop can service will outlast cheap sealed shields you cannot open.
6. Choose Tires That Control Load and Comfort
This is the biggest lever you have and the one most riders pull wrongly. The common belief is that heavier riders need higher tyre pressure to protect the rim. Mechanically the opposite is true within limits.
A wider tyre at the same pressure deflects around the same object with less rim displacement, so less of the impact load reaches the spokes. Run the maximum pressure printed on the sidewall and you get more rim load, a harsher ride and a higher pinch-flat risk, not a safer wheel.
The worked example: a 100kg rider on 25mm tyres at high pressure puts a sharp, heavy load into the rim edge every time they roll over a road defect. The same rider on 40mm tyres at a lower pressure spreads the same impact over a longer, softer contact. The rim sees less, the spokes see less, and the tyre is actually less likely to pinch.
Wider tyres also give you a wider contact platform, which improves grip and comfort on rough tarmac. Check clearance on both ends: the frame and fork limit one way, the rim internal width and the tyre size limit the other.
One caution: do not use maximum tyre width as a target for minimum pressure. Match the tyre size to the rim width properly, and set pressure for your weight, load and surfaces rather than copying a lighter rider’s number.
On hookless rims, be careful. Hookless designs have lower maximum pressures and are built around a controlled rim shape. For a heavy rider needing higher pressures on smooth roads, a hookless rim is a poor match. This is one area where the marketing has run ahead of the engineering for the rider in this article’s audience.
7. Compare Complete Wheelsets by Total Value
Compare wheelsets on the whole package, not one specification. Strength rating, weight, ride quality, aerodynamics, braking, expected service needs, warranty and long-term cost all belong in the same comparison.
Three profiles that come up constantly:
- The high-mileage club rider. Rides 150 to 250 km a week, mostly smooth road, some rough surfaces. Wants a 32-spoke wheel, medium depth, wide tyres and serviceable bearings. Longevity and predictable handling beat marginal drag savings.
- The fast road rider.Chases speed on open tarmac, rides solo, tolerates harshness. Can justify a deeper rim and a lighter build, but still needs 32 spokes and a published limit above their system weight.
- The loaded commuter.Tows a rack, carries panniers, rides rough roads daily. Wants 36 to 40 spokes, shallow rims, wide tyres and strong hubs. This rider should think hand-built from the start.
Before you buy, check the compatibility list in one place: axle standard, rotor mount and size, freehub body, tyre clearance, published system weight limit, and whether custom spoke counts are available. Get all six answered before you pay for anything.
8. Test the Wheelset Before a Long Ride
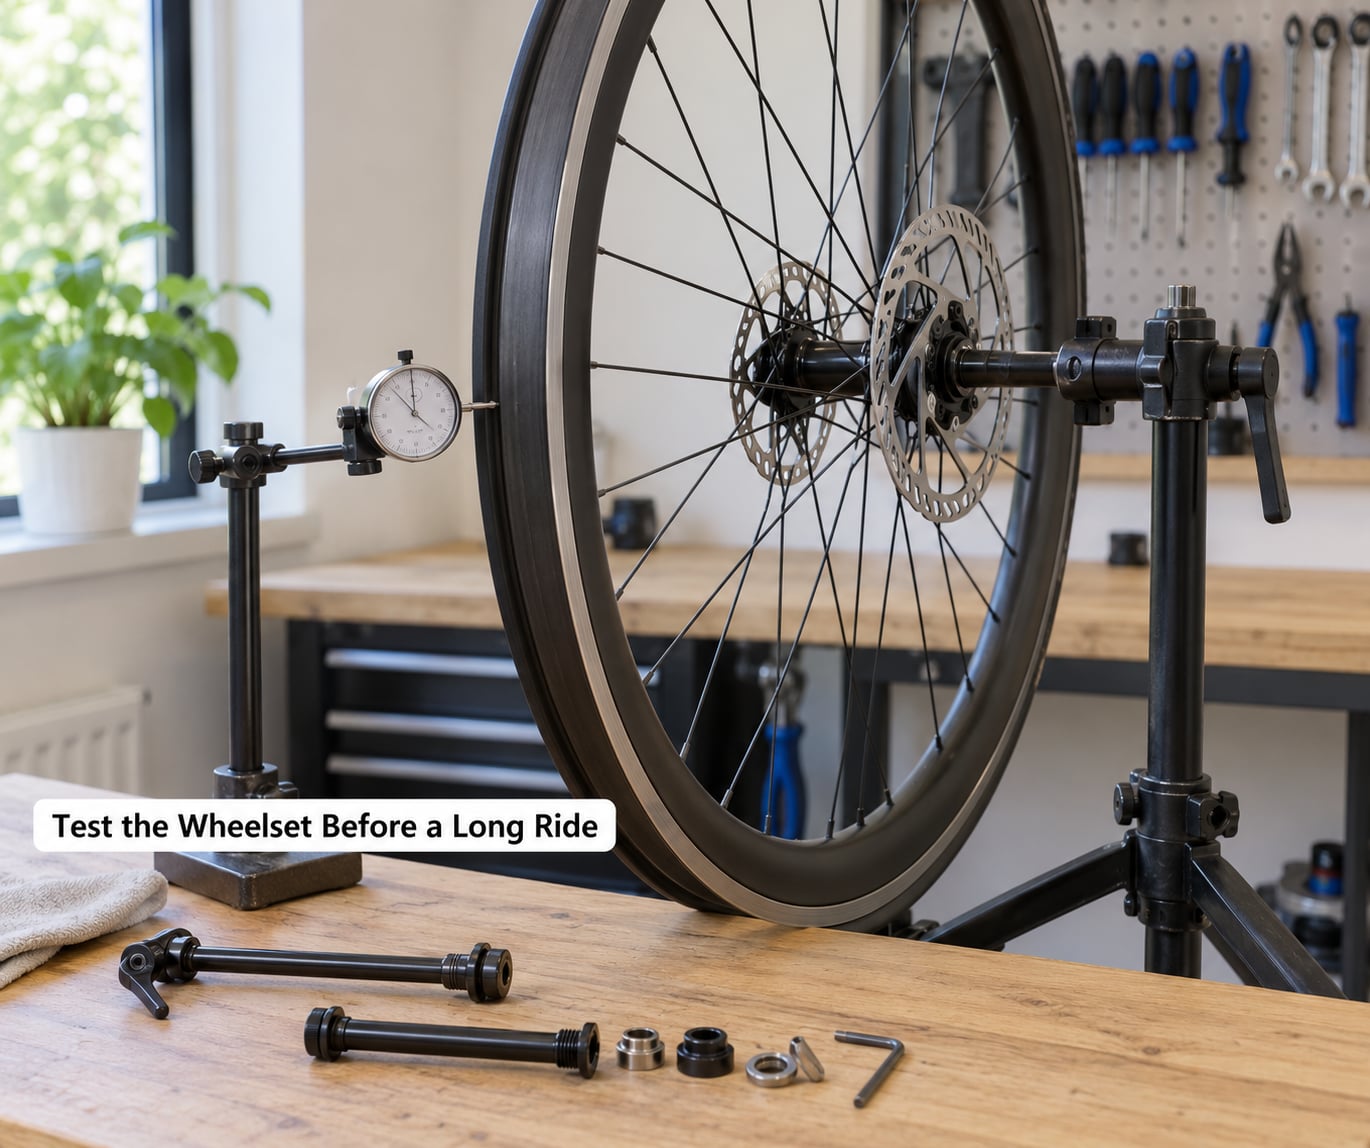
Before the first long ride, work through this in order. It takes fifteen minutes and catches nearly everything that a new wheelset can throw at you.
- Axle security. Thru-axles torqued to the frame’s specified value. Quick releases closed with the correct lever position.
- Wheel retention. Rotor and frame correctly oriented, no contact between rotor and pad at full lever squeeze with the wheel installed.
- Rotor rub. Spin the wheel. A faint noise that stops is often pad bedding. A scrape that continues needs attention now.
- Brake pad alignment. Pads centred in the rotor, not bent toward one side.
- Tyre seating. Bead seated evenly all round with a bead-seating check before you add pressure, especially tubeless.
- True and lateral hop. With the valve at 12 o’clock, lift and spin. A visible wobble or a sharp tick of the valve stem means the wheel needs truing.
- Spoke tension. Run a fingernail or a light plastic tool along each spoke near the hub. Any spoke that feels dramatically different from its neighbours, or that you can push sideways, needs a mechanic’s attention.
- Freehub engagement. The ratchet engages immediately and crisply with no lag.
Then ride a short mixed loop: a rough road section, a sharp corner at speed, and a descent with repeated braking. If a spoke ticks, a rotor rubs or the rim feels soft under load, deal with it before a loaded day out.
Never ride a wheel with a cracked rim, a damaged spoke, or a rotor that has warped enough to rub constantly. Those are shop visits, not ride-it-and-see situations.
Common Mistakes
Choosing by rim depth alone. Depth is an aerodynamic and stiffness choice, not a strength rating. A very deep rim on a heavy rider on rough roads adds weight and instability for gains that barely exist below about 22 km/h. Fix: pick depth after spoke count and weight limit.
Treating the maximum load rating as a comfort target. A wheelset rated exactly at your weight has no margin for a pothole or a fully loaded pannier. Fix: sit 15 to 20 percent under the published system limit for road riding.
Estimating weight instead of measuring it. Riders routinely guess low on loaded configurations. Fix: weigh the bike and the loaded kit, separately, and add them up.
Exceeding tire clearance. Forcing a tyre wider than the frame or fork allows risks poor handling at best and structural damage at worst. Fix: measure the actual clearance with the fork compressed and the frame loaded.
Buying around poor brake compatibility. Wrong rotor mount, wrong rotor size, wrong axle standard, wrong freehub body. These are the most common reasons a purchased wheelset sits in a corner waiting for adapters. Fix: confirm all four before ordering.
Skipping professional setup. A hand-built wheel that is built and tensioned correctly is worth more than an expensive wheelset delivered in a box and never checked. Fix: have a good shop tension and true it, especially if you are above 115kg.
On maintenance and buying habits: check spoke tension and wheel true every few thousand kilometres, more often if you ride rough roads or carry load. Keep tyres properly inflated, since under-inflation causes pinch flats and rim damage. Store loaded panniers off the bike when you are not riding it. And if buying used carbon, factor in that a crack near the nipple holes is invisible until you know how to look for it, so pre-purchase inspection matters more here than with alloy.
Frequently Asked Questions
What wheel weight limit should I choose if I weigh 220 pounds?
At 220 pounds (100 kg), add your bike weight and expect a total system weight near 240 pounds (109 kg). Choose a wheelset with a published system limit of at least 130 pounds above that figure, which puts you near 370 pounds (168 kg). Look for 32 to 36 spokes, 2.0 to 2.3 mm gauge, three-cross lacing, a rim depth between 30 and 45 mm, and tyres at least 35 mm wide so you can run lower pressure.
Are more spokes always stronger for a heavy rider?
No. Strength comes from total steel in tension, even load distribution and a build tested for your weight, not the raw count. Thirty-two well-tensioned 2.3 mm spokes laced three-cross can carry more than twenty-four 2.0 mm spokes laced two-cross. What consistently causes failures on heavy bikes is lateral load from cornering, brake rub and tension loss, not a low spoke number on its own.
Are deep-section carbon wheels better for heavier cyclists?
Usually not. Deep sections help most above roughly 22 km/h on smooth, open tarmac, and they add weight and crosswind instability. A 100kg rider on rough roads usually prefers 35 to 45 mm. Carbon itself handles load well and tends to dent rather than crack, but a hard impact can still damage the nipple holes. If carbon appeals to you, mid-depth is the safer choice.
What is the best wheel material for a heavy rider?
There is no single answer, and material matters less than the build. Carbon rims are light and hold shape well, absorbing impacts rather than cracking, but a damaged rim may not be repairable. Double-wall alloy is heavier but more repairable and cheaper to replace, with brass nipples reducing the risk of cracks at the nipple bed. Choose based on your riding surfaces and your budget for maintenance.
How do I choose wheels for touring with camping gear?
Add your fully packed bike weight to your body weight, then treat that total as your design load. Tourers typically need 36 to 40 spokes, a shallow rim under 40 mm, 40 to 50 mm tyres, and strong hubs with serviceable bearings. Above roughly 130 kg, a hand-built wheel with an increased spoke count is the dependable option. Wider tyres at sensible pressure reduce rim load more than any rim upgrade does.
Should a heavy rider have new wheels installed by a bicycle mechanic?
Yes, particularly above 115 kg or if the wheels are custom. A mechanic will centre the wheel, tension spokes evenly, check lateral hop and dish, and confirm rotor and pad alignment while the wheel is installed in the frame. On tubeless setups they will also seat the bead and check sealant. It usually costs less than one punctured rim or one replaced wheel.
Conclusion
Start by weighing yourself, the bike and your loaded kit, then add them up. Compare that system weight against a published manufacturer limit and aim to sit 15 to 20 percent below it.
Then match the wheelset to your riding: 32 spokes minimum for club training and road riding, 36 or more for loaded commuting and touring, a rim depth between 30 and 45 mm, internal width around 23 to 25 mm, and tyres wide enough to run lower pressure. Where the numbers do not line up with an off-the-shelf wheelset, a hand-built wheel with an increased spoke count is the sensible move rather than settling for a rim that was never tested at your weight.