Bike gears are a set of toothed wheels that change how far your bike travels for each turn of the pedals. Shift into a smaller gear and the chain moves to a bigger cog so pedalling feels light; shift into a larger gear and each pedal stroke pushes you further. That is the whole idea behind how bike gears work explained in this guide, and once you get it you will stop grinding up hills in a gear far too hard for you.
Most riders learn this the hard way, bouncing along a flat road at 45 rpm wondering why their legs feel like sand, then standing on the pedals halfway up a climb because they never shifted. A few minutes reading will save you that. Below is what each part of the drivetrain does, how the numbers turn into a gear ratio, and how to pick a gear for whatever is in front of you.
Table of Contents
- What Are Bike Gears and Why Do They Matter?
- How Bike Gears Work Explained: The Basic Parts
- What Is a Gear Ratio?
- How to read the notation on a bike
- What Happens When You Shift a Gear?
- How Bike Gears Work Explained for Different Riding Conditions
- How to Choose Gears for Comfortable Cadence
- What Is the Difference Between a Cassette and a Freewheel?
- Common Bike Gear Problems and What They Mean
- How to Keep Your Gears Working Smoothly
- Frequently Asked Questions
- What is the correct way to shift gears on a bike?
- What do the 7 gears on a bike mean?
- What is the 1, 2, 3, 4, 5 gear pattern on a bike?
- What is the 75% rule in cycling?
- Why are my bike gears not shifting?
What Are Bike Gears and Why Do They Matter?
A bicycle gear is simply a way of trading pedal speed for wheel speed. A small ratio gives you lots of wheel turns per pedal turn, which means high turning force at the wheel and a slow ride. A large ratio gives you fewer wheel turns per pedal turn, which means more distance covered per stroke and a harder push at the pedals.
They matter because your legs work best at a fairly steady rhythm. Spin too slowly and the load on your knees climbs; spin too fast and you burn energy you need for later. Gears let you hold that rhythm over rolling terrain, which is why comfortable cadence is the real goal of shifting rather than the gear number itself.
Road cyclists usually have two chainrings at the crankset and 8 to 12 cogs at the back, giving somewhere between 16 and 24 usable combinations. Mountain and gravel bikes often run one chainring with a wider cassette, trading some combinations for simplicity.
How Bike Gears Work Explained: The Basic Parts
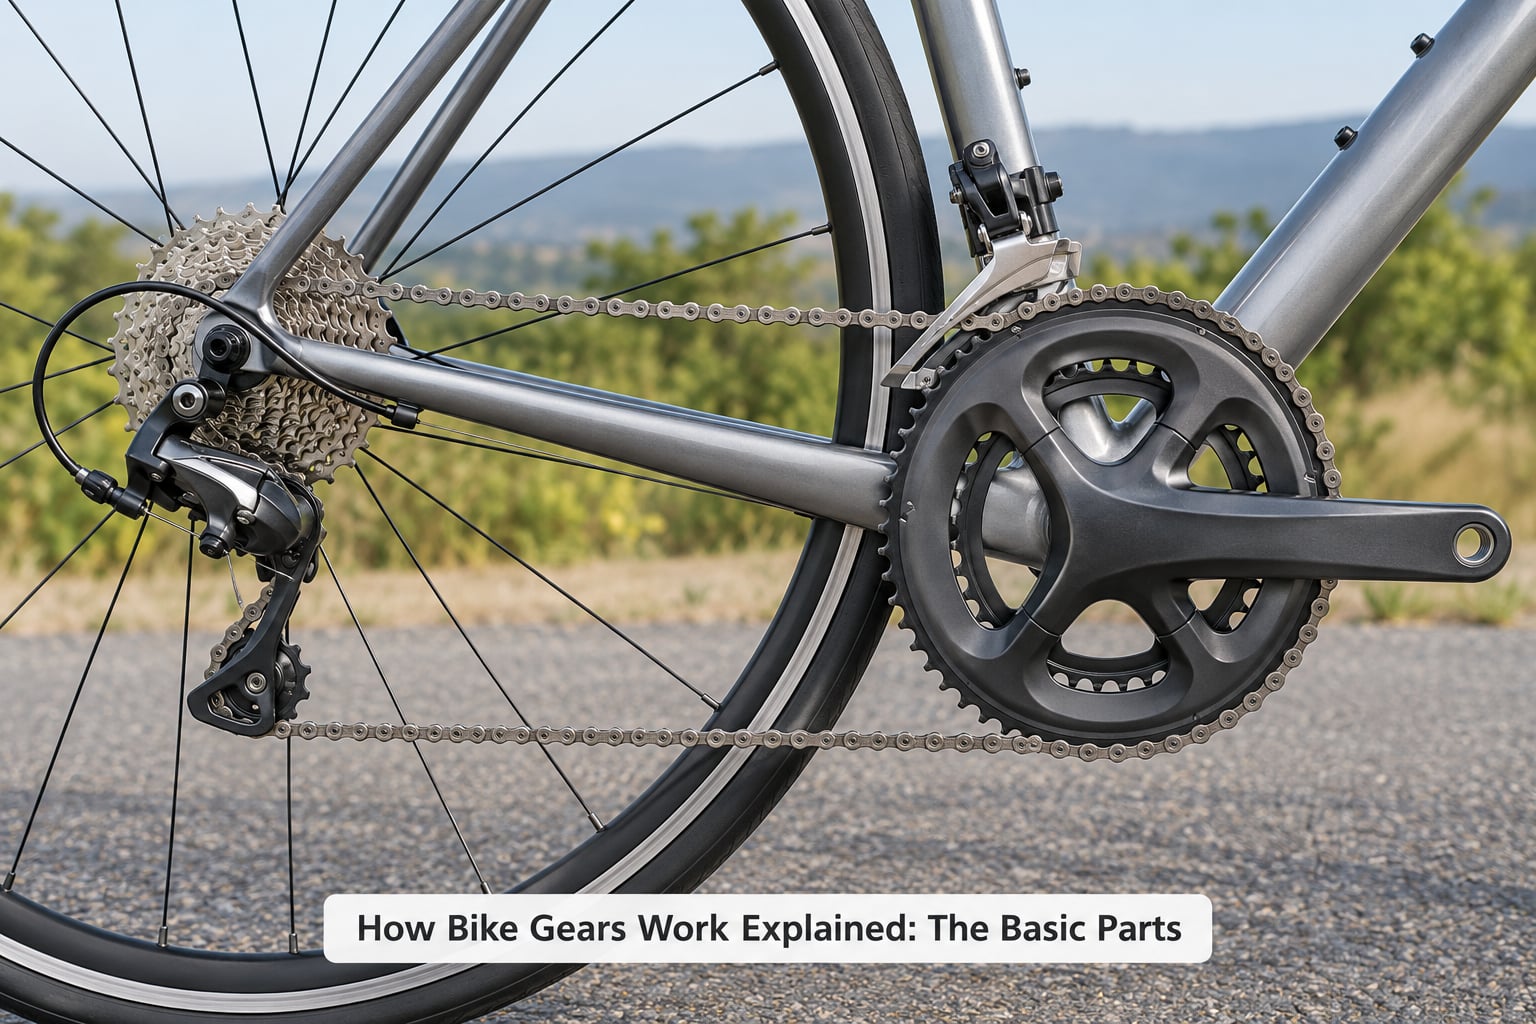
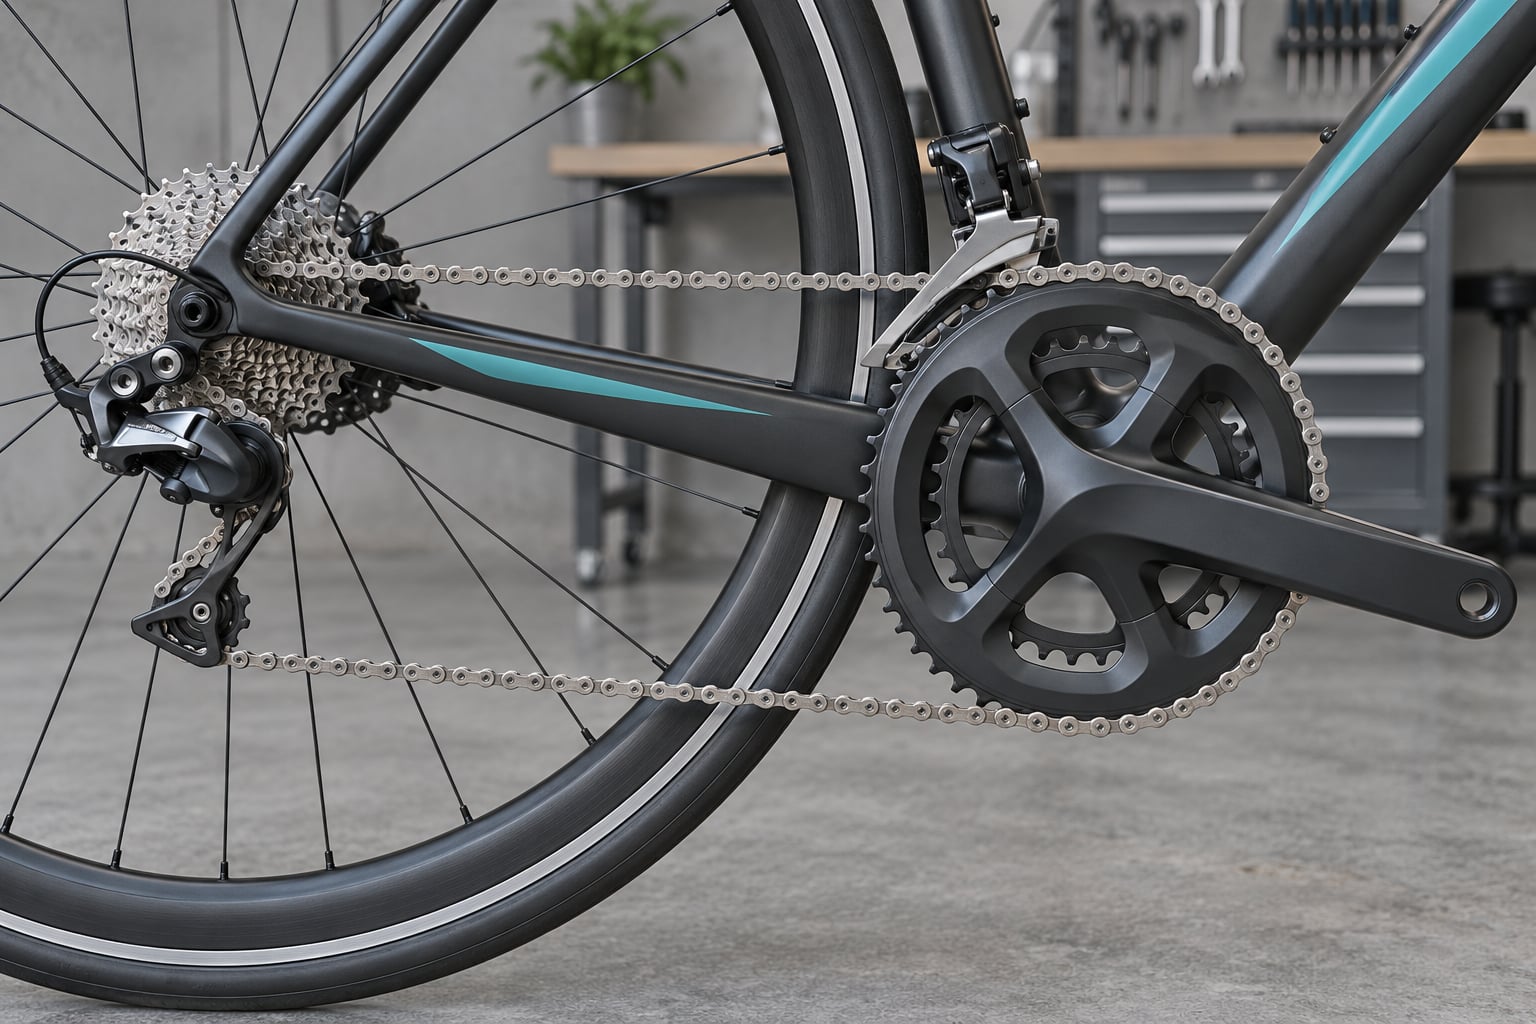
Every gear system is a loop of connected parts, and once you can name them the mechanism stops being mysterious.
- Crankset and chainrings. The crank arms and pedals you push, with one or more toothed chainrings bolted to them. Bigger front ring means harder pedalling.
- Cassette or freewheel. The stack of sprockets at the rear hub. Bigger rear cog means easier pedalling.
- Rear derailleur. The mechanism that pushes the chain sideways onto different rear cogs and keeps tension on it with two pulleys.
- Front derailleur. The cage above the chainrings that moves the chain between them. Riders avoid using it under load.
- Shifters. Levers on the handlebars, or in the case of electronic systems, buttons. The rear shifter is on the right; the front shifter is the inboard one on the left.
- Chain. Connects everything and transfers the pull from your legs to the rear wheel.
- Derailleur hanger. The small replaceable bracket the rear mech bolts to. Bent hangers cause most shifting complaints.
One thing trips up nearly every beginner: on a bike with two chainrings the left lever moves the chain across the front while the right lever changes the rear cog. Newer bikes sometimes show a small chainring icon on the lever face, which is the quickest way to tell.
What Is a Gear Ratio?
The gear ratio is the number of front teeth divided by the number of rear teeth. A 50-tooth chainring running on an 18-tooth cog gives 50 divided by 18, roughly 2.78. Every turn of the pedals turns the rear wheel about 2.78 times.
Cyclists also quote development, which is the ratio multiplied by wheel diameter, and it is what actually predicts your speed. Two riders on different wheel sizes can ride the same gear number and travel at different speeds, which is why gear numbers on their own mean very little.
How to read the notation on a bike
Bike specs list gearing as two numbers, front then rear. Here is what a few of them mean in plain language.
| Notation | What it is | Typical use |
|---|---|---|
| 50-34 / 11-30 | Two chainrings, 50 and 34 teeth, with an 11 to 30 tooth cassette | Endurance road riding with steep hills |
| 52-36 / 11-28 | A compact double with a close-ratio cassette | Racing on rolling terrain |
| 40 / 10-51 | One chainring with a very wide cassette | Mountain bikes, loaded touring |
| 42-32 / 10-44 | Gravel double with mini-mechanic styling gearing | Gravel, fire roads, loaded riding |
| 38 / 11-42 | Single chainring with a climbing-focused cassette | Flat-bar bikes and touring setups |
The 75% rule is a quick planning tool for gear ranges. Add your largest and smallest front tooth counts, multiply by 0.75, and the result should sit close to or slightly below your largest rear cog. A 50-34 crankset gives 50 plus 34 equals 84, and 75% of that is 63, so a 63-tooth cassette would be needed to fully realise the front range. Riders usually settle for something a little lower.
What Happens When You Shift a Gear?
Shifting a rear gear follows a short, predictable chain of events:
- You move the shifter one click with your right thumb or finger.
- The cable or motor pulls the rear derailleur sideways by a couple of millimetres.
- The derailleur cage angles, guiding the chain onto the neighbouring cog.
- As the chain moves across, the gap it has to jump grows or shrinks.
- Indexed shifting puts the cage at the exact gap size for that cog, so the chain climbs up cleanly with one click.
On the left lever the same thing happens to the front derailleur, except the chain has to jump a gap three or four times the width of a rear cog. That is why front shifts should happen when the cranks are near the top and the pedals are level, with the chainring unloaded.
If a shift feels hesitant, the click usually got partway. Shift again on the same lever, or ease off the pedals for a moment and try once more. Grinding while you shift means you are pushing too hard through the change.
How Bike Gears Work Explained for Different Riding Conditions
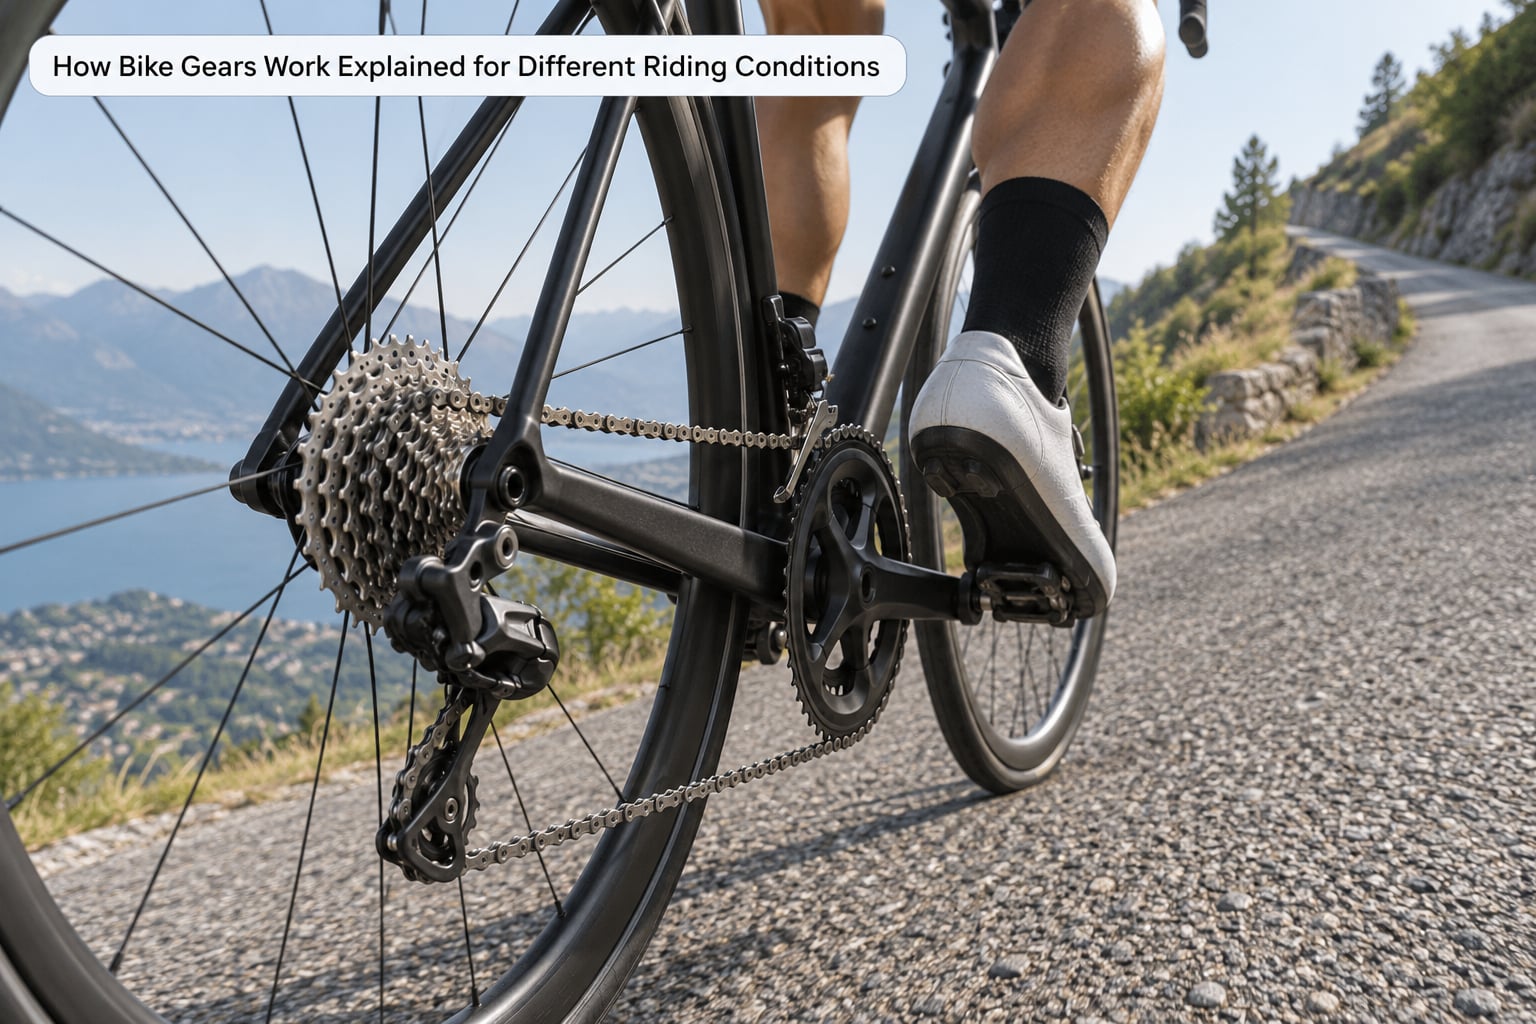
The best gear is always the one that keeps your cadence steady. What changes between conditions is how much resistance you are pushing against.
- Flat road. Pick the largest combination you can spin at a comfortable rhythm without bouncing. If your legs are still at 100 rpm with slack in the chain, you have room for another harder gear.
- Rolling terrain. Change up on the short rises, change down before the short dips. Shifting as the road changes is what saves energy on a century ride.
- Steep climbs. Get into an easy gear before the gradient increases, not halfway up. Sit back, drop your upper body, and stay seated until the road pitches out again.
- Descents. Most of the gear selection happens on the way down only if you want to pedal. Many riders pick a middle gear, freewheel, and use the brake. Holding a harder gear helps you sprint out of the bottom.
- Headwind. Shift down two or three clicks earlier than you would on a tailwind, because the wind removes speed without removing resistance.
- Tailwind. Add one or two harder gears and hold the same cadence. This is where cross-chaining happens most often, since riders naturally mash to the small cogs at the back.
- Paceline riding. Stay one gear easier than your natural choice. Holding an easy gear in a group is what lets you match the pace without surging and causing the whole line to speed up.
How to Choose Gears for Comfortable Cadence
Cadence is the number of pedal revolutions per minute. Most riders settle somewhere between 70 and 100 rpm, and a fair number of indoor riders sit higher. You do not need a computer to find it: find a flat road, pick a gear that feels comfortably hard, and count how many times your crank passes the top of the circle in 15 seconds. Four times is 80 rpm.
Watch for the two failure modes. Grinding, or hearing and feeling a click that will not clear, means the gear is too hard for the load and you should shift easier. Spinning with a wobbly chain and no resistance means the gear is too easy and you are wasting energy on something slower than you need.
A short parking-lot routine builds confidence fast. Roll the bike on a flat area, shift through the whole range slowly, and listen for each click landing. Then ride one full loop shifting on the flat before you try it under power.
What Is the Difference Between a Cassette and a Freewheel?
Both sit at the rear hub and hold the sprockets, but they attach differently and behave differently when you change gear.
A cassette is a set of sprockets threaded onto the hub and held in place by a lockring. It is easy to remove, easy to replace individual cogs, and it makes small, precise shifts with a quiet hum from the derailleur. A freewheel threads directly onto the threads of the hub, so it cannot be removed without taking the wheel apart, and changing gears under load makes a noticeably louder clatter.
A freewheel is a little heavier and holds fewer cogs on most setups, though modern wide-range freewheels exist for touring and single-speeds. Nearly every modern road, gravel, and mountain bike with more than one gear runs a cassette, and the distinction still matters when you are choosing replacement wheels or planning a drivetrain change.
Common Bike Gear Problems and What They Mean
Most shifting complaints come down to one of five things.
| Symptom | Usually means | What to do |
|---|---|---|
| Chain skips or slips under load | Worn chain, stretched cables, or a bent hanger | Check chain wear, then have cables and alignment checked |
| Shifts hesitate or land between cogs | Indexing off after cable stretch | Turn the barrel adjuster a quarter turn in the correct direction and re-test |
| Clunk or rub in one gear | Chain rubbing on the cassette or chainring | Nudge the relevant barrel adjuster a fraction of a turn |
| Chain drops off the front or rear | Front shift under load, or limit screws set too wide | Shift with pedals level and unloaded; have the limits checked |
| Cannot reach the easiest or hardest gear | Limit screw or cable tension stopping the mech early | Adjust the H and L limit screws with the bike in a stand |
Cross-chaining is the habit of pairing the largest front ring with the smallest rear cog, or the smallest ring with the largest cog. The chain runs at a steep angle, works harder and wears faster. Riders have written about this one endlessly on cycling forums, and the fix is simple: stay off the extreme combinations except when the terrain forces you to.
How to Keep Your Gears Working Smoothly
A drivetrain lasts or dies on maintenance, and a short routine covers almost everything.
- Lubricate the chain every few hundred miles or after any wet ride. Apply a bicycle chain lube, let it sit, then wipe off the excess so it does not attract grit.
- Clean the cassette and chainrings. Degreaser, a stiff brush, a rag. Dried lubricant mixed with road dust is what produces the black gunk.
- Check cable tension. Indexing drifts as cables stretch. The barrel adjuster at the top of each derailleur or shifter is meant for this, and turning it takes seconds.
- Inspect the chain for wear. A gauge or a ruler on a cog measures stretch. Replacing a stretched chain early saves the cassette and chainrings.
- Listen while pedalling. New clicks, hesitations and rattles show up as sound before they show up as a missed shift.
Handed to a mechanic: a bent hanger, limit screw adjustments, cable replacement, electronic system faults, and anything involving the crankset or bottom bracket. Indexing tweaks on a barrel adjuster are fine to do yourself once someone has shown you which way to turn it.
Frequently Asked Questions
What is the correct way to shift gears on a bike?
Ease off the pressure on the pedals slightly, keep pedalling, and click the shifter one gear at a time. On the rear, small clicks work under moderate load. On the front, shift only when the cranks are level and the pedals are near the top, with the chain unloaded. Anticipate changes: drop into an easier gear two or three clicks before a hill rather than after the gradient has already bitten.
What do the 7 gears on a bike mean?
On a 7-speed rear cassette, gear 1 is the biggest cog and the easiest to pedal, usually for steep climbs. Gear 7 is the smallest cog, the hardest gear, used for fast flat riding and descents. In between, gears 2 through 6 give you progressively less climbing help and more speed per pedal turn. Use only the gears you need and stay off the extreme pairings to avoid cross-chaining.
What is the 1, 2, 3, 4, 5 gear pattern on a bike?
On a modern indexed drivetrain, gear 1 is the easiest gear, usually the largest rear cog on the smallest chainring, and the highest number is the hardest. Low numbers give more turning force at the wheel for climbing. High numbers give more distance per pedal stroke for speed on the flat. The numbering is conventional, so always judge gears by how the pedalling feels rather than by the number itself.
What is the 75% rule in cycling?
The 75% rule helps you check whether a drivetrain’s gear range covers the terrain. Add your largest and smallest front chainring tooth counts, then multiply the total by 0.75. That number tells you roughly what the largest rear cog should be. A compact 50-34 crankset gives 84, and 75% of that is 63, so you would need a very large cassette to use the entire front range on the steepest climbs.
Why are my bike gears not shifting?
Hesitant shifts on a new bike usually mean stretched cables, and the barrel adjuster on the derailleur or shifter will correct it in seconds. Shifts that hesitate or land between cogs on an older bike often come from a worn chain, bent hanger or debris on the cassette. A bent derailleur hanger is the most common cause on a bike that has been dropped or knocked in a fall.
If you take one thing from this, ride a flat road this week and count your cadence at 70 to 100 rpm. Then shift one click easier when it climbs and one click harder when the road drops. That back-and-forth is the whole of how bike gears work explained, and it will feel natural within a few rides.