The front derailleur moves your chain between the chainrings when you click the front shifter. Used correctly, that means easing off the pedals for a moment, watching the chain move across cleanly, and keeping the cage set with the right gaps so nothing rubs or drops. The setup takes about 30 minutes with basic tools.
There are two separate jobs here, and most guides only cover one of them. Knowing how to use the front derailleur correctly is about riding technique: which lever click moves the chain where, when to sit down before a shift, and when to stay cross-chained. Front derailleur adjustment is the workshop side: cage height, limit screws and cable tension. Get both right and the drivetrain stays quiet for years.
This guide covers both. The order of the procedure matters, and so does the handful of measurements involved.
Table of Contents
- What You Need
- The parts worth naming
- Step-by-Step: How to Use the Front Derailleur Correctly
- 1. Check the derailleur position before riding
- 2. Shift while easing pressure on the pedals
- 3. Use the shifter in the correct gear order
- 4. Watch the chain, not the lever
- 5. Make small adjustments when shifting feels rough
- 6. Recheck the system after a ride or adjustment
- Common Mistakes
- Frequently Asked Questions
- How do I set up my front derailleur correctly?
- Should the front derailleur touch the chain?
- Why is my front derailleur not shifting correctly?
- How should a front derailleur sit?
- What causes chain rubbing on the front derailleur cage?
- Can I reset a Di2 front derailleur?
- Conclusion
What You Need
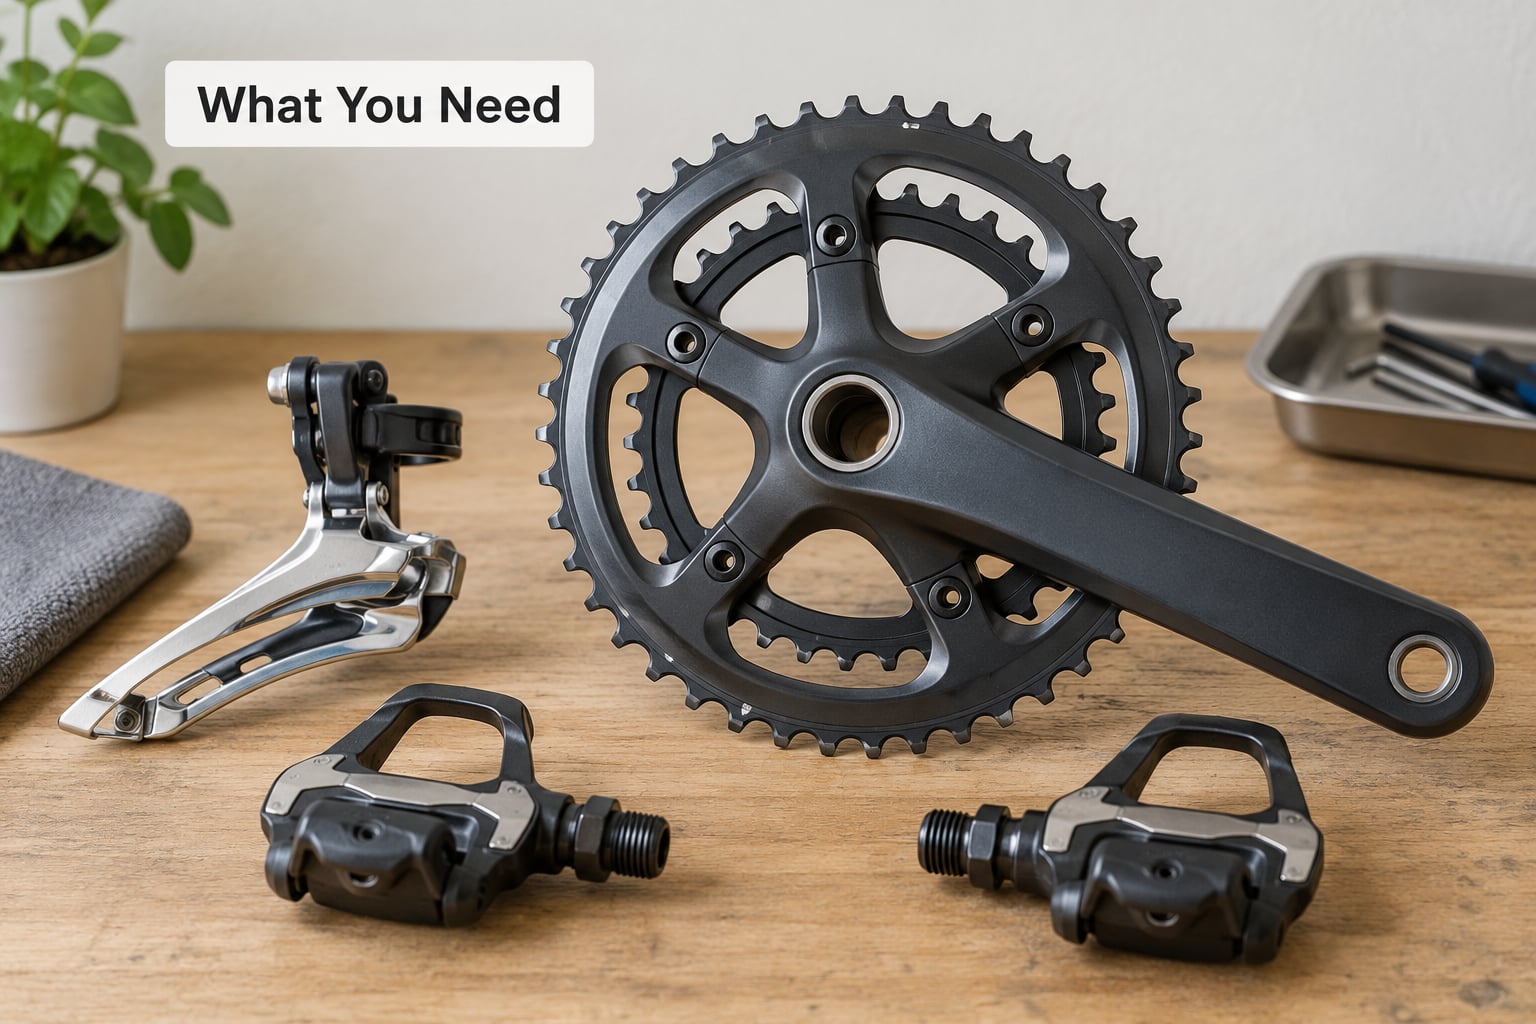
You need very little to adjust a front derailleur. Most riders already own everything required.
- 2 mm, 2.5 mm and 5 mm hex keys for the limit screws, barrel adjuster, cable anchor bolt and derailleur clamp bolt. Shimano road units usually take 4 mm, so check the bolt head before you assume.
- A Phillips screwdriver if your shifters use a screw rather than a compression wedge to hold the cable.
- A chain lube and a shop rag. A small drop on the pivot points solves a surprising number of complaints that look like a bad adjustment.
- A bike stand, optional. It makes life easier but a front derailleur can be set with the bike leaned or lifted by the frame.
- A 2 mm hex key and a flat edge. Many Shimano cages are indexed, which means the correct gap is one notch rather than a measurement.
Before touching anything, know what system you own. Shimano STI levers, Shimano Rapidfire trigger shifters, SRAM trigger and AXS levers and Campagnolo levers all feel different in the hand but drive the same cage movement. Electronic Di2 and AXS derailleurs have no cable and no limit screws at all, so skip straight to the last two steps below.
The parts worth naming
| Part | What it controls |
|---|---|
| High limit screw (H) | The outermost stop, which keeps the cage from pushing the chain off the outside of the big chainring. |
| Low limit screw (L) | The innermost stop, which stops the cage shoving the chain down into the crank arm. |
| Barrel adjuster | Fine cable tension. Turn it to fine-tune where the chain sits without reopening anything. |
| Cable anchor bolt | Clamps the inner cable to the derailleur. Where you set cable tension first. |
| Derailleur clamp bolt | Holds the whole unit to the frame or hanger and sets cage height and angle. |
| Shifter trim | The small extra lever click that nudges the cage inward for chainring clearance. Not a gear change. |
One naming note, because it trips people up: the H and L screws belong to the front derailleur, and the two limit screws on the rear derailleur are a different pair of adjustments entirely.
Step-by-Step: How to Use the Front Derailleur Correctly
1. Check the derailleur position before riding
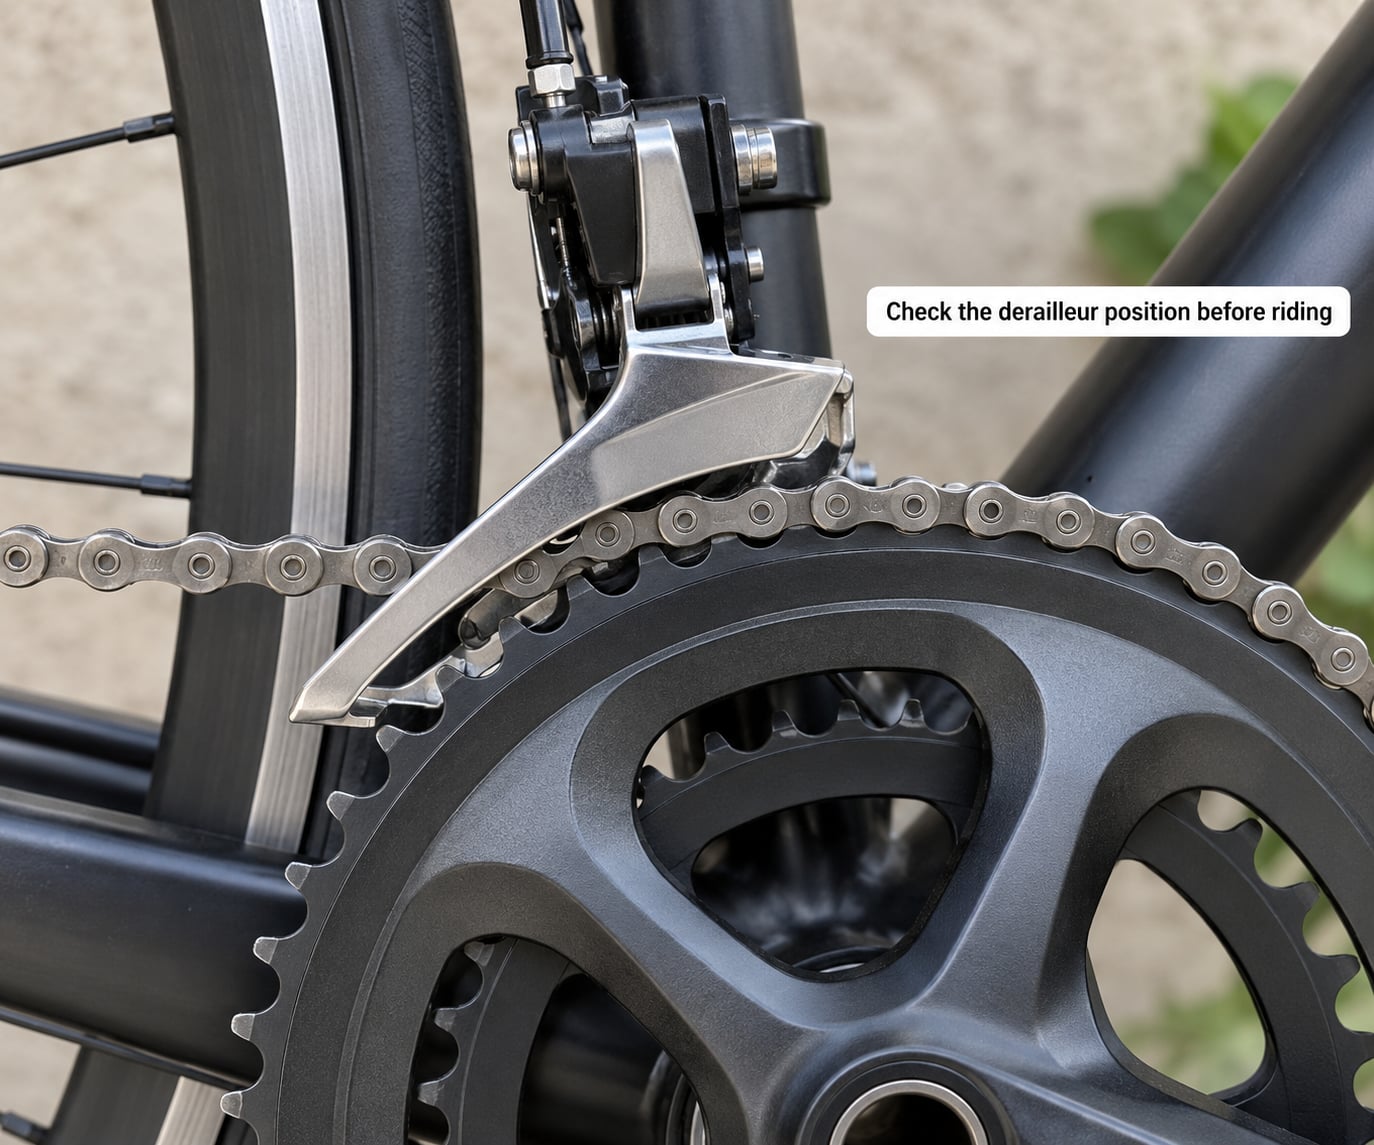
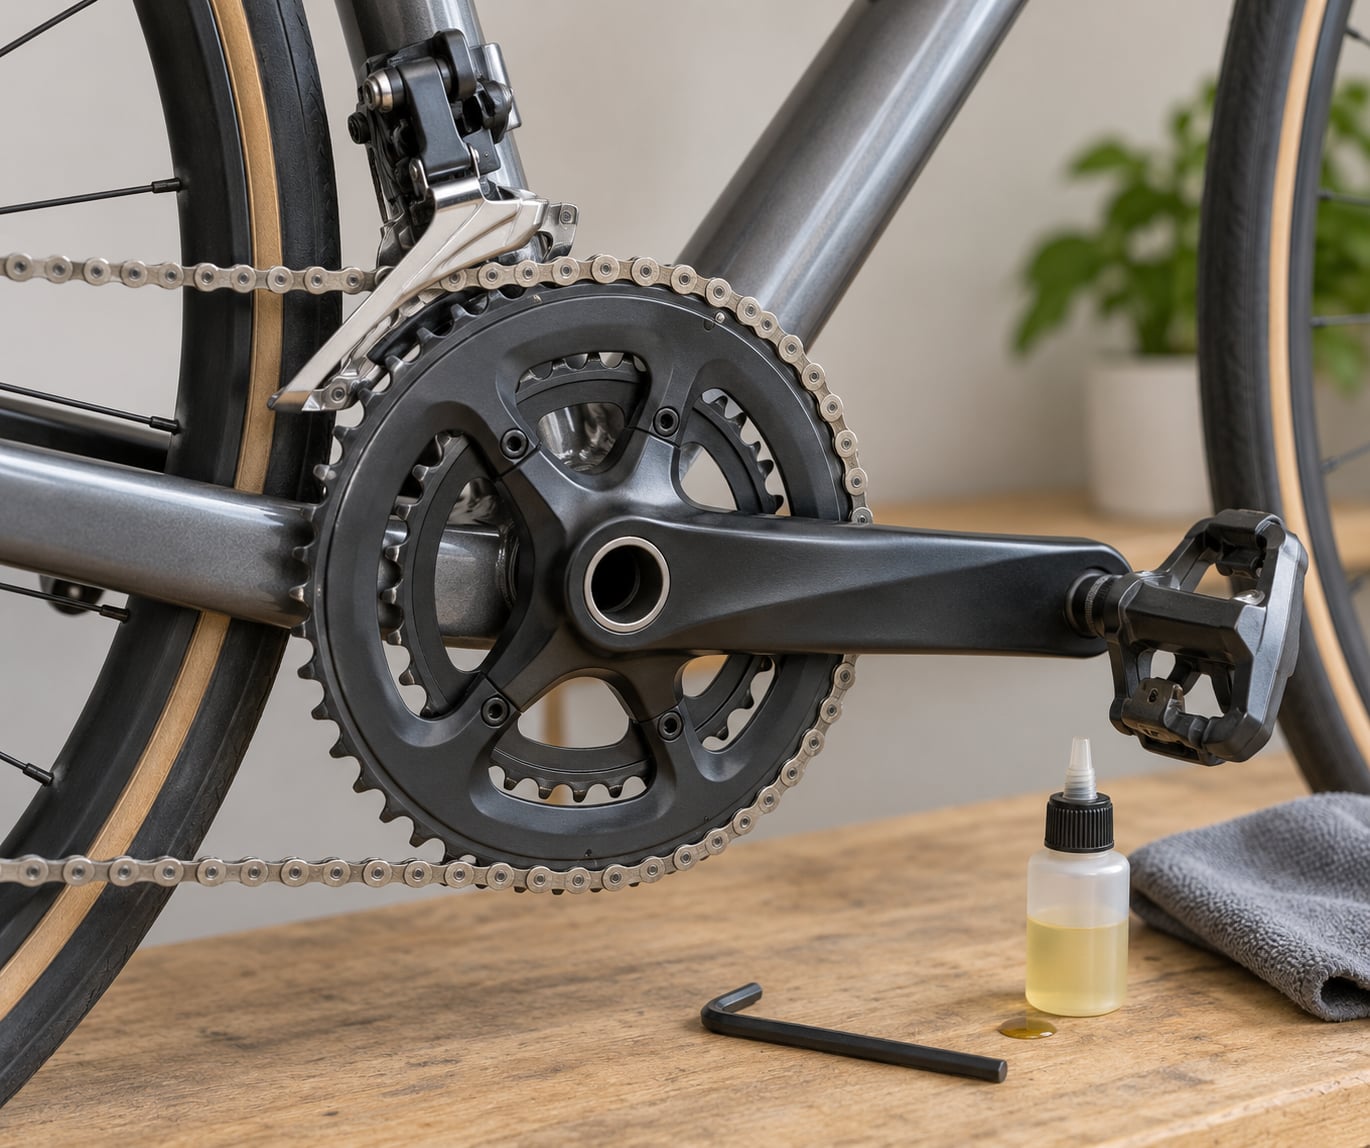
The derailleur should sit parallel to the chainring, centred over the biggest ring, with a small gap above the teeth. The cage must never touch the chain at any point.
Here are the numbers that matter, and they settle the conflicting advice you will find elsewhere. On an indexed Shimano road cage, set it one notch clear of the big ring and leave it there; that index is engineered for a specific chainline. On a non-indexed cage, aim for 1 to 3 mm between the top of the teeth and the underside of the cage, measured with the cage at its highest point. Set the gap between the inner cage plate and the chain at 1 to 2 mm when in the big-big combination, and align the outer plate with the outer edge of the big chainring.
You can reach the derailleur without removing the front wheel, though turning the crank to the 3 o’clock position makes the job far easier because it gets the chainring teeth out of your way.
Signals that it is not ready to ride: the cage sits visibly crooked, a limit screw is bottomed out, the cable end is frayed or the outer casing is split near the anchor bolt, or the chain sits on the cage when you press the lever.
2. Shift while easing pressure on the pedals
This is the single habit that separates a clean front shift from a clattering one: take weight off the pedals for a second while the chain moves. The chain has to be moving forward for the cage to guide it sideways, but heavy torque holds it tight against the ring you are leaving.
Seated, back off the pressure for half a crank stroke and shift. Standing out of the saddle on a climb, hold on, stop pushing hard for a beat, then shift and resume. Shifting under full standing power is how you drop a chain or bend a hanger, and riders on r/bikewrench describe the resulting rub as something no adjustment ever fixed.
Avoid cross-chaining. Running the chain on the big ring with the largest rear cog (big-big), or the small ring with the smallest cog (small-small), angles the chain across the cassette and across the cage. It is not dangerous, but it is noisy, it wears parts faster and it makes the chain slap when you coast. Pick a mid-range rear cog whenever you can.
Move to the big ring when you want an easier gear: into a headwind, out of a saddle on a short rise, or any time your cadence drops and you cannot hold it. Shift down to the small ring for a steady effort on the flat or a technical descent where you need the chain tension and chain slop kept low.
3. Use the shifter in the correct gear order
On a double chainring, one click of the front lever moves inboard to the small ring and one click outboard moves to the big ring. There is no halfway ring and no ambiguity.
A triple adds a middle ring, so the order is small, middle, large, small, with three clicks in one direction and three in the other. The small lever click goes toward the large ring, which feels backwards to new riders for about a week. On Shimano triple setups the levers sit one side on the left and one on the right, so the big lever on your right hand shifts to the big ring and the small lever next to it trims inward.
Trim is where beginners over-complicate things. The small inward click does not change ring; it moves the cage a few millimetres inward to clear a chain that would otherwise rub on wide chainrings with a wide cassette cog. Use it when you hear rub, then leave it. Clicking trim on a narrow chainring pushes the cage too far in and can cause hesitation.
4. Watch the chain, not the lever
A good front shift is quiet, quick and complete. The chain lifts, crosses and settles without a gap in the noise.
Four things tell you it went wrong: a rub that follows you for a few strokes, a hesitation where the chain sits on both rings briefly, an overshoot onto the wrong ring entirely, or a drop where the chain falls. Rubbing means the cage is off in position, so a quarter-turn of the barrel adjuster is the first thing to try. Hesitation usually means the cage is too far out or the cable tension is low. Overshoot means you are moving too fast with too much pressure on the pedals. A drop means stop riding and fix it on the spot.
5. Make small adjustments when shifting feels rough
Start with the barrel adjuster before anything else. Turning it counterclockwise adds cable tension and pulls the cage further out; clockwise reduces tension and pulls it in. A quarter-turn at a time, then test. The finger test is quicker than guessing: with the shifter released, push the cage sideways with a fingertip. If it moves much at all, cable tension is wrong.
If the barrel adjuster is out of travel, set cable tension properly instead. Screw the barrel adjuster fully in, loosen the cable anchor bolt, pull the inner cable taut by hand with the shifter in its rest position, and clamp it. Then use the barrel adjuster only for fine work.
Limit screws cap the range of cage travel. Screw the L screw in until the cage stops the chain dropping inward, then back it off about half a turn. Do the same with the H screw against the outside of the big ring. Cage position and cable tension are separate problems: if the shift is roughly right but consistently off, it is tension; if the cage physically cannot reach or overshoots, it is a limit screw or the clamp position.
Follow the manufacturer’s instructions for your unit, and never force a mechanism that will not move. A stuck pivot usually means dried-out grease or a bent cage, not a setting that needs more force.
6. Recheck the system after a ride or adjustment
Give it ten minutes after the first ride with a fresh adjustment. Confirm the clamp and anchor bolts are still snug, look for fraying at the cable end, and check that the chain runs true through every ring and trim position.
Two more checks matter. Chain wear: a stretched chain will not sit still on the chainrings, so a rub that survives a correct front derailleur setup may really be a worn chain. And the hanger: sight along the derailleur from behind, and a visibly bent hanger explains a cage that cannot be aligned no matter how you set it.
Take it to a qualified bicycle mechanic if the cage will not align, the pivot is stiff or cracked, the hanger is bent after a crash, or rubbing persists across all three rings with new cables and a sound chain.
Common Mistakes
Most repeated faults fall into one of five patterns.
| Symptom | Likely cause | Fix |
|---|---|---|
| Rub on the big ring in every gear | Cage too far in, or cable tension too high | Loosen the clamp bolt and raise the cage slightly, or turn the barrel adjuster clockwise a quarter-turn |
| Hesitation in the middle ring on a triple | Misdiagnosed as a limit screw issue when it is cable tension | Turn the barrel adjuster counterclockwise a quarter-turn; leave the limit screws alone |
| Chain drops into the crank arm | L limit screw too loose or cage angled inward | Screw L in until it just stops the chain, then back off half a turn |
| Chain overshoots off the outside of the big ring | H limit screw too loose, or cage too far out | Screw H in to the point of contact, then back off half a turn |
| Rubs only out of the saddle or under hard power | Cage flex, or cable friction that resolves under load | Check with a visible gap in big-big; a drop of lube on the pivots often changes the feel |
Three habits prevent most repeat problems. Check the derailleur before you ride rather than mid-climb. Replace cables and housing together when they go gummy; a single new inner cable in old housing is a common false economy. Re-check the adjustment after a crash, a new cable or a wet winter, because those are the only times the settings move.
Frequently Asked Questions
How do I set up my front derailleur correctly?
Centre the cage over the largest chainring, 1 to 3 mm above the teeth, then tighten the clamp bolt. With the shifter released, screw the barrel adjuster fully in, loosen the cable anchor bolt and pull the inner cable taut by hand before clamping it. Set the low limit screw against the crank side, the high limit against the outside of the big ring, and test every shift while pedalling.
Should the front derailleur touch the chain?
No. The cage plates must clear the chain at all times, in every gear and with the drivetrain loaded. On an indexed Shimano road cage, set it one notch clear of the big ring. On a non-indexed cage, leave 1 to 3 mm above the teeth and 1 to 2 mm between the inner plate and the chain in the big-big combination.
Why is my front derailleur not shifting correctly?
It is usually cable tension rather than the limit screws. A shift that is roughly right but consistently hesitant or slightly short means the tension is low, so turn the barrel adjuster counterclockwise a quarter-turn. A cage that physically cannot reach inward or outward points to a limit screw or clamp position. A rub that survives all three rings is often a worn chain or a bent hanger.
How should a front derailleur sit?
The cage should be parallel to the chainring and centred over the largest ring, with a small, even gap above the teeth and the outer plate lined up with the outer edge of the big chainring. It should never rest on the teeth or touch the chain. Check it with the cranks at the 3 o’clock position so the teeth clear your view.
What causes chain rubbing on the front derailleur cage?
Usually a cage sitting slightly out of position, which is a barrel adjuster job rather than a limit screw job. Rubbing that only appears out of the saddle or at high power often comes from cage flex, or from cable friction that tightens when you load the drivetrain. A drop of chain lube on the pivot points is a cheap first test before you start turning screws.
Can I reset a Di2 front derailleur?
Yes, though there is no cable or limit screw involved. With the derailleur in its neutral factory position, hold the button on the front derailleur until its LED turns green, which takes a few seconds. Pairing follows the same button-and-battery routine as the rest of the system. If the reset does not complete, check for a low battery and for firmware updates before suspecting a hardware fault.
Conclusion
Start with the smallest possible check: put the bike in the 3 o’clock crank position and look at the cage from above. If it is parallel to the big ring with an even gap and the chain does not touch it, your setup is close. Then take one low-pressure test shift from the small ring to the big ring while seated, easing off the pedals for half a stroke, and watch where the chain lands.
That is the whole technique behind how to use the front derailleur correctly: relieve the load, click once, watch the chain, then resume. Keep the chain out of big-big and small-small, use trim only when you hear rub, and expect to re-check the adjustment after a cable change, a crash or a wet winter.
If the cage will not align, the pivot feels stiff or the rubbing survives new cables and a sound chain, the cause is mechanical rather than a setting. Book it in with a qualified bicycle mechanic rather than turning screws until something gives.