Aerodynamics for recreational cyclists explained in one line: air resistance grows so quickly with speed that the shape of you and your bike decides how far you get on a given amount of effort. Most club riders can find 20 to 45 watts for free by changing posture, and that is worth more than any expensive part they could buy this year.
That is the whole argument, and it is counter-intuitive. Recreational riders tend to think speed comes from fitness, and usually it does at the slow end of a ride. Once you are above about 15 mph on the flat, air is the largest force working against you, and it grows much faster than your speed does.
This guide stays at speeds real riders actually ride, 15 to 25 mph, and skips most of the physics you do not need. You will find what drag is, what it costs you in watts, which position changes help, what equipment is worth buying, and how to test any change yourself.
Table of Contents
- What Is Aerodynamics in Cycling?
- Three ideas that explain most of it
- How Much Does Air Resistance Cost a Recreational Cyclist?
- Why Is a Lower Air-Drag Position Faster?
- What Body Position Reduces Drag the Most?
- How Can Recreational Cyclists Improve Aerodynamics Without New Gear?
- A four-week ramp if you are new to the drops
- What Aerodynamic Equipment Is Actually Worth It?
- How Do You Test Whether an Aerodynamic Change Helps?
- Do Different Riding Conditions Change Aerodynamic Benefits?
- What Are the Biggest Aerodynamics Myths?
- Frequently Asked Questions
- How much does aerodynamics improve a recreational cyclist’s speed?
- Should a recreational cyclist lower their handlebars to go faster?
- Does drafting make aerodynamics less important?
- Are narrow aero tires worth it for everyday road cycling?
- What is the most useful aerodynamic upgrade for a club cyclist?
- Conclusion: Start With Position, Not Equipment
What Is Aerodynamics in Cycling?
Aerodynamic drag is the force created as you push a lump of air out of your way. Air has to go somewhere, so it flows around you and your bike, and the pushing costs you energy on every single pedal stroke.
Here is the part that changes how you ride: drag scales with the cube of your speed. Double your speed and you need roughly eight times the power to push the same air past you. That is why the last two miles per hour on a flat road are so hard and why headwinds hurt far more than the same wind as a tailwind helps.
Lower drag is not the same as more speed. A rider can go faster and create more total drag simply by pushing harder. What you want is to move a given distance using less effort, so you arrive less cooked, or to hold a given speed with less power in your legs.
Three ideas that explain most of it
Drag area. Engineers combine the shape of an object and the area it presents to the wind into one number, called CdA. It is the single best predictor of how hard you have to work in the air, and the rider is usually the biggest part of it.
Pressure drag. Air hitting the front of your body slows sharply and builds pressure. Blunt shapes create a pocket of high pressure in front, and pushing that pocket along is expensive. Tapering a shape reduces it.
Friction drag. Even perfectly smooth surfaces drag on the air sliding past them. Surface texture matters far less than the shape, which is why a rough jersey does almost nothing while a flat torso plate costs real watts.
How Much Does Air Resistance Cost a Recreational Cyclist?
The table below shows the power needed purely to overcome air resistance, using a standard air density, for a typical club rider at a CdA of 0.40 sitting fairly upright and a tidier 0.30 in a lower position. Add rolling resistance, drivetrain loss and climbing to these numbers to get total road power.
| Speed | Power at CdA 0.40 (upright) | Power at CdA 0.30 (lower position) | Saving from position alone |
|---|---|---|---|
| 15 mph | about 74 W | about 55 W | about 19 W |
| 18 mph | about 128 W | about 96 W | about 32 W |
| 20 mph | about 175 W | about 131 W | about 44 W |
| 22 mph | about 233 W | about 175 W | about 58 W |
| 25 mph | about 342 W | about 257 W | about 85 W |
Read the bottom two rows again. At 25 mph, going from an upright posture to a tidier one saves roughly the same power as a solid hour of steady club riding, every hour you are out there.
That is also why small gains feel bigger as you get faster. Ten watts at 15 mph is worth about 1 mph. At 25 mph the same ten watts is worth closer to a mile per hour. Nothing you change about your bike matters as much on the climbs, where you are often below the speed where air dominates.
Why Is a Lower Air-Drag Position Faster?
Picture yourself and the bike as a single object moving through air, because that is how the air sees you. The wheel in front does nothing for you aerodynamically, and the tall shape of a rider sitting up presents a sail to the wind. Unbend the body and the same air gets past with much less resistance.
Three things happen when you lower your torso. Your frontal area shrinks, so there is simply less of you in the wind. Your back and shoulders go from a broad flat wall to a narrower, rounder shape, which reduces pressure drag. And your head stops being the tallest point sticking up into clean, fast air, which matters more than most riders expect.
The physics behind the head is worth knowing. Air moving along a surface has a thin layer of slower air beside it, called the boundary layer. On a smooth, continuous shape that layer stays attached. Where the shape changes abruptly, the air detaches and tumbles, creating drag.
A rider is full of abrupt changes: shoulders, then neck, then helmet. Lowering and rounding the upper body makes the path from shoulder to helmet smoother, so more of that slow boundary layer stays stuck to you instead of shedding into turbulence behind you.
What Body Position Reduces Drag the Most?
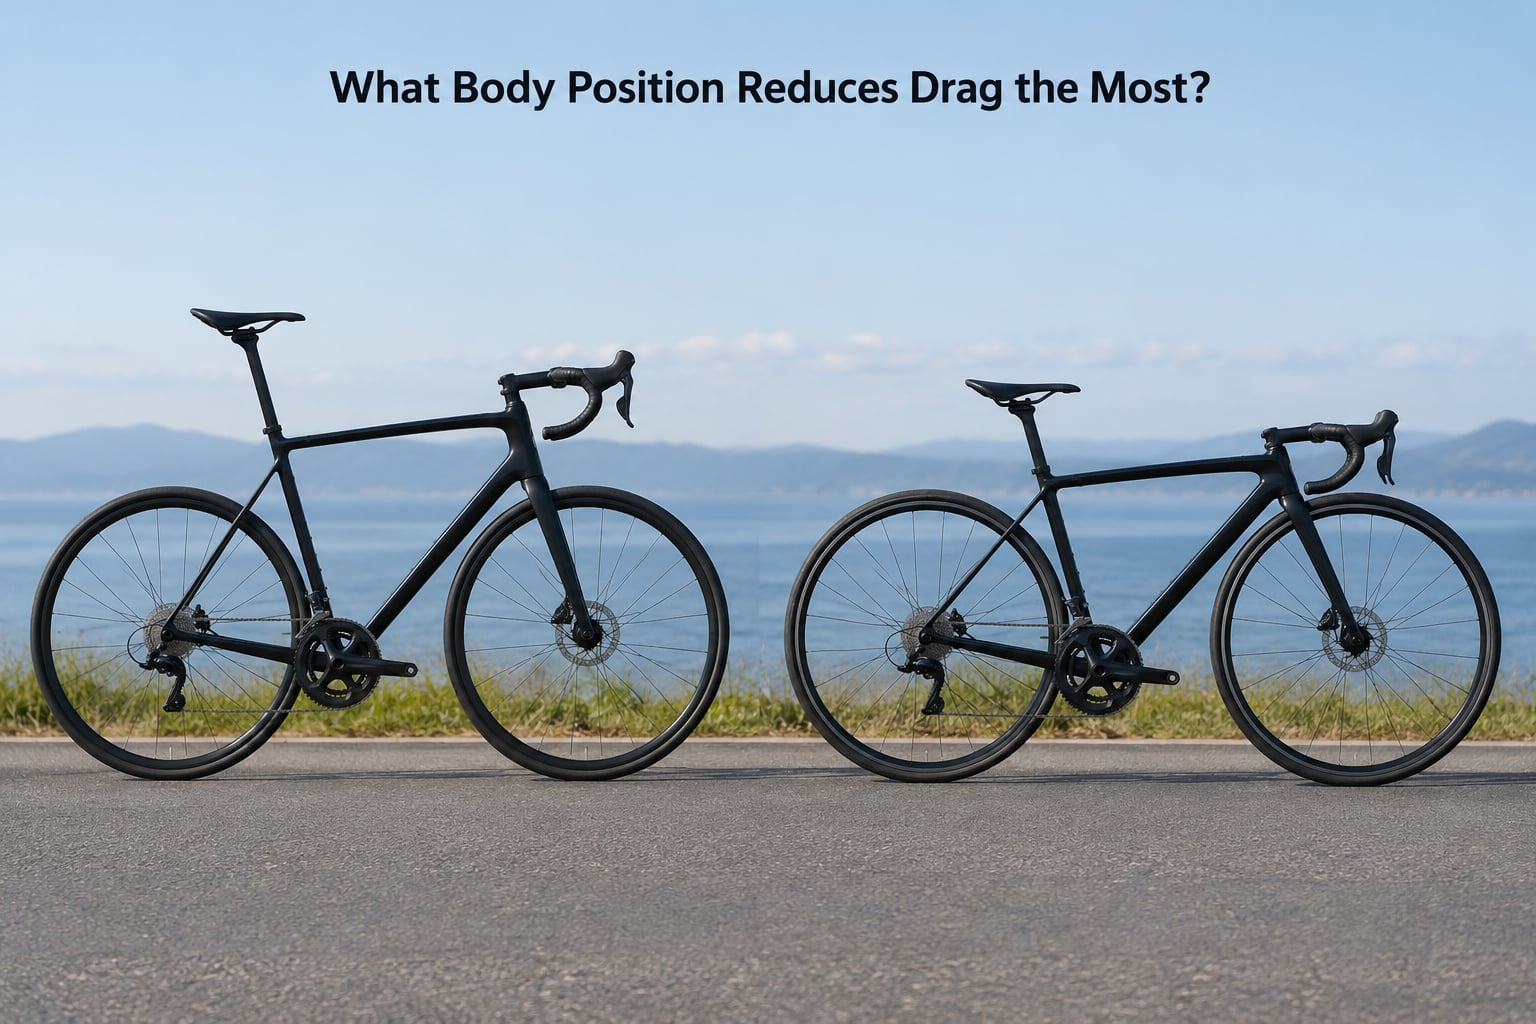
No single position suits every rider, and the table below is a ranking of drag reduction rather than a recommendation to copy someone else’s fit. Comfort decides whether you can hold a position for three hours, which matters as much as the drag number.
| Position | Typical posture | Likely drag effect | Comfort and suitability |
|---|---|---|---|
| Upright on the hoods | Torso near vertical, hands wide on the hoods | Highest drag of any position here | Easy on the neck and lower back, good in traffic and rough roads |
| Hands on the drops | Torso leaned, elbows bent, hands low and narrow | Noticeable reduction, roughly 10 to 15 percent | Moderate, needs core and shoulder strength, common on club rides |
| Tucked on the drops | Head forward and low, back rounded and level | A further 5 to 10 percent on top of a drops position | Demanding, hard to see and steer, best on open straights |
| Elbows tucked, forearms level | Narrow hands, elbows in, shoulders relaxed | Small but free improvement in any lower position | Usually comfortable once it clicks, good first change to make |
| Forward on aero extensions | Arms extended ahead, torso flat, head down | The largest reduction available on a road bike | Hard work to hold, needs a fit, steep descents and tight turns get hairy |
If you ride with limited hamstring or hip flexibility, the very flat positions will not be reachable, and forcing them can injure you rather than speed you up. Riders with wider shoulders are often served better by a modest posture change than by narrow bars that make them hunch.
How Can Recreational Cyclists Improve Aerodynamics Without New Gear?
Everything in this list costs nothing. In rough order of how much it delivers for a typical club rider.
Drop your head and look ahead, not down. Raising your gaze a few degrees costs you almost no drag and buys back the ability to see traffic. A tucked head with eyes down is only worth it on open, straight, empty roads.
Round your shoulders and tuck your elbows. Narrow hands sitting in line with the forearms remove a couple of square centimetres of area that were sticking out sideways. This is the easiest change to keep for hours.
Relax your upper body. A tense rider lifts the shoulders, which adds height and area exactly where the air is cleanest. Shake out the hands, let the jaw go loose, and keep breathing into the torso rather than the upper chest.
Lower the torso from the hips, not the waist. Bend at the hip joint with a straight back rather than curving your spine. That keeps your lower back in a position you can actually hold for an hour.
Remove what hangs. A jersey pocket full of snacks, a dangling tail light, a bar bag or a backpack all add drag in the airflow. Stow what you do not need on long flat sections.
Hold a steady line. Every swerve and lane change wastes speed you already paid for. A rider weaving between cars on a breezy road can lose far more to crosswind gusts than any position change returns.
A four-week ramp if you are new to the drops
Week one, ride entire chunks on the hoods and get comfortable gripping the brake levers there. Week two, drop the hands to the tops for short flat straights only. Week three, move into the drops for a few minutes at a time on flat terrain. Week four, add the head tuck for descents and open flat sections, never in traffic.
Most riders who try this report a speed gain of one to two miles per hour once they stop gripping the drops like a bird’s claw. Neck and lower-back soreness in the first fortnight is normal. Sharp pain in the neck, shoulder or knee is a signal to back the change out, not to push through it.
What Aerodynamic Equipment Is Actually Worth It?
Equipment occupies a smaller share of total drag than most advertising suggests, because the rider’s own body is the larger part of the CdA. Position first, equipment second, and only when the position work is done.
Tyres and wheels. The tyre casing and rim choice shape a small fraction of your drag area. Wider tyres at the same pressure often roll as fast as narrow ones and are far more comfortable, which is why many riders gain nothing at all by going narrow.
Helmet. A smoother helmet helps a little, mostly through tailing and through keeping your head in one repeatable place. Cheap vented helmets have plenty of open area for a head that is already low and tucked.
Frame and cockpit. An integrated bar and stem, internal routing and a trimmed seatpost genuinely cut drag. You only see that gain if you already sit in a low, flat position, because an aero cockpit on an upright rider is mostly decoration.
Clothing. A smoother, closer-fitting kit helps a little and costs the least per ride. Loose flapping fabric and a baggy jersey do cost more, and the effect is bigger in a tuck than sitting up.
Bags and bottles.Anything that hangs behind your back or sticks out sideways adds area where the air is already turbulent. A low, tight bottle cage beats a top-tube bag.
One warning: wind tunnel results are measured on a specific rider in a specific position. A pair of deep rims that saved a rider with a low torso may save nothing on you sitting up, because the tyres already sit in the slow boundary layer. Test on your own bike and your own position before you commit.
How Do You Test Whether an Aerodynamic Change Helps?
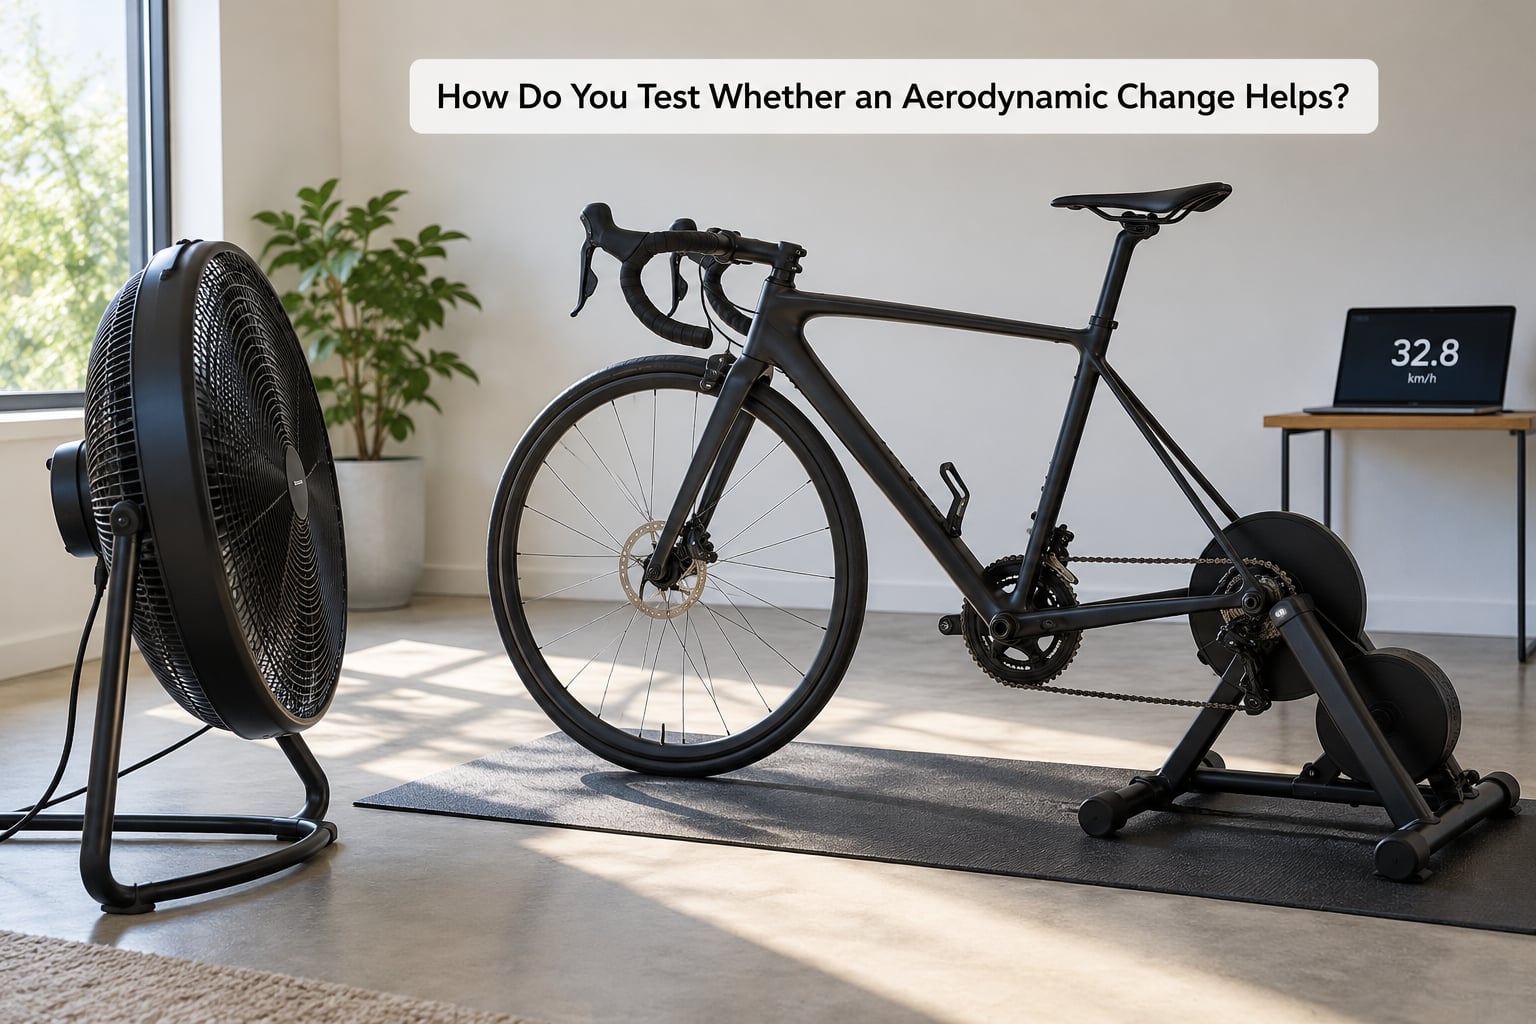
A repeatable test is worth more than any wind tunnel report, because it uses your body and your bike. Keep everything except the one thing you are testing identical.
Out-and-back speed test. Pick a flat out-and-back with little traffic, ideally with a hedge, fence or building along one side to cut the gusts. Ride it twice in each direction at three efforts you can repeat, recording time for each. Average the two directions so a tailwind does not flatter one run. Change one variable, rest a day, repeat. Watch for changes under two percent; that is inside normal day-to-day variation.
Video comparison. Park the bike on a quiet straight and film from directly behind at a fixed distance, then repeat in each position you are comparing. Keep the camera at the same height and distance, and use the same zoom. Judge silhouette: a humped shoulder or a raised head is obvious on film and impossible to feel from the saddle. Serious riders do the same thing with a device that converts video into a drag-area estimate.
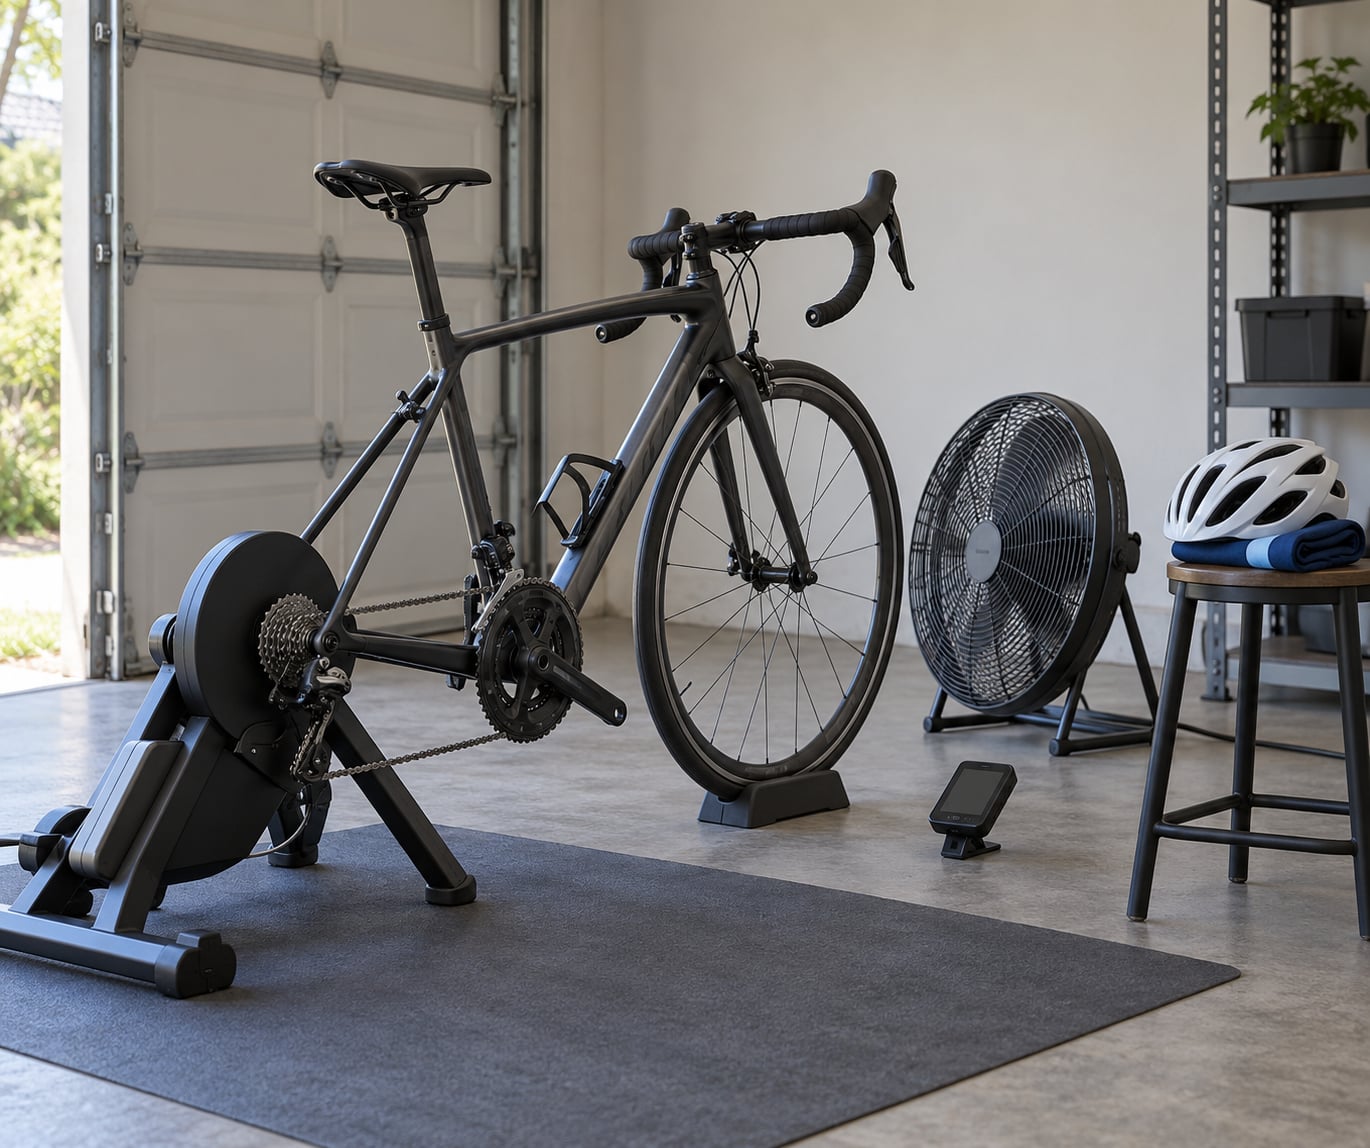
Indoor fan test. A fan in a garage or on a patio, pointed at a bike on the trainer, with a speed display showing what you hold at a fixed effort. Hold the same head angle, run the same effort twice, and compare the two speeds. Air density indoors does not match the road, so treat this as a direction-of-change test rather than a watts figure.
Whichever method you pick, control for wind direction, road surface, tyre pressure, temperature, effort, position and how rested you are. Change one thing at a time, ideally with a day between tests.
Do Different Riding Conditions Change Aerodynamic Benefits?
Headwind. Your savings multiply. Drag rises with the cube of air speed relative to you, so a 15 mph headwind turns a 15 watt saving into something like 90 watts of extra effort for the same ground speed. Headwind days are when a good position pays you back fastest.
Tailwind. The math inverts. A tailwind of the same size cuts your air speed, and the watts you save from position shrink accordingly. Pushing hard to hold speed into a strong tailwind is exactly the situation where you do not want to be generating more drag than you need to.
Crosswind. Deep rims and disc wheels yaw more at high speed, where the wind hits a tall wheel at a steep angle. On a wide, open bike with shallow wheels this is a non-issue. Nudgey crosswinds matter mostly to you, not to your speed.
Drafting. Behind another rider the air has already been disturbed, so you are pushing into slower-moving air and your own drag drops sharply. Position gains inside a tight paceline are worth far less than the same gains out solo, which is why your position matters most on the front of the group.
Descent. Steep descents usually put you above the speed range where drag dominates, and they are also where a low head position costs you sight lines and steering feel. Get low on open, empty, well-surfaced descents and stay higher when the road is wet, twisting or full of cars.
Cornering and rough roads. Upright is safer and quicker to react from. Save the extremes for straights rather than riding tucked through a sequence of bends.
Solo time trials and centuries. Solo, at a steady effort on the flat, a tidier position pays across the whole ride. On a hilly century the savings concentrate into the flat sections and fade on the climbs.
What Are the Biggest Aerodynamics Myths?
Myth: narrow tyres are aerodynamically faster. Tyre width is a comfort and rolling question. At equal pressure a narrow tyre can roll slightly faster, but the difference is usually smaller than the drag you lose by suffering on every ride.
Myth: dropping the bars is the quick win. Lower bars help mainly because they let you lower your torso, not because the bar itself is slippery. Riders with tight hips get neck and back pain for a few watts, which is a bad trade on a Sunday ride.
Myth: drafting cancels aerodynamics. Drafting cuts your drag by a large share, which means the position gains available to you shrink inside a group. It does not remove the physics, and on the front of the ride or in a breakaway it is back in full.
Myth: you must ride uncomfortably fast. Plenty of riders simply cannot hold a position for more than a short stretch. The comfortable position you can hold for three hours usually delivers more total speed than the perfect position you can only hold for ten minutes.
Myth: the tailwind gives back what you lose to drag. It partly does, but never one for one. Because drag follows the cube of relative air speed, the benefit of a tailwind is smaller than the cost of the same wind as a headwind.
Myth: buy the deep wheels first. If you sit upright, you will barely notice them. Fix your position, then spend money on the parts that only matter once you are low and fast.
Frequently Asked Questions
How much does aerodynamics improve a recreational cyclist’s speed?
For a typical club rider at 18 to 22 mph, a tidier, lower position can cut drag enough to save roughly 30 to 60 watts, which is worth about 1.5 to 3 mph at the same effort. Most of that comes free from posture rather than parts. The gain grows with speed, so it matters most on flat open roads and headwind sections, and very little on rolling terrain at 14 mph.
Should a recreational cyclist lower their handlebars to go faster?
Sometimes, but only if lowering them lets you lower your torso. Handlebar height is a tool, not the win itself. Riders with limited hamstring flexibility often reach a comfortable lower torso angle with a stack of spacers rather than a stem swap, and avoid the wrist and back problems that come with squeezing the drops. A bike fitter can usually find 10 millimetres of drop without changing anything drastic.
Does drafting make aerodynamics less important?
In a tight paceline, yes, because you are pushing into air that has already been slowed by the rider in front, so your own drag drops sharply and position changes matter much less. Aerodynamics is very much alive when you sit on the front, ride solo, or push a breakaway. On a typical club ride you spend most of your time in a bunch, so position gains mainly help at the front and on exposed sections.
Are narrow aero tires worth it for everyday road cycling?
Usually not. Tyre width barely moves your drag area, because the tyre already sits inside slow air close to the ground and the rim you can actually change matters less than your torso angle. Wider tyres at a sensible pressure often roll as fast as narrow ones and ride far more comfortably on rough roads. For most club riders, a comfortable position beats a narrow tyre by a much larger margin.
What is the most useful aerodynamic upgrade for a club cyclist?
A bike fit that lets you ride lower and hold it comfortably for hours, by a wide margin. Everything else on the list, including an aero helmet, a smoother kit, deep rims and tidy cable routing, is worth single-digit to low-double-digit watts and only shows up if you already sit low and still. Get the position right, hold it for months, then consider spending on the parts.
Conclusion: Start With Position, Not Equipment
Pick a flat, low-traffic out-and-back route and measure it twice in each direction at an effort you can repeat. That is your baseline. Then make one change, such as tucking your elbows or spending twenty minutes riding the drops on a flat straight, and measure again a day or two later.
Keep the change only if the gain is repeatable and you are still comfortable an hour into the ride. That is the whole job: a position you can maintain beats a better position you cannot, and it costs nothing to find out.