Here is the short version of how to choose a bike frame size: take your height and your inseam, use them to land on a starting size, then confirm that size against the frame’s stack and reach and by sitting on the actual bicycle. The number stamped on the frame matters far less than those geometry figures.
That matters because size labels lie across brands. A medium from one manufacturer can be taller and longer than a large from the next, so a rider who shops by label ends up with a bike that does not fit. Riders swapping to a different brand hit this constantly.
The whole process takes about twenty minutes of measuring and comparing, plus whatever a test ride costs you in coffee. Updated for October 2026.
Table of Contents
- What You Need
- How to Choose a Bike Frame Size Step by Step
- 1. Measure Your Inseam and Current Reach
- 2. Define the Riding Position You Want
- 3. Compare Frame Sizes by Geometry
- 4. Check the Standover and Clearance
- 5. Test Saddle-to-Bar Distance and Handlebar Drop
- 6. Account for Flexibility and Comfort
- 7. Take a Test Ride and Make Small Adjustments
- Common Mistakes
- Frequently Asked Questions
- What if I am between two bike frame sizes?
- Is frame size based on inseam or height?
- Why do two 56 cm frames fit differently?
- Should I size up for comfort or performance?
- Can I change a frame size later?
- Do different types of bikes use the same sizing method?
- Conclusion
What You Need
Six inputs, and only two of them are measurements.
- Your height, in centimetres or inches, measured against a wall rather than guessed.
- Your inseam, the inside leg length from crotch to floor. This is the number that sets your saddle height and therefore your frame size.
- Your current bike’s fit — its stack and reach, or at minimum the size label plus how it feels. This is the single best reference point you have.
- The manufacturer’s geometry chart, not just the height table on the product page.
- Your flexibility, particularly hamstrings and lower back.
- Your riding style: long club rides and races, commuting, or mostly flat paths.
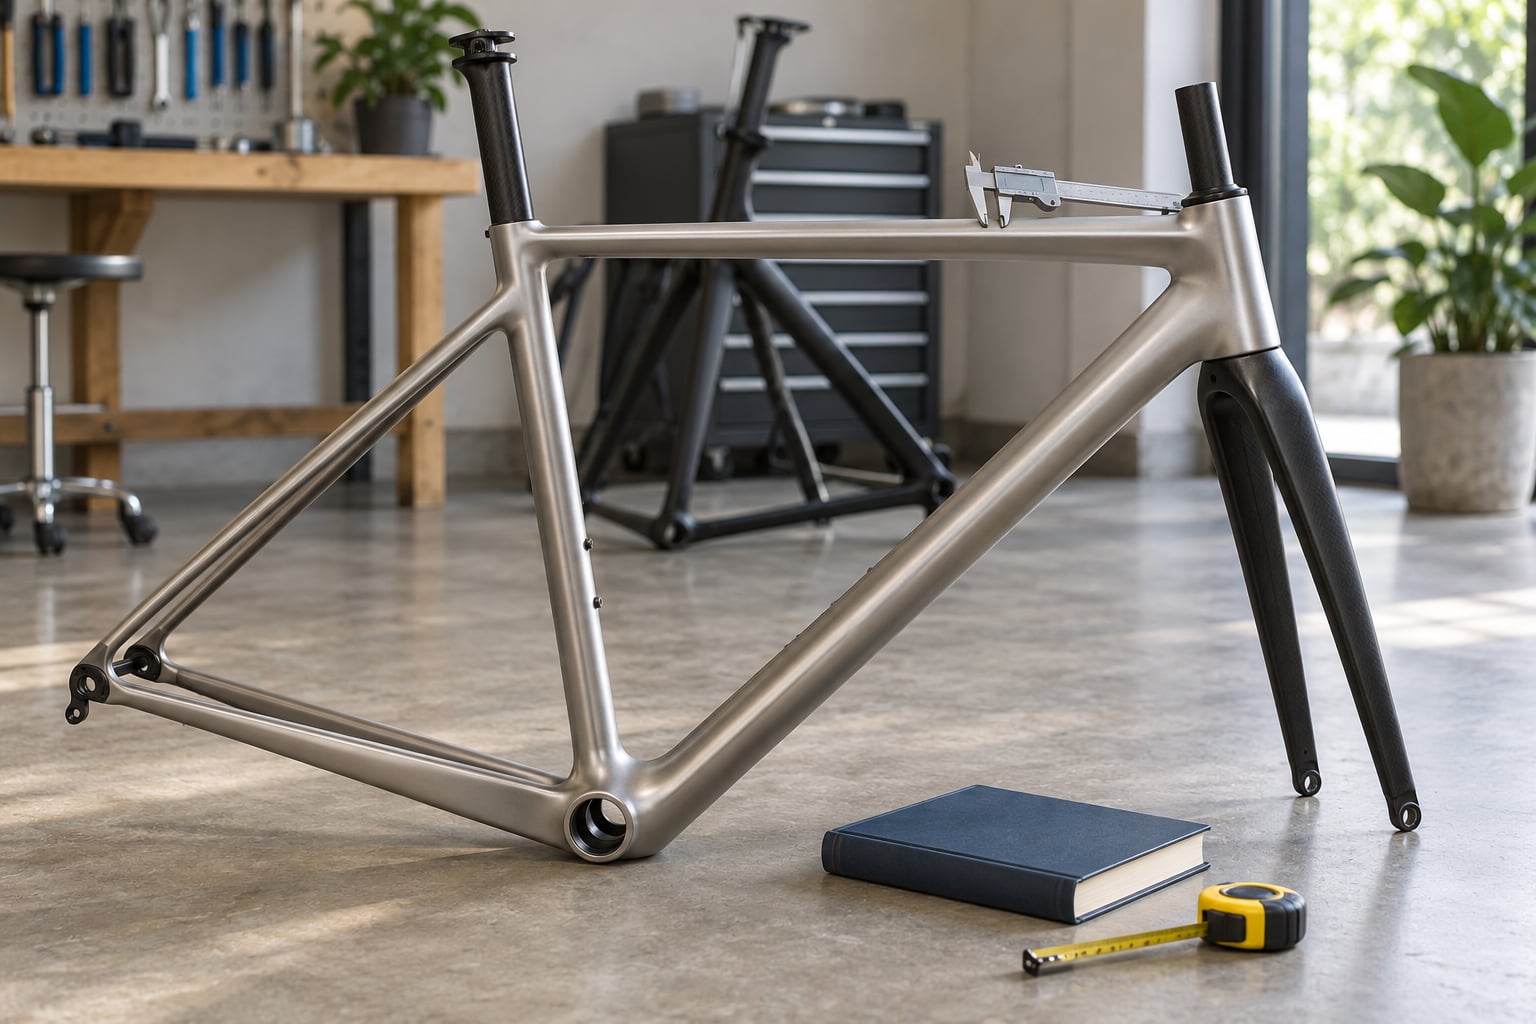
A tape measure, a hardback book, and a wall are all the tools the measurement needs. A stack and reach tool or an angle gauge helps but isn’t required.
How to Choose a Bike Frame Size Step by Step
Seven steps, in this order. Skipping ahead to the size chart is the most common reason riders end up on a frame that hurts.
1. Measure Your Inseam and Current Reach
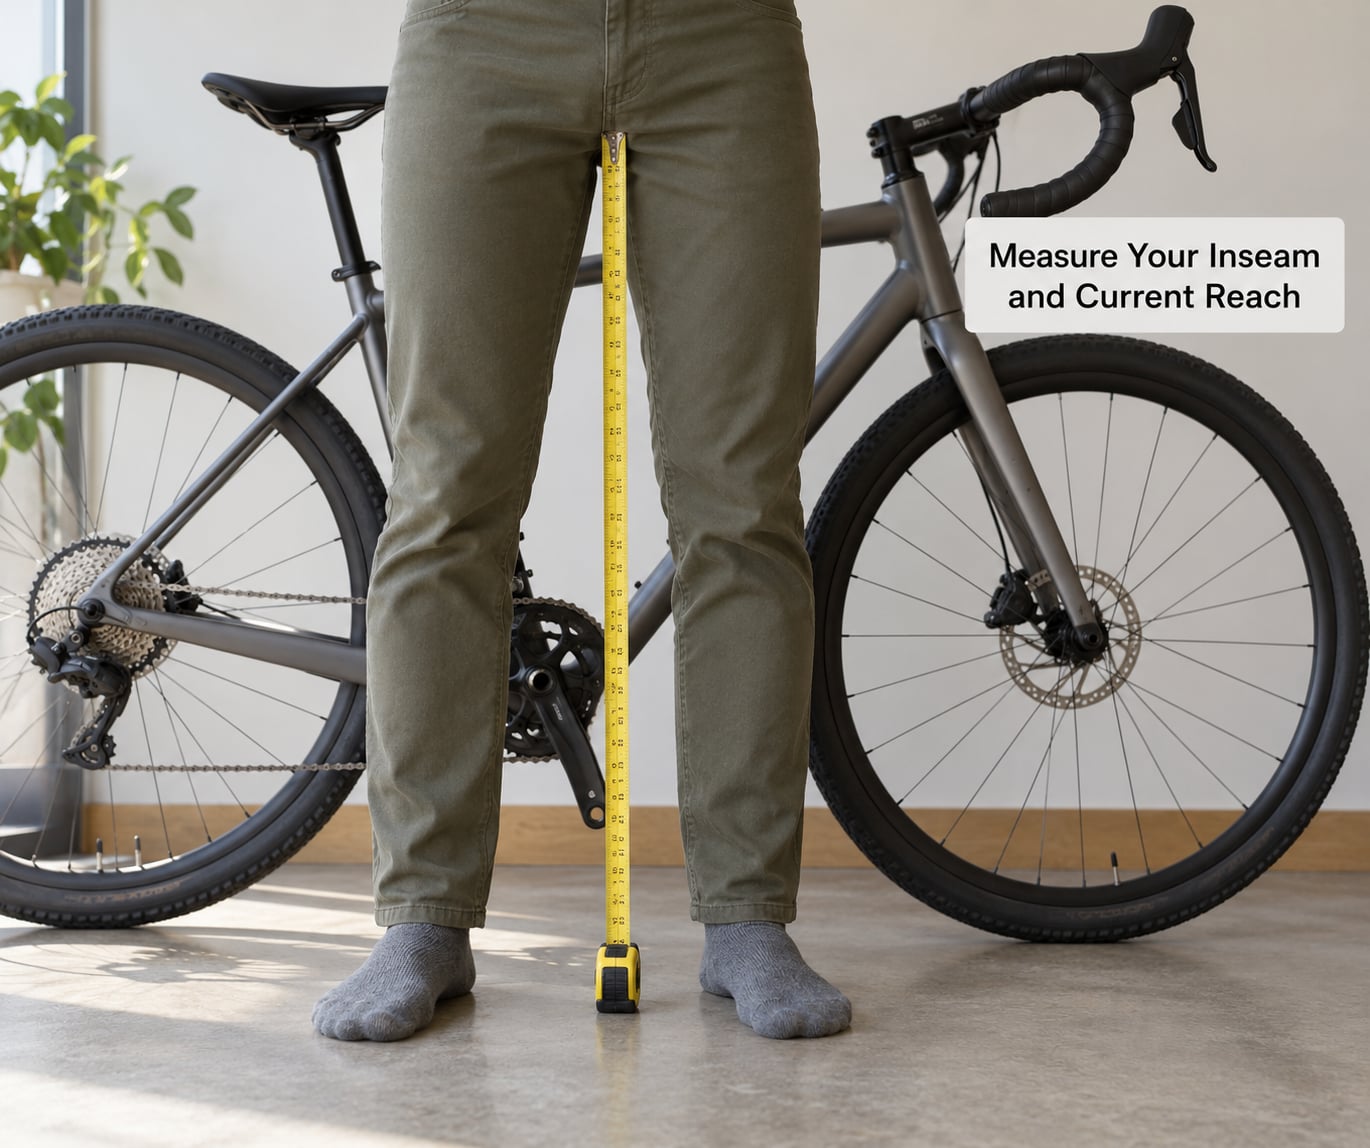
Stand against a wall in your normal riding trousers, feet about 15 cm apart, and place a hardback book between your legs with the spine up. Press it up until the spine contacts the crotch, then measure from the top edge of the book to the floor.
Do it three times. Inseam readings vary by a centimetre or two between attempts, and that variation is often the difference between two sizes.
Why inseam and not height? Because inseam is what determines how high the saddle has to sit for your legs to pedal properly. A rider with proportionally shorter legs for their height will always need a smaller frame than a height chart suggests, and one with a long torso and ordinary legs usually needs to go up rather than down. Riders with a long body consistently report sizing one below the chart.
Next, get the stack and reach of the bike you ride now, or at least its size label. Write both down. That is your baseline, and every later comparison is measured against it.
2. Define the Riding Position You Want
Decide whether you want a relaxed endurance position or an aggressive road-racing position, because those need different frames.
An endurance position has more upright torso, more stack and a shorter reach — elbows bent, hands resting lightly on the hoods. It suits long days, club rides and anyone who spends hours in the saddle. A racing position is lower and longer: more reach, lower stack, hands on the drops, back angle flatter.
Position needs drive the size. If you want to be low and stretched out, you need enough reach and enough room to drop the bars without running out of spacers. If you want upright, the same rider needs more stack and less reach.
3. Compare Frame Sizes by Geometry
Nominal sizes are not comparable across brands, which is why a 56 from one maker and a 56 from another can feel nothing alike.
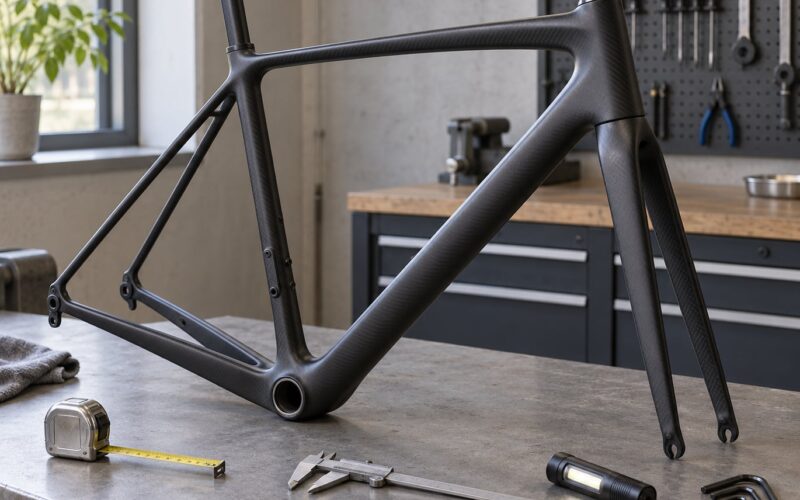
Two numbers carry most of the meaning. Stack is the vertical distance from the bottom bracket to the top of the head tube — how high the front end sits. Reach is the horizontal distance from the bottom bracket to the centre top of the head tube — how far the front end stretches in front of you.
Use them together with wheelbase and standover height. Here is a rough starting band to get you into the right product category; the geometry chart is what actually decides it.
| Rider height | Road / gravel (cm) | Mountain / hybrid | Typical inseam |
|---|---|---|---|
| 5’2″ – 5’4″ (157–163 cm) | 50 – 51 | S / 15.5″ | 68–72 cm |
| 5’5″ – 5’7″ (165–170 cm) | 52 – 53 | M / 16 – 17″ | 72–76 cm |
| 5’8″ – 5’10” (173–178 cm) | 54 – 55 | L / 17 – 18″ | 76–81 cm |
| 5’11” – 6’0″ (180–183 cm) | 56 | XL / 18 – 19″ | 81–85 cm |
| 6’1″ – 6’3″ (185–191 cm) | 56 – 58 | XL / 19 – 20″ | 85–89 cm |
| 6’4″ and above (193 cm+) | 58 – 61 | XXL / 20 – 22″ | 89 cm+ |
Once you have a candidate frame, compare its stack and reach to your current bike. If the new frame has noticeably more reach than the bike you are comfortable on, it will pull you forward. If it has less reach than the saddle-to-bar distance you already ride, expect to feel cramped.
One practical rule: to move the effective reach by about 10 mm without changing frames, a 10 mm stem swap does roughly the same job. That adjustment range is why adjustable cockpits rescue frames that are slightly off.
4. Check the Standover and Clearance
Stand over the top tube with both feet on the ground and check the gap between you and the frame.
For a road or gravel bike, a few centimetres of clearance at the top tube is enough since you will not be straddling it in the trail. On a mountain or hybrid bike, aim for 25 to 50 mm (1 to 2 inches) of clearance, more if you ride technical terrain. This is the formal test the retail guides quote, and it is the one most often skipped when buying online.
If the clearance is negative, the frame is too tall for you at that size. Dropping the saddle a little helps, but a frame that needs the saddle slammed is the wrong frame.
5. Test Saddle-to-Bar Distance and Handlebar Drop
Inseam alone cannot set frame size, and this step is where that becomes obvious.
Sit on the candidate bike in your riding position and check three things. Your elbows should be bent roughly 80 to 90 degrees with your hands on the hoods. You should be able to touch your toes to the top of the pedal easily at the bottom of the stroke, with a slight knee bend. And you should be able to look ahead without your neck craned upward.
Handlebar drop is the vertical distance from the top of the saddle to the hoods. Drop that is too great for your flexibility forces you to bend further at the waist than your back wants. Drop that is too small leaves you upright on a bike built for racing.
Compare that saddle-to-bar distance with your current bike. A number within about 10 mm is usually comfortable. Well beyond that and no amount of stem swapping will fix it.
6. Account for Flexibility and Comfort
Tight hamstrings and a stiff lower back limit how low you can go, and the frame you pick has to work within your current range rather than the range you wish you had.
If you cannot touch your toes with straight legs, an endurance frame with more stack and less reach will keep you upright and manageable. Riders who have had back injuries often find this the difference between a bike they ride and a bike they avoid.
There is a real difference between a frame that gives you a range of positions and one that forces a single uncomfortable posture. Frames with taller head tubes, more spacers and a shorter reach give you more ways to sit. Keep that adjustability in mind if you are between sizes — it is what lets you size down safely and dial the bars up later.
7. Take a Test Ride and Make Small Adjustments
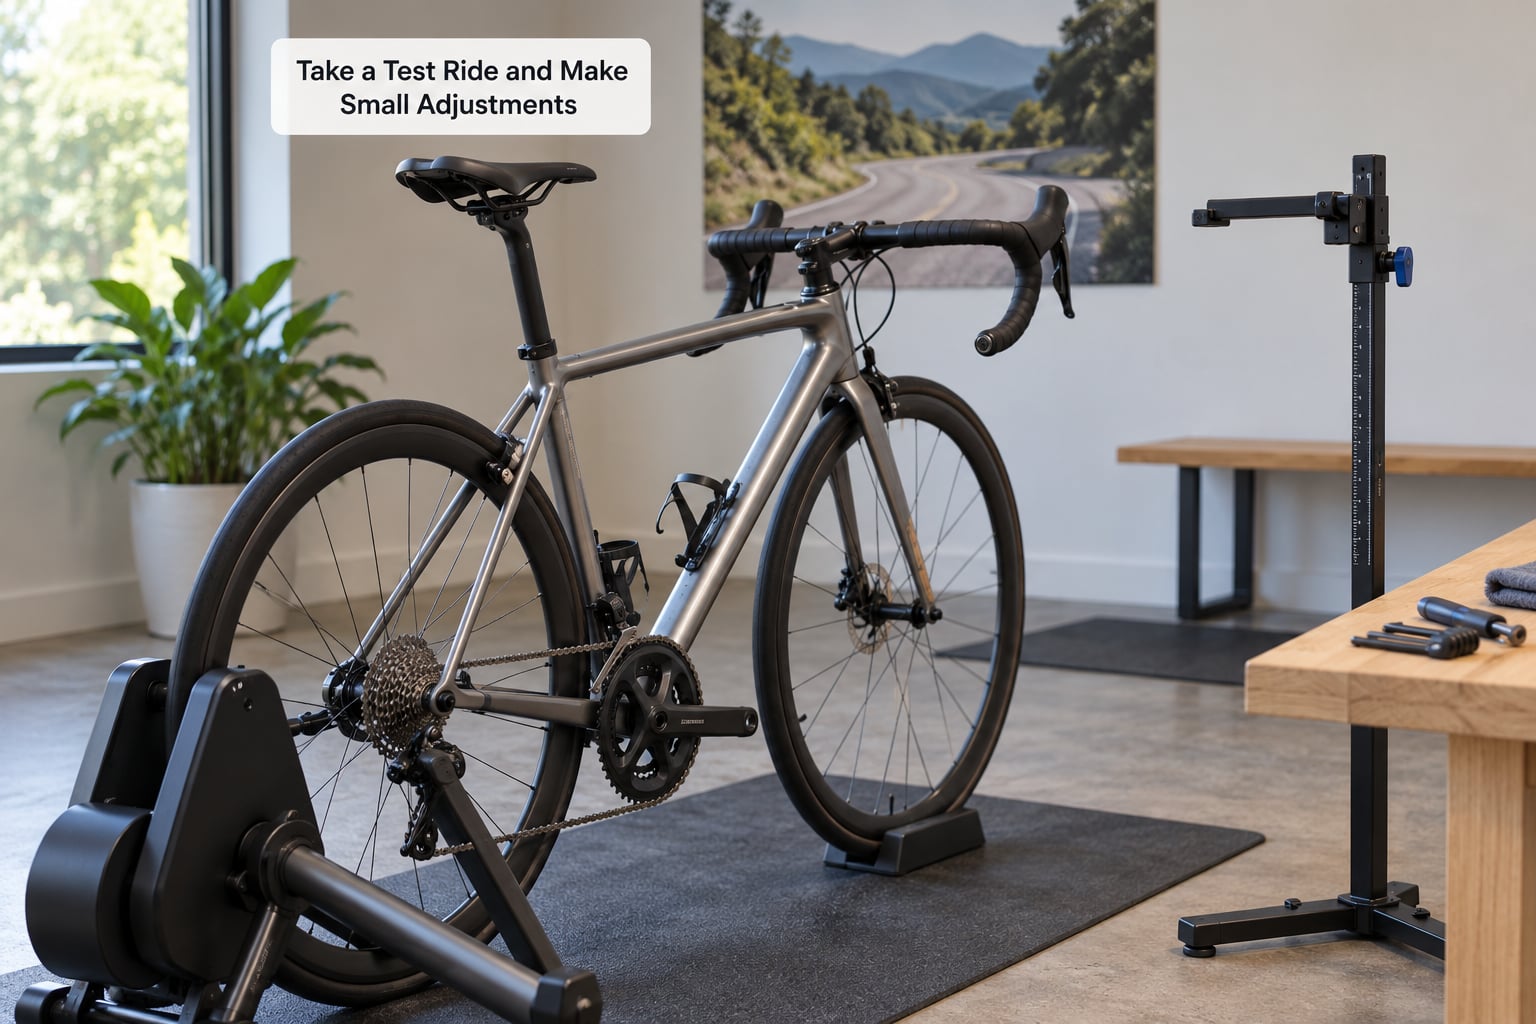
The numbers narrow the field. The ride settles it. Twenty minutes on rough tarmac and a climb tells you more than any chart.
On the ride, watch five things:
- Knee tracking — your knee should track over the pedal axle, not shoot forward or scissor inward.
- Back angle — comfortable but not locked rigid; you should be able to hold a neutral spine.
- Hand pressure — numbness in the hands usually means bars too low, too wide or both.
- Reach to the controls — easy to reach the brake levers from your normal hand position without moving your shoulders.
- Comfort over an extended ride — what feels fine at ten minutes can be a problem at ninety.
Then make small adjustments in this order: saddle height, saddle fore and aft, stem length, spacer height. Each is worth 5 to 10 mm. Bar tape and saddle width matter as much as the frame for comfort, and a wider saddle can resolve knee pain caused by twisting on a too-narrow one. If you are still guessing, a professional bike fit is worth it — especially if you ride with knee pain, numbness or a previous back injury.
Common Mistakes
These five errors account for most of the badly sized bikes on the road.
Choosing by height alone. Height sets a starting band and nothing else. Two riders of the same height can need two different sizes if their inseams, torsos or arm lengths differ. Correct it by adding the inseam measurement to every size chart you look at, then check the ratio: a rider whose inseam is more than about 8 cm below what their height predicts needs to check smaller frames, and long-torso riders often need to move up rather than down.
Assuming all brands run the same. A medium is not a measurement, it is a marketing shorthand. Riders comparing an XS recommendation from one online tool against a medium from a chart should trust neither blindly — look at the stack and reach figures for each and compare both to the bike they already ride comfortably. When two tools disagree, the geometry numbers are the tie-breaker.
Buying a frame that cannot reach the position you need. A frame with a very low stack and no spacers left cannot be raised once it is built. Correct it by checking the spacer stack and stem length in the geometry chart before buying, and confirm the intended saddle-to-bar distance is reachable with a seatpost that fits inside the frame.
Ignoring standover and flexibility. Riders chase reach numbers and ignore stack and drop. All three matter, and one of them decides whether you can mount the bike at all. Measure standover clearance properly, and pick the position you can actually hold for hours.
Judging fit from a photo or a spec sheet. Sit on the bike. A bike can be numerically perfect and still not suit your body, and no photograph tells you how the saddle feels under you.
Frequently Asked Questions
What if I am between two bike frame sizes?
Take the smaller frame if you value handling and want to sit upright, and the larger if you want more room to stretch out. The deciding factor is flexibility: shorter riders and riders with limited hamstring range are better served by the smaller frame plus a stem swap, while longer-limbed riders usually stretch out on the larger one. Check that the chosen frame has enough spacers and a long enough seatpost to reach the position you want before you commit.
Is frame size based on inseam or height?
Both, but inseam does more of the work. Height gives you a rough starting band; inseam sets how high the saddle must sit for your legs to pedal properly, and that saddle height is what the frame has to accommodate. Height alone misleads riders whose legs are short or long for their frame. Use inseam as the primary input and height as the sanity check.
Why do two 56 cm frames fit differently?
Because 56 cm is a label, not a measurement. Two frames with the same seat tube length can have very different stack and reach depending on head tube shape, sloping frame design and fork geometry. A 56 with 590 mm of reach will feel stretched out to a rider whose current bike has 575 mm. Always compare the geometry chart figures between frames instead of trusting the size number.
Should I size up for comfort or performance?
Size up if you want a lower, longer position and have the flexibility to hold it; size down if you want an upright, stable position for long hours in the saddle. Most riders are happier in the smaller frame with a slightly longer stem, because the position is adjustable afterwards but a frame that is too tall cannot be lowered as easily. Test both if you can.
Can I change a frame size later?
No. Frame size is fixed when you buy the frame, and only the parts bolted to it can change. Saddle position, stem length, spacers, handlebar width and crank length are all adjustable, so a frame that is slightly off can often be dialled in. A frame that is genuinely the wrong size, too tall or too long to reach the position, cannot be fixed with parts. Get it right the first time.
Do different types of bikes use the same sizing method?
The method is the same, the numbers are not. Road and gravel bikes are labelled in centimetres and sized around stack and reach. Mountain and hybrid bikes use inches or S, M and L labels and include standover height as a formal criterion. Kids bikes are often labelled by wheel diameter, so 20, 24 and 26 inch describe the wheel, not the frame, which is a common source of confusion.
Conclusion
Start with the two numbers: your height and a careful inseam measurement. Land on a starting size, pull the stack and reach for every frame you are considering, and compare those against the bike you already ride comfortably. Check standover clearance and the saddle-to-bar distance before you commit, then finish with a test ride. If anything still feels wrong after that, a professional bike fit will find in an hour what a size chart cannot.
Learning how to choose a bike frame size properly takes one evening, and it is the difference between a bike you enjoy riding and one you tolerate.