A gear ratio is the number of teeth on your front chainring divided by the number of teeth on the rear cog, so a 34T chainring on a 34T sprocket gives a ratio of 1.0. To choose gear ratios for long rides, work out the ratio your steepest sustained climb demands, keep your cadence between about 60 and 85 rpm at that gradient, then check the rest of the range for steady pedalling on the flat.
Most people get this wrong in one of two directions. They buy a bigger cassette without checking the rear derailleur can take it, or they leave enough range that they can sit and spin on a six-hour climb at hour five.
The fix is a repeatable method rather than a favourite chainring. This guide walks through it: cadence baseline, route mapping, comparing low, middle and high gear options, chainline and cross-chaining, a field test before you spend anything, and what to change first when the setup is not right.
Table of Contents
- What You Need Before You Compare Setups
- Step-by-Step: Choosing Gear Ratios for Long Rides
- How to Choose Gear Ratios for Long Rides by Starting With Your Usable Cadence
- Map Your Route’s Demands
- Compare Low, Medium, and High Gear Options
- Check Clearance Between Gears
- Test the Setup on Familiar Roads
- Make Fine Adjustments for Your Long-Ride Goal
- Common Mistakes in Long-Ride Gearing
- Frequently Asked Questions
- What gear ratio is best for long rides?
- Should I pedal at the same cadence on flats and climbs?
- Is a lower gear ratio always better for a century?
- How do I avoid cross-chaining on a long ride?
- Do I need special gearing for a double century?
- How do I choose between a compact and subcompact drivetrain?
- Conclusion
What You Need Before You Compare Setups
You need five things on the table before gear ratios mean anything. Without them you are comparing numbers that describe different bikes and different riders.
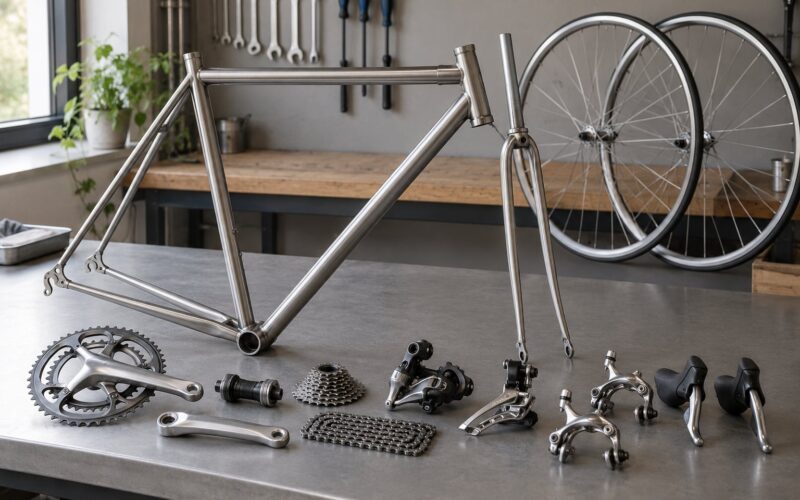
- The teeth you already have. Chainring tooth counts, cassette range including the largest cog, and whether the drivetrain is 1x or 2x. Write them down; everything else is arithmetic from there.
- Your rolling diameter. A ratio means nothing on its own, because a 700c road wheel and a 29er gravel wheel turn a different distance per crank revolution. Multiply the ratio by the wheel diameter in inches and you get gear inches, also called gear development, which is the only honest way to compare two bikes.
- The route’s gradient profile. Not the total elevation, the steepest stretch you expect to hold for more than a minute.
- Your loaded weight. Rider plus bike plus water plus tubes, rain jacket and food. For a single long day ride that is usually 5 to 10 kg above your unladen weight.
- A cadence baseline. The rpm you can hold for three hours without your knees complaining.
Two hardware numbers come later, once you have picked a candidate: the freehub body your frame accepts, and the total capacity of your rear derailleur. Total capacity is the chainring difference plus the cassette difference, which is how much chain slack the derailleur cage has to absorb.
Riders on the CyclingUK forum work in exactly these terms. One post walked through a 32T chainring driving an 11T sprocket on a 26 inch wheel to get a 76 inch top gear, and the same 32 ring on a 36T cog gave a 23 inch low gear.
Step-by-Step: Choosing Gear Ratios for Long Rides
How to Choose Gear Ratios for Long Rides by Starting With Your Usable Cadence
Start from the cadence you already ride at, not from a number you read somewhere. Sit on a long flat ride and note your rpm when you feel settled rather than when you just sprinted out of a town. That is your baseline.
For endurance riding, 60 to 85 rpm is the useful band. Below about 55 rpm on a climb you are grinding, your knee torque climbs sharply and the ride stops being sustainable for hours. Above roughly 100 rpm you are spinning past the point where power output improves much, and it burns more energy over the same distance.
Crank length changes this. Longer cranks at the same seat height give more leverage, so the gear feels easier at the same tooth count and you can sit lower for the same ratio. Shorter cranks do the opposite. If you are between sizes, a small crank change often solves an easy-feeling-climb problem more cheaply than a new cassette.
One caution about the 80 to 90 rpm figures you see in gravel and road marketing: those suit fresh riders on short rides. Your long-ride target should be the low end of that range, because your cadence is the first thing to collapse as the day goes on.
Map Your Route’s Demands
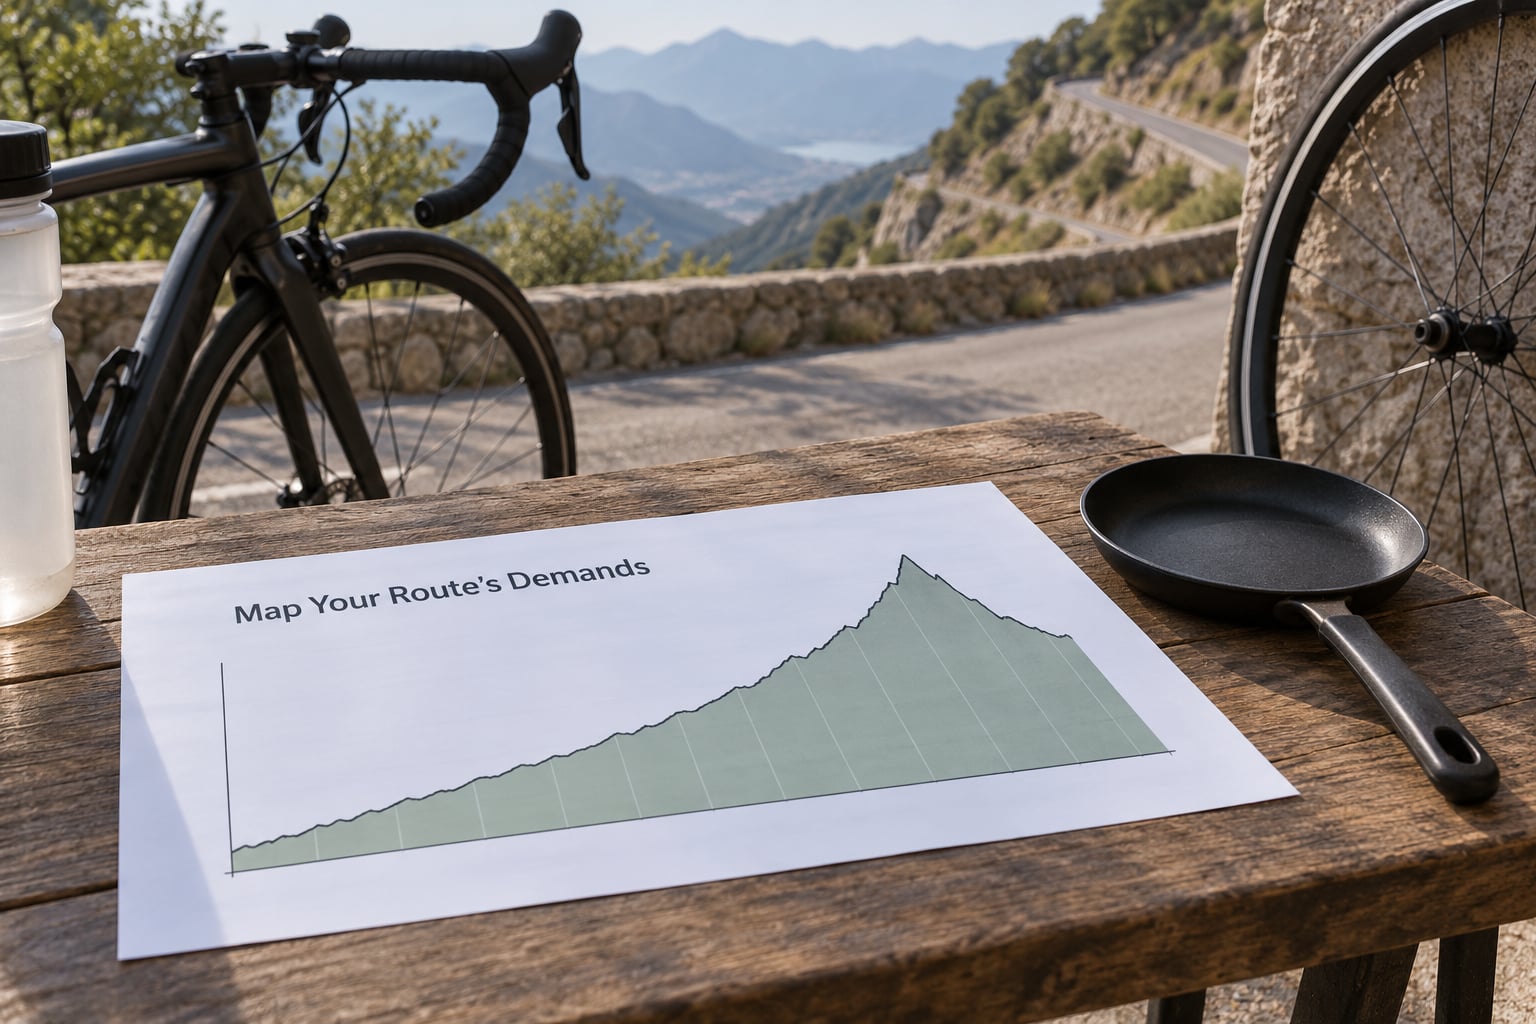
Sort the route into five categories, because each one asks for a different gear. Flats and tailwinds need a high ratio you can hold at your baseline cadence without going over about 95 rpm. Rolling terrain needs close steps so you can find a gear in every gear of the roll. Climbs need a low ratio that holds 60 to 75 rpm. Long descents after a hard block need a top gear with margin. Headwinds, which riders forget until they are in them, are a flat-road problem solved with a lower ratio.
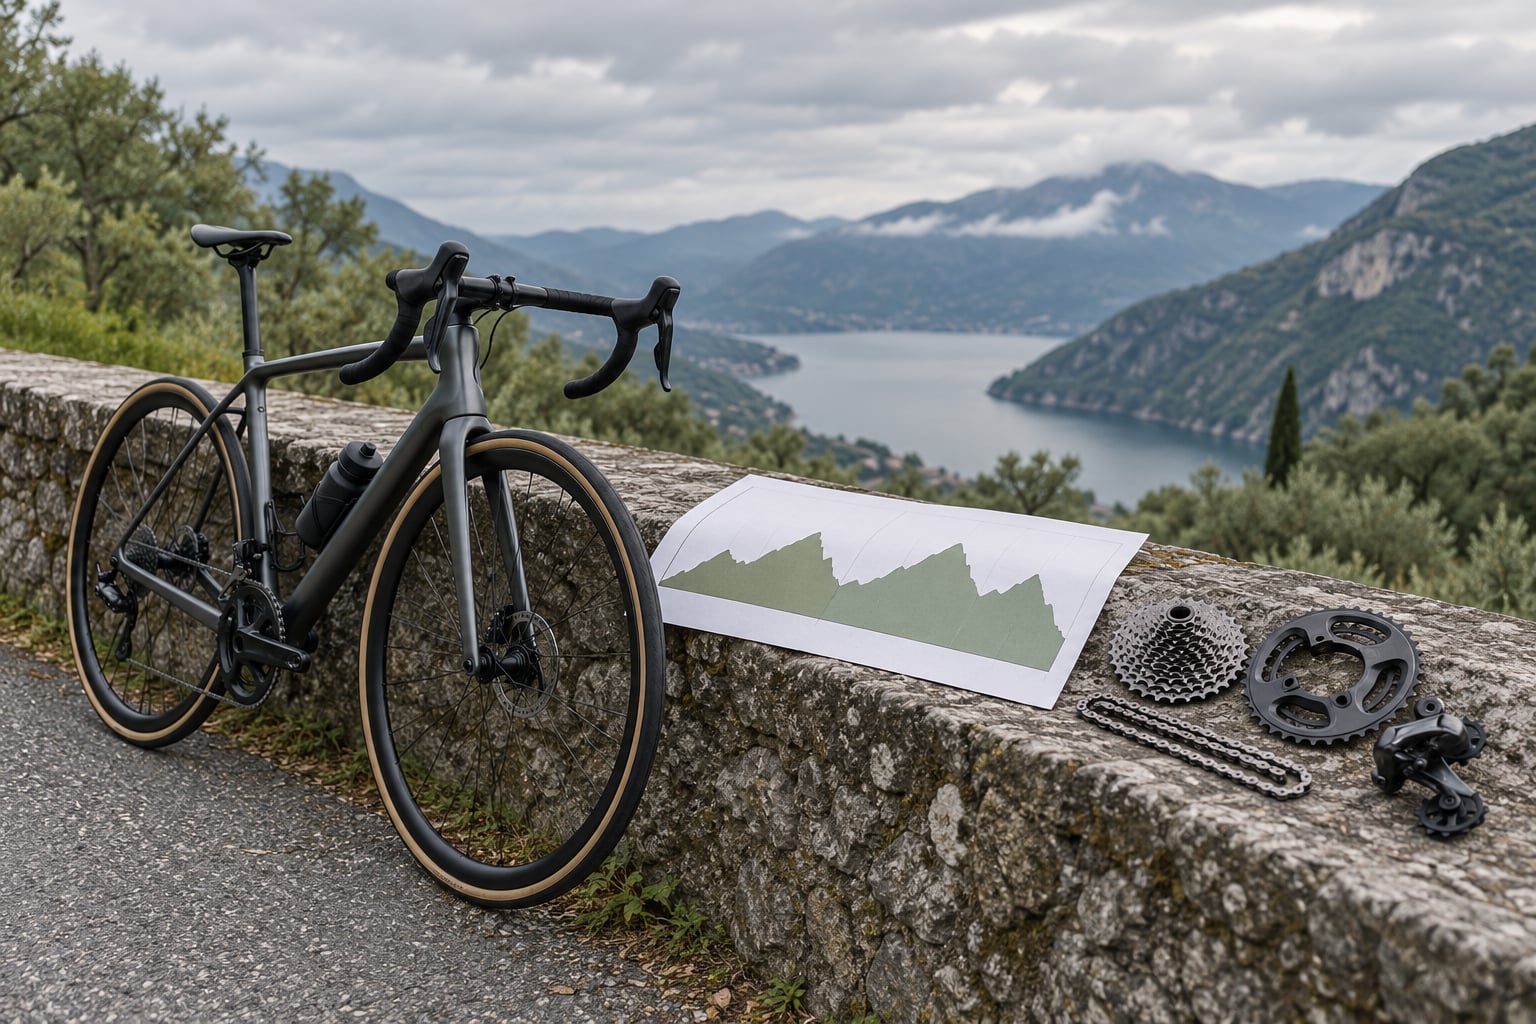
The useful number is the steepest gradient you will hold for more than about a minute. Grab it from a route planner’s gradient view, or look for the section that feels longest rather than steepest. A 12% ramp lasting 200 m is easier to gear for than a 15% wall lasting 40 m, because the wall is a burst and the ramp is a workout.
Once you have the gradient, the chain is short. Gearing sets your speed; gradient sets the power you need to hold that speed. For a system weight of 85 kg, rider plus bike plus a few kilos of kit, a rider holding roughly 250 W covers about these speeds on these gradients:
| Sustained gradient | Speed at about 250 W | Gear inches at 75 rpm | Example combination |
|---|---|---|---|
| 0% | about 35 km/h | about 99 in | 50T with 14T |
| 2% | about 26 km/h | about 74 in | 50T with 18T |
| 3% | about 25 km/h | about 71 in | 34T with 13T |
| 5% | about 17 km/h | about 48 in | 34T with 19T |
| 8% | about 12 km/h | about 34 in | 34T with 27T |
| 10% | about 10 km/h | about 28 in | 34T with 33T |
| 12% | about 8 km/h | about 23 in | 34T with 40T |
| 15% | about 6.5 km/h | about 18 in | 30T with 44T |
A century with 3,000 ft of climbing usually tops out around 10 to 12%. A double century in the mountains can hit 15% on a road that stays steep for a kilometre, and that is the number that should set your low gear. A flat 200 km route in a headwind barely needs a low gear at all, and a setup chosen for it will leave you grinding on any surprise ramp.
Add your load before you decide. The bicycle-touring-guide forum threads put it plainly: recommended high and low gear inches run from 125 and 30 with no load, down to 100 and 18 for a heavy expedition setup. For a single long day ride, expect to shift roughly 10 to 15% toward the harder end.
Compare Low, Medium, and High Gear Options
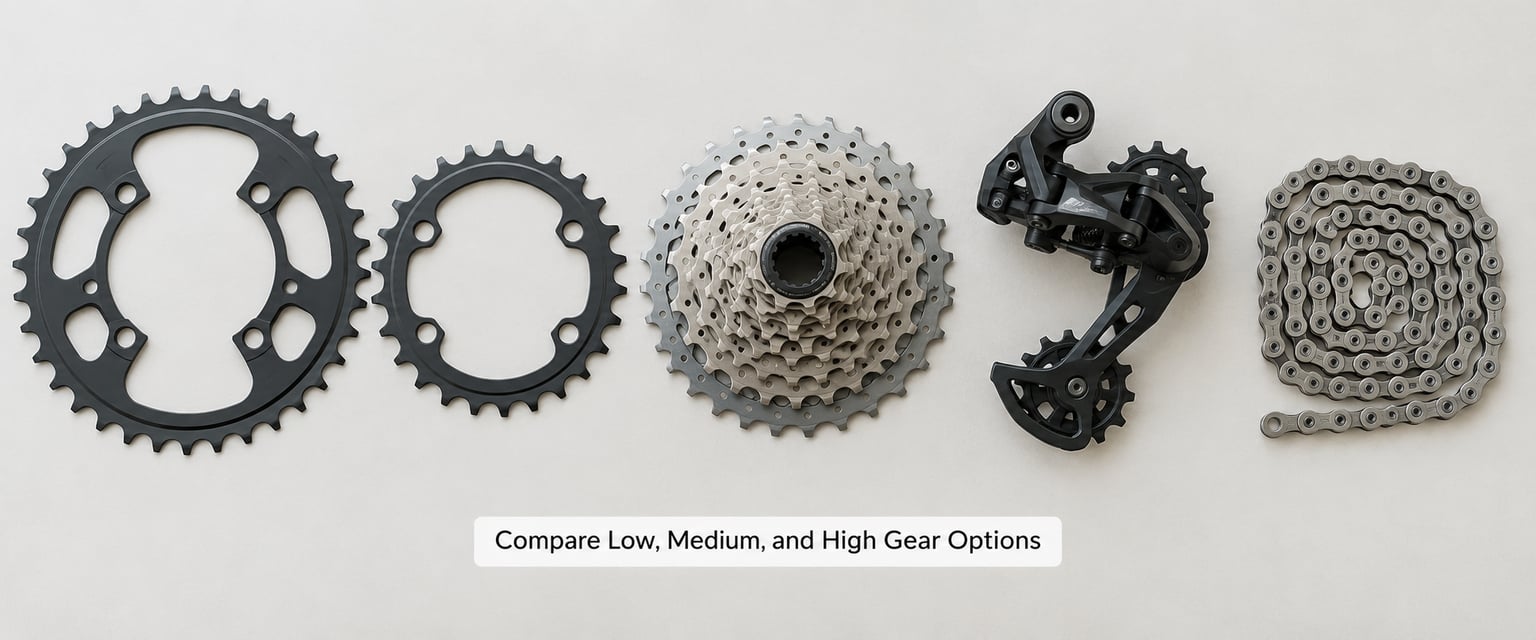
A low gear ratio is a small number, usually near or below 1.0, and it makes pedalling easier by turning the wheel fewer times per crank revolution. A high ratio is a big number, often 3 or more, and it gives you more distance per pedal stroke. The whole spread between them is your gear range.
Here are nine real long-distance setups expressed as ratios and gear inches on a 700c wheel with a nominal 27 inch diameter:
| Setup | Lowest ratio | Low gear inches | Highest ratio | Suits |
|---|---|---|---|---|
| 50/34 with 11-28 | 1.21 | 33 in | 4.55 | Flat to rolling, fast |
| 50/34 with 11-32 | 1.06 | 29 in | 4.55 | Rolling club rides |
| 50/34 with 11-36 | 0.94 | 25 in | 4.55 | Mixed terrain days |
| 52/36 with 11-34 | 1.06 | 29 in | 4.73 | Hilly, with a higher top end |
| 50/39/30 with 11-34 | 0.88 | 24 in | 4.55 | Centuries with real climbs |
| 46/30 with 11-36 | 0.83 | 23 in | 4.18 | Long days, loaded |
| 40T with 10-44 | 0.91 | 25 in | 4.00 | 1x, mixed road and gravel |
| 40T with 11-50 | 0.80 | 22 in | 3.64 | Bikepacking and loose climbs |
| 48/36/26 with 11-34 | 0.76 | 21 in | 4.36 | Fully loaded touring |
Two things fall out of that table. First, anything below 1.0 is the practical threshold for steep pavement. Riders on r/cycling describe a ratio under 1.0 as the point where you can stay seated and spin rather than get out of the saddle and grind, and on loose gravel they want to go lower again. A 0.83 low gear with 46/30 meets that for most century routes; 0.76 covers loaded touring.
Second, the top gear matters more than most riders expect. On a long descent after four hours of climbing, a top gear that is right when you are fresh can have you spinning at 110 rpm with your legs already cooked. Leave roughly 10% of margin: if your fastest flat cruising speed comes from 50T with 15T, a 16T or 17T gives you the same cruise with less spinning.
On 1x versus 2x for long rides, the honest summary is range against steps. A 1x drivetrain gives you every gear in one clean chainline, no front derailleur to trim and fewer things to service on a trip where you cannot easily get a spare. A double gives you smaller jumps between gears in the middle of the range, which is why many century riders prefer 50/34 with 11-32 over a 40T with an 11-40. Several r/bicycletouring riders run 11-34 cassettes with older triple cranksets and report no trouble across multi-day tours, so the forum consensus is that either layout works if the extremes are right.
Check Clearance Between Gears
Adjacent gears should differ by a small enough percentage that you can find one you like. Multiply a gear ratio by the size of its neighbour to see the gap. On an 11-34 cassette the steps run roughly 9 to 12% apart, which most riders never notice because the middle of the cassette is dense.
On a double crankset the middle is where you get overlap. With 50/34 and 11-34, the 34 ring against the 11 to 15 cogs is nearly duplicated by the 50 ring against the 16 to 22 cogs. That redundancy is not a flaw; it is what lets you hold one cadence across rolling terrain.
Chainline decides what you should use. On a compact double, the big ring lines up with the middle of the cassette and the small ring with the largest cogs. Cross-chaining into the extremes, big ring with the big cogs or small ring with the small cogs, tilts the chain sharply, adds noise and wears both chain and cassette faster. Riders on r/bicycling give the rule plainly: avoid the far opposite side of the cassette. When you shift, try to cross the cassette in the middle rather than staying on the outside for hours.
Test the Setup on Familiar Roads
Field testing before buying is the cheapest step and the one most people skip. Riders on bicycles.stackexchange settle gearing questions with timed runs on a familiar climb, and that is a sound method.
Pick one route you have ridden many times with three segments: a flat of at least two kilometres, a climb you know the grade of, and a descent long enough to reach your top gear twice. Ride it three times and write down four numbers each time.
- Your cadence on the flat, settled, not sprinting.
- Your cadence on the climb at the bottom, at the top, and what it fell to when you were most tired.
- The rpm you hit on the descent when fresh, and the rpm you hit on the same descent later in the day.
- Anything your knees or back told you, in writing, because you will forget.
The setup is right if the worst cadence on the climb stays at or above about 60 rpm, if your flat cadence sits between 70 and 90, and if the descent rpm peaks below about 100 even at the end of the day. Signs it is wrong: grinding below 55 rpm on a gradient you have ridden before, spinning above 100 rpm on a flat, chain slap, or a shift that hesitates under load at the bottom of a climb.
Do the test on your real setup before changing anything. Riders who change chainring, cassette and crank at once cannot tell which change helped, and then they buy a fourth part.
Make Fine Adjustments for Your Long-Ride Goal
Work through changes in cost order, cheapest and least disruptive first.
Shift your cadence instead of buying parts. If your low gear is 0.94 and the climb needs 0.85, dropping from 80 rpm to 70 rpm covers most of that difference. On long rides, being able to vary your cadence across a gradient is worth more than the perfect gear.
Go to a bigger cassette first. An 11-34 or 11-36 gives a lower gear and keeps the top gear. Riders on r/bikepacking report that moving to an 11-42 was a bigger improvement than changing cranks. Before you buy, check the rear derailleur’s total capacity: chainring difference plus cassette difference must fit inside the cage capacity, or the derailleur will hang low and shift badly under load.
Then change the inner chainring. Going from 50/34 to 50/39/30 or to 46/30 adds about 15% at the bottom without touching the cassette. A 1x rider has no equivalent move except a smaller chainring, which also lowers the top gear, so 1x riders should start with the cassette.
Check the freehub body before anything else. Shimano HG takes an 11T smallest cog, SRAM XD takes down to 10T, XDR down to 10T, and Micro Spline down to 10T with a different spline count. Buying a 10T cassette for an HG freehub means a new wheel, which turns a cheap gearing change into an expensive one.
Crankset or groupset last. Only worth it if you are changing range and steps and compatibility at once. One CycleChat thread captures the budget version of this decision: a 34T chainring with a 10-42 cassette for day use, swapping to a 28T for touring when the panniers come off.
Common Mistakes in Long-Ride Gearing
Choosing by ratio alone. A 2.1 ratio sounds modest until you learn it is a fast road gear on a 700c and a granny gear on a 29er. Compare gear inches across bikes, always.
Being afraid of small gears. On pavement, a ratio below 1.0 is reachable at 55 to 60 rpm on gradients most riders would rather not grind up. Riders on r/cycling treat anything below 1.0 as the sensible floor for steep road, and lower for loose surfaces.
Chasing a universal cadence. There is no target that is right for everyone. The number that matters is the one you can hold for five hours, and for a lot of riders that is nearer 70 than 90.
Cross-chaining for hours. Big ring on the big cogs or small ring on the small cogs wears drivetrains out early and rattles through the second half of a ride. Shift across in the middle of the cassette.
Changing four things at once. Swap one component, ride the same three segments, compare. Otherwise you learn nothing and own more parts than you started with.
Gearing for hour zero and forgetting hour four. This is the long-ride mistake nobody warns you about. A gear that felt comfortable in the first hour is the gear you will be grinding in at km 140. Size the low gear for your tired self, and leave margin on the top gear for descents after a hard block.
Two practical tips worth keeping. Buy a chain checker and check chain wear before you blame your gearing for feeling slow; a worn chain and cog under load that you cannot find a gear in is a drivetrain problem, not a gear ratio problem. And when a new cassette goes on, fit a new chain with it, because the old chain is stretched and will skip under the new cogs.
Frequently Asked Questions
What gear ratio is best for long rides?
For most century routes, a low gear between 0.80 and 1.0 works well, paired with a top gear high enough to hold 30 km/h on a flat without spinning past 95 rpm. Compact doubles such as 50/34 with 11-32 give a 1.06 low gear for rolling routes, while 46/30 with 11-36 drops to 0.83 for loaded days and steeper climbs. Match the low gear to your steepest sustained gradient, not to a brand.
Should I pedal at the same cadence on flats and climbs?
No, and trying to is one reason riders get tired on long days. On a climb you naturally settle lower, often 60 to 75 rpm, because holding 90 rpm up a 10% gradient needs far more power than you have. On the flat you hold 80 to 90 rpm. What should stay steady is the effort you can sustain, not the rpm. Shifting into a slightly harder gear to hold a higher cadence on a climb usually just burns your legs faster.
Is a lower gear ratio always better for a century?
Not always. A very low gear means a smaller jump between cogs and a lower top gear, so on a flat 200 km route with no real climbs you spend the day in a gear that is far too hard to pedal comfortably. Find your steepest sustained gradient first, pick a low gear that holds 60 to 75 rpm there, then keep the top gear high enough for your fastest flat cruising speed with a little spinning margin.
How do I avoid cross-chaining on a long ride?
Cross-chaining means running the big chainring with the large cogs, or the small ring with the small cogs, which tilts the chain, adds noise and wears the chain and cassette faster. On a compact double, keep the big ring on roughly the middle cogs and the small ring on the largest ones, and make sure your cross-chained gears at both extremes are not used together. On 1x there is no front derailleur, so a wide-range cassette makes this problem disappear entirely.
Do I need special gearing for a double century?
You need more range and a lower gear, but you do not need different components unless your longest ride exposed a gap. Double centuries usually have longer sustained climbs, so aim for a low gear around 0.76 to 0.83, such as 46/30 with 11-36, or a 30T inner with an 11-40. Loaded riders should also expect to shift their target 10 to 15% harder. Carry a spare chain and derailleur hanger on any self-supported double century.
How do I choose between a compact and subcompact drivetrain?
Choose a compact 50/34 or 52/36 if your steepest sustained gradient is around 10% and your rides are unladen or lightly loaded. Choose a subcompact 50/39/30 or 46/30 when you ride loaded, ride in the hills regularly, or want a lower gear for the same cassette. Check the rear derailleur capacity before either, because a bigger cassette needs a bigger capacity figure to shift reliably under power.
Conclusion
Choosing gear ratios for long rides comes down to three numbers: your comfortable cadence, the gradient you will actually climb late in the day, and the weight you will be carrying. Set the low gear from the second number, check the top gear has margin, then confirm it on a route you already know before you spend money.
Start by riding your usual loop and writing down your worst cadence of the day. That single number, usually lower than you expected, tells you whether your current gearing already suits long rides or whether a bigger cassette is the first change worth making.