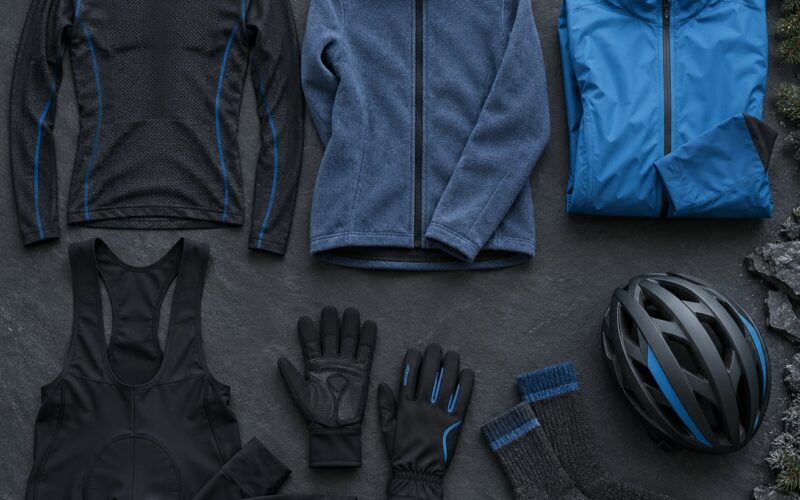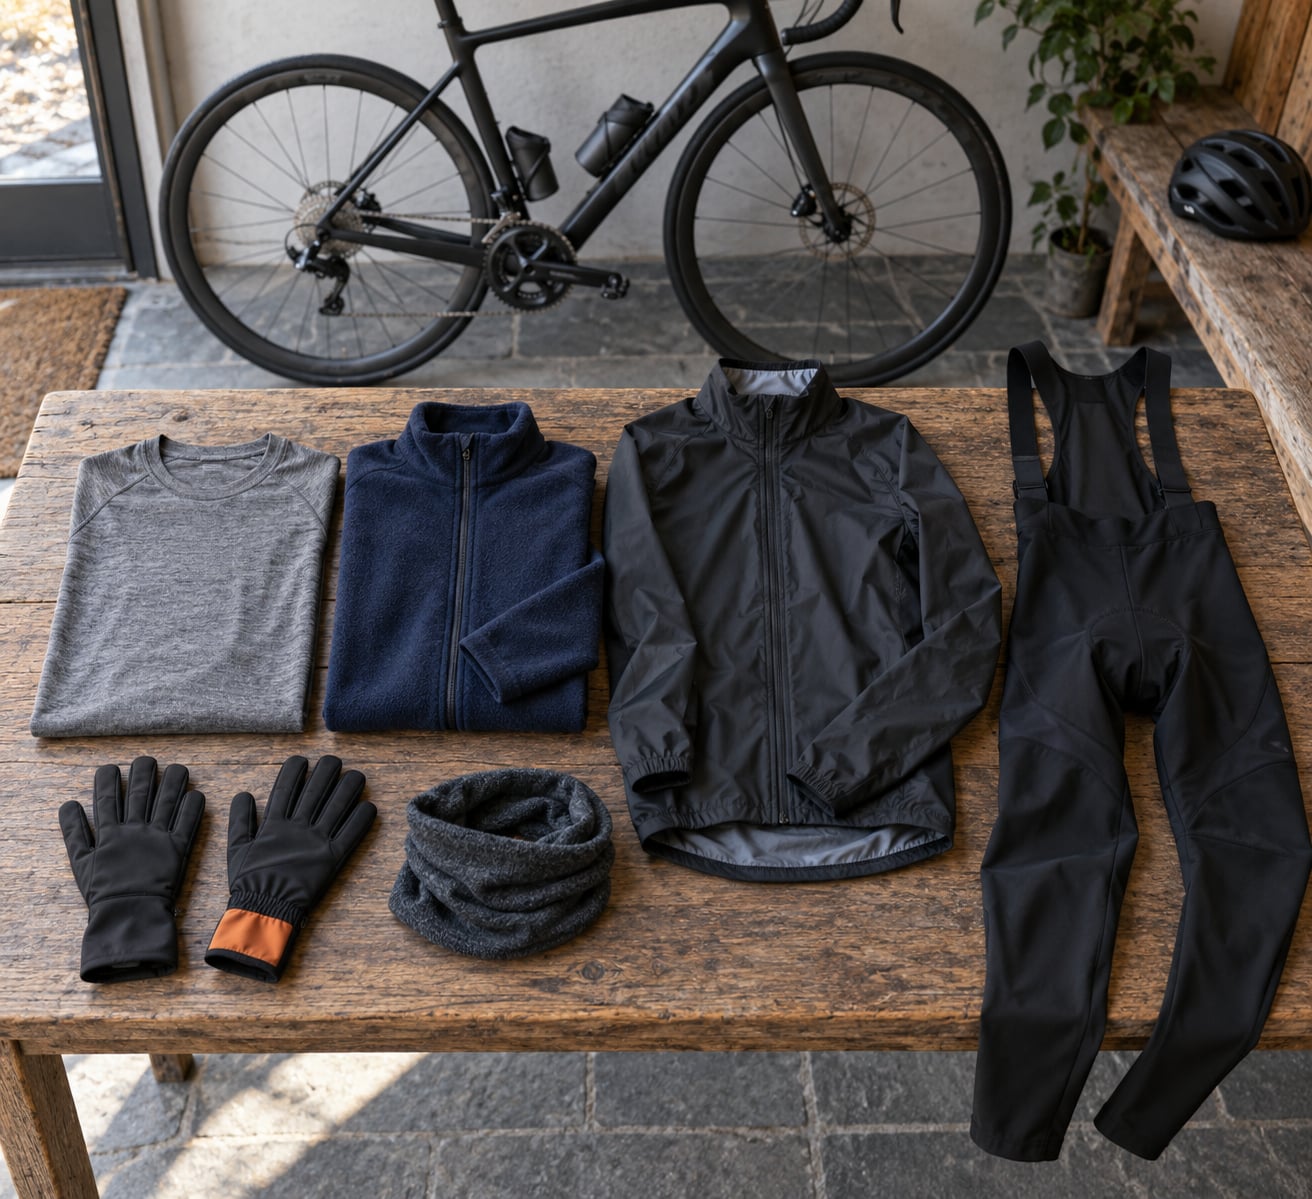
Three layers do almost all the work: a moisture-wicking base layer, an insulating mid layer, and a windproof or waterproof outer shell. Add a gilet or warmers when it turns mild, gloves and overshoes when it does not. That adjustable setup is the whole point, because you make far more heat at 20 mph than you do standing still, and a single heavy jacket cannot be turned down.
This layering guide for winter bike rides covers what each layer actually does, which fabrics to pick, what changes with temperature, and what to do with your hands, feet, head and neck once the thermometer drops toward freezing.
Table of Contents
- What should you wear for winter bike rides?
- How do base layers keep winter cyclists dry?
- Which midlayer works best on a winter ride?
- What outer layer should I choose for wind, rain, and cold?
- How do you dress your legs, hands, head, and neck?
- How should you adjust layers for climbs, descents, and rain?
- Five layering mistakes that leave you cold and sweaty
- How do you test a winter layering system before a long ride?
- How the same system changes by ride type
- Where spending actually matters in a winter kit
- Frequently Asked Questions
- What is the 75% rule in cycling?
- Should I wear a base layer when cycling in winter?
- Is cotton bad for cycling in the cold?
- Why do my hands and feet get so cold on winter rides?
- How cold is too cold to ride a bicycle?
- Are thermal leggings warmer than bib tights?
- Conclusion
What should you wear for winter bike rides?
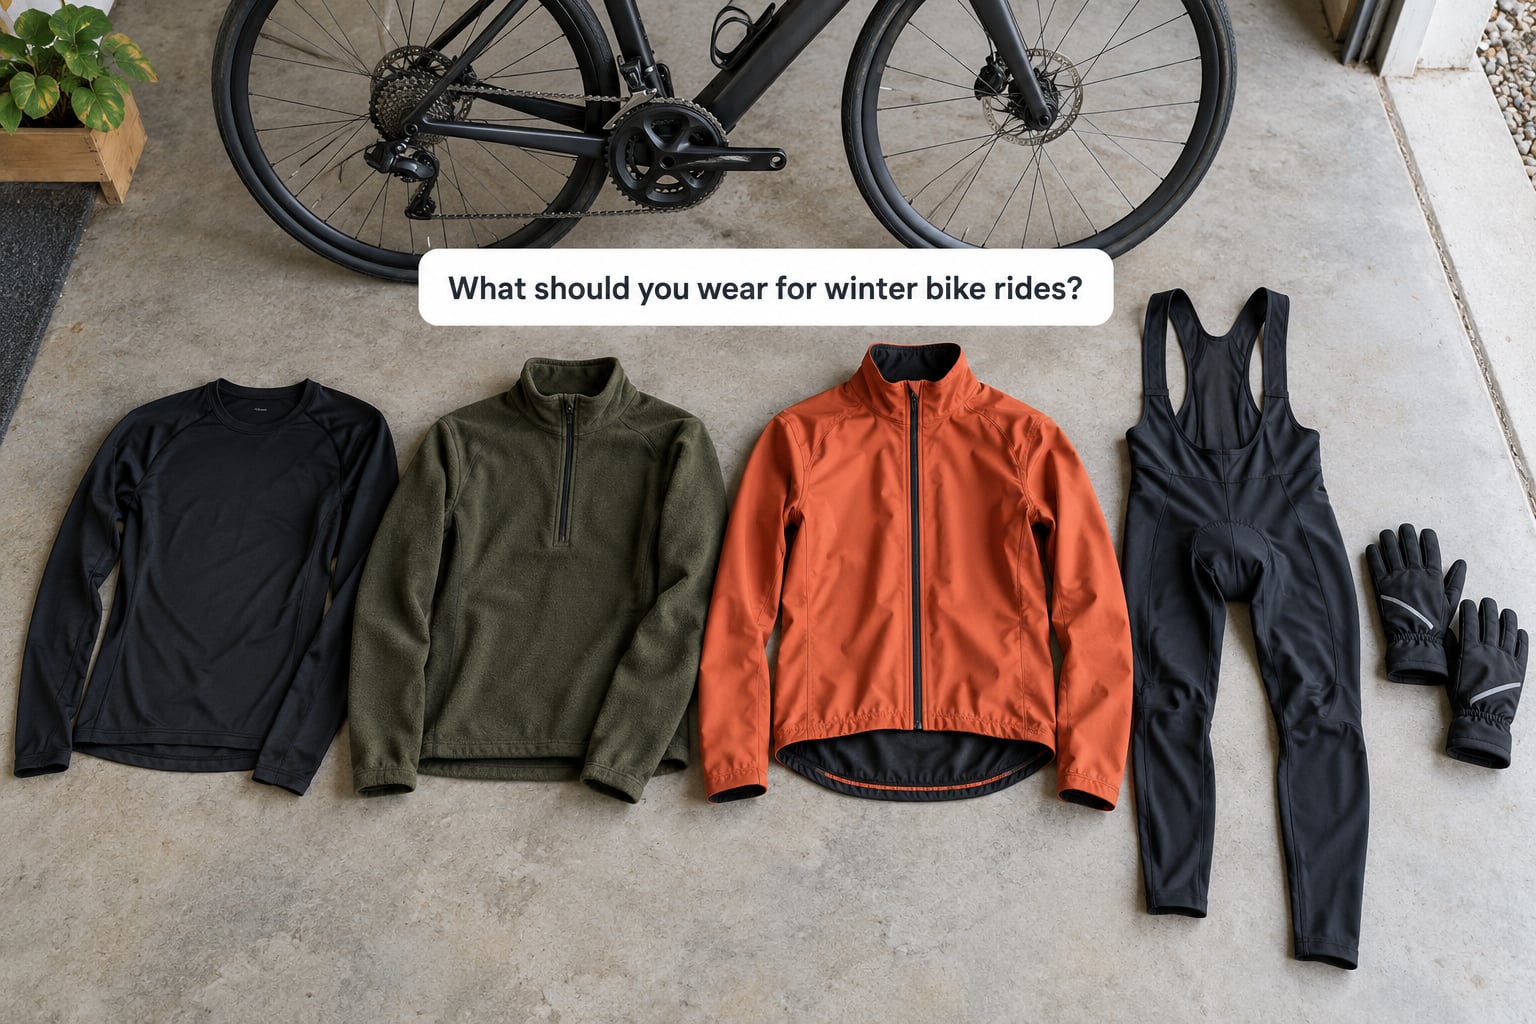
A rider moving at road speed generates roughly three to five times the body heat they produce at rest. Airflow strips that heat off the skin, which is why a warm-looking jacket feels clammy by minute ten and why the wind on a descent feels colder than the forecast number.
Layering fixes that by giving each garment one job.
- Base layer: pulls sweat off your skin and moves it outward so it can evaporate instead of sitting on you.
- Mid layer: traps a pocket of still, warm air against your torso. That trapped air is the insulation, which is why fit matters more than fabric weight.
- Outer layer: blocks wind and rain, and lets moisture vapour escape so the two layers underneath can still dry.
Riders on bike forums and Reddit call the trapped-air effect loft, and it is the single idea behind every other recommendation here.
There is also a community rule worth borrowing: the 75% rule. You can usually wear about 75 percent of what you would wear standing still, because riding generates heat for you. Most riders who feel frozen on a winter ride are overdressed at the start, sweat heavily, and then spend the back half cold and damp.
One more variable matters as much as temperature: what kind of cold it is. Dry cold at 28F with no wind is far more manageable than wet cold at 40F. Windy cold strips exposed skin fastest. Coastal damp fog is cold and wet but still. Check which of those three you are facing before you pick clothes.
That distinction is worth a paragraph of its own, because the same temperature needs different clothing depending on where you are. Riders in the interior West face dry cold where the main enemy is wind, and a windproof shell with a fleece mid layer gets them most of the way. Riders on the coast or in the Southeast face wet cold, where the shell must be genuinely waterproof and the base layer matters more than the mid layer. Around the Great Lakes and the Northeast in January, it is often windy wet cold together, which is the hardest of the three and the reason a full three-layer system plus a packable shell earns its weight.
How do base layers keep winter cyclists dry?
Yes, wear a base layer on most winter rides, and yes in the 45F to 55F band if you sweat easily or ride at an easy pace. The direct answer: a base layer keeps you dry by moving sweat off your skin before it becomes a layer of ice against you.
Pick one of two fabrics.
Merino wool is warm when damp, resists odour for days, and is fine for riding at a conversational pace. It dries more slowly than synthetic and costs more, and at 100 percent it can itch, so many riders look for a merino-synthetic blend.
Synthetic polyester and nylon wick fastest, dry quickest, and are cheap. They hold odour longer and are less comfortable against bare skin for long hours, but for high-output winter riding they are hard to beat.
Cotton is the one fabric to leave at home. It absorbs sweat rather than wicking it, holds that moisture against your skin, and dries so slowly that you can finish a cold ride still damp. That damp skin plus moving air is exactly how riders end up shivering at the roadside.
On thickness, go thin. In a three-layer system a lightweight mesh or 120-weight top is plenty, because a thick base layer plus a mid layer plus a shell adds up to more insulation than you need and starts you overheating.
On fit, aim for close but not skin-tight. It has to skim the skin to move moisture, but if it compresses under the mid layer you lose the loft you were trying to create. Seams matter too: flat or bonded seams stop the rubbing that builds up over a four-hour ride.
A base layer is not a thick long-sleeve thermal top. That is a mid layer wearing the wrong name, and stacking it under a fleece and a jacket is how riders end up soaked inside twenty minutes.
Which midlayer works best on a winter ride?
A mid layer is whichever garment gives you adjustable torso warmth you can open up or take off on a climb. The best one for most winter road rides is a lightweight fleece or a good thermal jersey, because both vent through the full-length zip.
Here is how the main options compare.
- Lightweight fleece: the all-rounder. Cheap, quick to dry, easy to find, and it vents well once you are moving. It is my default for anything from about 35F to 55F.
- Grid fleece: raised squares that trap warm air while letting heat escape, so it stays warmer than flat fleece at a similar weight. It is a good answer for anyone who runs cold or rides slowly.
- Insulated or lightly padded jacket: warmer per gram, which is what you want below freezing or on a long descent-heavy ride. The trade-off is venting: once you are warm, you are carrying it open or in your hand.
- Gilet or vest: warms the core, which is where most of your heat comes from, while leaving your arms free to dump heat fast. It is the single most versatile item in a winter kit and the easiest to carry.
- Arm and leg warmers: the cheapest way to move between seasons. Put them on before you leave, peel them off into your pockets when you spin up the pace, and you carry far less bulk than a full jacket.
Judge a mid layer on venting rather than weight. A full-length zip, a collar that stands up on its own, and elastic cuffs that seal out draught all matter more than the fabric label.
Whatever you choose, try it under your outer layer and reach forward, up, and out to the bars. If the shoulders pinch or the elbows bind, the layers will fight each other all ride and you will end up stripping the outer layer just to move.
Fit is also where many women’s winter kit goes wrong. Women-specific cuts are shorter in the torso and sleeves, which is correct for a range of body shapes but means a mid layer can ride up and expose a strip of lower back on a cold road. If that happens to you, the fix is usually not a different brand but a size up in the outer layer, or a base layer with a slightly longer back panel. Many riders also find that standard unisex gloves run short in the finger on smaller hands, so try them on with the liners you plan to wear.
What outer layer should I choose for wind, rain, and cold?
Choose the outer layer for the forecast and the road you ride on, and buy the one that packs into a jersey pocket. Windproof for dry cold days, waterproof for sustained rain, and a windproof-with-water-resistant-face as the all-season default.
The difference between those three words is worth getting straight.
- Water-resistant means a durable water repellent coating (DWR) on the face fabric. It sheds drizzle and road spray for an hour or two, then gives up.
- Windproof means the fabric stops moving air through it. On a dry cold day at speed this matters far more than waterproofing, because the wind is what is actually chilling you.
- Waterproof means a membrane such as Gore-Tex or Pertex with sealed seams. It keeps heavy rain out over a long ride, and it also stops moisture vapour getting out, so you have to open vents and zips to manage heat.
Non-breathable waterproof shells are the single most common winter kit mistake. You stay dry from the outside and soak from the inside within the hour.
Four features are worth checking before you buy. A full-length zip with a storm flap lets you dump heat on a climb in seconds. Underarm or side vents do the same thing without opening the whole front. Stretch cuffs seal the gap at your wrists, which is a big leak on a drop-bar bike. A drop tail with an elastic gripper covers the gap at your lower back where a shorter jacket lets wind straight in.
If you ride past dark or through the short grey evenings that winter brings, a reflective panel across the back and a reflective strip on each shoulder are as important as the fabric. Bright colours do nothing after sunset; retroreflective detail bounces headlight beams back at drivers.
Here is the chart most riders actually use. It maps each temperature band to a full kit.
| Temperature | Base layer | Mid layer | Outer layer | Hands, head and neck | Legs and feet |
|---|---|---|---|---|---|
| Below 32F (0C) | Merino or synthetic, long sleeve | Insulated jacket, plus a gilet if you run cold | Waterproof shell with vents and full zip | Insulated gloves with liners, pogies if available, beanie under helmet, buff over mouth | Bib tights with knee panels, thermal socks, overshoes |
| 32F to 41F (0-5C) | Merino or synthetic, long sleeve | Grid fleece or insulated jacket | Windproof shell, packable | Full-finger gloves, ear cover or thin beanie, buff | Bib tights, thermal socks, overshoes if wet |
| 41F to 50F (5-10C) | Lightweight merino or synthetic | Thermal jersey or fleece with arm warmers | Packable windproof gilet or light shell | Full-finger gloves, thin buff or headband | Bib tights or tights plus leg warmers, thermal socks |
| 50F to 63F (10-17C) | Optional, or a short-sleeve jersey if you run warm | Long-sleeve jersey with arm warmers | Windproof gilet, or nothing on a calm day | Light gloves, headband under helmet if ears are cold | Leg warmers over bib shorts or knee-length tights |
Two rules make that chart usable. Adjust for the wind: add the outer layer a band earlier if it is gusting. Adjust for effort: if you expect to be above tempo for the first hour, drop a band and carry the layer instead.
How do you dress your legs, hands, head, and neck?
Dress the parts that lose heat fastest, because riders almost always get cold at the hands, feet, head and neck before the torso. Each of them has a simple fix.
Legs. Uncovered thighs are usually fine in a long-sleeve jersey down to about 50F. Below that, bib tights with a brushed or windproof panel over the knees and shins add real warmth, and they hold the jersey hem down so nothing rucks up your back. Leg warmers over your normal tights give most of that benefit and stow in a pocket. Plain compression leggings are not warm on their own; they only help if something insulating is over the top.
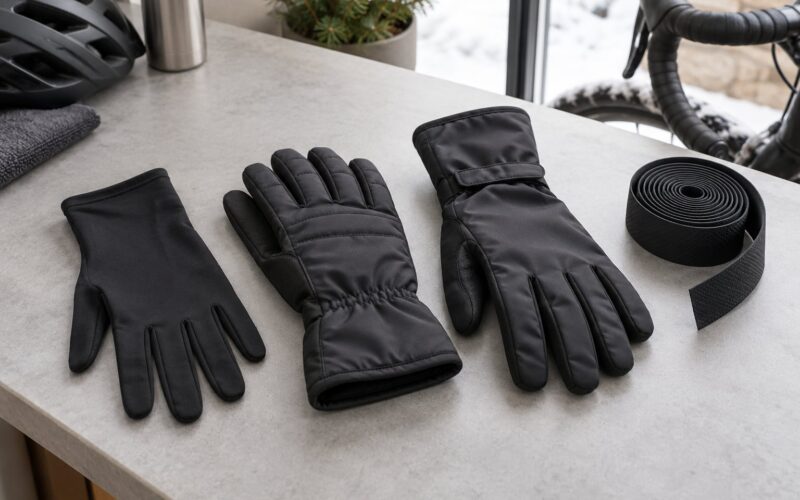
Hands. Full-finger insulated gloves with a windproof outer and a thin merino or synthetic liner are the standard answer. Liners let you change insulation mid-ride without changing gloves. For genuinely cold mornings, handlebar mitts or pogies keep your hands warm on descents without permanently overheating them on climbs. Carrying a second, thinner pair for climbing is a cheap fix that regular winter riders swear by.
Feet. Most cold feet are an ankle leak, not thin socks. Thermal socks plus overshoes that seal above the ankle solve it; overshoes also keep out road spray and slush. Neoprene or insulated bootie-style covers are noticeably warmer than thin nylon ones.
Head and neck. A thin beanie or ear cover under your helmet sits in the gap between the shell and your head, which is where a surprising amount of heat goes. A buff over the neck and lower face protects an area that most riders leave bare, and it becomes essential in freezing wind. Keep helmets fitted as normal; never layer a winter hat over the outside of the helmet.
Here is a self-check to run on your hands and feet before you head home. Numbness that clears within a few minutes of warming up is common and usually not serious. Get a proper stop-and-warm response if you notice any of the following.
- Fingers or toes that stay white, grey, or waxy and feel firm rather than simply cold.
- Skin that blisters, or a dull burning pain in the hand or foot as it rewarms.
- Shivering that does not stop, or shivering that starts after you have stopped working hard.
- Confusion, slurred speech, slumping posture, or a rider whose judgement has clearly changed.
- A core feeling cold while the skin is hot and dry, or uncontrollable shivering with flushed skin.
Wet clothing plus wind plus a long ride is the usual combination behind these, which is why the layer system above is a safety system and not just a comfort one. If you recognise any of those signs in a riding companion, get them warm and dry and call for help. Get off the bike and shelter first, then change layers.
How should you adjust layers for climbs, descents, and rain?
Vent early and vent small. On a climb you gain heat fast, so open the shell’s main zip in the first two minutes rather than waiting until you are streaming, then open the underarm vents, then remove the outer layer entirely.
Stow what you take off. A gilet or light shell that sits in your jersey pocket turns a static outfit into an adjustable one. Riders who plan a long winter loop usually carry a warm layer for the way back, because the temperature you set out in is rarely the temperature you finish in.
Do the reverse on the descent. Put the layer back on before the road tips down, tuck your neck into the collar, close the cuffs, and pull the hem down. Descents at speed are where wind chill bites hardest and where riders who stripped everything get cold fastest.
In rain, adjust the whole system rather than one piece. Waterproof shell on top, but vents and zips open enough that sweat can leave. Gloves get a waterproof outer panel or a shell glove over the top, because wet hands lose more heat than cold hands. Overshoes before the feet are soaked, not after. A dry base layer matters more in the rain than anything else you own, so consider a second one on a multi-hour ride.
Watch what your body is actually telling you rather than the thermometer. Cold hands on a climb usually mean you over-dressed before the ride. A damp back after twenty minutes means the top two layers are working against each other.
Pockets are what make the adjustment possible. On any ride over an hour, a packable gilet or thin shell in a rear pocket is the single most useful thing to carry, followed by glove liners, a spare pair of dry thermal socks for a longer loop, and a spare base layer top if you are out in rain. A neck buff takes up no room and turns a cold descent survivable. What you cannot do is carry a full winter jacket you will never put on, because bulk in a pocket is dead weight on the pedals.
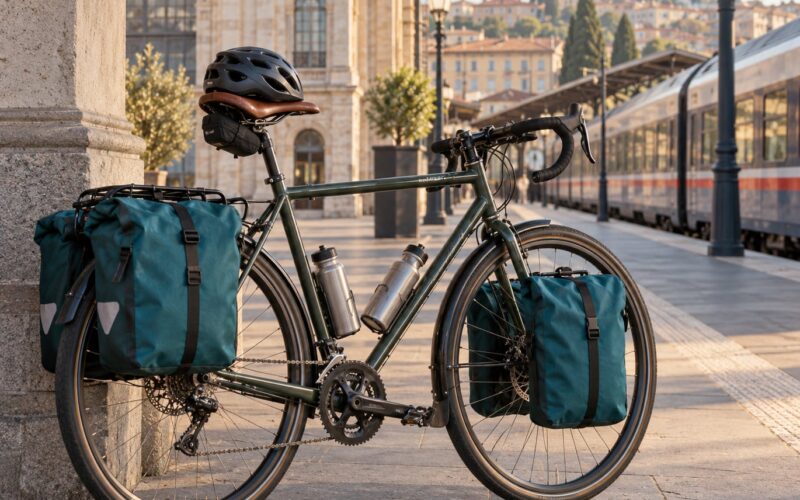
At the destination, have a dry layer ready for the ride home if you changed out of something damp. Wet merino over an hour is warm, but only while you are moving. Standing still in damp layers waiting for a train is when the shivering actually starts, so a dry hoodie or base layer in your bag is worth more than any extra insulation on the bike.
Five layering mistakes that leave you cold and sweaty
Almost every “I was freezing on my winter ride” story comes down to one of these.
- Dressing for the roadside, not the saddle. You would not stand around in 28F in that kit, which is exactly the point. Ride at 75 percent and stay comfortable.
- Wearing cotton. Already covered above, and it is the root cause of more cold rides than anything else on this list.
- One thick jacket instead of layers. You can unzip it, but you cannot take off the arms, and you will sweat through it before you get cold.
- A waterproof shell with no vents. You trade external rain for internal sweat, and internal sweat is the bigger problem on a three-hour ride.
- Ignoring the ankles and wrists. Cuffs that do not seal and a gap between overshoe and leg let cold air straight into your core, which is why sealing the gaps at the far end of the body fixes problems that feel like they come from your chest.
How do you test a winter layering system before a long ride?
Test any new winter kit on a familiar 45 to 60 minute ride close to home, in the conditions you actually ride in. Ride it twice, because the first outing finds problems and the second confirms fixes.
After ten minutes, check your torso. If you are already damp under the base layer, remove the mid layer and re-evaluate insulation before you add it back.
After thirty minutes, look at the base layer. It should be dry or barely damp and cool to the touch. Wet fabric against your back is the setup for the shivering ride home that riders complain about most.
Test your range of motion on the bike. Reach forward to the drops and up to the bars. Tight elbows or a bunched back means the mid layer is too snug; a shell that rides up when you are in the drops will not stay sealed on a descent.
Notice your hands and feet at the turnaround point. Cold is fine at the start of a descent because the effort is coming. Numb fingers that do not recover once you start pedalling, or toes that stay cold in overshoes, mean the hands and feet need more insulation than the chart gives you.
Check your lights and reflectives in the dark. Have someone stand at the roadside and confirm they can see you from the front, the side, and the rear at 100 meters or more. Rechargeable lights lose noticeably less output in cold weather than alkaline batteries do, and a light that stays on for a full multi-hour ride needs a full charge the night before, not the morning of.
Plan the ride-back kit. Decide in advance where your extra layer lives and how you will carry it. The riders who enjoy winter rides are the ones who never improvise a decision while shivering on an empty road.
How the same system changes by ride type
The three layers never change. What changes is which of them you open up and what you carry.
- Winter commute: predictable route and duration, so plan for the coldest and darkest part of it rather than the average. Add a dry layer for the journey home, and treat visibility as a non-negotiable since you ride in traffic.
- Weekend winter road ride: longer duration and more climbing, so a packable gilet in your pocket pays for itself, and gloves you can strip on a long climb matter more than a warmer pair you cannot take off.
- Gravel: more time at lower speed, which means more layers needed for the same effort, plus mud and slush that make overshoes and a tougher outer face more useful than a light shell.
- MTB in winter: low speed, repeated exposure to spray and mud, and hard climbs. Fleece over a base layer, a durable outer with abrasion resistance at the elbows, and full-finger gloves that tolerate a crash usually beat a delicate road setup.
Where spending actually matters in a winter kit
If you are assembling a kit on a budget, put the money in three places. Gloves, because a cheap pair that lets the wind through is worse than a mid-priced windproof one, and your hands are the first thing to suffer. Overshoes, because a decent pair that seals above the ankle fixes cold feet outright. A base layer, because it is the layer that decides whether you stay dry.
Spend less on a mid layer, because it is the easiest piece to replace and a good fleece is rarely beaten by a premium one. Spend nothing on a second outer layer at first; one packable shell that you can vent, over your existing kit, covers almost every winter day. The items riders most regret are cotton, one-off fads, and a heavy insulated jacket bought too early in the season that spends most of the year unused.
Whichever type you ride, run the same short test ride before you commit to a long one.
Frequently Asked Questions
What is the 75% rule in cycling?
The 75% rule says you can usually wear about 75 percent of what you would wear standing still on the bike, because riding generates roughly three to five times the body heat you produce at rest. Riders who overdress at the start sweat heavily, and that sweat turns cold on the first descent. Starting slightly cool and stripping a layer on the climb is the version of the rule that actually works.
Should I wear a base layer when cycling in winter?
Yes on most winter rides, and below about 55F it is worth the small hassle, especially if you sweat easily or ride at an easy pace. Its whole job is moving sweat off your skin before it evaporates and chills you. Choose merino wool for warmth and odour resistance or polyester and nylon for fast drying, keep it thin and close-fitting rather than baggy, and skip cotton entirely.
Is cotton bad for cycling in the cold?
Cotton is the one fabric to leave out of a winter cycling kit. It absorbs sweat instead of wicking it, holds that moisture against your skin, and dries so slowly that you can still be damp at the end of a cold ride. Damp skin plus moving air is the classic setup for shivering and rapid heat loss. Technical synthetics and merino blends do the same job and dry in a fraction of the time.
Why do my hands and feet get so cold on winter rides?
Cold hands are usually a circulation and wind problem rather than a temperature problem. Airflow over the hands strips heat quickly, so full-finger windproof gloves with removable liners, and handlebar mitts or pogies on cold descents, help most. Cold feet are usually an ankle leak, so thermal socks plus overshoes that seal above the ankle fix the problem far better than thicker socks alone.
How cold is too cold to ride a bicycle?
There is no single temperature that is unsafe, because wind, rain, duration and your own tolerance matter as much as the number. A reasonable limit is that if you cannot keep your core warm in the first ten minutes, or if you have been shivering uncontrollably for several minutes, turn around. You can ride well below freezing with the right layers, but never when your hands, judgement or steering are deteriorating.
Are thermal leggings warmer than bib tights?
Not by themselves. Compression or thin thermal leggings are mostly about keeping muscle warm on long rides and wicking sweat, so they need something insulating over the top. Bib tights with a brushed or windproof panel are what actually add warmth to your legs. If you want the warmth of tights with the flexibility to strip a layer, wear knee-length tights or leg warmers over your usual bib shorts.
Conclusion
Start with a thin, close-fitting base layer in merino or synthetic and leave cotton alone. Add a mid layer you can vent or remove, and choose an outer shell that matches the forecast, the wind, and the amount of rain you are actually expecting. Then finish the job on the extremities, because gloves, overshoes, a beanie and a buff decide whether a winter ride is comfortable or miserable.
Build that kit once, ride it on a short familiar loop to see how it behaves, adjust the temperature bands from what your body tells you, and you will have a layering guide for winter bike rides that keeps working as the forecast changes through the season. Riders who stick with winter cycling tend to say the same thing: the system is less about owning more gear than about being able to take a layer off mid-ride.