Riding a bicycle in the rain is mostly about giving yourself more of everything: more time to react, more distance between you and the car in front, and more room in your margin for error. Wet tarmac cuts grip, water on the braking surface slows your stop, and drivers see you later than they should. Slow down, brake earlier and more smoothly, cross painted markings upright, and light up properly.
This guide is about bicycles, not motorcycles. If you ride for commuting, club rides or training through a wet season, the technique is learnable, and most of it is preparation rather than nerve.
One thing worth knowing up front: the first rain after a long dry spell is usually the most dangerous of the season. Oil, diesel and grime that have been sitting on the tarmac get lifted into a slick film by the first water, and riders are usually still riding at summer pace. Slow down more than feels necessary on that day.
Table of Contents
- What You Need Before You Ride in the Wet
- Step-by-Step: How to Ride in the Rain Safely on a Bicycle
- Prepare the bike and the forecast before you leave
- Start the first few minutes deliberately
- Brake earlier and more progressively in the wet
- Cross painted lines, bends and standing water with speed under control
- Protect your vision and your control of the bike
- Ride predictably in a group
- Recognise when the conditions have turned unsafe
- Finish with a careful post-ride check
- Common Mistakes to Avoid on a Wet Ride
- Extra tips for wet-weather rides
- Frequently Asked Questions
- Is it safe to ride a bicycle in the rain?
- Should beginners avoid riding in the rain?
- Can bicycles hydroplane on wet roads?
- What tires are best for wet-weather road cycling?
- How can cyclists stay visible to drivers in heavy rain?
- Conclusion
What You Need Before You Ride in the Wet
None of this is expensive or exotic. It is a short list of things that change how the ride goes, and each one earns its place.
Tyres with usable tread and slightly reduced pressure. Wider tyres put more rubber on the road, and a touch less pressure gives the contact patch a better shape in standing water. Dropping pressure by roughly 5 to 10 psi from your normal value is a sensible wet-weather move. Do not go further than that, because a squishy tyre deforms through the corner and feels vague.
Brakes you trust. Check both levers bite before you join traffic. On rim brakes, expect the first few metres of a stop to be weak while water comes off the rim, and see below for how to deal with that.
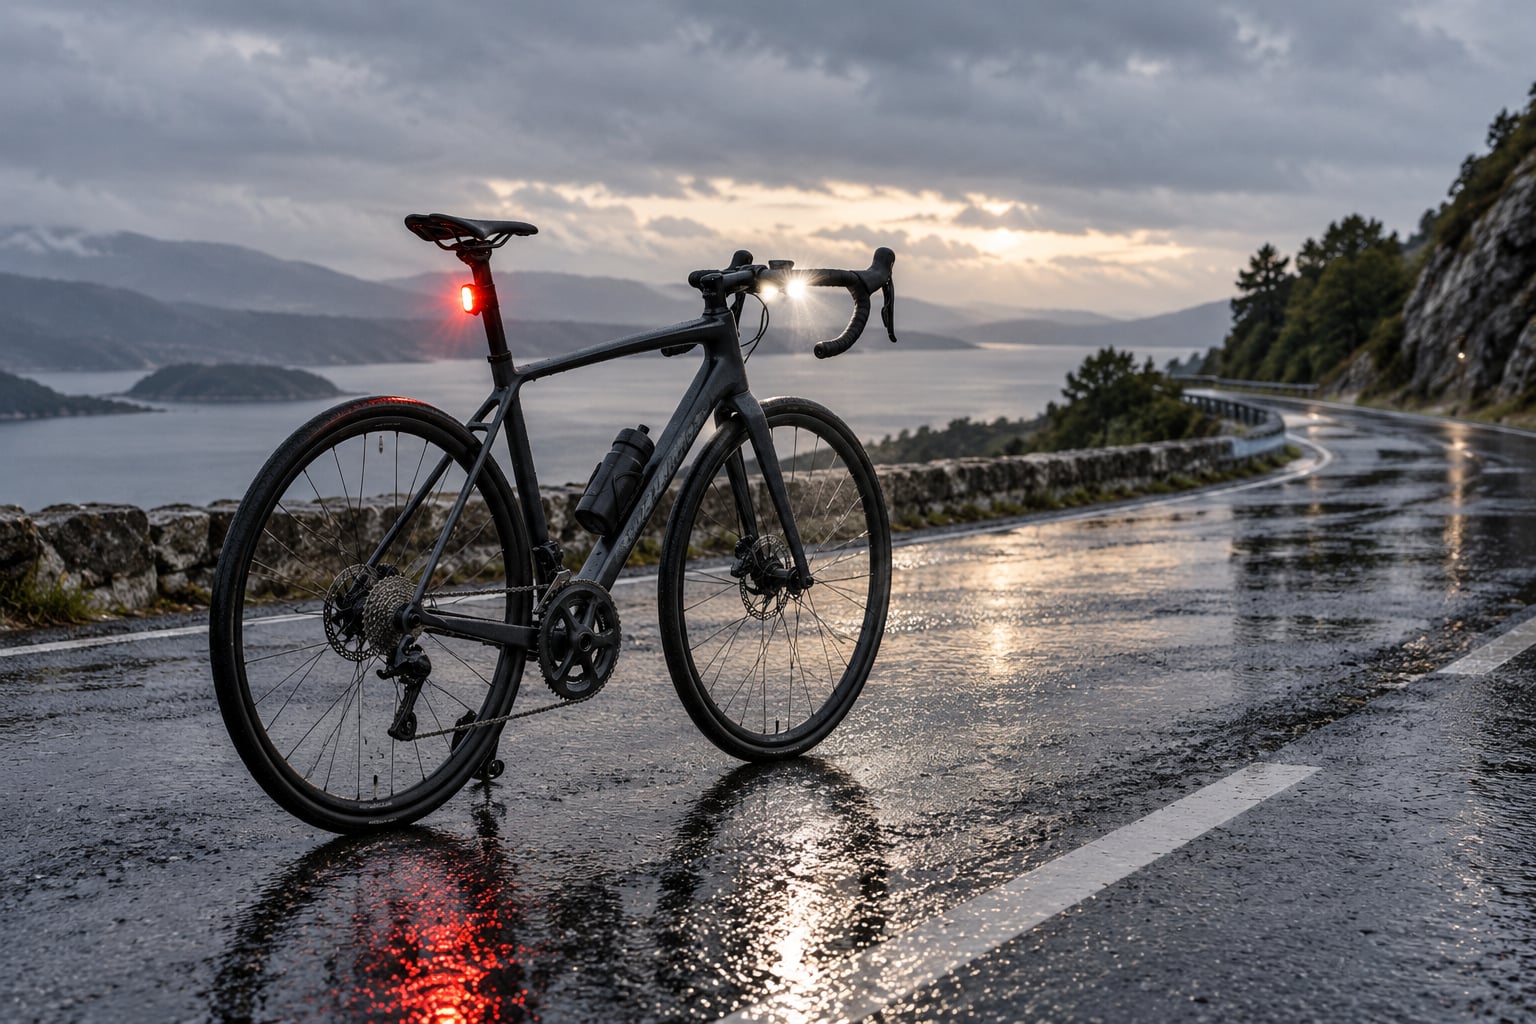
A white front light and a red rear light. Run them in daylight rain and in any dark or low-light condition. Overcast afternoons get dark early, and a lit bike is the difference between being seen and being guessed at.
A reflective or high-visibility layer and waterproof gloves. Reflective material works when it is hit by headlights, so it belongs on your ankles, shoulders and the back of your jacket. Wet gloves lose grip on the levers and make braking inputs jerky, which is exactly what you do not want.
Clear eyewear. Clear or yellow-tinted lenses keep your vision usable in rain and dusk. Anything that fogs or sprays is worse than no glasses at all.
A small repair kit, a pump and a spare tube. Rain raises puncture risk because water acts as a lubricant and washes glass and sharp grit out from the gutter onto the lane. The repair is usually the least enjoyable twenty minutes of your week, so carry the kit.
A route with bail-out points. Know where you can cut off, where you can shelter and where you can get a train or bus home. Deciding in advance removes the mental effort of deciding in the rain.
Step-by-Step: How to Ride in the Rain Safely on a Bicycle
Prepare the bike and the forecast before you leave
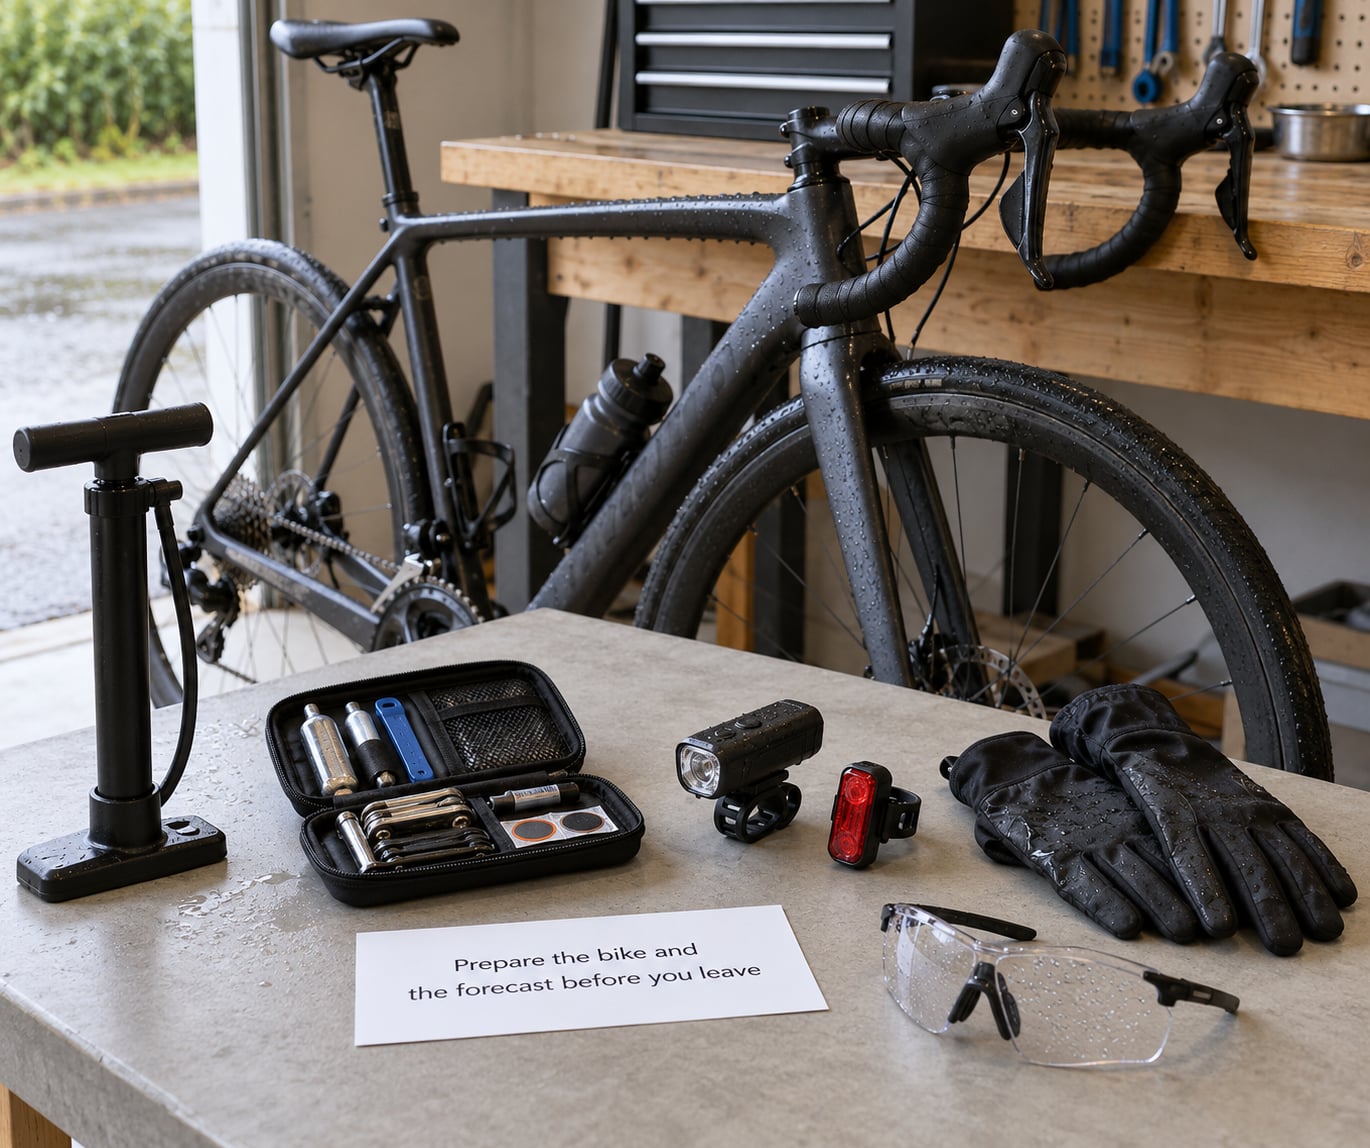
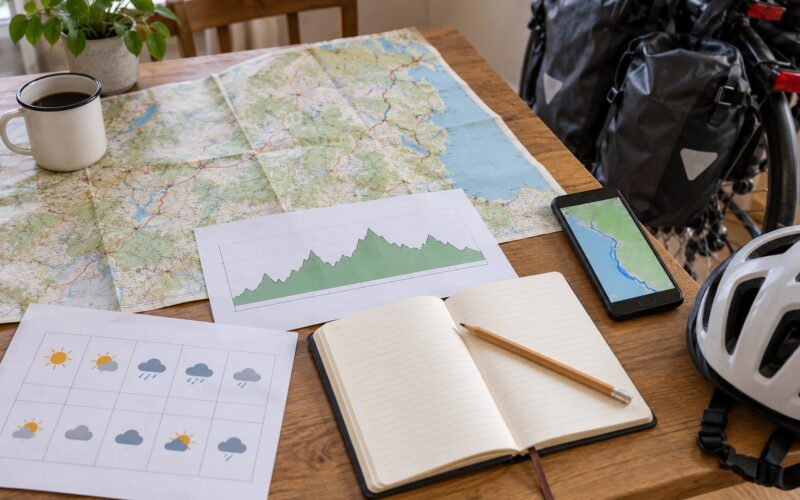
Read the forecast and decide honestly whether you are riding into steady rain, a downpour or a thunderstorm. Light rain is a non-event for most riders. Thunderstorms, flooding and strong wind are not.
Then do a two-minute check. Look at the tyres for cuts and embedded grit and confirm they are at a sensible wet-weather pressure. Squeeze both brakes. Turn on both lights. Check that your clothing is something you can move in, not just something you can sit still in.
If you are carrying anything, protect it before it leaves the house. A dry layer, a dry pair of socks and a spare pair of gloves in a sealed bag are the difference between an unpleasant commute and a ruined day. Leave extra time, because a wet road and cautious riding will slow you down more than the rain itself.
Checkpoint: if visibility is poor, the road is flooding, or wind is gusting hard enough to move you sideways, postpone or shorten the ride. Missing a session is a small loss. An avoidable fall is a bigger one.
Start the first few minutes deliberately
The opening kilometres are where riders lose control, because muscles are still warm, pace is still too fast and the first slick surface gets met without warning. Take the first five minutes at a pace you could hold for an hour.
Watch what the water has revealed. Painted lines, junction boxes and drain covers that you would cross without thinking on a dry road now behave like polished glass. Debris gathers at the edges, and oily patches usually sit where cars sit and turn, not in the middle of a free-flowing lane.
Give yourself extra following space and settle into a smooth cadence. Before you join a busier road, test your brakes once on a quiet straight stretch so you know what your stopping feels like today.
Brake earlier and more progressively in the wet
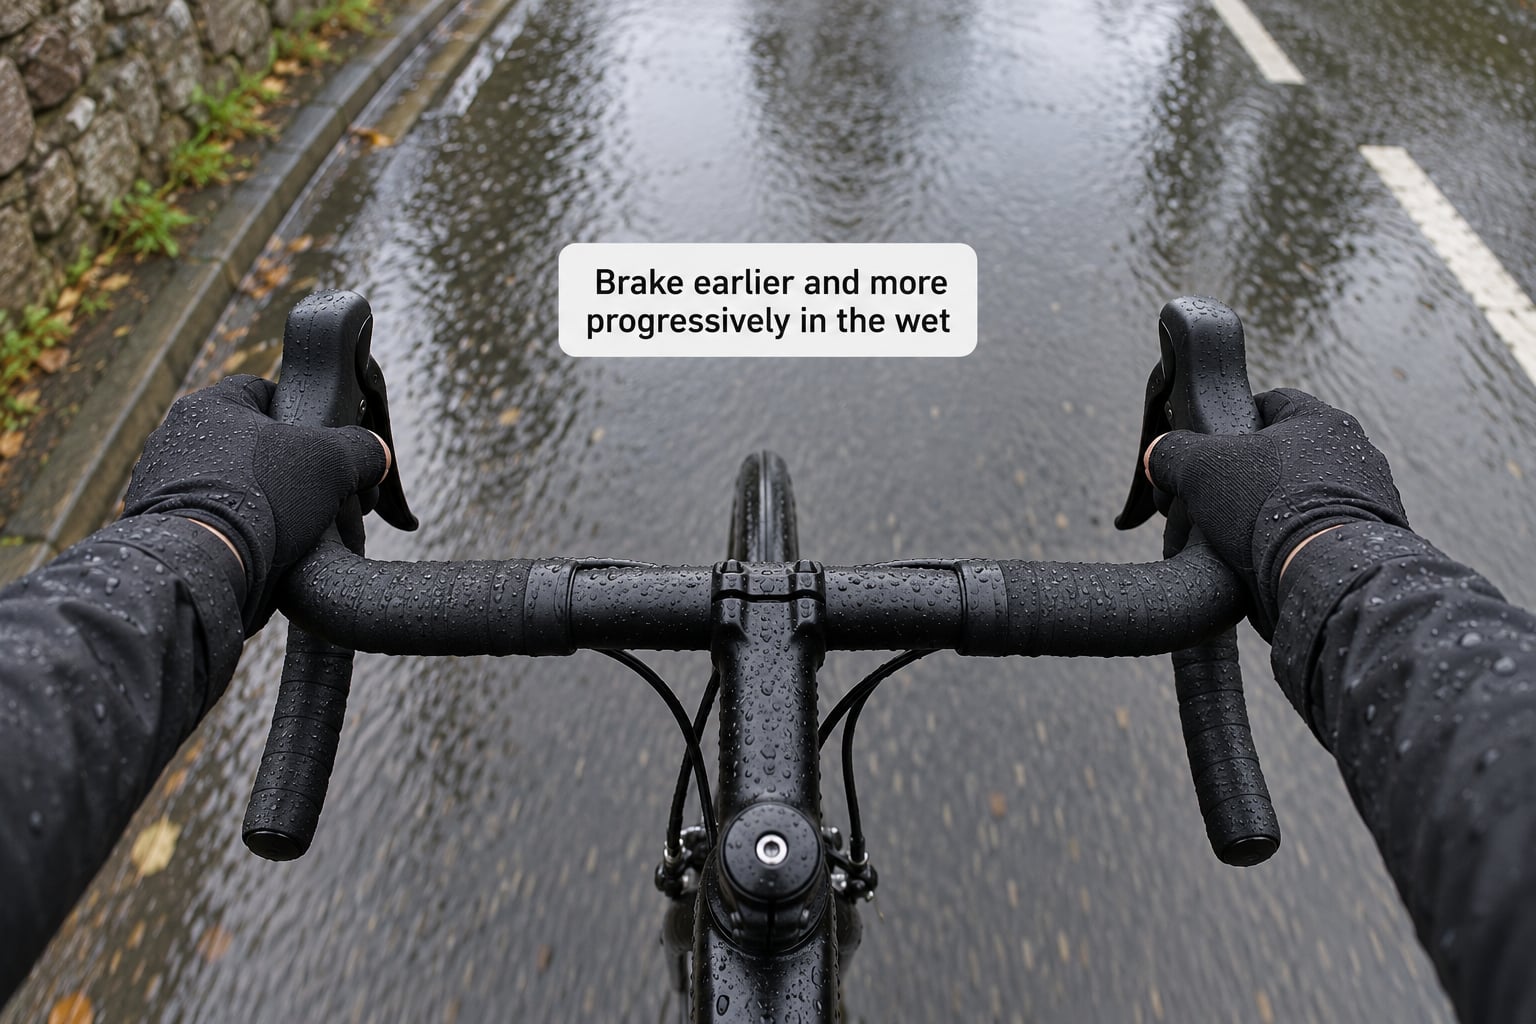
On wet tarmac, expect your stopping distance to grow noticeably. Many experienced riders treat anything between roughly 30 and 50 percent as a working estimate rather than a measured figure, and plan their speed around the longer number.
So brake earlier. Anticipate the stop several times earlier than you would on a dry road, then squeeze both levers progressively rather than grabbing one hard. Stay upright while you brake, and release pressure well before a sharp turn rather than braking into it.
Rim brakes need one full revolution of the wheel to squeegee water off the braking track before they bite properly. So on the first stop of the ride, warm the brake surface deliberately with a gentle, steady application rather than expecting instant response.
Disc brakes mostly care about keeping the rotor clean. A squeal on a light application that still stops the bike firmly is usually just water and pad vibration, and it clears itself. A grinding feel, a lever pulling hard toward the bar, or a pad that needs the lever at the bar to work at all is contamination or a worn pad, and that bike should be checked before the next wet ride.
Checkpoint: you should be able to stop in a straight line, smoothly, with no pull to one side and no noise beyond a brief squeal that fades as you speed up.
Cross painted lines, bends and standing water with speed under control
Speed is your single biggest lever on grip. Reduce it before you reach the hazard rather than after you feel the tyres let go, and hold a steady line through it rather than swerving.
Here is what to do on each surface you will meet:
- Painted lane lines and junction boxes. Cross them at a shallow angle while upright, never at a lean. Slow a little first if you have speed on.
- Manhole covers and metal drain grates. Treat as ice. Look far enough ahead to change your line early, or cross straight across with the bike upright and no lean.
- Rail and tram tracks. Cross them at as close to a right angle as you safely can, then allow the bike to roll straight for a moment before leaning.
- Wet leaves and mud at the gutter. Grip collapses completely. Move to the clean part of the lane and slow down; do not try to hold a line through them.
- Oil and diesel patches. Often show as a faint rainbow sheen at junctions, car parks and lane centres. Drift to either side rather than riding through the middle.
- Standing water and puddles. You cannot see a pothole, a drain grate or a kerb under it. Judge depth by the reflection and by whether your front wheel is throwing a bow wave, and go around if you can.
- Gravel and washed-off mud. Slow early and brake in a straight line only, because loose surfaces offer no directional grip at all.
For corners, look well through the turn before you enter it, brake on the straight if you need to, then roll in slowly with less lean than you would in the dry. Weight to the outside pedal and avoid sudden steering inputs or sudden changes in pedal pressure mid-corner.
Checkpoint: you should be able to describe every surface you crossed in the last minute, which means you were looking ahead rather than down.
Protect your vision and your control of the bike
Wiper your glasses before you set off, not at the junction where you need them. Anti-fog spray or a spit-and-wipe with a clean cloth helps more than it sounds, and a brimmed cycling cap under your helmet keeps rain off your face until wind takes it away.
Keep your clothing loose enough to move in and tight enough not to flap. A loose trouser cuff, a dangling strap or a bag that has gone soggy can catch on something and ruin your day. Sleeves should not ride up over your hands when you put your arms forward.
Stay visible and stay predictable. Hold a steady line, signal clearly, and do not weave between lanes to avoid a puddle if it puts you in a blind spot. Being where a driver expects you is worth more than any reflective accessory.
Ride predictably in a group
Wet group riding needs more space and less bravado. Double your usual gap behind the wheel in front so you are never braking in their spray, drop to single file on contaminated camber or through standing water, and pass a warning back down the line.
Call out hazards with clear, specific language: “glass on the left,” “drain cover on the right,” “water through the junction ahead.” Avoid vague shouts that make the rider behind look up at the wrong moment.
Agree a route home and a bail-out point before you set out, and let someone at home know roughly when you expect to arrive. If a rider punctures, stop well clear of the lane, get off the road if you can, and send someone ahead to a bike shop only if they know the route.
Recognise when the conditions have turned unsafe
Rider discomfort is not a reliable condition metric, so use conditions instead. Standing cancellation signals are thunder and lightning, flooding across a road or bridge, fallen branches or debris, ice or sleet, and crosswinds that push you sideways while loaded or on a high bike.
Poor visibility counts too. Darkness plus heavy spray, or fog plus rain, means drivers cannot see you and you cannot see them, and the honest answer is a slower route with less traffic or no ride at all.
Set your rule before you leave and keep to it. Courage is a fine quality for a rider but a poor substitute for a judgment call, and nobody has ever regretted missing one wet-weather ride.
Finish with a careful post-ride check
Do not put a wet, salty, dirty bike straight into a warm shed and forget about it. Rinse the frame and drivetrain with plain water, especially if you ride near the sea or on salted winter roads.
Clean the chain: remove the old lubricant with a degreaser, let it dry, then apply wet-weather chain lube. Lubricant goes onto a clean, dry chain, not a dirty wet one. Check the pads and rotor for wear and grit while you are there, and look for cuts in the tyres and any water trapped inside a frame.
Change out of your wet kit straight away, put something warm in its place, and keep an eye on yourself for the rest of the evening. Shivering that will not stop, slurred speech, confusion, or clumsiness far beyond your normal level are all reasons to get warm and dry immediately and seek medical help if they persist. Any injury after a fall gets checked too, whatever it looks like.
Common Mistakes to Avoid on a Wet Ride
Grabbing the front brake hard. A locked front wheel on wet tarmac drops you instantly. Use both levers progressively, and if you are in a hurry you will still be slower than you hoped.
Braking while cornering. Brake before the turn. Braking inside it combines low grip with an already demanding lean angle.
Tailgating in spray. You cannot see the road surface under the wheel in front of you. Leave real space and accept the extra time.
Crossing painted markings and metal covers at speed. Slow a fraction before the hazard and cross it upright. The correction is anticipation, not avoidance.
Reading standing water as shallow. Depth hides potholes, grates and kerbs. Turn around it when you have the option, and never surprise it mid-corner.
Skipping the bike check. One squeezed brake lever and one glance at tyre pressure before leaving would have caught most wet-ride problems.
Riding on when the weather is turning. Set your cancel rule before the ride, not during it, when you are cold, tired and committed.
Extra tips for wet-weather rides
Budget your braking distance and your arrival time on the longer estimate, and let the extra minutes absorb everything that goes sideways. Carry your repair kit and a pump even on a short commute.
Tell someone your route and expected time. Pack a dry layer and dry socks in a sealed bag, and stop for a hot drink on a long winter ride before you get properly cold rather than after.
One habit is worth stealing from experienced riders: before joining traffic on a wet road, test your braking on a quiet empty stretch. It takes fifteen seconds and it tells you exactly how much grip you have today, which is the single most useful number available on the ride.
Take it slow, but not too slow. A bike moving at a steady, moderate pace is far easier for drivers to read and predict than one that lurches between cautious and careless, so aim for calm consistency over sudden caution.
Frequently Asked Questions
Is it safe to ride a bicycle in the rain?
Yes, for most riders in ordinary rain, with the right preparation and a slower pace. The risks are predictable: longer stopping distances, slick markings and metal covers, and drivers seeing you later. Brake earlier and progressively, use both brakes smoothly, run front and rear lights, and slow before surfaces you know are slick.
Should beginners avoid riding in the rain?
Beginners can ride in light rain if they start on a quiet route. Pick flat terrain, no traffic, and a short loop, so the only skills needed are smooth pedalling and progressive braking. Leave the descents, junctions and fast roads for later. A dry spell is better for building confidence, but avoiding rain entirely sets a limit that is hard to lift later.
Can bicycles hydroplane on wet roads?
A bicycle tyre does not hydroplane the way a car tyre can at motorway speeds, because it has a lower top speed and a much smaller contact patch. The related problem is loss of grip over standing water and slick films. The fix is the same: slow down, cross standing water upright, and avoid patches you cannot judge.
What tires are best for wet-weather road cycling?
Wider tyres help, so 25 to 28 mm is a sensible minimum on a road bike, with 35 to 40 mm better still if your bike and rims allow it. More rubber means a better contact patch and better grip. Drop pressure by about 5 to 10 psi from your normal value, keep tread clear of cuts and grit, and do not run so soft that the tyre squashes through a corner.
How can cyclists stay visible to drivers in heavy rain?
Run a white front light and a red rear light whenever visibility is reduced, in daytime rain as well as after dark. Add reflective material on your ankles, shoulders and back, since it only works when headlights hit it. Hold a steady, predictable line and stay where drivers expect a cyclist, because being in the right place does more for safety than any extra accessory.
Conclusion
Wet-weather riding is a skill, and the whole of it is built on a handful of repeating decisions: check the forecast and the bike, slow down before slick surfaces rather than on them, brake earlier and more smoothly, cross hazards upright, light up so drivers see you, and go home if the conditions have turned.
Start tomorrow with three things. Read the forecast, spend two minutes on the bike, and decide honestly whether the ride is on. If it is not, postpone without argument. That is how to ride in the rain safely, and it applies on the days you ride just as much as the days you do not.