Good hill climbing technique is a set of repeatable habits — a steady cadence, a relaxed upper body, a gear you can spin comfortably and a pace you can hold for as long as the climb lasts. Get those four right and a steep road stops being a fight and starts being a rhythm. What follows is the practical version of hill climbing technique for cyclists, updated for 2026: what to do on the bike, and how to train for it.
Most riders lose a climb in the first 90 seconds, not on the steepest ramp. They sprint to the bottom of the hill, burn out, and then spend twenty minutes grinding on a gear that is too hard. The fix is boring and it works.
Table of Contents
- What Is the Best Hill Climbing Technique for Cyclists?
- How Do You Climb a Steep Hill on a Road Bike?
- Should You Stand or Sit When Climbing Hills?
- How Do You Choose Gears and Cadence on a Climb?
- How Do You Keep a Steady Pace Uphill?
- What Muscles and Posture Should Cyclists Use on Hills?
- How Do You Train for Longer and Steeper Climbs?
- What Common Mistakes Make Hill Climbing Harder?
- Frequently Asked Questions
- What are some examples of hill climbing techniques?
- What is the 75% rule in cycling?
- Should I stand up when climbing a hill?
- What gear should I use to climb a hill?
- How much elevation gain is a lot cycling?
- Is biking uphill good for you?
- Conclusion: Start With a Sustainable Climb
What Is the Best Hill Climbing Technique for Cyclists?
The best technique is the one that costs you the least energy per metre of elevation. That comes down to five things: a cadence you can hold without bouncing, a stable body position, a gear that matches the gradient, smooth shifting, and pacing that leaves something in reserve.
Here are the five that make hill climbing technique for cyclists actually work:
- Sit back and level the pelvis. Hips level or slightly rearward keeps your lower back flat and lets your glutes and quads push through the whole stroke instead of only at the top.
- Lean from the hips, not the waist. Your torso angle can change with gradient, but the angle comes from your lower back and hips, not from a rounded spine.
- Keep the hands light. Elbows bent, shoulders down and relaxed. Death grip on the hoods makes your upper body burn before your legs do.
- Hold a cadence around 70 to 85 rpm. Too slow and you generate a lot of force per pedal stroke and your legs tire. Too fast and you spin the wheels without pushing.
- Pace below your redline. A climb you can hold for twenty minutes beats one you can hold for four.
If you get those five right, everything else — saddle height, cleat position, tyre pressure, fancy kit — is a rounding error by comparison.
How Do You Climb a Steep Hill on a Road Bike?
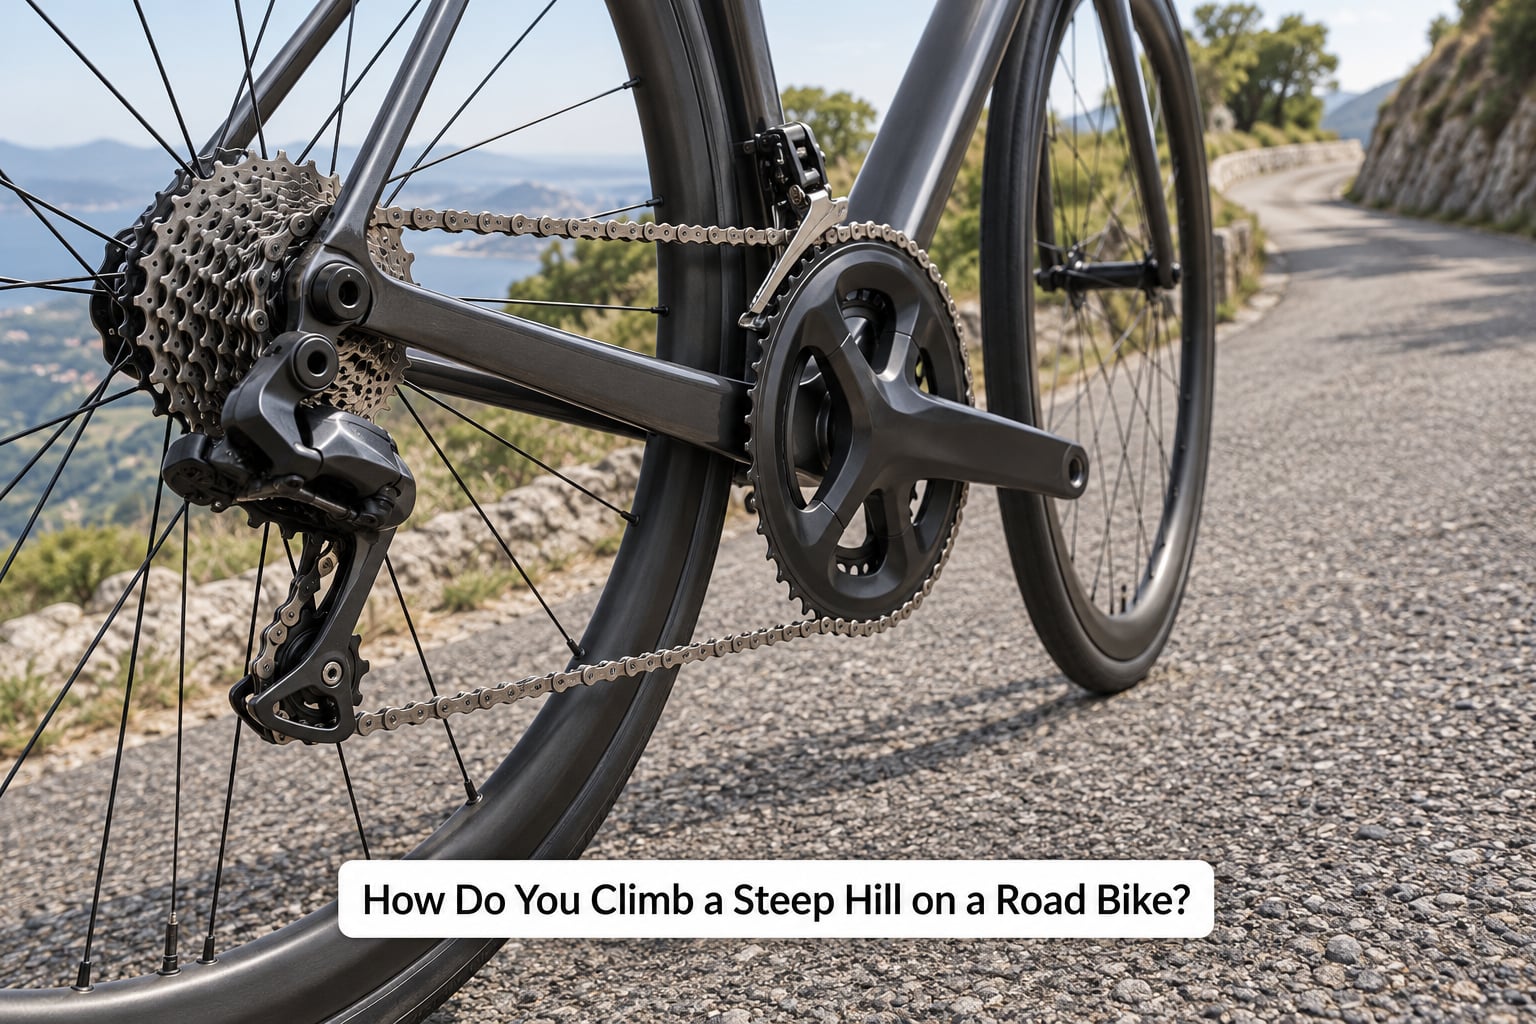
Look up the road before the ramp turns, drop into a comfortable gear while you are still flat, and settle into a rhythm you can repeat. The steep part is not the hard part. The hard part is arriving at the steep part already emptied out.
On the bike, six things matter on a steep pitch:
- Shift before the gradient steepens, not after your cadence has collapsed. Riders on commuting setups often get stuck on this; choose the gear on the approach, not in the middle of the wall.
- Keep the front wheel quiet. A wandering front wheel usually means you are either too low on the pedals or gripping too hard.
- Drop your weight slightly toward the bottom bracket as the road tilts under you. You are not leaning the bike sideways; you are settling into it.
- Let your cadence sag a little rather than forcing a hard gear. A drop from 80 to 65 rpm beats a stop-and-start surge.
- Breathe into the effort — long exhales, no holding your breath. Bracing the upper body costs you more than the extra stiffness gives back.
- Stand for a few seconds if the pitch spikes, then settle back down. Standing is a tool, not a default.
This table is the shortcut most guides skip. Match the gradient to the tactic:
| Gradient | Position | Gear behaviour | Seated or standing |
|---|---|---|---|
| Under 3% | Neutral, hips level | Hold one gear for minutes at a time | Seated |
| 3 to 6% | Slightly forward from the hips | One small adjustment at a time | Seated |
| 6 to 9% | More weight over the bars | Shift earlier and smaller | Seated, stand for short ramps |
| 9 to 12% | Torso lower, back flat | Two cogs at once is fine here | Either, change often |
| Over 12% | Out of the saddle, hands light on the tops | Find one gear and stop shifting | Standing for the pitch |
Zig-zagging across a steep road looks dramatic and costs more than it saves unless the gradient is genuinely extreme. Traverse briefly, take a sip, and get back on the line.
Should You Stand or Sit When Climbing Hills?
Sit for anything you plan to hold, and stand for anything that only lasts a few seconds. Research on climbing economy has found seated pedalling costs less energy on moderate gradients, with the balance shifting toward standing as gradients steepen past roughly 8 to 10%.
Standing frees the hip to rise and fall with the pedal stroke, which lets you apply more force through the pedals over a short burst. It also costs you: your heart rate typically runs five to ten beats per minute higher, you use noticeably more energy, and the position is harder to hold once fatigue arrives.
So the decision is simple. Long climb, moderate gradient — stay seated and save the standing for the headwall. Short ramp, sharp gradient, or a surge to stay in the group — stand up, drive through a few pedal strokes, then sit back down before you settle into a wobble.
Riders on r/BAbike describe the transition on very steep pitches: get one foot clipped in, bring that pedal high, push off with it, and get the other foot onto the other pedal fast. Practise it on a quiet ramp until it stops being a negotiation.
How Do You Choose Gears and Cadence on a Climb?
Choose the gear that lets you hold roughly 70 to 85 rpm with a smooth, quiet stroke, and choose it while the road is still flat. The gear ratio matters less than the cadence it produces.
Three rules cover most situations:
- If you can say more than a few words between breaths, you are probably in too hard a gear.
- If your knee drops noticeably at the top of every stroke, you are in too easy a gear and spinning your feet.
- Shift before the wall, in smaller increments, and keep pedalling through the shift. Shifting under heavy load is what makes a chain jump or a wheel wander.
Gearing by rider type matters more than most riders expect. A compact chainring such as 50/34 with an 11 to 32 cassette gives a beginner real low gears and a smaller jump between steps. A semi-compact 52/36 or a standard 53/39 with a tighter cassette suits stronger riders who spin well and rarely need a granny gear.
Whichever you ride, look at the arithmetic before you buy anything: front teeth divided by rear teeth gives your gear inches. If your lowest gear is much higher than the one you comfortably climb in now, you will be standing at the roadside on steeper roads.
How Do You Keep a Steady Pace Uphill?
Pace by effort and breathing, then adjust for what is coming. Set an effort you can hold with a controlled breathing pattern, hold it through the shallow stuff, and let the heart rate climb a little on the steep ramps rather than pouring more power in.
The 75% rule is a rough, useful idea from cycling coaching: aim to finish a climb with something left in the tank — heart rate under roughly 75% of your maximum, or an RPE of about 5 or 6 out of 10. It is not a law of physiology, but it reliably beats the commonest climbing mistake, which is going out at 9 out of 10 because the road looks shorter than it is.
Watch for the moment your cadence starts to break down. That is your real signal that the pace is too high, often arriving a minute or two before your legs actually feel heavy. Ease the pressure on the pedals, keep turning them, and settle. On a long ascent, riders who hold a moderate pace often catch the ones who blew up early simply because the climb has not ended.
If you do fade, do it in stages: shorten the cadence slightly, then let the breathing settle, then pick the effort back up once the legs respond. Do not shift hard into a steeper gear to try to hold speed with force.
What Muscles and Posture Should Cyclists Use on Hills?
Your legs do the work, and your core decides how much of it actually reaches the pedals. Glutes, quads, hamstrings and calves generate the force; a braced trunk transfers it without wasting energy swinging side to side.
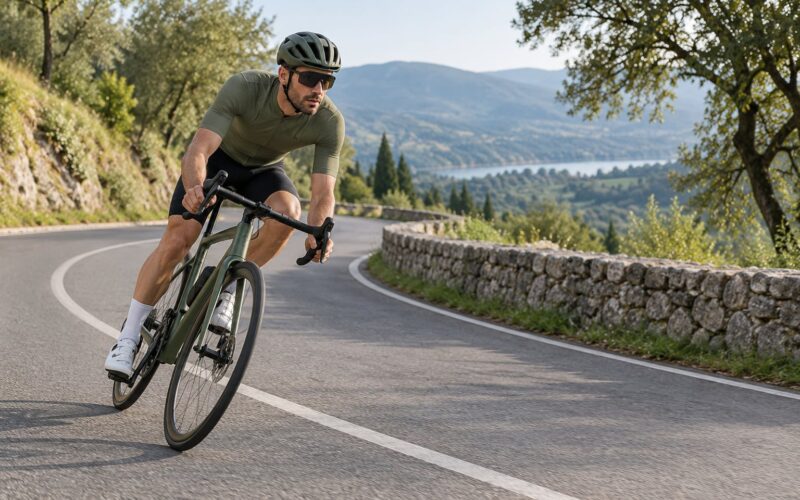
The posture to aim for is simple: torso long, lower back flat or slightly arched, elbows soft, shoulders relaxed and down, hands on the hoods or tops depending on gradient, and eyes up the road. Staying seated, the pelvis should be level or a touch rearward of level.
Rocking the bike side to side with each pedal stroke wastes energy and makes the front wheel wander. Fix it at the source: softer hands, heavier core, less tension in the shoulders. Off the bike, a few minutes of planks, side planks and dead bugs three times a week does more for your climbing than almost any accessory.
How Do You Train for Longer and Steeper Climbs?
Train the length you actually intend to ride. A two-minute wall, a fifteen-minute headwall and a ninety-minute alpine ascent are three different fitness and skill demands, and they need different sessions.
A repeatable structure, based on how riders on r/cycling and r/bicycling describe working climbs:
- Short and sharp (under 3 minutes). 6 to 10 repeats of a steep ramp with 2 to 3 minutes easy spinning between. Full recovery, ride it again.
- Over-under (5 to 15 minutes). Three or four efforts around your threshold, alternating a hard minute with an easy minute for the duration.
- Long steady (45 to 90 minutes). Hold a moderate, sustainable effort on a long climb. This builds the endurance you need for the last hour of a big ascent, which is where most riders lose the ride.
The advice that keeps repeating on forums is simple: climb more, care about consistency rather than speed, and repeat the same hill until it feels ordinary. Riders who do one or two short sessions a week on a named local hill report steady improvement within weeks.
On long climbs, fuel early. Carbs and fluid before you are hungry and thirsty, small amounts every 20 minutes or so, and eat before the gradient rather than during it. Most riders start long climbs with nothing in the stomach and empty bottles.
Finally, plan the descent. Coming over the top on fumes is how people crash. Drop your saddle out of the way, get into a lower gear than feels necessary, brake on both levers with gentle pressure, and pick a line with an escape route. Riders regularly say the descent is more dangerous than the climb.
For reference, a first century with big climbing usually lands somewhere around 1,000 to 1,600 metres of elevation, and 2,000-plus is a serious day for most riders. Match your training to the number, not to someone else’s.
What Common Mistakes Make Hill Climbing Harder?
Most hard climbs are made harder by something a rider could have avoided. Here are the eight I see most often, each with the correction:
- Starting too hard. Fix: hold back for the first 60 to 90 seconds and let the group or your power figure go too high.
- Shifting under heavy load. Fix: reduce pedal pressure slightly, shift, then press back down.
- Gripping the bars hard. Fix: rest the weight on your forearms rather than squeezing.
- Rocking side to side. Fix: heavier core, softer hands, level pelvis.
- Bouncing the upper body out of the saddle. Fix: stand with bent elbows and a still upper body, not pumping.
- Grinding a gear that is too hard. Fix: drop a cog earlier than you think you need to.
- Zig-zagging the whole way up. Fix: ride the line, traverse only to recover or drink.
- Spinning the legs when the effort breaks. Fix: keep pedalling but drop the intensity, then rebuild.
Two of those deserve emphasis for beginners. If you are new to hills and genuinely frightened, walking a short section is a legitimate choice — nobody has ever been injured for walking, and riders on Stack Exchange describe how much easier the climb feels the second time. And if your legs burn out in the first minute on short steep ramps, that is almost always the first mistake, not a fitness problem.
Frequently Asked Questions
What are some examples of hill climbing techniques?
The core techniques are: sitting back with a level pelvis for stability, leaning from the hips with a flat lower back, holding a cadence around 70 to 85 rpm, keeping a light grip with relaxed shoulders, shifting early and in small increments before the gradient steepens, breathing into the effort rather than bracing, standing out of the saddle for short steep pitches, and pacing below your maximum so the climb stays sustainable.
What is the 75% rule in cycling?
It is a pacing guideline rather than a physiological constant: try to finish a climb with roughly a quarter of your capacity unused, often expressed as a heart rate under about 75% of your maximum or an RPE of 5 to 6 out of 10. The idea is that fatigue accumulates roughly linearly, so a slightly easier pace held for twenty minutes usually beats an all-out effort that collapses after four.
Should I stand up when climbing a hill?
Stand for short, sharp efforts and steep pitches, not for the whole ascent. Standing lets the hips move with the pedals and applies more force over a few seconds, but it raises heart rate and energy cost, so it is hard to sustain. Seated pedalling is generally more economical on moderate gradients, with the balance shifting toward standing past roughly 8 to 10%.
What gear should I use to climb a hill?
Pick the gear that lets you hold a cadence of roughly 70 to 85 rpm with a smooth stroke and controlled breathing, and select it while the road is still flat. Beginners benefit from a compact chainring with a wide-range cassette, which gives low enough gears for genuinely steep roads. Shift before the gradient bites rather than after, and keep pedalling through the change.
How much elevation gain is a lot cycling?
It depends on your fitness and the length of the ride. A first century with real climbing typically runs 1,000 to 1,600 metres of elevation, and 2,000-plus is a demanding day for most riders. A long alpine climb of 1,500 metres in a single push is a serious undertaking. Compare the figure against climbs you already ride comfortably rather than against other riders.
Is biking uphill good for you?
Yes. Uphill riding works the glutes, quads and calves harder than flat riding while keeping your heart rate in a moderate zone, and it builds threshold and lactate clearance over time. Climbing also trains core stability and balance because you hold a stable position at low speed. If you are starting out, build up gradually and treat easy, short climbs as the entry point rather than long alpine ascents.
Conclusion: Start With a Sustainable Climb
Pick a comfortable gear, settle into a repeatable cadence, relax your hands and shoulders, and pace the climb for its length rather than its first minute. Everything else in hill climbing technique for cyclists grows out of those four decisions. Get them right on your next ramp and the hill stops being the hard part of the ride.