A cue sheet is a written, turn-by-turn list of a bike route, printed in rows that give you the distance at each intersection, the maneuver, the road name, and the distance to the next turn. Read the distance-to-next column, ride that distance, make the turn in that row, then read the next row. That loop is the whole skill, and it works with or without a GPS.
Most riders learn it badly on a club ride, usually somewhere after mile 40 with a full sheet flapping off the top tube and a turn already behind them. The fix is not a better gadget. It is a system: preview the sheet, find the next decision point, glance, execute, confirm. Once that loop is in your hands it takes about two seconds per cue.
Here is the short version of how to read a cue sheet while riding, and the rest of the article fills in the detail.
- Cumulative distance is where you are on the whole route. Distance to next is how far until the next turn. Most misreads come from confusing the two.
- Zero your computer at the start so the numbers on the screen and the numbers on the paper start in the same place.
- Read the next turn, not the sheet. One row at a time, three or four rows ahead at most.
- TRO means to remain on the road you are already on, and it is the most useful abbreviation on the page.
- Look down only when the road is empty and you are upright, ideally under 15 mph. Not on descents, not in traffic, not two-up.
- Carry it even with a head unit. Phones die, head units lose signal, and paper never does.
I have reworked this guide for 2026 with the method below, including the measurement details riders ask for most and the recovery steps that usually get left out.
Table of Contents
- What You Need to Read a Cue Sheet While Riding
- Step-by-Step: Read the Cue Sheet Without Losing Time
- Step 1: Preview the Route Before You Start
- Step 2: Learn the Cue Sheet’s Distance System
- Step 3: How Far Ahead to Read a Cue Sheet While Riding
- Step 4: Match Each Cue to What You See
- Step 5: Confirm Your Progress and Adjust
- Common Mistakes
- Frequently Asked Questions
- What does a cue sheet tell me while riding?
- Are cue sheet distances cumulative or for the next segment?
- How far ahead should I read a cue sheet?
- What should I do if I miss a turn on a cue-sheet route?
- Can I use a cue sheet instead of GPS?
- How do I read elevation and hazard notes on a cue sheet?
- Conclusion
What You Need to Read a Cue Sheet While Riding
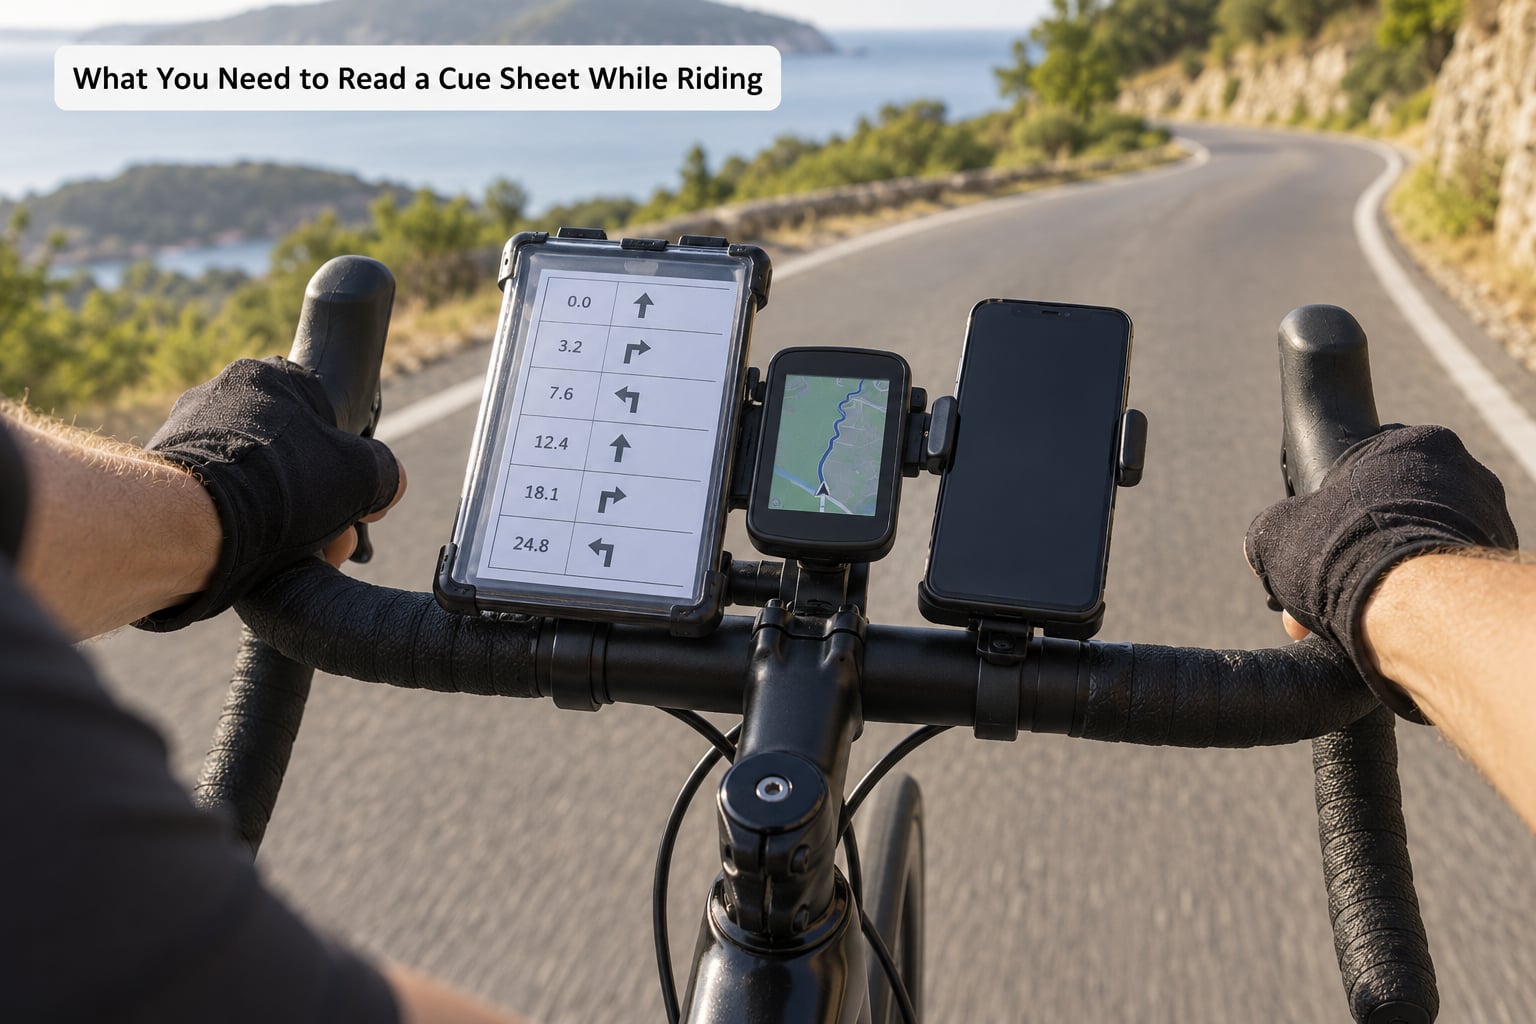
You need very little, and all of it fits in a jersey pocket except the sheet itself. The sheet comes first: either one printed by the ride organizer or one you generated yourself from a planned route, scaled to fit wherever you intend to carry it.
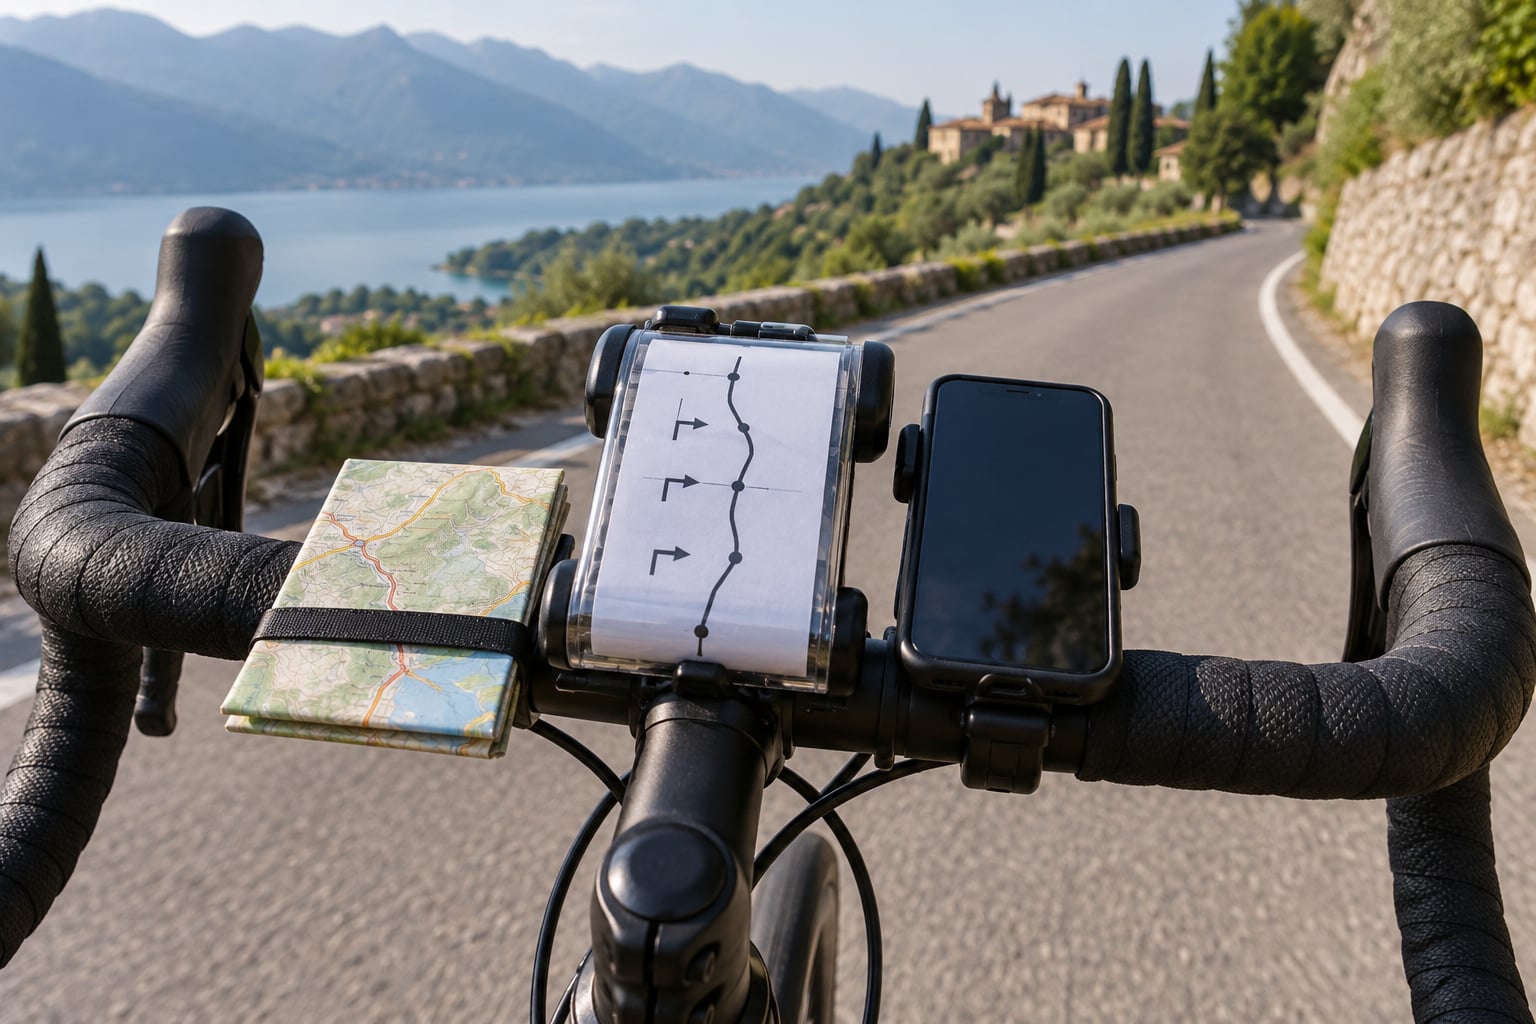
Then a way to hold it where your eyes can find it in under a second. Handlebar height and your position on the bike matter more here than any mount: if the sheet sits at chest level, your head moves and your steering goes with it.
Beyond that, a bike computer or a phone with the route loaded, a waterproof pen for your own notes, and a route overview you have already looked at on a map before you left the house. The overview is what lets you recover when the sheet runs out of detail, which it always does somewhere around the resupply stop.
Here is how the common mounting options actually compare while you are moving.
| Method | Where it sits | Readability while riding | Difficulty |
|---|---|---|---|
| Stem wrap | Loosely wrapped around the stem, rotated a column at a time | Very good, eyes drop only a few inches; needs making by hand | Measure, cut, transcribe |
| Handlebar clip | Center of the bars, above the stem | Good, but the sheet can flap and catch wind | Easy to fit |
| Top tube | Taped lengthwise along the frame | Poor; pulls your head and eyes far back | Easy |
| Top tube bag | In a frame bag | Poor, same reach problem, but stays dry | Easy if you own one |
| Handlebar bag | Bars, in a small bag or dry pouch | Good, and it carries the whole sheet | Needs a bag |
| Seatpost pouch | Rear of the bike | Fair on a flat, unusable on rough roads | Easy |
The stem wrap is the one most riders end up using, and the reason is the angle. Measure around the stem and add about 2 cm of slack, cut the sheet to that width, transcribe the cues so they run top to bottom, tape the left edge, and wrap it loose enough to turn by hand. Too tight and it will not rotate. The small overlap between columns is what makes that rotation possible.
Riders who like paper and also like electronics keep the two apart on purpose: computer on the bars for distance and speed, wrapped sheet on the stem for the road names. You check one with your eyes and the other with your thumb.
Step-by-Step: Read the Cue Sheet Without Losing Time
Step 1: Preview the Route Before You Start
Preview the sheet at the car, not at the first junction. Find the start and finish lines, the total mileage, the longest climbs, every rest or water stop, and any cue that looks unusual, like a double-back or a road name that appears twice.
Mark those in pencil. On my own sheets I circle the resupply points and underline anything with a hazard note, because those are the rows I will want to find without reading carefully. A preview that takes three minutes saves the twenty you would spend lost on a back road.
You should be able to describe the shape of the route afterward: where it goes out, where it turns back, where the hard part sits. If you cannot, you are not ready to leave.
Step 2: Learn the Cue Sheet’s Distance System
Almost every cue sheet uses the same four columns, and the sheet is only useful once you know which column to trust in the moment you are riding.
| Column | What it means | How you use it while riding |
|---|---|---|
| Cumulative or total distance | Miles or kilometers from the start line to that row | For confirming overall progress, not for the next turn |
| Distance to next, or “For” | The length of the leg you are riding right now | This is the number you use to ride the leg |
| Maneuver | The turn, or the instruction to stay put | The action you perform at the intersection |
| Road name and route number | What the road is called after the turn | Your confirmation that you are on the right road |
| Special instructions or notes | Hazards, rest stops, closures, bad pavement | Read these before the leg, not after it |
Symbols are the second layer, and there is no universal standard. Organizers invent their own, which is why a symbol you learned on one ride is not always safe to assume on the next.
| Symbol | Meaning | What you see on the road |
|---|---|---|
| L / R | Left or right turn | A normal intersection, turn at the road |
| BL / BR | Bear left or bear right | The road forks, take the outer path |
| SL / SR | Slight left or slight right | The road bends but does not fork |
| ShR / ShL | Sharp right or sharp left | An abrupt turn, often tighter than it looks |
| QR / QL | Quick right or quick left | A short jog, easy to overshoot at speed |
| S | Straight or straight through | No turn, continue on the same road |
| X | Cross straight over the intersection | Traffic on the road you cross, not you |
| C | Continue, usually on the same road | Nothing changes, no junction |
| TRO | To remain on | Stay on the current road past the intersection |
| R@T / L@T | Right or left at a T-intersection | The road you are on ends, you turn across it |
| TI / BEC | Turns into, or becomes | The road changes name without a turn |
| SS | Stop sign | Full stop, then continue |
| TL | Traffic light | Wait for the signal |
| RS | Rest stop or resupply | Food, water, and a slower group |
| RR | Railroad crossing | Tracks, usually with rough approach pavement |
TRO deserves its own line because it is the one riders ask about most. It tells you the road continues through the junction, and the common mistake is treating it like a turn because it sits in the maneuver column. Any time TRO appears in a row, the road name in that row is the road you are already on.
Metric sheets work exactly the same way with kilometers in both distance columns. Do not mix units on one sheet, and if you think in miles while riding a metric route, convert the total once at the start and leave it alone.
Step 3: How Far Ahead to Read a Cue Sheet While Riding
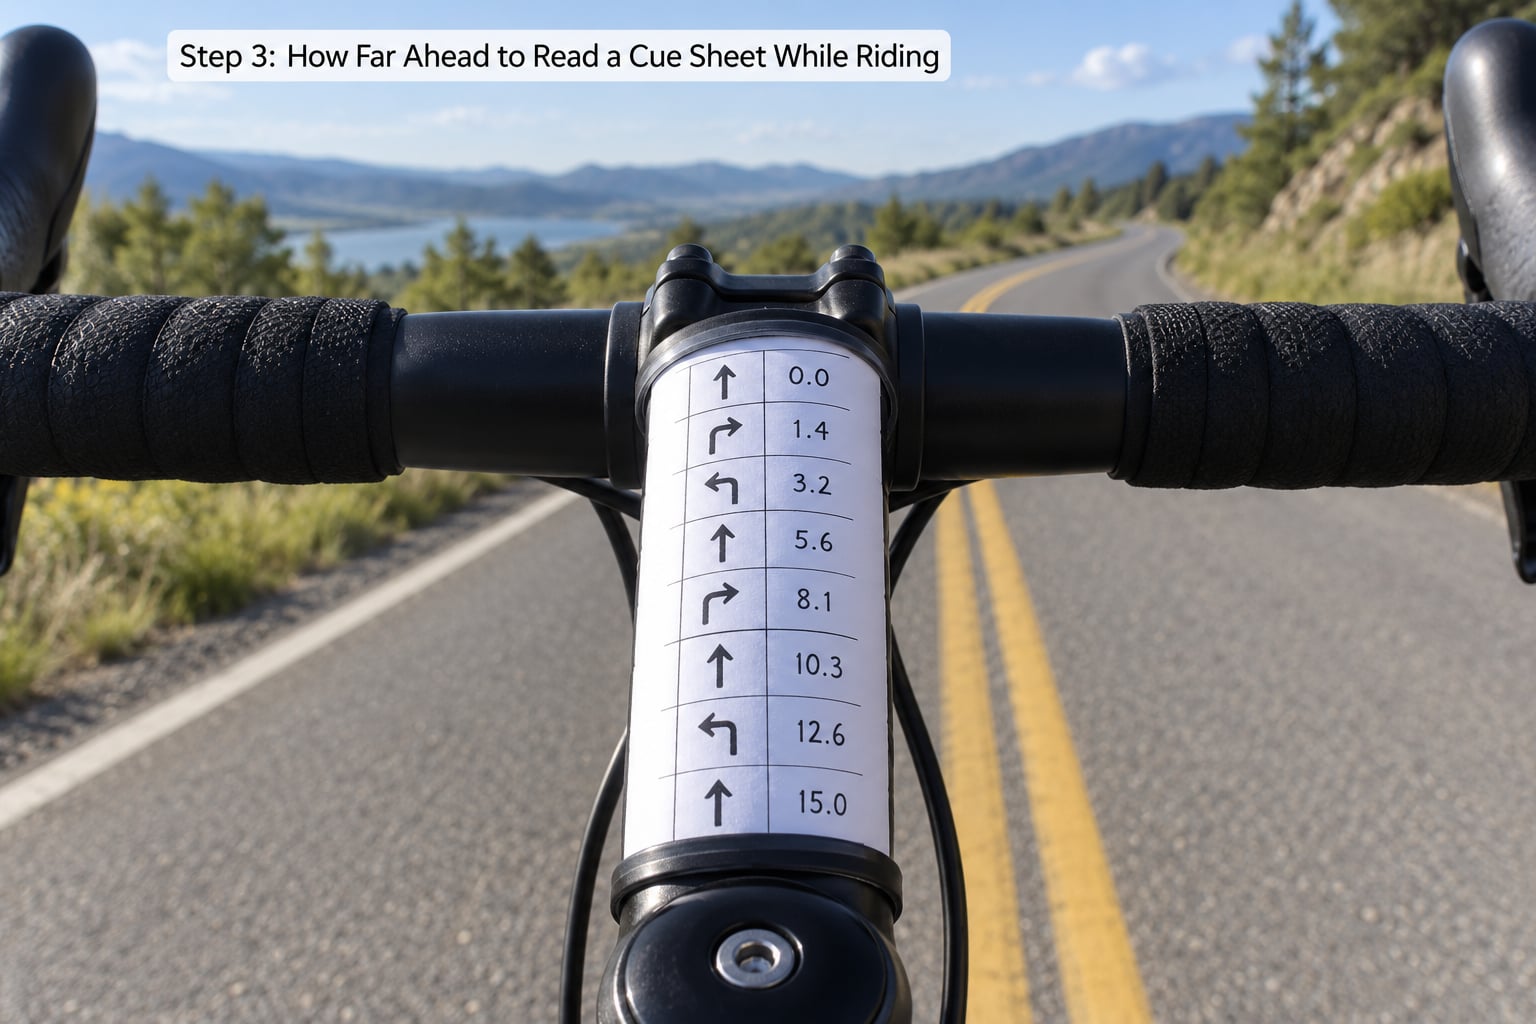
Read three to four cues ahead, not the whole sheet. Blocking it into small groups is the trick that makes reading possible at speed, because your eyes land on the next turn first and the later cues are already in peripheral awareness when you get there.
Read in the same order every time so it becomes automatic. Find the current row by the cumulative number, read the distance in the next-turn column, read the maneuver, glance at the road name, then move down to the row below and repeat. The order never changes, which means your eyes learn the path across the page instead of hunting.
Keep the sheet in one orientation. A sheet that rotates to a new column as you progress is the fastest setup to read, because you never reorient your head; a full-size landscape sheet is the slowest, because you have to turn it or lean over to see it.
And write your own shorthand in a consistent way. I use a small mark in the margin for hazards and a circle for stops, so hour three of notes still make sense to me. Notes that only made sense when I wrote them are useless at mile 70.
Step 4: Match Each Cue to What You See
Each cue is a claim about the road ahead, and your job is to confirm it rather than obey it. Before you reach an intersection, you should be able to name the road you are on and the road you expect next. When the name on the sign matches the sheet, the cue is confirmed and you turn.
When the names do not match, trust the road you can see and check the sheet. Renamed roads, new subdivisions, and mismarked junctions are common enough that a name mismatch is a normal event, not a failure.
Watch for what the maneuver implies rather than what the letter says. A T-intersection means you need a gap in traffic on the road you are crossing, and a TRO row means the danger is in the traffic, not in the turn. Notes like railroad tracks or rough pavement are about the next few hundred feet, and they are the reason to move to the shoulder before you get there rather than after.
Step 5: Confirm Your Progress and Adjust
Compare the cumulative number on the sheet with your computer every 10 miles or so, and expect them to disagree. Sheet mileage is calculated from the planned route, while your computer counts wheel rotations on the road you actually took, so detours, a slightly different line through a village, and calibration differences all add up. A tenth of a mile over a long ride is unremarkable; half a mile usually means you missed a turn or took a different loop.
Rather than chasing the difference, decide once at the start which number governs. Most riders pick the sheet for turns and the computer for effort, then hold a mental offset, like half a mile ahead by mile 30, and stop worrying about it. The number that changes your behavior should be the one that matches the road in front of you.
If the route stops making sense, slow down, pull to the side, and re-read the last row you passed. That single step resolves most confusion, because the mistake is almost always that you are one row ahead of where you actually are.
Common Mistakes
Reading the cumulative column for the next turn. This is the most common error by a wide margin. The fix is to decide before you start that you ride the sheet from the next-turn column only, and use the cumulative number for nothing except progress checks.
Looking down for too long. A glance is about a second, on an empty straight road, from a comfortable position. Anything longer means you should have pulled over. The dangerous moments are descents, junctions with cross traffic, wet pavement, and riding two-up or in a bunch where the rider in front cannot see you change position.
Assuming symbols carry over between organizers. Notation is not standardized, and a bare letter on a club sheet may mean something different on the next event. The fix is to read any legend the sheet provides first, and when a symbol is unfamiliar, treat that row as TRO until the road confirms otherwise.
Skipping the notes column. Hazard warnings, closures, bad pavement and rest stop locations live there, and they are the information you cannot get from the road in time. Read the notes for the leg you are about to ride, not the leg you just finished.
Trying to read a full-size sheet. A long sheet taped to the top tube forces your head and eyes far back and changes your position on the bike. Trim it, scale it, or split it across columns so the whole thing is readable from the saddle without moving.
Panicking when the numbers do not match. A tenth of a mile is drift, not a missed turn. Check the road name and the next maneuver before you assume you have gone wrong.
Having no recovery plan. If you miss a turn, do not stop in the lane and do not guess at intersections. Ride to the next safe place, pull off, and work it out: backtrack to the last confirmed cue, or continue and use the next cue on the sheet as a rejoin point. On most sheets, a later cue on the same road name will bring you back to the route, and your computer will help you find it. If the sheet carries a bail-out route, that is the fastest way home, so find that line before you need it.
Trusting a downloaded route without checking it. Routes change with construction, and a cue sheet generated from an old route is worse than no sheet because it is confidently wrong. Ride leaders check the sheet for outdated cues, closed roads, missing signs and rest stop changes before handing it out, and that ten-minute habit is worth copying even when you ride solo.
Two habits cover most of the rest. Read the sheet at the car, and only read it again when the road is quiet.
Frequently Asked Questions
What does a cue sheet tell me while riding?
A cue sheet gives you a running tally of the route: the distance you have covered, the maneuver at the next intersection, the road name after that turn, and the distance to the next turn. You do not read it cover to cover. You find the row you are on, read the distance and the turn, ride that leg, and then move to the next row. The value is that it works with no battery, no signal and no language.
Are cue sheet distances cumulative or for the next segment?
Both, in separate columns, and that is where most confusion starts. Cumulative distance is the total from the start line to that row, so it tells you how far into the ride you are. The distance-to-next column, sometimes labeled For or Next, is the length of the leg you are about to ride. While riding, you use the next-turn column. You use the cumulative number only to check your overall progress.
How far ahead should I read a cue sheet?
Three to four cues ahead. Blocking the sheet into small groups lets your eyes land on the next turn first and pick up the following cues peripherally, so you are not hunting across a page while moving. Read in the same order every time: current row, next distance, maneuver, road name, then down one row. If you cannot find the next turn in under a second, the sheet is too large or mounted in the wrong place.
What should I do if I miss a turn on a cue-sheet route?
Keep riding until you are somewhere safe, then pull off and re-read the last cue you actually passed, because you are usually one row ahead of where you think you are. Backtrack to that confirmed point if the mistake is small. Otherwise continue and use a later cue on the same road as a rejoin point, or take the bail-out route if the sheet has one. Turning at random intersections to guess is how riders end up miles off.
Can I use a cue sheet instead of GPS?
Yes, and experienced riders often prefer it. A head unit gives you distance, speed and live off-route warnings, but it depends on a charged battery, a working mount, and often a signal. A paper sheet has no failure modes, works in rain and cold, is readable at a glance, and tells you the road name you should be on. On organized rides and long events most people carry both, using the computer for numbers and the sheet for directions.
How do I read elevation and hazard notes on a cue sheet?
Elevation usually appears as total climb for the route, a percentage grade for each leg, or a profile page. A leg marked with a high grade is the one to settle into early rather than sprint. Hazard notes sit in the instructions column: railroad tracks, rough pavement, narrow shoulders, unlit sections or construction. Read the note for the leg you are about to ride, and move to the shoulder before the hazard rather than at it.
Conclusion
The habit that matters is small: preview the decision points at the car, then read in blocks of three or four cues while riding, using the distance-to-next column and nothing else. Confirm progress every ten miles, keep the sheet where your eyes drop an inch and not a foot, and never look down on a descent or in traffic. Get that right and how to read a cue sheet while riding stops being a skill you have to think about, and becomes something your hands do for you.