Cadence training for cyclists is simply the practice of riding at a deliberately chosen pedal speed, measured in revolutions per minute, until that speed becomes easy to hold on flat roads, on climbs and in a bunch. Most road riders settle anywhere between 60 and 100 rpm without ever thinking about it, and the riders who improve fastest are the ones who spend one short session a week deliberately pushing their natural number up by three or four rpm. The goal is a comfortable, repeatable range you can return to on every ride, not a magic figure.
Two numbers both get called the right answer. Roughly 60 rpm is the most metabolically efficient pedal speed a human can produce, yet almost every guide, coach and pro rider tells you to spin at 85 to 100. Both are true, and the gap between them is the most useful part of this whole topic, so I will spend a section untangling it rather than pretending it does not exist.
The plan below is built for recreational and club road riders who pedal below 75 rpm, mash gears on climbs, or bounce in the saddle when they try to go faster. It assumes a road bike, no laboratory, and about forty minutes a week. It also assumes you will do the boring part: riding the same roads for four weeks and noticing what changes.
Table of Contents
- Cadence Training for Cyclists: What It Is and Why It Matters
- What Is a Good Cycling Cadence?
- How Do You Measure Cadence on a Road Bike?
- What Is the Best Cadence Training Plan for Beginners?
- Which Cadence Drills Improve Smooth Pedaling?
- How Do You Use Cadence Training on Hills and in Races?
- How Do You Avoid Making Cadence Training Hurt Your Performance?
- Frequently Asked Questions
- What cadence should a beginner cyclist aim for?
- Is a higher cadence always better for road cycling?
- What cadence is best for climbing hills?
- How can I pedal more smoothly at a high cadence?
- Do I need a power meter to train cadence?
- How often should I do cadence training?
- Conclusion: Start With a Comfortable, Repeatable Cadence
Cadence Training for Cyclists: What It Is and Why It Matters
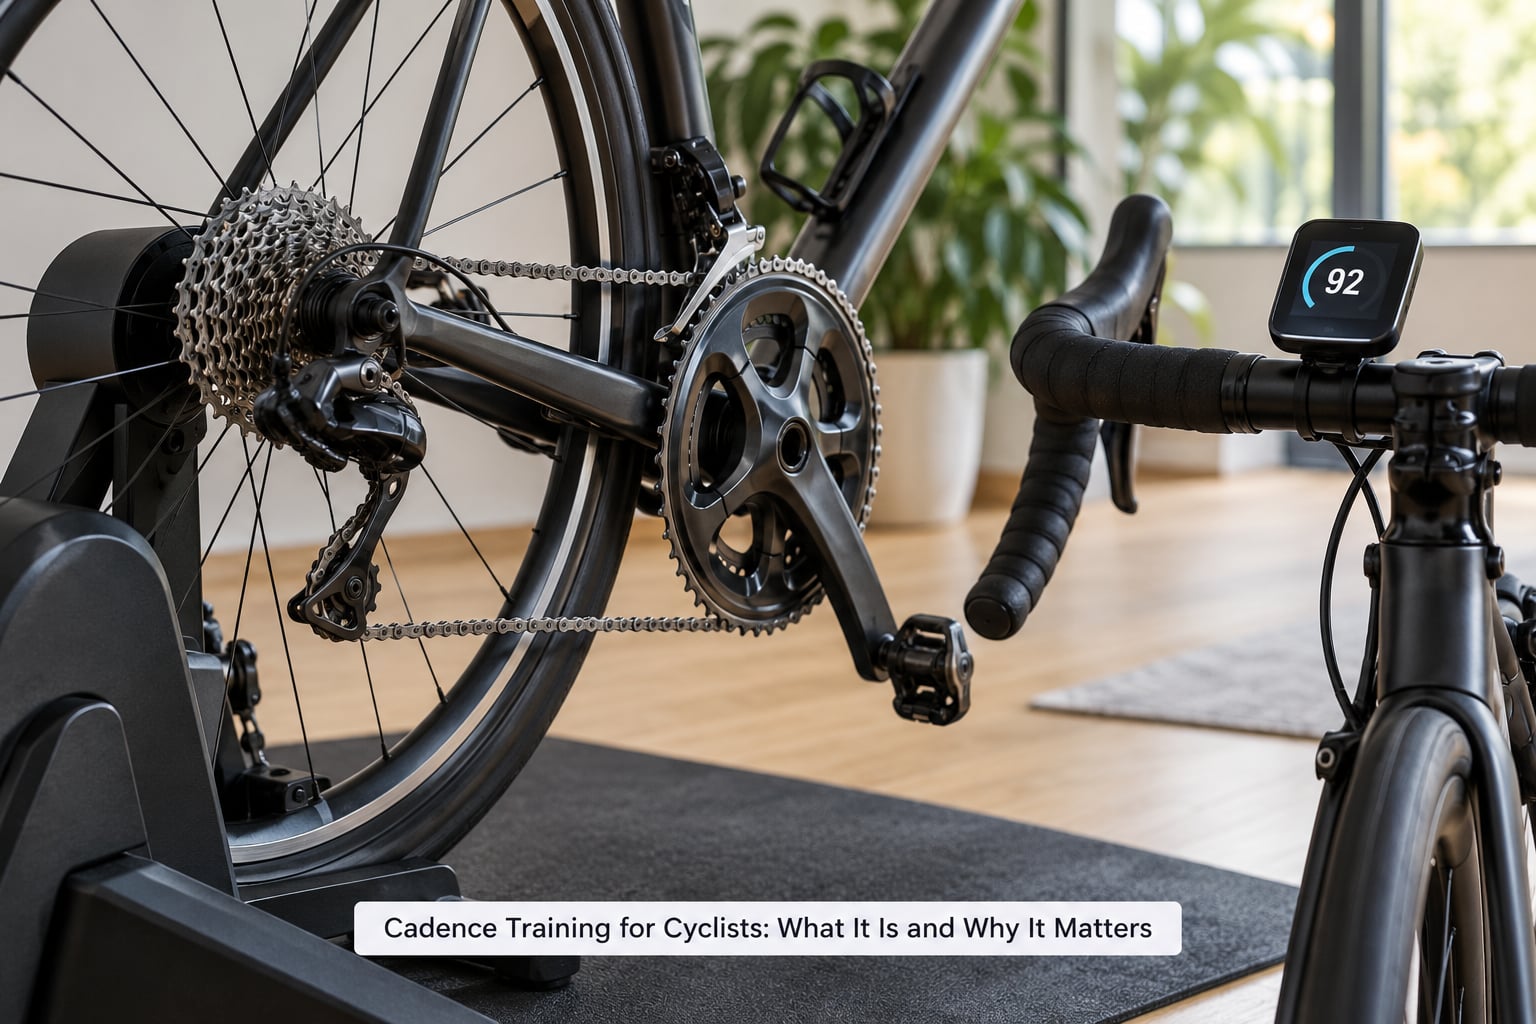
Cadence is your crank speed in revolutions per minute, and power is force multiplied by cadence. Push a heavier gear at the same speed and each pedal stroke needs more force; spin an easier gear and each stroke needs less. That single relationship is the whole reason cadence training exists, because the muscles that generate force and the system that clears lactate are not the same thing, and you can shift load from one to the other by changing what your legs do.
What you are actually training is coordination. Repeatedly holding a quick cadence at light resistance teaches your nervous system to fire the right muscles in the right order, so torque is applied through more of the pedal circle rather than peaking at one awkward point. The visible result is a smoother stroke with fewer dead spots, less rocking in the saddle, and less energy thrown away at the top and bottom of the revolution.
I want to be honest about the part forums argue about most, because it is a fair criticism. There is published work concluding that telling recreational riders to aim for 90 rpm does not, on its own, make them faster or fitter. That is true. Cadence work is an efficiency and control tool. It reliably makes a given effort feel lighter and helps you hold form late into a ride, and it is a good way to develop the ability to sprint out of the saddle, but it will not add fitness to your legs on its own and it does not replace threshold work.
So why bother? Because most riders are not limited by fitness on a Tuesday club ride. They are limited by a heavy gear, a stiff knee, a bike that rocks, and an inability to accelerate when someone attacks. Cadence training attacks all four.
What Is a Good Cycling Cadence?
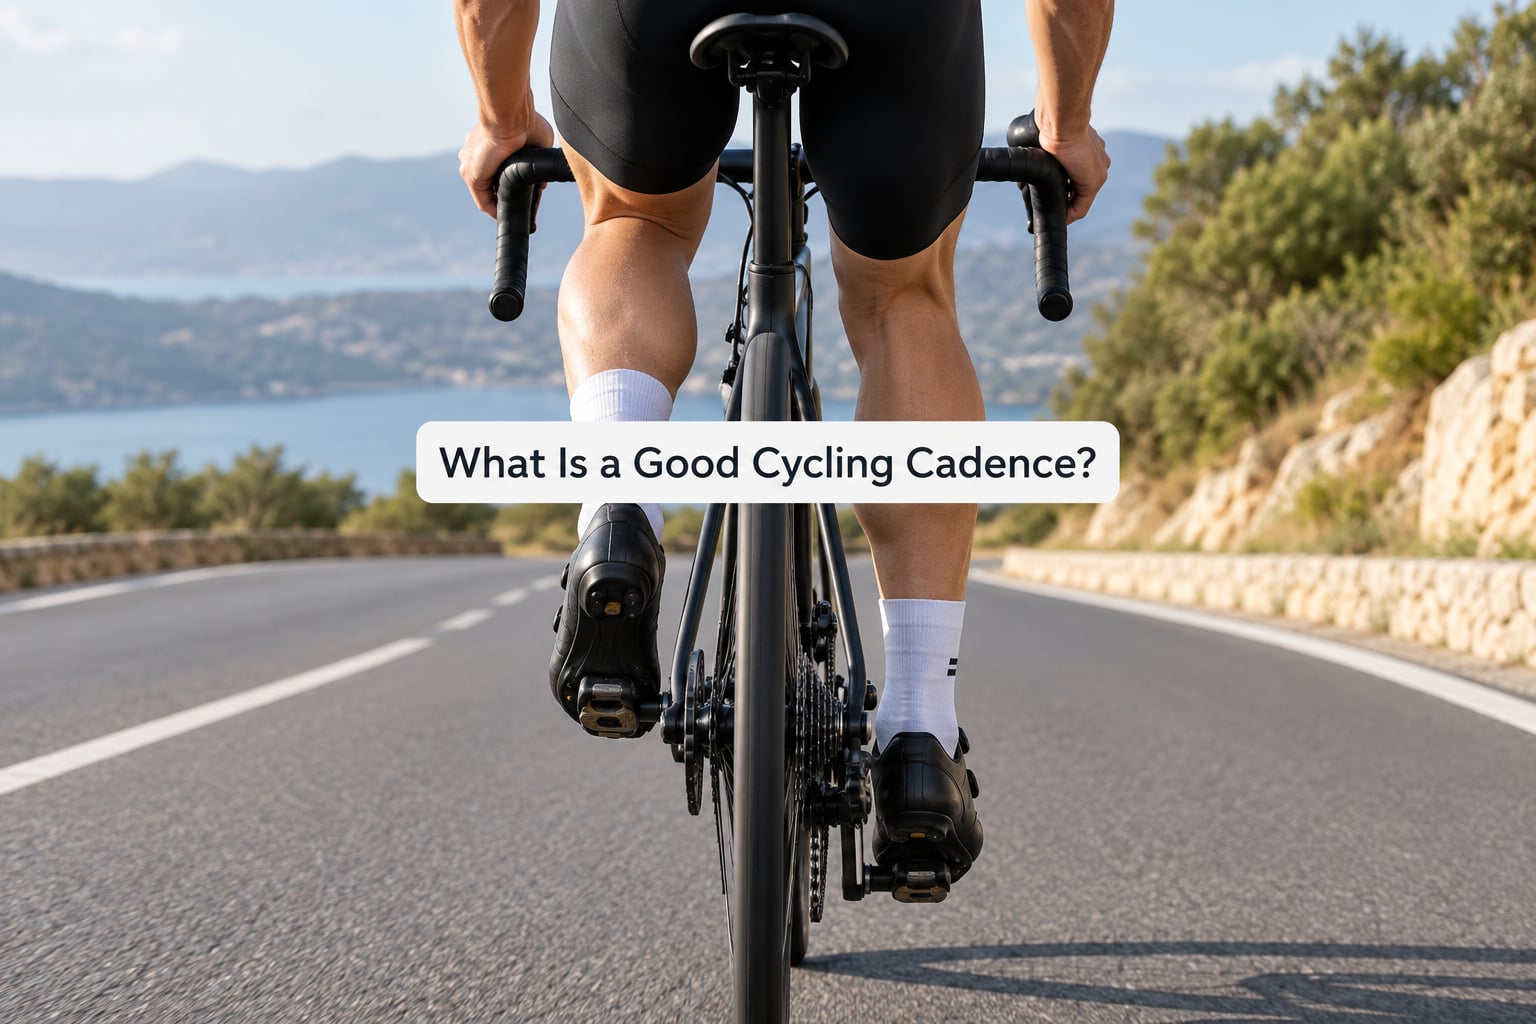
A good cycling cadence is the one you can hold smoothly for the length of the ride, and it changes with terrain, fitness, bike fit and how much power you are producing. For most road riders the useful anchor is 80 to 100 rpm on endurance riding, with beginners starting lower and progressing upward over weeks rather than weeks of grinding at 62.
By rider level, the ranges look like this.
| Rider level | Typical endurance range | Where most riders start |
|---|---|---|
| Beginner (under a year) | 60-85 rpm | 60-70 rpm |
| Intermediate (1-5 years) | 75-95 rpm | 70-80 rpm |
| Advanced club and racer | 85-105 rpm | 80-90 rpm |
| Track sprinting | 110-130 rpm | Above 110 rpm |
By situation, the number moves a lot more than most charts suggest.
| Situation | Useful range | What it is doing |
|---|---|---|
| Long endurance ride | 80-95 rpm | Keeps force per stroke low so legs stay fresh for hours |
| Rolling flat road | 85-100 rpm | Balances comfort with the ability to accelerate out of the saddle |
| Steep climb | 60-85 rpm | Shifts effort from torque to cardiovascular work, which is sustainable |
| Sitting on a long drag | 70-85 rpm | Higher power, heavier tension, needs a firmer core |
| Attack or sprint | 100-120 rpm | Blends big force with high speed through the stroke |
| Time trial | 85-105 rpm | Matches the gear to the gradient and holds output steady |
| Indoor turbo | 85-100 rpm | Commonly 5-10 rpm lower than the same rider outdoors |
| Recovery spin | 75-90 rpm | Easy revolutions, low tension, good circulation |
You will hear the “75 rule” floated around, usually as a way to pick gears on rolling terrain. The idea is roughly that if your feet hit a high cadence in a given gear, you are spinning too fast and should go up a gear, and if the resistance slows your legs down, you should go down one. It is a useful cue for staying in the right gear. It is not a target you should force yourself to hold on every ride.
Pro riders are not magic. The figure usually quoted for Lance Armstrong is around 95 rpm, which sits comfortably inside the advanced range above rather than above it. What elite riders actually do is hold a smooth stroke while producing more power than you are, and they change that number constantly depending on the gradient and the effort.
One more caution about the word efficient. Around 60 rpm uses the least oxygen for a given absolute power, which is why hour-record and laboratory work keeps finding it. But riding at 60 rpm all day leaves you unable to produce anything fast, and on a road you cannot control the gradient. That is why practical targets sit well above the metabolic optimum, and why chasing 60 rpm as a daily riding habit tends to end in a heavy gear and a sore knee.
How Do You Measure Cadence on a Road Bike?
You measure cadence with a sensor that counts crank revolutions, and then you have to confirm the reading before you train against it. A cheap standalone cadence sensor mounted on the crank or the fork does this job perfectly well, and if you own a power meter in the same ecosystem its crank sensor usually reports cadence too without a second battery.
A few things worth checking the first time you switch it on. Compare the reading to your own count: pick a gear, ride at what feels like 80 rpm, and manually time fifteen seconds of revolutions against the display. If the display says 90 and your count says 80, the sensor is picking up noise or is picking up wheel rather than crank pulses, and every target you set from it will be wrong.
Also check that the reading is live when you are pedalling rather than freewheeling, and that it holds steady through a gear change. A sensor that spikes on every shift will make a spin-up session impossible to interpret.
If you have no sensor at all, you can still get a usable baseline. Ride a flat, safe stretch of road at an easy effort, count crank revolutions for exactly one minute using a stopwatch, and write the number down. Do it on the same stretch at the same effort four weeks later. The number will be rough, but rough and repeatable beats a precise number you never measured.
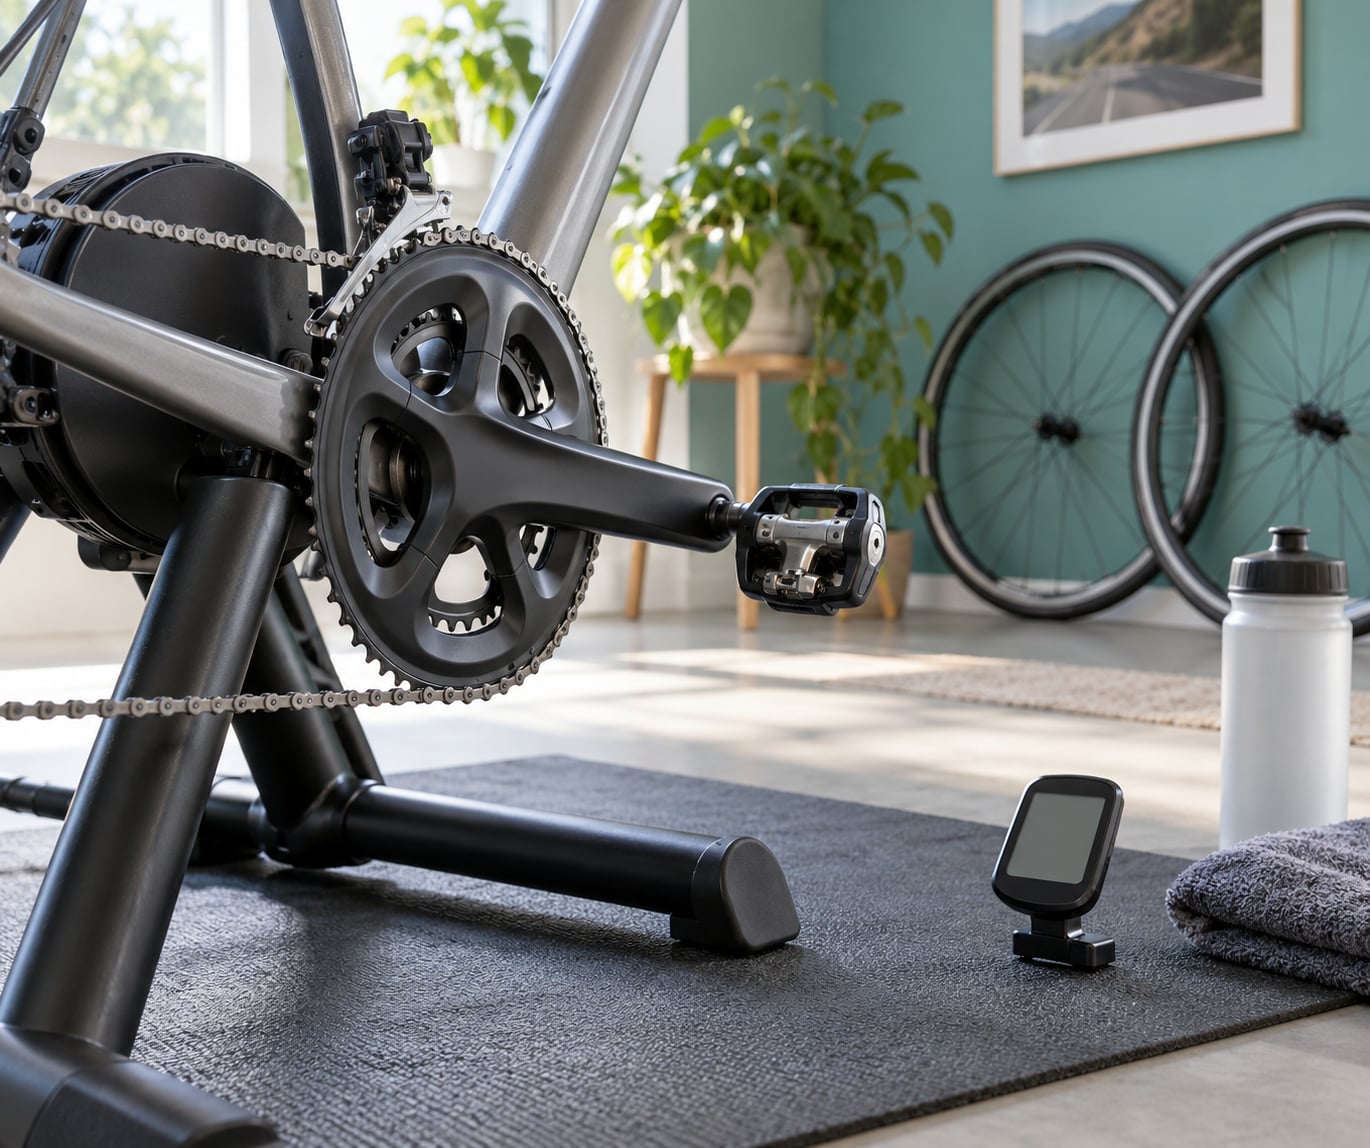
Indoors the picture is slightly different, and it is normal. Riders commonly sit five to ten rpm lower on a turbo than outdoors at the same effort, partly because there is no balance work to resist the bobbing that comes with a very high indoor cadence. Do not chase an outdoor number on a trainer without a reason; if you want a specific number indoors, set the target on the bike computer and let the session stay easy otherwise.
What Is the Best Cadence Training Plan for Beginners?
The best beginner cadence plan is a four-week progression that raises your comfortable range by about three to five rpm a week, keeps total weekly load unchanged, and gives you a full recovery day between sessions. Forty-five minutes once a week is genuinely enough, and on most weeks the hard part is turning up and doing it without turning the rest of the ride into a sufferfest.
Week 1: baseline and hold. Ride your normal route at your normal effort and record your average cadence, plus the number you settle into on a steady flat section. Do no intervals. The aim is to have one number you can check again, because a plan with no baseline is just a plan with opinions in it.
Week 2: raise and hold. On a flat, safe section, shift into a comfortable gear and try to hold a cadence three to five rpm above your week 1 steady number for one full minute. Do ten of those minutes spread through a normal ride. Stop the set the moment your hips start rocking or your cadence starts swinging, because a wobbly 95 is worse than a clean 78.
Week 3: add spin-ups. Ten repetitions of 30 seconds at a high, comfortable cadence with 90 seconds of very easy riding between them. On outdoor rides do these on a long shallow rise so you have room; indoors they are simpler. Keep the resistance light, aim for around 100 to 110 rpm on the reps, and treat the recovery as part of the workout rather than wasted time.
Week 4: put it together. Ride at your week 2 target as your default for the whole ride, with two or three short spin-ups if the route allows, then repeat your week 1 baseline test on the same flat section. Most riders find the number has moved without them noticing, and that is the point.
Progress only when the previous week felt controlled rather than heroic. If your cadence was fine but your knee hurt, hold the number and change nothing else. If your heart rate was climbing every time you tried to hold the new target, you have probably stepped the number up too far, and the fix is to step back down rather than to push harder.
Then take a week off from the sessions themselves. Cadence work stops paying when it stops being novel, and most riders make more progress in month three than in month one because the pattern has become automatic.
Which Cadence Drills Improve Smooth Pedaling?
These eight drills cover the range from pure leg speed to stroke quality, and each one has a different job. Do not run all of them in one week. Pick two, add them to an existing easy ride, and rotate.
1. Endurance spinning. Purpose: raise your natural cadence. Hold a cadence three to five rpm above your normal for five minutes, then return to easy for five. Do two rounds. This is the least flashy drill on the list and the one that most reliably moves your default number, because you are practising the target in a state you can actually ride in.
2. Seated spin-ups. Purpose: peak leg speed. From a seated position, accelerate smoothly to around 110 rpm in a light gear over five seconds, hold 10 to 15 seconds, then ease back down. Do 8 to 10 reps with 60 to 90 seconds easy between. The mistake here is forcing the acceleration, which turns the drill into bouncing. Let the hands come lightly to the bars if you need them.
3. Standing transitions. Purpose: control when your body weight moves. From seated, stand for 15 seconds at a moderate cadence, sit, then stand again as the road rises. Six to eight repeats. Standing on a climb at too high a cadence is a common way to finish a ride with numb hands, so keep the range moderate and stay in a gear you could pedal seated.
4. High-cadence recovery. Purpose: teach fast legs to stay quiet when the effort is low. In the first two minutes of every recovery, spin at 95 to 105 rpm in a light gear at minimal power. Do this on every interval session you do for the rest of your life, essentially free.
5. Single-leg pedalling. Purpose: expose left-right imbalance. Ride one leg for 20 to 30 seconds with the other leg held clear of the pedal, then swap, alternating through a set. Six sets of 30 seconds each. Riders are often surprised by how different the two sides feel, and how much the weaker side is wasting at the top of the stroke.
6. Kick and pull. Purpose: smooth torque through the whole circle. Think about driving the pedal through the top of the stroke as though kicking a ball forward, then pulling the heel up behind. Practise for one minute at 75 to 85 rpm with light resistance. If your heel drops, you are overloading the push, which usually means a resistance level that is too heavy for the drill.
7. Circle drawing. Purpose: dead-spot elimination. Roll slowly along a quiet road, almost coasting, and draw the smallest possible circle you can with each pedal. Hold it for 10 revolutions, then relax. This is best done at a very low effort because it is a coordination drill, not a strength drill, and trying to make it hard defeats it.
8. Gear bingo. Purpose: instinct for gear selection, which is where most cadence work is actually won. On a flat road, call a target cadence, shift up until you exceed it, shift back down until you fall under it, and settle in the middle. Keep calling new numbers. Twenty minutes of this teaches the shifting reflex that forum riders mean when they say to go easier than you think you should.
One and two are your core sessions. Three through eight are what you add once holding a slightly higher cadence has become boring, which usually takes two to three weeks.
How Do You Use Cadence Training on Hills and in Races?
On hills, the rule of thumb from riders who have thought about it is to go easier than feels reasonable. If you are climbing at 60 rpm in a gear you have to think about, the answer is usually a lower gear at 80 rpm rather than more suffering in the one you have. That shift moves work off your quadriceps and onto your cardiovascular system, which is why the same climb often feels better at a higher cadence even though the speed looks similar.
You can work this out rather than guessing, and the maths is short. Development is how far the bike travels per pedal revolution, and it equals your wheel circumference multiplied by your chainring teeth divided by your rear cog teeth. Road speed in km per hour equals development in metres, multiplied by cadence in rpm, multiplied by 60, divided by 1000, then multiplied by one plus your gradient as a decimal.
| Setup | Development | Speed at 90 rpm, flat | Speed at 90 rpm on a 7% gradient |
|---|---|---|---|
| 50/17, 2.05 m wheel | 6.03 m | 32.6 km/h | 34.8 km/h |
| 50/21 | 4.88 m | 26.4 km/h | 28.2 km/h |
| 50/28 | 3.66 m | 19.8 km/h | 21.2 km/h |
| 50/34 (compact) | 3.01 m | 16.3 km/h | 17.4 km/h |
Read that table as a gradient adjustment rather than a shopping list. Holding the same cadence on a steeper gradient pushes your speed up by the gradient percentage, so to hold 85 rpm on a 7% climb at a comfortable pace you need roughly 6% less development than the same cadence would give on the flat, and 15% less if you also want to drop 5 rpm. The practical takeaway is that a rider who wants a genuine 85 to 90 rpm climb often needs a smaller chainring, and that is a bike-fitting decision rather than a willpower problem.
Descending, keep the cadence high and the gear moderate. A heavy gear at high speed means a lot of braking and a jerky pedal stroke when you do spin up, and riders who bog down in a low gear on the way down tend to arrive at the bottom with dead legs for the next climb.
In a paceline, sit at 85 to 95 rpm and resist the pull to match the rider in front who is on the front at 70. The same goes for following a wheel: hold your own number and hold a line with slightly more space than feels necessary.
For attacks and sprints, expect to go above your endurance range, into 100 to 120 rpm, and expect it to feel bad. The benefit of high-cadence work shows up here, because a rider who can already spin at 105 will produce a smoother, faster acceleration out of the saddle than a rider at the same power grinding at 65.
For long events, the opposite applies. On a century or a long time trial, the winning move is a cadence that is low enough to feel almost lazy and stable enough to hold for nine hours, which for most riders sits between 75 and 90 rpm and does not change much once chosen.
There is a limit, and it is worth naming. An artificially high cadence under high power produces a choppy stroke, tension in the shoulders, and usually a lower peak power, because you are spending effort on leg speed you do not need. If your cadence target is costing you speed on an attack, drop it and hold the effort instead.
How Do You Avoid Making Cadence Training Hurt Your Performance?
The main way cadence training hurts performance is not knee pain from the pedals. It is added tendon and stabiliser load from spinning fast at low power, combined with doing too much of it in one week. High-cadence work at light resistance is not cardio for your legs; it is repetitive loading of structures that do not get a lot of it in normal riding, and it needs a slower build than most riders give it.
Watch for these signs, and adjust rather than pushing through them.
- Knee discomfort on the downstroke, especially at high rpm, which usually points to saddle height or crank length rather than cadence itself
- Saddle bounce or rocking, meaning the cadence is above what you can hold smoothly, so drop the target rather than leaning harder on the bars
- Rising heart rate at a steady effort, meaning the new number is beyond your current comfort, so step back down 5 rpm
- Tenderness in the achilles, knee or lateral foot that lasts more than a day or two after a session, which is a clear signal to reduce frequency
- Fatigue that carries into the next day’s ride, which means the total load needs to drop, not the cadence target
A few practical checks help more than most riders expect. Make sure your saddle height is right before blaming the drills, because a saddle that is even 5 mm too low shows up hardest when your cadence goes up and your pedal stroke gets faster. Check that your bar and saddle fit lets you hold your torso angle with relaxed shoulders at your new target. And keep the sessions genuinely easy around them, since cadence work sits on top of your existing training rather than replacing it.
Skip the sessions during a taper week, the week before a race, and any week you are dealing with an injury. There is no benefit to a session that costs you freshness.
If you have existing knee problems, are recovering from an injury, or feel pain that does not settle, stop doing the drills and speak to a qualified clinician or a physiotherapist. General cadence advice is not a diagnosis, and nobody reading a cycling article, including me, can tell you whether your knee pain is a fit issue or something that needs a professional.
On balance, most of the caution people read in forums about high cadence is aimed at the right thing, just applied too broadly. Riders are right that tendons and stabilisers take the load. They are wrong to conclude that moderate cadence work is dangerous, because a 90 rpm spin at light resistance is closer to a warm-up than a workout, and it is the 120 rpm efforts at full power that earn the warnings.
Frequently Asked Questions
What cadence should a beginner cyclist aim for?
Most beginner road riders pedal at 60 to 70 rpm without choosing to. A sensible first target is 75 to 80 rpm on flat ground at an easy effort, reached by shifting into a lighter gear rather than by pushing harder. Hold that number for a few weeks before aiming higher, and check the saddle height first if your knee objects to the faster stroke.
Is a higher cadence always better for road cycling?
No. Higher cadences shift effort from muscle force to the cardiovascular system, which helps on climbs and late in long rides, but very high rpm under high power produces a choppy stroke and often lowers peak power. Climbing, descending, paceline riding and racing all want different numbers, so the better question is which cadence suits this part of this ride, not which number is best.
What cadence is best for climbing hills?
For most road riders, 70 to 85 rpm is the useful climbing range, with 60 to 70 rpm still acceptable on very steep ramps. What matters more is the gear: if you are grinding at 60 rpm in a heavy gear, dropping to a lighter gear and spinning at 80 usually feels easier and costs less overall. Riders who can hold 85 rpm on a real climb often needed a smaller chainring to get there.
How can I pedal more smoothly at a high cadence?
Use light resistance and relax your upper body, because tension in the shoulders and arms transfers straight into a jerky stroke. Practise kick and pull, thinking about driving the pedal through the top of the stroke and pulling the heel up behind. If you are rocking in the saddle or seeing your cadence numbers swing, the target is above your current skill, so lower it and rebuild.
Do I need a power meter to train cadence?
No. A standalone cadence sensor on the crank or fork reports pedal speed accurately and is all most riders need, and many power meters read cadence from a sensor you already own. A power meter helps you hold a steady effort while you change gears, but you can train cadence by feel and confirm it with a cheap sensor and a manual revolution count.
How often should I do cadence training?
Once a week for thirty to forty-five minutes is enough, and most improvement comes from raising your default cadence on ordinary rides rather than from dedicated sessions. Keep a full day between sessions, and stop progressing when a week starts affecting your normal riding. Riders usually need three to four weeks at a level before raising the target again.
Conclusion: Start With a Comfortable, Repeatable Cadence
Do one thing this week. On a flat, safe stretch of road, measure your average cadence over one full minute of easy riding, write the number down, and finish the ride holding three rpm above it for a few minutes at a time. Repeat that on the same stretch next week before you touch any of the harder drills.
Cadence training for cyclists is a slow, unglamorous habit rather than a breakthrough. The riders who get good at it are the ones who move up five rpm, get comfortable, then move up again, and who fix their gears instead of trying to push a heavy one faster.