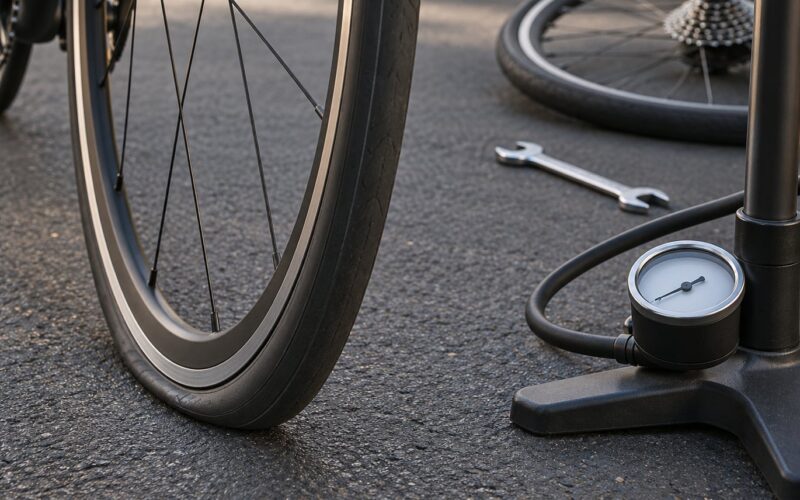
Tubeless wins for most road riders who want to run lower pressures for comfort and grip and who hate roadside tube changes. Clincher still wins on simplicity, running cost and the highest pressures a rim will safely take. The real question is what your rims accept.
That is the part that catches people out. Plenty of riders decide on comfort, then discover mid-project that their wheels will not take a tubeless tire at all, or that the tire brand requires a rim that is not theirs.
One terminology note before we go further, because searching for this gets confusing. A clincher is the same thing most people call a tubed tire. The correct word is clincher; the common word is tubed. Both describe a tire that holds its air on an inner tube inside a hooked rim.
This guide pulls on the mechanics of both systems and on years of rider forum threads, and the honest answer has more nuance than the sales pages suggest.
Table of Contents
- Tubeless vs Clincher for Road Cycling at a Glance
- How Tubeless and Clincher Tires Work
- Tubeless vs Clincher for Road Cycling: Comfort and Rolling Resistance
- Pressure guidance by riding style
- Tubeless vs Clincher for Road Cycling: Puncture Protection
- Tubeless vs Clincher for Road Cycling: Setup and Maintenance
- Can I convert my existing clincher wheels?
- Installing a tubeless road tire, step by step
- Sealant chemistry, and how often to top up
- The one-way compatibility trap
- Tubeless vs Clincher for Road Cycling: Weight, Cost, and Tire Choice
- Which Should You Choose?
- Frequently Asked Questions
- Are tubeless road tires worth it for beginners?
- Are tubeless tires as fast or faster than clincher tires?
- Can I use tubeless tires on ordinary road rims?
- What happens if a clincher tire gets a flat on a long ride?
- Can I switch from tubeless back to clincher tires later?
- Do pro cyclists use tubeless tires?
- Conclusion
Tubeless vs Clincher for Road Cycling at a Glance
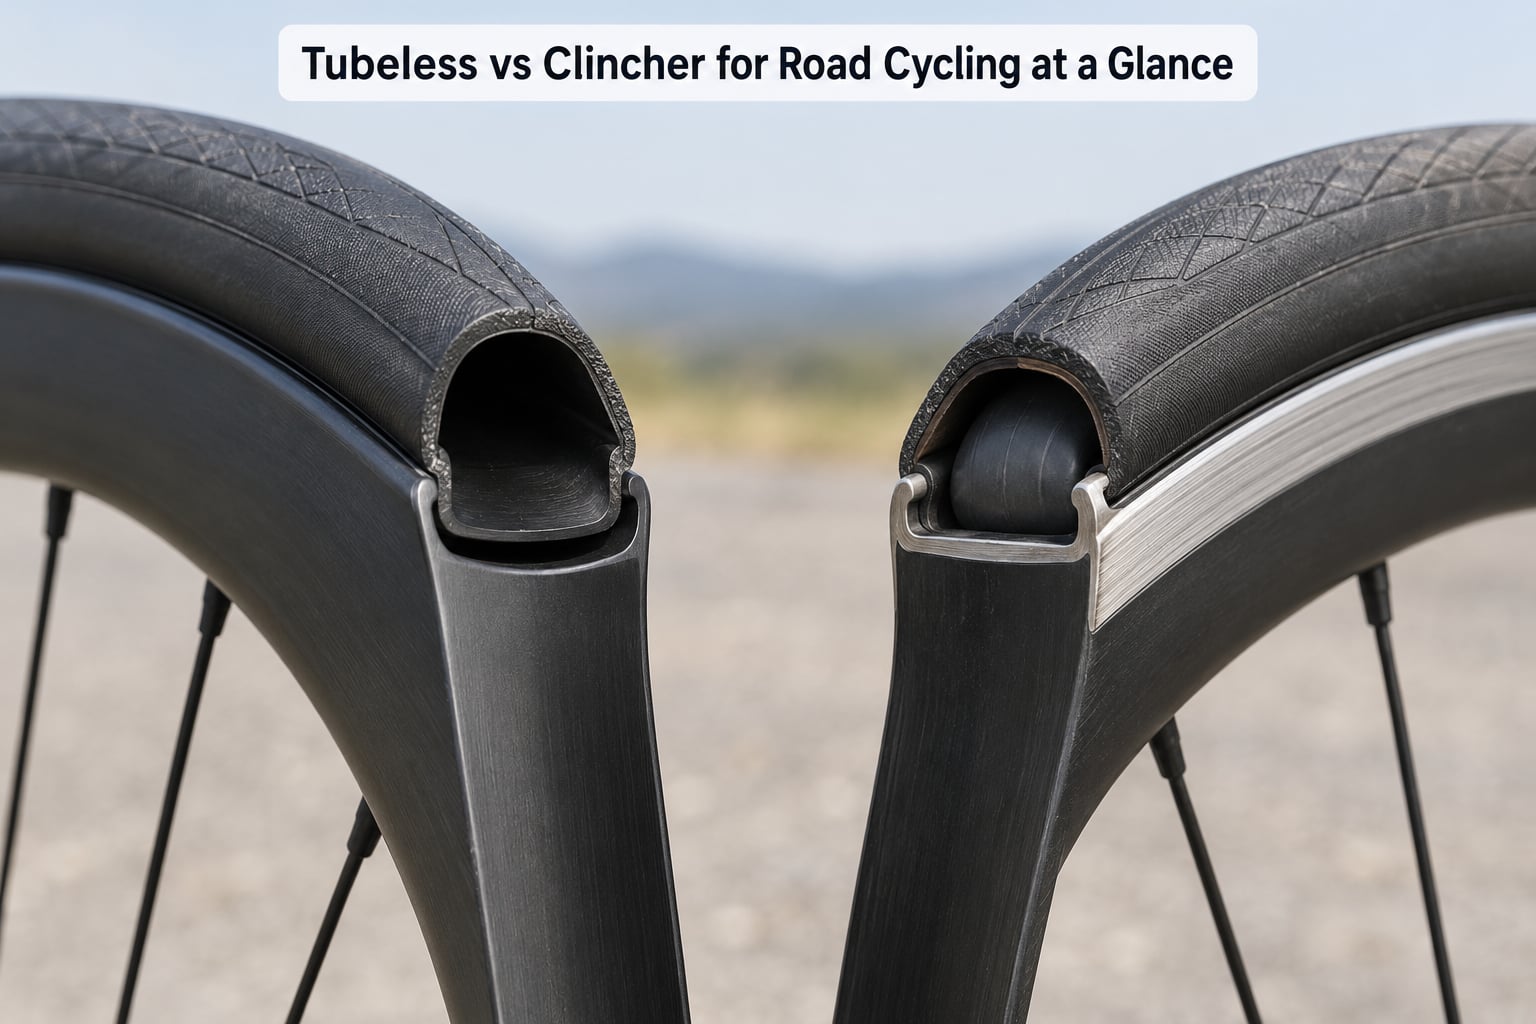
| Decision factor | Tubeless | Clincher (tubed) |
|---|---|---|
| Tire construction | Air-sealed casing, no tube, Presta valve, liquid sealant inside | Outer casing plus a separate inner tube that holds the air |
| Rim requirement | Tubeless-ready, UST or hookless rim; not all rims qualify | Standard hooked clincher rim |
| Pinch flats | Effectively eliminated at usable road pressures | Still the most common flat at low pressure |
| Small tread punctures | Sealant plugs most of them automatically | Tube loses pressure, rider rides or fixes |
| Typical road pressure | Roughly 70-80 psi on a 700c road tire, depending on weight | Roughly 90-100 psi on the same width, depending on weight |
| Maximum pressure available | Capped by rim design, and hookless rims have a low ceiling | Hooked rims allow higher maximum pressure |
| Ongoing maintenance | Sealant top-ups, pressure checks, messy removal | Pressure checks and occasional tube replacement |
| Roadside repair | Top up air, re-seat bead, or drop in a tube if needed | Swap the tube, ride on in a few minutes |
| Best for | Comfort-focused riders, training miles, gravel, dirty winter roads | Racers, dry-weather riders, anyone wanting the simplest repair |
Choose tubeless if you ride long, want lower pressures, and are comfortable learning a small maintenance routine. Choose clincher if you want the fastest possible roadside fix, the lowest running hassle, or you already own clincher-only wheels.
How Tubeless and Clincher Tires Work
A clincher tire is a tube-shaped casing with a bead on each edge. You stretch the bead over the rim hook, seat the bead in the channel, then inflate. The inner tube inside the casing holds the air, and the tube is the part that gets punctured.
That single fact drives most of the difference between the two systems. With a clincher, the air lives in the tube, so anything that opens the casing vents the tire. With tubeless, the air lives in the casing itself.
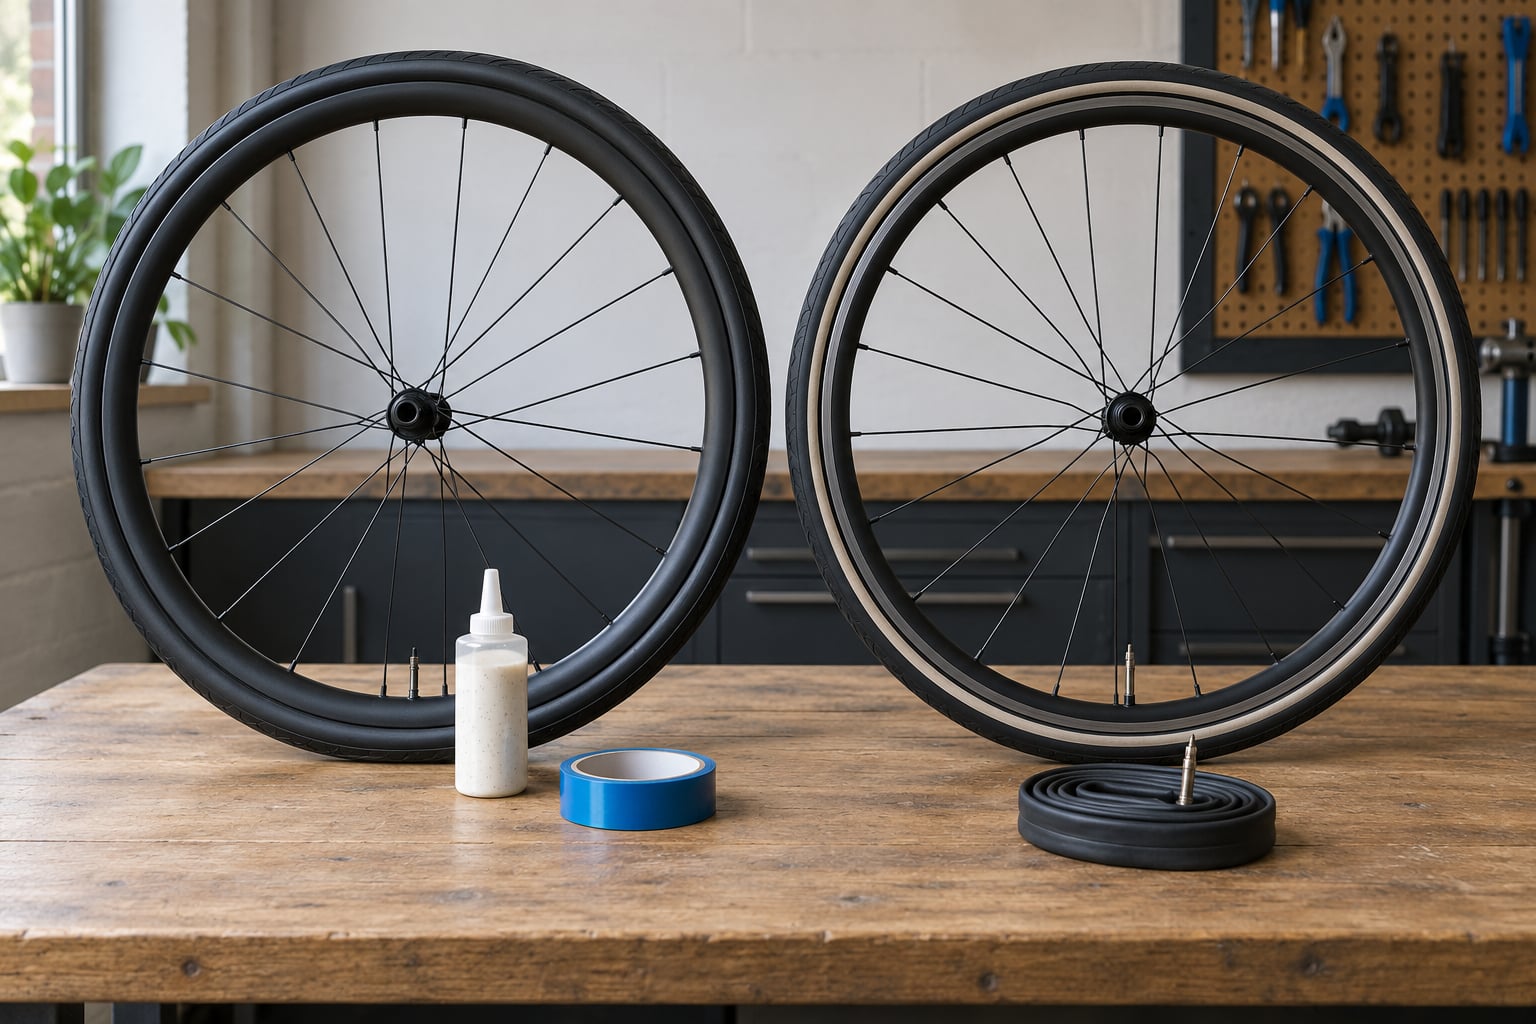
For tubeless, you cover the spoke holes with tubeless tape, install a tubeless Presta valve, add liquid sealant through the valve, press the tire onto the rim and inflate it. Air pressure forces the bead hard against the rim bed, the tape seals the spoke holes, and the air stays in.
The sealant sloshing inside is the part people find surprising. When a thorn or a bit of glass opens a small hole in the tread, the escaping air is what carries sealant to the opening, and the sealant dries into a plug. That is why tubeless tire flats so often mean riding home on a slightly soft tire instead of stopping.
There are two generations of tubeless rim. UST, or Universal System Tubeless, was the original standard. Tubeless-ready, often shortened to TLR, covers a broader mix of rim shapes and tire brands and is what most road wheels use today.
Hookless rims are the newer design. Instead of a metal hook that clamps the bead, the bead is trapped by the rim wall shape alone. They are lighter, they run lower pressures safely, and they carry a published maximum pressure, commonly around 25 psi on many road rims.
One more word to clear up. A tubular tire is a third thing entirely, not a synonym for clincher. A tubular is a sewn casing with no bead and no tube, glued to a rim with a flat rim bed and cement. They are still used in track racing and club racing, and they are outside this comparison.
Tubeless vs Clincher for Road Cycling: Comfort and Rolling Resistance
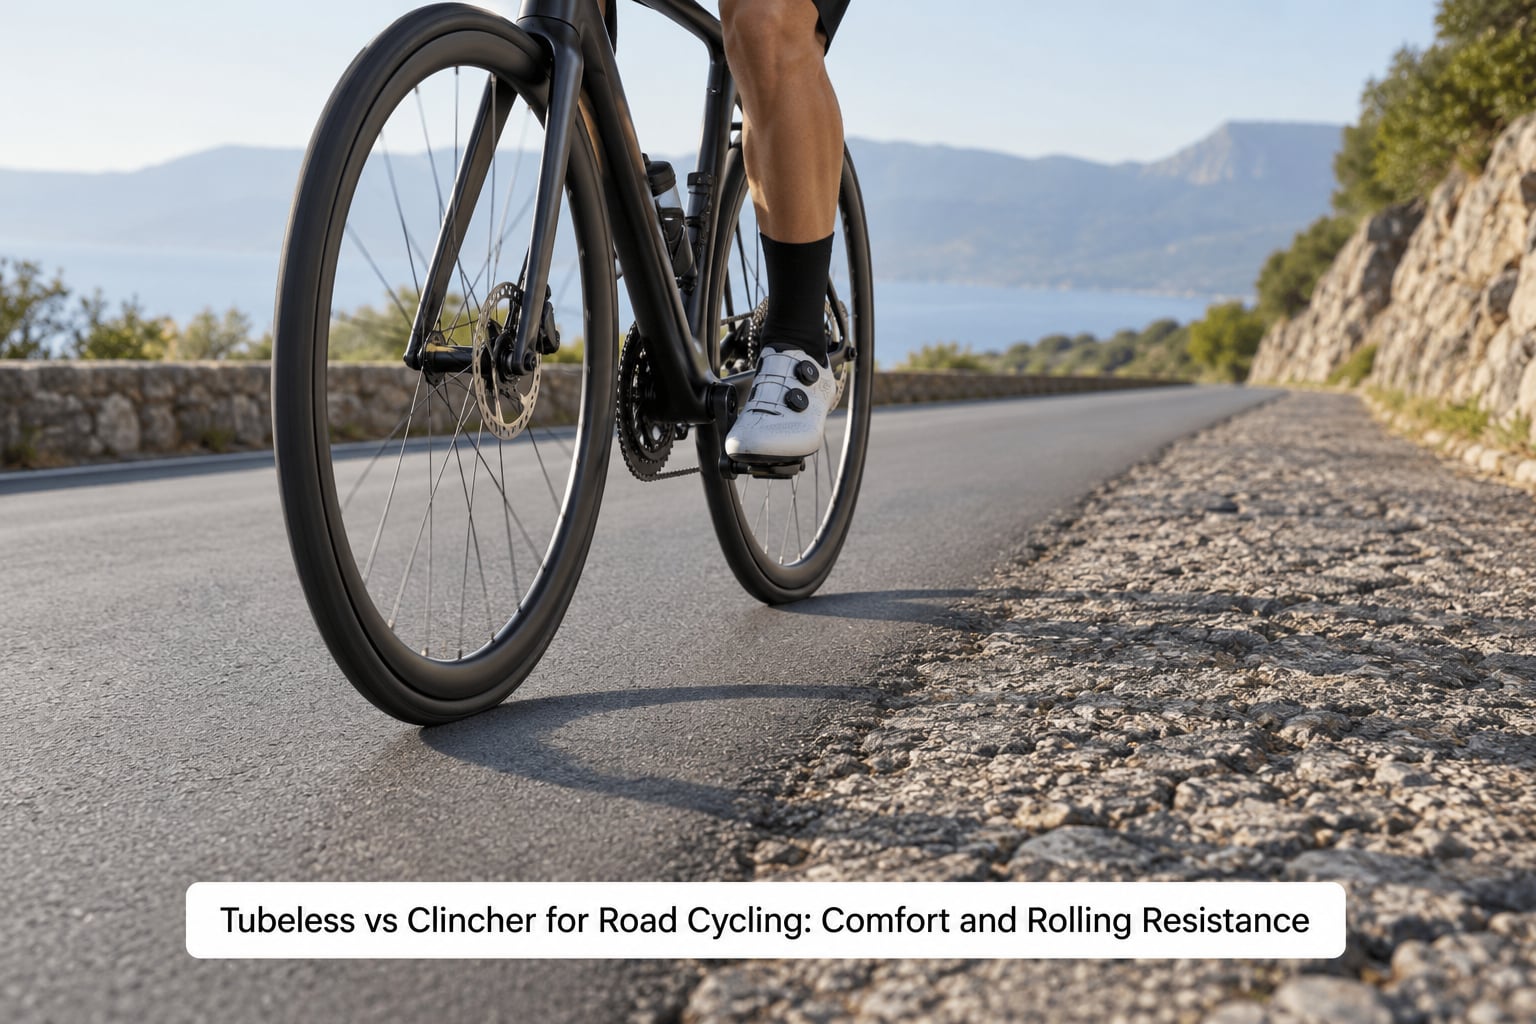
Comfort is the clearest place tubeless for road cycling earns its reputation, and the mechanism is pressure rather than marketing. Because there is no tube to pinch, a tubeless road bike can safely run lower pressure, and lower pressure means a softer casing that absorbs more of what the road sends up.
On smooth asphalt the gap narrows fast. A rider chasing speed on good tarmac often finds a well-inflated clincher feels just as quick and slightly more direct.
Rolling resistance is where people expect tubeless to win big, and the measured numbers are more modest than the advertising. In a drum test using the same tire at the same pressure, a tubeless setup with 20 ml of sealant measured about 8.3 watts of rolling resistance, a setup with a latex tube measured about 8.5 watts, and the same tire with a butyl tube measured about 10.3 watts.
Read that carefully. Tubeless and latex tubes were within a fraction of a watt of each other in that test. The real gap was between butyl and everything else, which is why riders who switch to latex tubes on clincher tires often feel they gained something too.
The practical takeaway is that a good butyl clincher setup is slower than a good tubeless setup, but the difference is small enough that tire quality, casing and pressure matter at least as much. If you want the watts, start with pressure and tire choice before you change system.
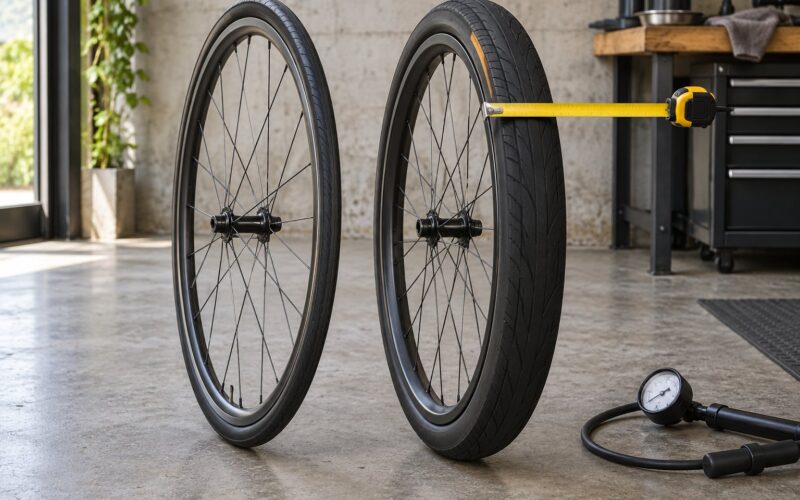
Tire width interacts with all of this. A 28 mm tire mounted on a rim with 21 mm internal width measures noticeably wider than the same tire on a narrow rim, and wider mounted tires roll comfortably at lower pressure on smooth roads. If you are comparing setups fairly, keep the same tire model and width on both.
Casing construction matters too. A high thread-per-inch casing with a seamless center section has less hysteresis, meaning less energy lost as the casing flexes, and that shows up in both rolling resistance and grip.
Pressure guidance by riding style
There is no single safe universal PSI, because pressure depends on rider weight, tire width, rim width and surface. Use these as starting points and adjust from what you feel.
- Racing: roughly 80-100 psi on a 28 mm clincher, roughly 75-90 psi on a 28 mm tubeless
- Endurance and long rides: roughly 70-80 psi tubeless, roughly 80-90 psi clincher on a 28-32 mm
- Gravel and all-road: roughly 65-75 psi tubeless at 35-45 mm, with clincher choices more limited on wide rims
- Winter commuting: lower pressure tubeless for pothole compliance, provided the tire and rim combination is approved
Riders do notice the flip side too. One rider on a cycling forum described running very low tubeless pressures on smooth asphalt and feeling like they were pedalling through syrup. That is a real and reasonable criticism: tubeless does not mean run soft in all conditions.
Tubeless vs Clincher for Road Cycling: Puncture Protection
The honest version of the tubeless puncture claim is that it changes which failures you get, not that you stop getting them. Here is what tubeless genuinely fixes.
Pinch flats are gone. There is no tube to trap against the rim, so the most common road flat simply cannot happen at legal pressures. This is the single strongest practical argument for tubeless.
Small tread punctures seal themselves. Glass, thorns and small debris get plugged by the sealant, usually while you are still riding. One rider comparing 26 mm Pirelli tubeless against a 28 mm Continental clincher reported the tubeless setup as both faster and more comfortable with no problems at all.
Slow leaks become non-events. A puncture that would have bled air out of a tube over an hour now gets plugged before you notice.
And here is what tubeless does not fix. Cuts through the casing, sidewall tears, bead damage and rim damage all still end your ride. So do burps, where the bead unseats and vents air in hard cornering or on a fast descent at low pressure.
Road rims also seat tubeless beads far more reluctantly than wide gravel or mountain bike rims, which is the source of most road-specific tubeless frustration. A bead that will not seat feels like a system failure when it is really a rim-geometry issue.
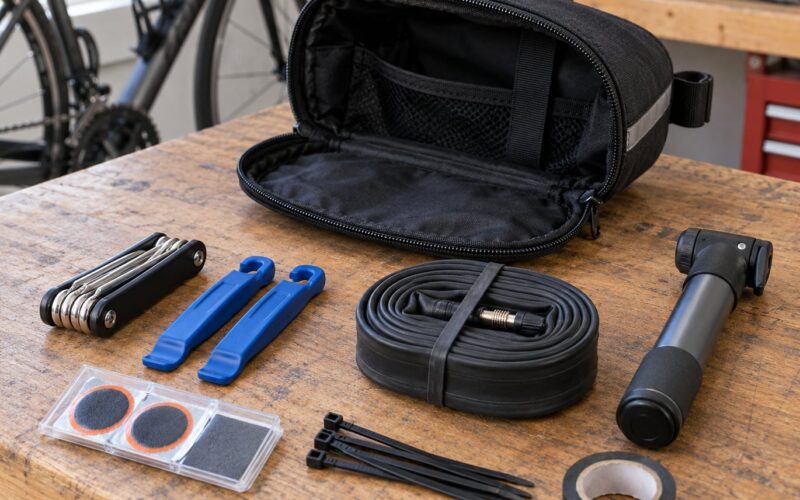
Clincher flats are crude but honest. You lose pressure fast and you know it. A rider on a long ride with clincher tires needs a spare tube, tire levers, a patch kit and a way to inflate, and that is genuinely the whole job.
The practical difference between the two is what happens after the failure. With tubeless, a puncture that will not seal can often be rescued by dropping a single tube inside the mounted tire, or by topping up the sealant and re-inflating. With clincher, every failure means a tube change. The kit for tubeless is a bit more complicated to carry, and more likely to end with sealant on your hands and clothes.
Tubeless vs Clincher for Road Cycling: Setup and Maintenance
Setting up tubeless on the road is where most riders decide whether they like the system. It is not difficult, but the first attempt on a narrow road rim can take longer than expected.
Can I convert my existing clincher wheels?
Usually yes, and here is the checklist before you buy anything. Check the rim internal width against the tire width you want, because a tire wider than the rim was tested for will not behave predictably. Check whether the rim is hooked or hookless. Confirm the tire maker lists your rim model as approved. Confirm the rim is not tubeless-only, which we explain below. Check the valve hole type, since tubeless needs a Presta and many road rims are drilled for Presta anyway. And make sure you have tape, valves, sealant and a decent pump or inflator on hand.
Installing a tubeless road tire, step by step
- Push the loose spoke holes closed with tubeless tape, wrapping in one direction with a slight overlap.
- Push the valve in by hand and remove the nut. Sealant applied to the base of the valve prevents leaks at the rim bed.
- Push a small amount of liquid sealant through the valve so there is a wet ring around the bead area.
- Push one bead on by hand until you have two or three inches on the far side.
- Lift the bead over the rim hook at one point, avoiding a tyre lever if the bead has to survive.
- Work around the rim with thumbs, finishing opposite the valve so the hardest section goes on last.
- Inflate in short bursts, spinning the wheel, until the bead clicks into place. Never stand on the tire.
- Add the remaining sealant, deflate briefly to seat it well, then set your riding pressure.
On a tight road rim, soapy water in the bead area and a tubeless booster make a huge difference. If you still cannot seat the bead, recheck for wrinkles in the tape.
Sealant chemistry, and how often to top up
Road tires take far less sealant than gravel tires, typically 20 to 40 ml for a pair of 28 mm tires, so the bottle in your cupboard lasts a long time.
Butyl-based sealant dries into a rubbery plug and is slow to dry, which helps on roads with lots of glass. Latex sealant dries quickly and leaves less residue, so it keeps valves clear but needs more frequent top-ups. TPU-based sealant is designed for puncture-prone conditions and helps with slow leaks.
For road use, most riders settle into a routine of checking pressure every ride and topping up sealant when the tire has lost pressure repeatedly or when the sealant dries dark and gritty. Two to four weeks is a reasonable cadence for a road setup on dry summer roads, and far less if you ride wet winter miles.
The one-way compatibility trap
This is the part most riders only discover after converting. A clincher tire will physically fit a tubeless rim, so you can always fall back to tubes on a tubeless-ready wheelset. The reverse is not true. A tubeless-only rim has no hook and will not safely hold a clincher tire.
Several modern road wheelsets are built this way, some tubeless-only and some clincher-only. The top answer on a bike maintenance forum thread made exactly this point: the meaningful technical difference between the systems is the allowable maximum pressure, and hooked rims permit far more of it. That matters most for fast road riding.
So before you convert, check whether your rims will take a clincher later. If they will not, you are committing to tubeless.
Removing a tubeless tire is the reverse process and it is the messiest part of ownership. A clincher tire comes off in seconds with levers. A tubeless tire on a road rim can need a booster, warm water and a stubborn bead. Riders who come back from tubeless to clincher on the road cite this repeatedly, and one shop author described spending 90 minutes wrestling with a tubeless repair that a clincher would have handled with their fingers.
Tubeless vs Clincher for Road Cycling: Weight, Cost, and Tire Choice
On weight, tubeless usually comes out ahead. Dropping two inner tubes and the rims of extra hardware typically saves roughly 50 to 100 grams per wheel, depending on the tube material and rim design. Against that, tubeless adds sealant, tubeless tape and often an insert, which eats a little of the gain.
On cost, clincher is cheaper to run. Tubes are cheap and universal, and any shop can supply one. Tubeless costs more to set up and more to keep going: tubeless-specific tires, tape, valves, sealant and possibly inserts, plus the time to install it. If your rims are clincher-only and you want tubeless, you are looking at a new wheelset, which is the single biggest cost decision in this comparison.
Tire choice is worth weighing too. The clincher range is broad and mature, with cheap training tires and a deep bench of race casings. Tubeless has narrowed the gap on race tires, though for very wide gravel tires the tubeless range is now the more practical choice on many rims.
One forum rider put the discipline split neatly: 25-28 mm at high pressure favors clincher, while 28 mm and up measuring wide on a modern rim at lower pressure favors tubeless. That matches what riders report in the shop.
Which Should You Choose?
Beginners. Clincher, most likely. You want a roadside fix you understand, cheap tubes and no seal to forget. Learn the riding first, change the system later.
Club and training riders putting in big mileage. Tubeless. The comfort gain at lower pressures is real over thousands of kilometers, and the absence of pinch flats on rough roads matters more than most riders expect.
Long-distance and endurance riders. Tubeless. Fewer stops, less worry, and a softer ride over hours in the saddle.
Commuters and winter riders. Tubeless on a wide-ish tire, if the rim approves the combination. Broken glass and potholes are the exact problems it handles well.
Racers on fast, good roads. Clincher on a hooked rim still allows the higher maximum pressure, and the rolling-resistance difference is smaller than the marketing suggests. Plenty of racers run tubeless successfully, so this is about your rim and your priorities, not a rule.
Dry-weather road riders on good asphalt. Clincher is a perfectly good answer here. If you rarely hit debris, ride short and want zero fuss, the comfort difference will not show up often enough to matter.
Gravel and all-road riders. Tubeless, without much debate. Wide tires at low pressure are where the system earns its keep.
Anyone who values simple roadside repairs. Clincher. It is still the least complicated flat in cycling, and nothing else in this comparison beats it on that one measure.
Still torn? Run your own comparison rather than trusting anyone’s opinion, including ours. Mount one tire from each system on the same rims if you can, ride four to six identical routes, and log pressure loss, comfort on rough sections and how each one behaved. Riders who do this stop arguing and start deciding.
Frequently Asked Questions
Are tubeless road tires worth it for beginners?
They can be, especially if you value smooth ride quality and fewer roadside tube changes. Beginners should first confirm the rims and tires are compatible, then learn basic pressure checks and sealant top-ups. If your rims are clincher-only, the question is settled before it starts. Many riders wait a season to convert.
Are tubeless tires as fast or faster than clincher tires?
At matched pressures and comparable tire quality, the two are very close. A drum test of the same tire measured about 8.3 watts for tubeless with sealant and about 8.5 watts with a latex tube, while a butyl tube measured about 10.3 watts. Tubeless often feels faster because it holds pressure better and can be run lower.
Can I use tubeless tires on ordinary road rims?
Only if the rims are designed and tested for it. Hooked clincher rims need to be marked tubeless-ready or UST, and hookless rims have their own approved tire list and maximum pressure. Installing tubeless on an unsupported rim risks poor sealing and bead unseating. Confirm compatibility with both rim and tire makers before you buy.
What happens if a clincher tire gets a flat on a long ride?
You remove the wheel, find the cause, and fit a spare tube. Most road flats are a five-minute fix if you carry a spare tube, tire levers, a patch kit and a small pump or inflator. If the tire is damaged beyond a quick patch, you can boot the tube inside the casing and ride carefully to the nearest shop.
Can I switch from tubeless back to clincher tires later?
On a tubeless-ready hooked rim, yes. A clincher tire will fit, so you can run tubes whenever you want. On a tubeless-only or hookless rim, no, because there is no bead hook to hold a clincher securely. That one-way rule catches people out, so check the rim before converting rather than after.
Do pro cyclists use tubeless tires?
Yes, tubeless tires are common in professional road racing, especially on wheelsets designed for them. The sport has moved that way as rim and tire makers refined sealing and lowered pressure limits. That said, pros run to very specific pressure targets and their setups are not always practical for a weekend rider on a hooked rim.
Conclusion
For most road riders training for distance, tubeless for road cycling wins on comfort and on the flats you will not get. Clincher keeps the edge on simplicity, cost and the highest pressure a hooked rim will take.
Start by identifying your rims. Check whether they are hooked or hookless, tubeless-ready, tubeless-only or clincher-only, and check the internal width against the tire you have in mind. That answer settles most of the decision before you spend anything, and then you pick the system that matches how you ride rather than what the forum says.