Clipping in means guiding the cleat under your shoe into the front lip of the pedal until it clicks; clipping out means twisting your heel outward and lifting clear. Most riders get comfortable with how to clip in and out of pedals after two to four weeks of regular riding, and nearly everyone falls at least once on the way there.
Twenty minutes on grass is worth more than an hour of reading, though. Below is the whole sequence: setting up your cleats, starting from a standstill, stopping without dropping a foot at a red light, and getting out of the pedal fast when something appears in front of you.
Table of Contents
- What You Need
- How to Clip In and Out of Pedals: Step-by-Step
- Check Your Cleat and Pedal Setup
- Start Upright with Both Feet Down
- Clip the First Foot In
- Clip the Second Foot In
- Ride and Test the Retention
- Bring the Bicycle to a Complete Stop
- Common Mistakes
- Frequently Asked Questions
- Should I clip in before starting to ride?
- Why is my cycling shoe not clicking into the pedal?
- How do I unclip my feet safely on a downhill?
- What are the differences between road, gravel and mountain bike cleats?
- How tight should pedal retention be set?
- What should I do if I cannot unclip a foot after a fall?
What You Need
You need four things before you practice: a matched set of cleats and pedals, shoes that hold those cleats solidly, a retention setting you can release without thinking, and a bicycle that is safe to put a foot down.
A cleat that matches your pedal. Cleats are not interchangeable across the major families, and this is where most first-time failures happen. Shimano SPD is a two-bolt pattern, Shimano SPD-SL is three-bolt, and Look, Crankbrothers and Speedplay each use their own cleat shape and fit. Fitting a road cleat to an off-road pedal feels vague and slightly wobbly even when it technically locks.
| System | Bolt pattern | Float | Walking | Suits |
|---|---|---|---|---|
| Shimano SPD | Two-bolt | Adjustable | Walkable with recessed cleats | First clipless pedals, commuting, gravel |
| Shimano SPD-SL | Three-bolt | Very low | Not walkable | Road riding once you have the basics |
| Look | Three-bolt | Low | Not walkable | Road riders who like a stiff pedal |
| Crankbrothers | Two-bolt | Wide | Walkable with recessed cleats | Gravel, mountain biking, mixed use |
| Speedplay | Two-bolt | Model dependent | Walkable with recessed cleats | Road, touring, commuting |
Float is the small amount your foot is allowed to rotate before the cleat loads up. More float feels comfortable and forgiving on rough surfaces; less float transfers power more directly and suits smooth road riding. For a first pair of pedals, two-bolt with adjustable float is the forgiving choice.
Shoes that hold the cleat. Two-bolt shoes with a recessed cleat socket let you walk to a shop, which matters more than most beginners expect. Road shoes with a stiff sole and a three-bolt pattern are built for spinning, not for standing around at a crossing.
A retention setting you can open. Nearly every pedal has a tension screw or a tension dial on the underside or the back of the binding. Turn the screw counterclockwise a quarter turn at a time to reduce the holding force, and count the clicks if you want a repeatable number to return to later.
A bicycle that is safe to dismount. Run through a short check before the first practice session:
- Brakes. Squeeze both levers hard at a standstill. They should feel firm and stop the wheels.
- Pedal threads. The pedal on the drivetrain side turns the normal way, and the one on the non-drive side has reverse threading that comes out when you turn it counterclockwise. A loose pedal on the drive side means the crank came off too.
- Wheels. Check quick releases or through-axles are properly closed, and run a thumb down each tyre for cuts and pressure.
- Ground. Pick a flat, traffic-free spot. Level tarmac in a car park beats a grass verge beside a road.
How to Clip In and Out of Pedals: Step-by-Step
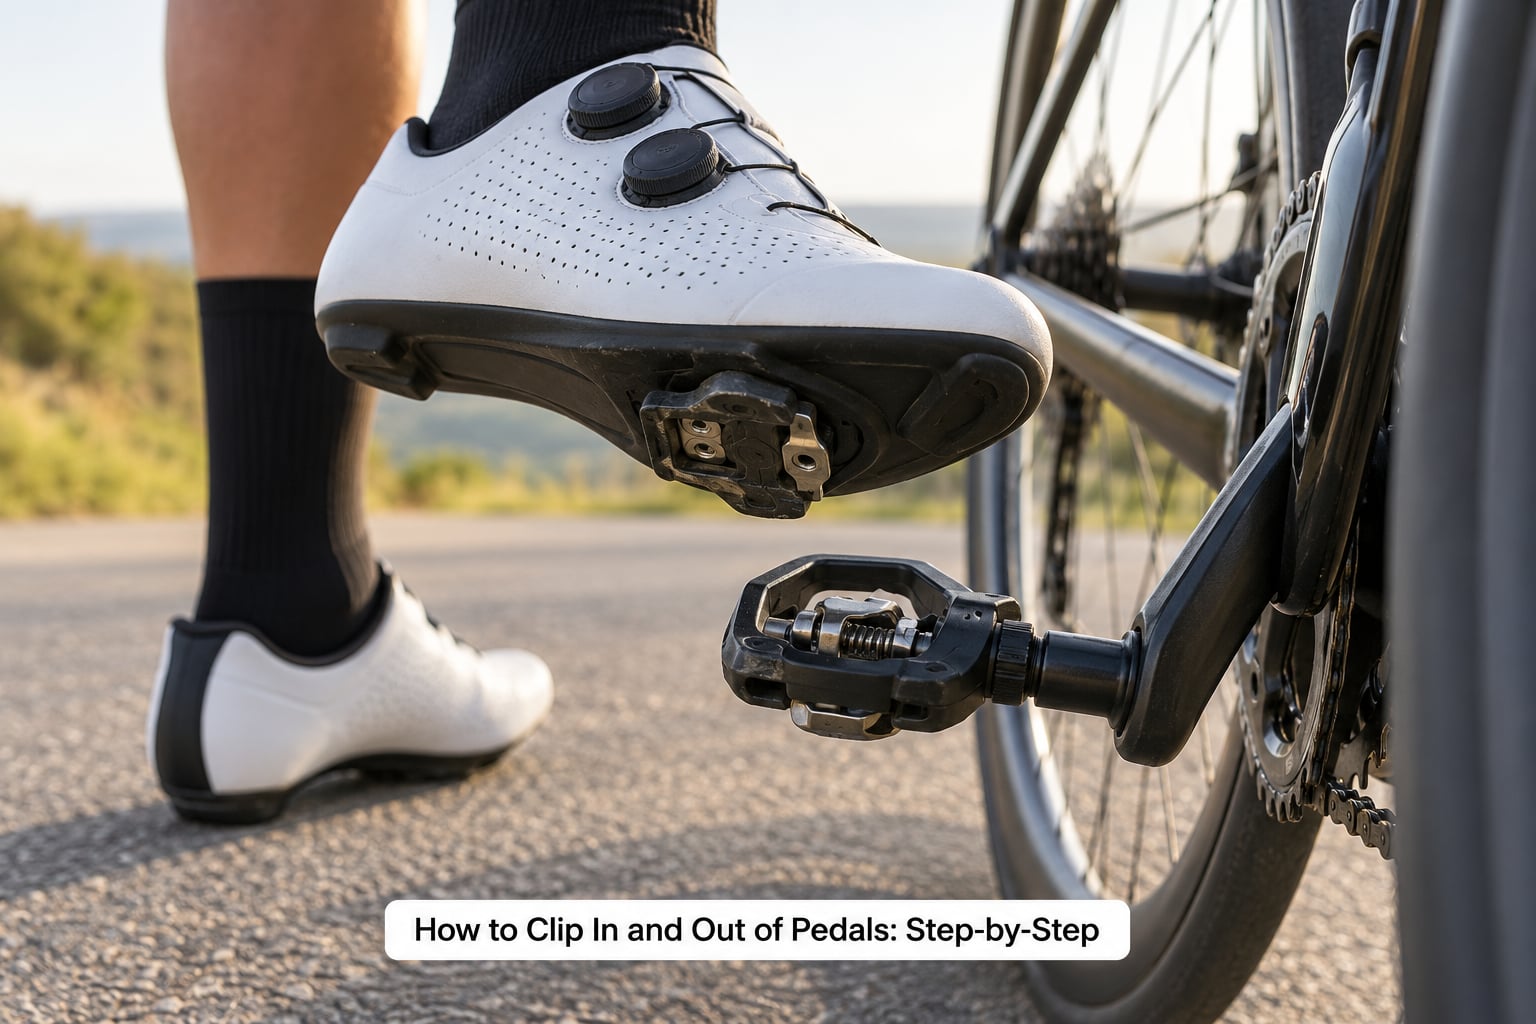
Learning how to clip in and out of pedals works better as one repeatable sequence than as two separate skills. Clip the first foot, clip the second, ride, stop, unclip, then do it again until you stop counting the steps.
Check Your Cleat and Pedal Setup
Check the cleat before anything else, because most failed clip-ins start with the shoe rather than the pedal. Look at the leading edge of the cleat: it should be flat and square with crisp edges, with no rounding, no chipped plastic and no dirt packed into the front lip of the pedal binding.
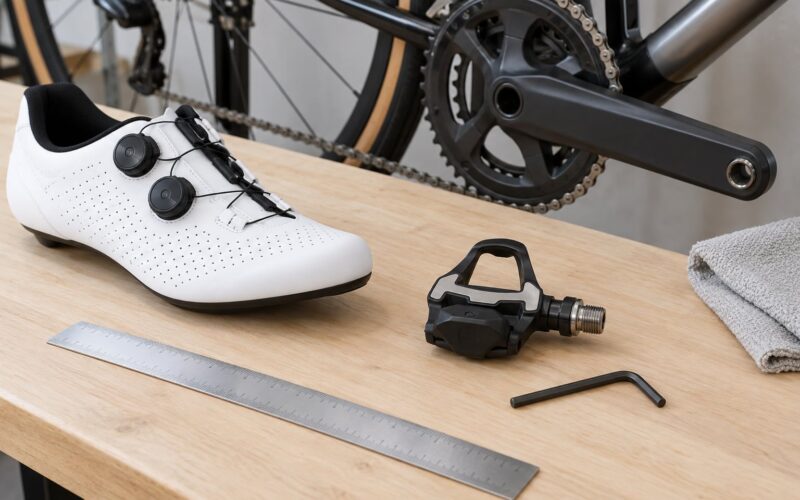
Next, set the cleat position on the shoe. The starting point everyone uses is the ball of the foot directly over the pedal spindle. Your cleat should follow the natural line of your foot rather than being square to the shoe, and you tighten the bolts in a criss-cross pattern so the plate sits flat.
Finally, turn the tension screw down to the loosest setting the maker allows, then test it by clipping in and twisting your heel outward. If you need to pull hard on your shoe to release, go one more quarter turn. Confirm the pedal body spins freely on its spindle too; a pedal that binds sideways will never feel smooth.
Start Upright with Both Feet Down
Sit on the saddle, hold the brake levers or the tops of the bars, and put both feet on the ground so the bicycle is standing under you. Trying to balance while clipping in at the same time is what turns a two-second task into a tip-over.
Turn the crank so the pedal you are loading sits at about the 2 o’clock position, roughly two hours forward of straight up. At that angle the front lip of the pedal faces up and toward you, which is the easiest angle to find with your toe. Twelve o’clock is harder and six o’clock is awkward, so most riders settle on two o’clock without thinking about it.
Keep your weight over the bottom bracket and your hands light on the brakes. The bicycle is doing nothing until you start pedalling, and a bike held upright with a straight back is far easier to control than one leaning.
Clip the First Foot In
Clip the curb-side foot in first, the one you can put down without stepping into traffic. In right-hand traffic countries that is the foot nearest the kerb, and the argument over which foot goes first mostly dissolves once you know why.
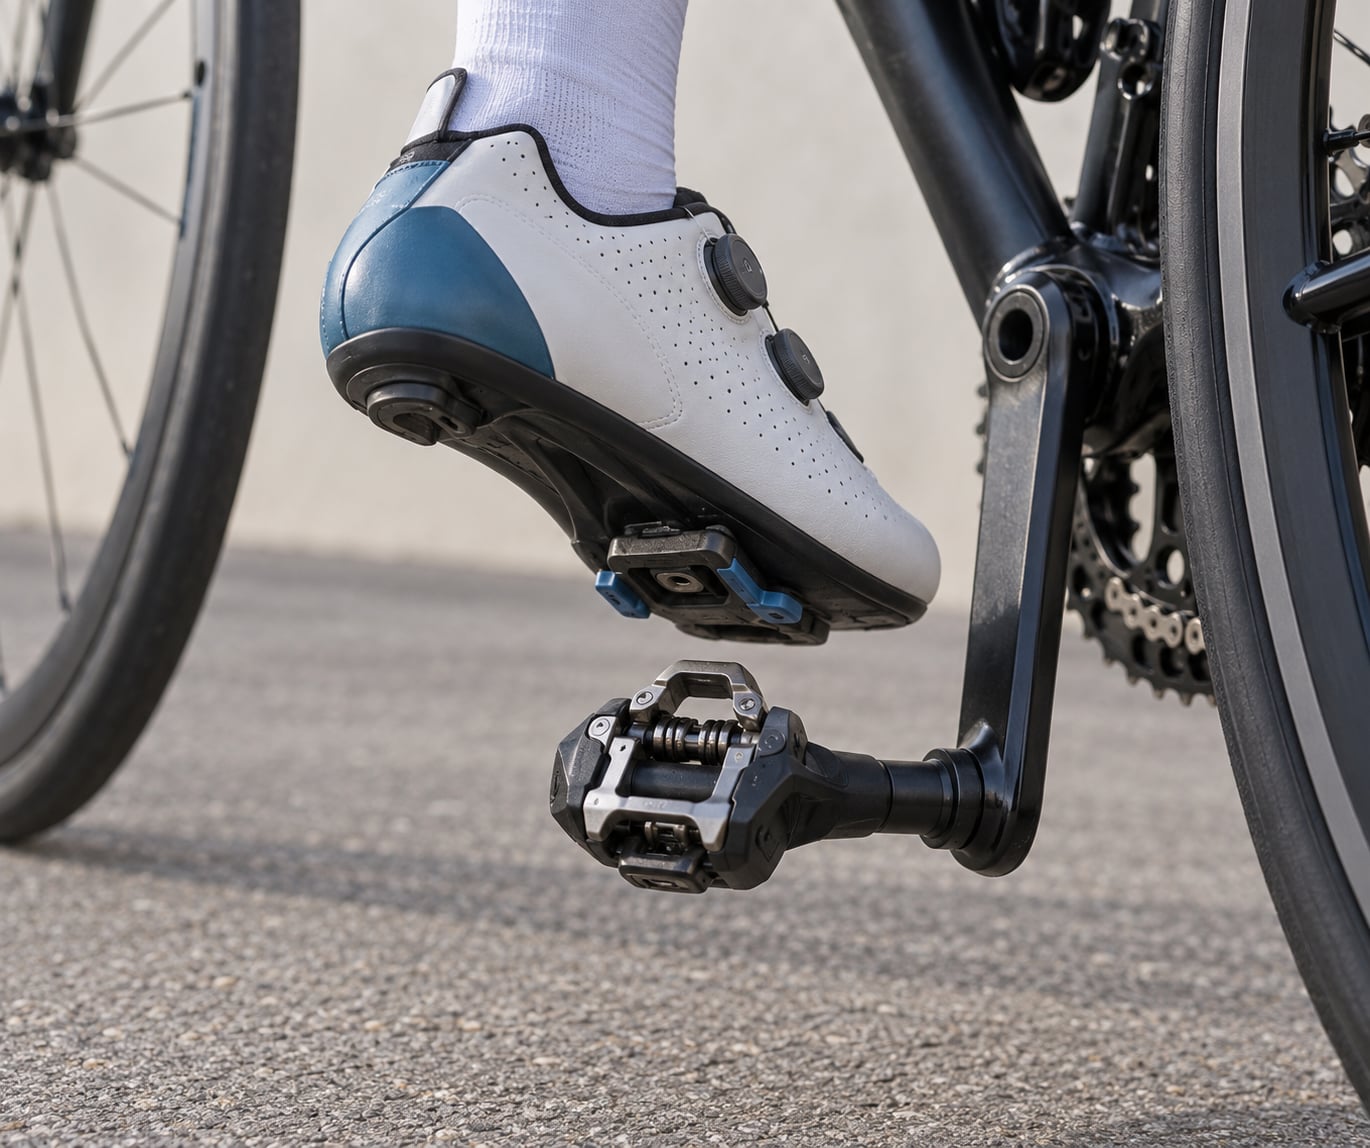
Rest the toe of that shoe on the pedal body so the front of the cleat touches the front lip of the binding. Guide the toe under the lip, then press straight down and slightly forward until you feel and hear the click. Rolling your foot onto the pedal from above usually misses.
How do you know it worked? The ball of your foot should sit over the pedal spindle, your heel drops naturally under its own weight, and lifting your heel slightly should tighten your connection rather than pulling the shoe free. If the shoe skates around, it is not seated properly.
Clip the Second Foot In
Put the other foot down to steady the bike, turn the crank a little by hand or roll the bike forward so the second pedal comes to two o’clock, then repeat the same movement. Keep the first foot loaded and the bike upright, and resist the urge to lean.
Before you push off, check both feet feel identical. Many riders clip the second foot in loosely and only discover it on the first stroke. A quick ankle rotation on each foot, feeling for the same solid connection on both sides, takes two seconds and saves a wobble at the junction.
Ride and Test the Retention
Start with an easy gear and sit down for the first few revolutions rather than standing up and stamping. Easy seated pedalling shows you whether a cleat is loose, because a shoe that is not fully engaged will click or shift slightly under load.
Stop if any cleat feels loose and check it before you build speed. Then try the manufacturer’s walk or release position if the pedals have one, which usually loosens the binding for walking but keeps the shoe attached.
Once both feet feel secure, the technique is worth knowing: wind the binding off slightly as you approach a stop but keep the shoe resting on the pedal, then set it down. Riders who pre-unclip never have to make a panicked, half-clipped movement in traffic.
Bring the Bicycle to a Complete Stop
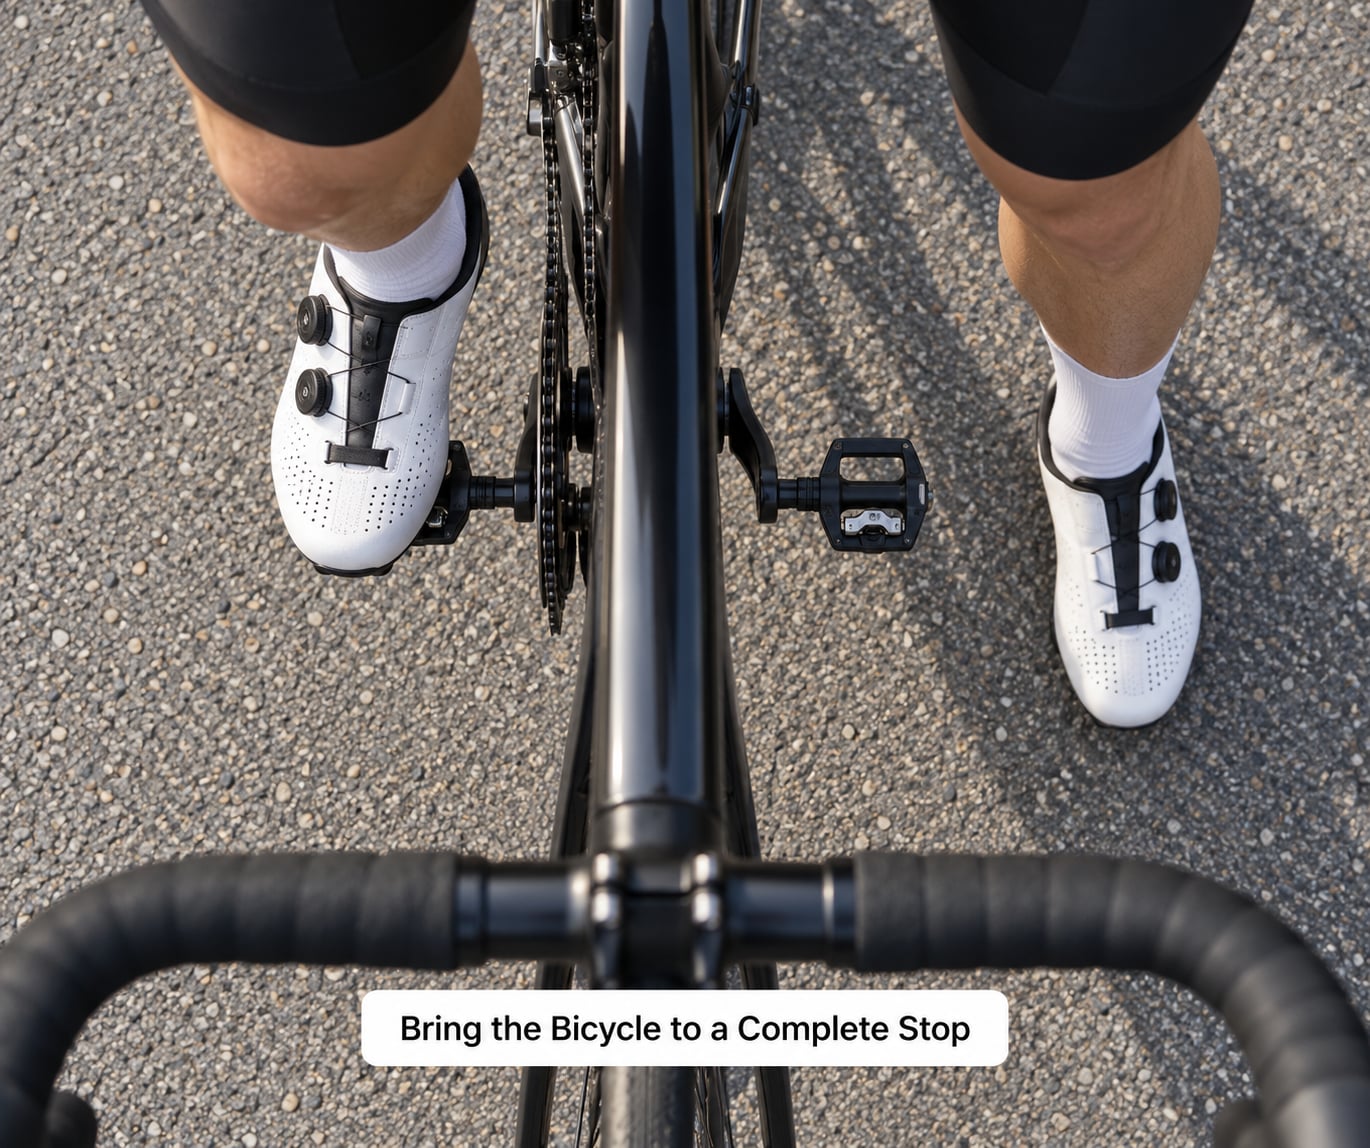
Bring the bicycle to a complete stop before you unclip anything. Brake to walking pace, shift to an easy gear so the pedals stop turning immediately, and roll the cranks until both pedals are level. Unclipping while the crank is still spinning is the single most common cause of a fall at an intersection.
With both pedals level and the bike upright, unclip the curb-side foot first. Twist the heel outward in one smooth motion and lift. Put that foot flat on the ground a little forward of the bottom bracket to hold the bike up, then take your weight before you release the second foot.
The final twist is the same outward heel rotation with the bike already supported by your foot on the ground. You never need to balance on one leg while both feet are still clipped, and thinking it that way is what makes new riders tense up at lights.
If you have to bail out fast, the order does not change: unwind the binding first, set the foot down, let the bike roll onto that foot. On a descent or in traffic, the difference between a clean exit and a fall is usually a decision made two seconds earlier.
Common Mistakes
Almost every fall traces back to one of a handful of avoidable errors, and each one has a simple correction.
- Looking down at the pedal. Watch your foot and you lose the road ahead. Pick a spot five metres in front of the front wheel and use peripheral vision to check your foot went in.
- Clipping in while leaning. A leaned bike falls in the direction you are already going. Sit square, both feet on the ground, hands on the brakes.
- Not fully engaging the cleat. A cleat resting on top of the pedal looks clipped and is not. Press down firmly and feel for the click, then lift the heel to confirm.
- Retention set too tight. Fighting a pedal you cannot release builds a fear response that lasts for months. Start at the loosest setting and tighten only once the release is automatic.
- Wrong footwear or mismatched cleats. Running shoes on clipless pedals, or road cleats in off-road pedals, produce vague connection and rubbing. Match the system to the shoe.
- Unclipping while still rolling. Never take a foot out at speed or on a cambered road. Stop first, then release.
- Practising emergency exits at speed. Get the ordinary stop-and-go sequence smooth on level ground before you add hills or traffic.
One last habit: repeat the sequence on both sides every time, even once you have a preference. Unclipping the foot you never practise is exactly the foot that fails to release when you need it.
Frequently Asked Questions
Should I clip in before starting to ride?
Yes, for anything faster than a walking pace. Sit on the saddle with the pedal at the 2 o’clock position, put the curb-side foot down, guide the cleat into the front of the pedal, then press down and forward until it clicks. Riders who try to clip in while rolling rarely get a clean engagement, and they lose far more time to wobbles than a stationary clip-in ever costs them.
Why is my cycling shoe not clicking into the pedal?
Check the front edge of the cleat first. If that leading edge is rounded, chipped or chamfered, it slides off the pedal lip instead of catching it. Debris packed into the binding, a cleat installed at the wrong angle, and spring tension wound past the recommended range cause the rest of the failures. Clean the pedal, realign the cleat under the ball of your foot, and loosen the tension screw a quarter turn at a time.
How do I unclip my feet safely on a downhill?
Pre-unclip as you approach the stop: wind the binding off while keeping the shoe resting on the pedal body, then set the foot down. This works on descents too and keeps the awkward half-clipped moment off a steep grade. If you need to bail out entirely, release the curb-side foot, set it flat on the ground, and let the bicycle roll onto that foot while you straighten the other leg.
What are the differences between road, gravel and mountain bike cleats?
Road cleats use a three-bolt pattern with a wide contact patch for stiffness and direct power transfer, and you cannot walk far in the matching shoes. Gravel and mountain bike cleats use a two-bolt pattern, sit recessed into the sole, and are narrower so they shed mud. Plenty of gravel riders now choose recessed two-bolt cleats because loose surfaces make walking more useful than a few extra watts.
How tight should pedal retention be set?
Begin at the loosest setting the manufacturer allows and add tension only after you have clipped in and out cleanly ten times in a row. Road pedals feel vague through their middle range and want a more deliberate heel twist, while off-road pedals hold a narrower band and feel obvious either way. If you ever have to pull at your shoe to get free, back the screw out another quarter turn.
What should I do if I cannot unclip a foot after a fall?
Do not yank the shoe. Twist the heel hard outward while lifting the foot, then try again with that pedal rotated to roughly the 2 o’clock position, where the release angle is widest. If it still holds, lay the bike down carefully, unbolt the pedal from the crank with the correct Allen key, and free the shoe. Landing on a locked-in foot twists the ankle far more often than the fall itself does.
Start on flat ground with the retention at its loosest setting, and repeat the full clip-in, ride, stop and clip-out sequence twenty times before you leave. Once you can do that without looking down, add hills, then traffic. Get how to clip in and out of pedals right on a quiet car park and everything else about riding gets easier with it.