Knowing how to pack tools for a long ride comes down to three rules: keep the weight low and centred, put the items you will actually reach for where you can get them without dismounting, and scale the kit by how far you are from a bike shop. Start with a core layer you carry on every ride, then add spares only as the distance from help grows.
This is about bike tools strapped to a bicycle for a long road ride. If you landed here looking for motorcycle tool rolls or moving-day packing boxes, neither of those is what follows.
Last reviewed and updated for 2026.
Table of Contents
- What You Need to Pack Tools for a Long Ride
- Step-by-Step: How to Pack Tools for a Long Ride
- How to Pack Tools for a Long Ride by Ride Type
- How to Pack Tools So They Stay Easy to Reach
- How to Pack Tools for Tire and Tube Repairs
- How to Test Your Long-Ride Tool Kit
- Common Mistakes
- Frequently Asked Questions
- What tools should I pack for a long road ride?
- Do I need a spare tube if my bike uses tubeless tires?
- Where should I store bike tools on a long ride?
- How can I pack bike tools without carrying too much weight?
- Should I practice repairing a flat before a long ride?
- What emergency tools should every road cyclist carry?
- Conclusion
What You Need to Pack Tools for a Long Ride
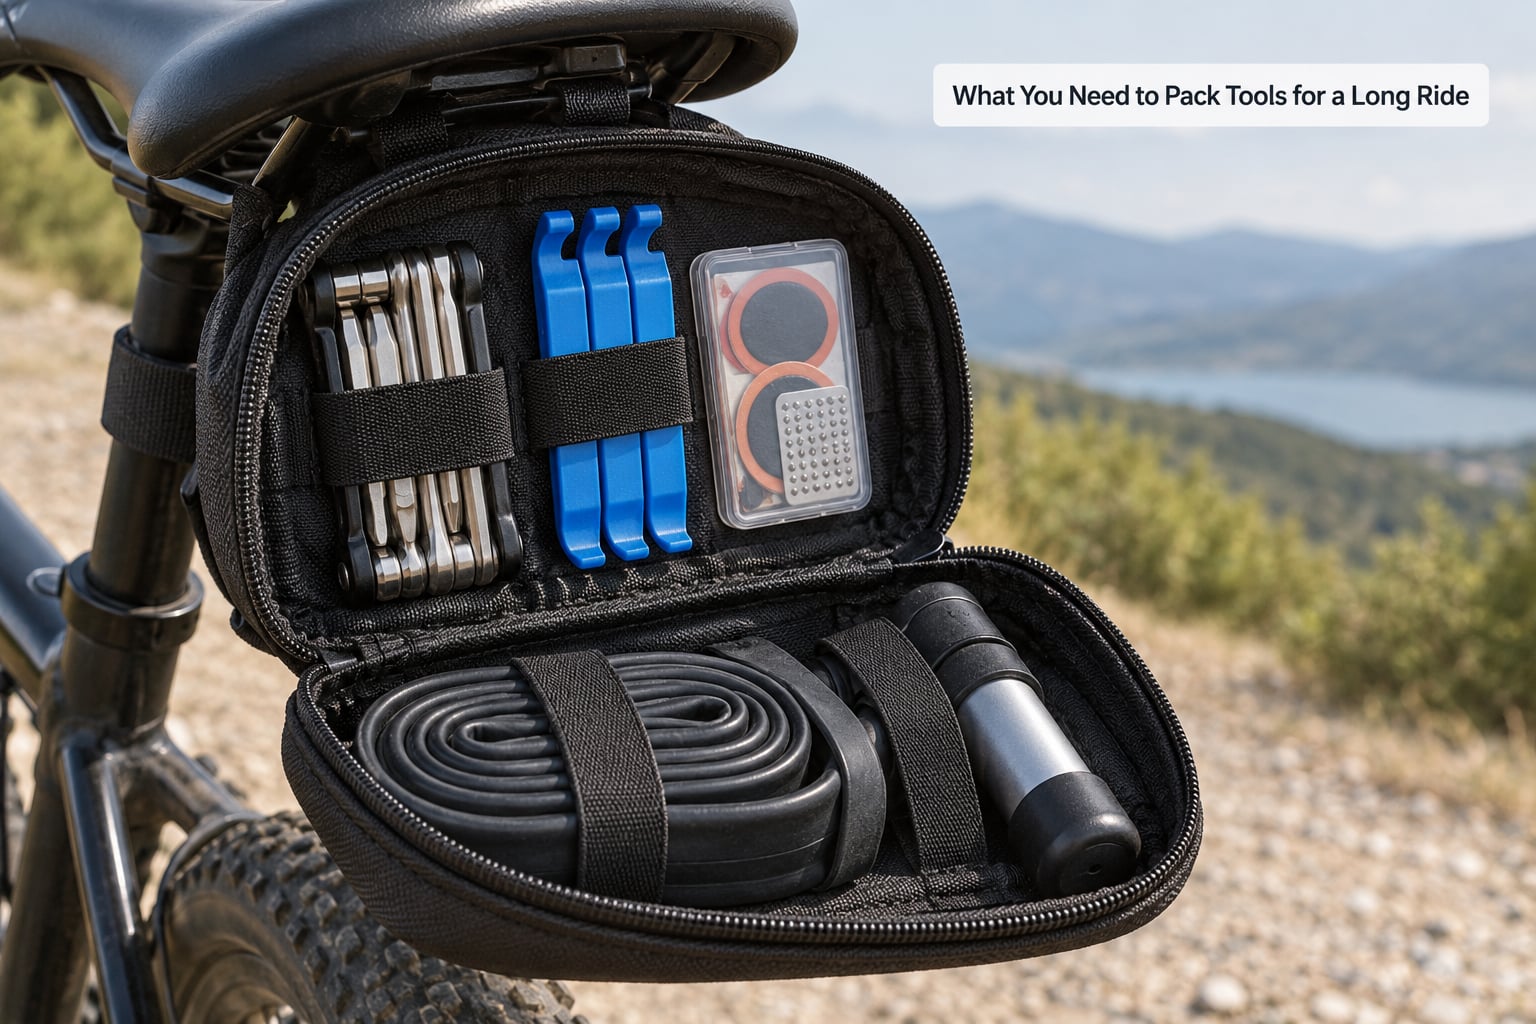
Almost every roadside problem falls into one of four categories, and a kit that covers those four categories will handle the large majority of rides. The categories are tires, chain, bolts and fittings, and braking. Everything else is a variation on one of them.
Tires come first because they are by far the most common failure. A flat outranks everything else, and a second flat on the same ride outranks the first. Next is the chain, which riders fear more than it deserves and fix more badly than they should. Then loose bolts and fittings, which a multi-tool and a couple of zip ties handle. Brake pads and a dropped chain or two sit just behind.
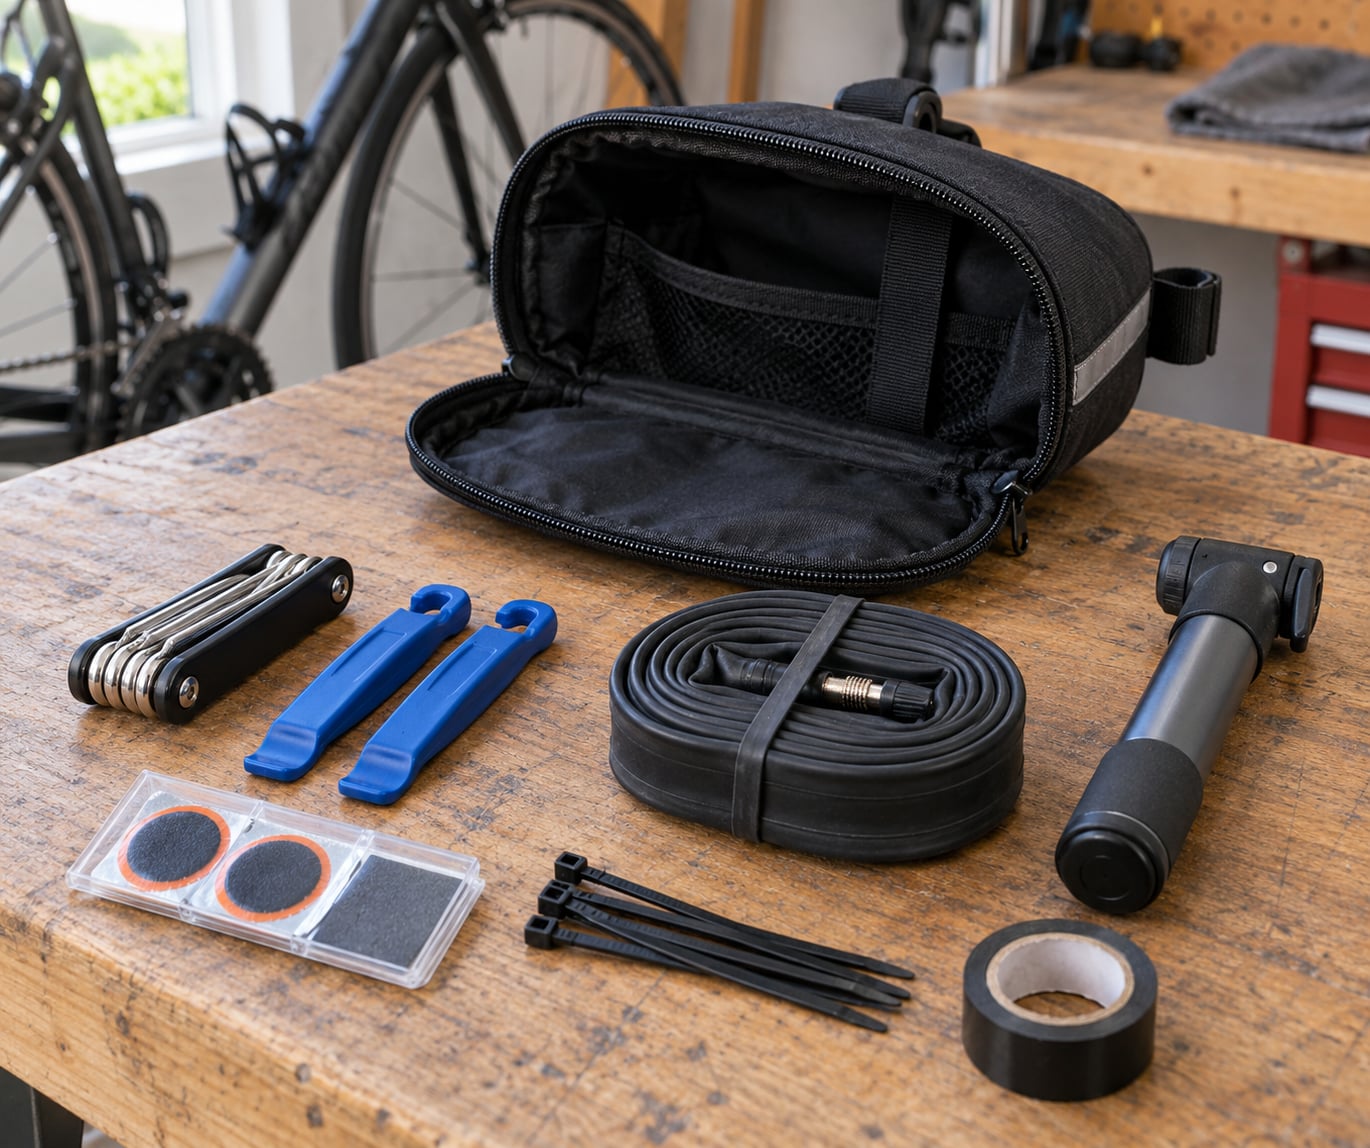
Here is the core layer, the one worth carrying on any ride past an hour:
- A multi-tool with a chain breaker. Hex keys, a Torx key, a screwdriver and pliers in one body. The chain breaker is the part that matters on a long ride; a tool without one just adds weight to your pocket.
- Tire levers. Plastic, never metal. Two is enough if they do not break, three if you ride gravel or anything with sharp edges in it.
- A patch kit or spare tubes. With clincher tires, patches for small punctures and a tube for anything bigger. With tubeless, plugs instead of patches.
- A mini pump with a pressure gauge. A gauge matters more than most people realise, because you cannot reinflate a tire to pressure you cannot read.
- A quick-link and a spare master link. A single broken chain ends a lot of rides. A quick-link is a 30-second fix if you have practiced it.
- A chain master link tool if your multi-tool lacks a chain breaker.
- Zip ties and a short roll of duct tape. Duct tape is the single most forgotten item in everyone’s kit, which is exactly why it is worth writing down.
- Small bottle of chain lube if you ride far enough to consider reseeding a dry chain.
- A rag. For hands, for chain fingers, for the moment you need to wipe sealant off everything.
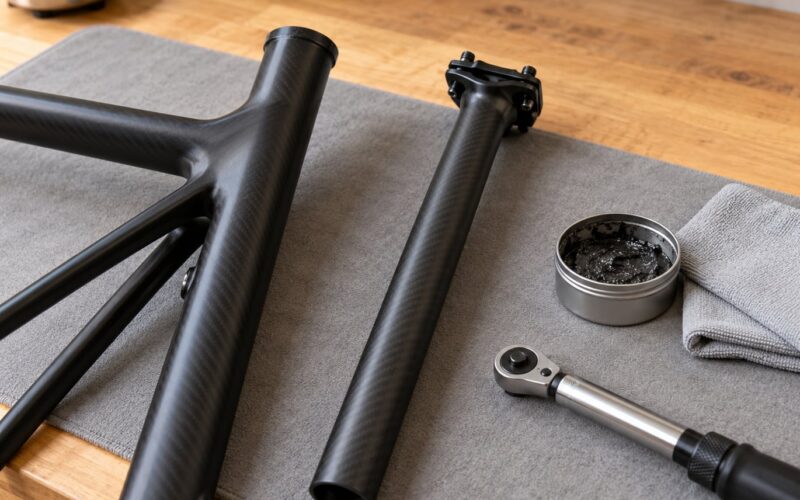
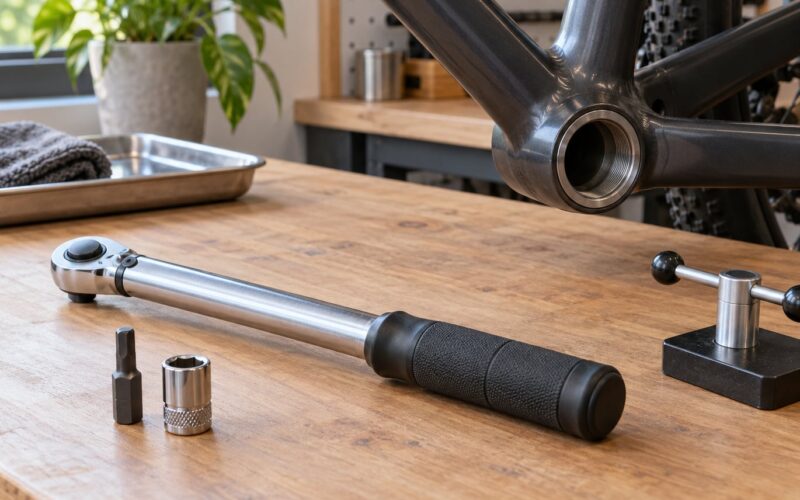
A rider on r/londoncycling described an emergency kit as a spare tube, a compact torque wrench capped at 12 Nm, and a multi-tool. That is a sensible shape, and the torque cap is a good rule: past about 12 Nm you need a proper wrench, so a small driver is honest about what it can do rather than pretending.
Beyond the tools sit three other groups. Repair supplies are the consumables: tubes, plugs, patches, zip ties, tape, spare quick-links. Personal items are a phone, an ID, money, keys, and an emergency contact written on paper. Containers are where the actual packing question gets answered.
For containers, a seat pack is the default because it holds weight low, sits under the rider, and stays out of the wind. A frame bag in the main triangle keeps the weight centred and balanced against a handlebar bag. A top tube bag is for the three things you need while riding. A jersey pocket holds only what you can use without stopping.
How much of each layer you need depends on the ride. This is the part most guides skip:
| Item | Half-day | Century | Overnight | Multi-day | Self-supported or remote |
|---|---|---|---|---|---|
| Multi-tool with chain breaker | Yes | Yes | Yes | Yes | Yes |
| Tire levers | 2 | 2 | 3 | 3 | 3 |
| Spare tubes | 1 | 1 | 2 | 2 | 3 |
| Tubeless plugs and insertion tool | 2 plugs | 3 plugs | 5 plugs | 5 plugs | 10 plugs |
| Spare sealant | Optional | Yes | Yes | Yes | Two bottles |
| Mini pump | Optional | Yes | Yes | Yes | Yes |
| Spare brake pads | No | Optional | Yes | Yes | Yes |
| Derailleur hanger | No | No | Yes | Yes | Yes |
| Spare spokes | No | No | 2 | 3 | 4 or more |
| Cassette lockring tool | No | No | Yes | Yes | Yes |
| Spare cables and housing | No | No | Optional | Yes | Yes |
| First aid kit | Small | Small | Full | Full | Full |
A rider building a kit for a Tour Divide carry listed a mini multi-tool, a quick link, a bottle cage bolt, a spare spoke, a cassette tool, spare pads and a small bottle of lube. Note the loose hardware-store bolts. It is a recurring trick among touring riders and it costs almost nothing.
A weight budget helps you stop arguing with yourself. The core layer should land around 300 to 400 grams including one tube. Add roughly 200 grams for the century layer, and another 300 to 400 for a self-supported kit. Anything past about 1.2 kilograms of tools and spares means you are carrying a workshop, and a workshop on a bicycle changes how it handles.
For context on the whole load, Canyon’s bikepacking guidance caps a seat pack at 5 to 7 pounds and suggests matching handlebar bag weight to it. That is a load question rather than a tools question, but the same logic applies: heavy things low and centred, nothing that swings.
Step-by-Step: How to Pack Tools for a Long Ride
The packing itself takes five steps and about twenty minutes. Do them in this order and the kit will not need reorganising mid-ride.
How to Pack Tools for a Long Ride by Ride Type
Start with the ride profile, not the gear list. How far is the nearest bike shop once you leave the start? Everything else follows from that number.
For a century, the core layer plus one tube is usually enough. You are riding past towns all day and a shop is rarely more than an hour away. Add a spare brake pad set if you have worn pads, because a worn pad wears out faster on a long day than most riders expect.
For a double century or 200-plus mile day, the failure list grows with fatigue, not with distance. Riders tire, control degrades, and the same small cut that would not have been noticed at mile 40 gets noticed at mile 160. Add a second tube and a boot or patch for sidewall cuts.
For an unsupported ride, treat every failure as one you will finish yourself. Cassette tool, derailleur hanger, spare brake and shift cables, and spare spokes all move up the list. A satellite communicator belongs in this category, not in the tool kit but in the same dry bag.
For a gravel detour, the change is durability rather than range. Tougher levers, extra plugs, and a plug insertion tool you are confident with. Pinch flats and sidewall damage both go up sharply on rough surfaces, and a single plug may not hold if the cut is long.
For a remote mountainous route, assume no resupply of any kind, including water and food, and assume cold. Add the emergency layer: thermal layers, a fire source, and a real first aid kit. Tools are the easy part of that ride.
How to Pack Tools So They Stay Easy to Reach
The most common packing mistake is putting everything in one deep bag. On a long ride the item you need is then at the bottom under a jacket and a hat, and you are doing archaeology at the roadside.
Use the four locations in this order of priority:
- Jersey pockets for what you can use without stopping: a spare tube or plug kit, tire levers, a quick-link, a small cash card. This is the kit that ends most rides fastest, because you never have to dismount.
- Top tube bag for the same class of items when the weather is cold and jersey pockets are full. It sits in front of you and reads at a glance.
- Seat pack for the heavy and less frequent items: pump, multi-tool, tubes, tape, first aid. The lowest point on the bike, which is exactly where weight belongs.
- Frame bag for overflow spares, a second pump, or a rain layer. It shares weight with the rider rather than hanging behind the saddle.
- Reserve pouch for the one item you do not want to reach for: the emergency shelter, the satellite communicator, the cash you are not expecting to spend.
Flat items pack better than round ones in a narrow frame bag, which is worth remembering when you are deciding whether the pump goes in the triangle or the seat pack.
To stop things rattling, wrap the sharp and metal items. A sock, a piece of an old inner tube, or a folded rag around the multi-tool solves most of it. Loose tools that shift will mark the paint and will eventually end up in the drivetrain. One rider on r/bikepacking described rolling the tool kit in a wrap with external straps that double as the means of strapping it to the top tube, which keeps the whole bundle together as one object.
For wet weather, put the metal in a dry bag or a zip-lock inside the seat pack. Salt water and road spray corrode a chain breaker and a cassette tool faster than most riders expect. If you ride in rain regularly, keep a small piece of contact wax in the kit and run it over the moving contacts before you stow the tools.
How to Pack Tools for Tire and Tube Repairs
Tire repairs deserve their own order of operations, because the items only work if they are together and in the right sequence.
Clincher setup. Pack two levers, a patch kit, one spare tube, and either a boot or a folded dollar bill for a big sidewall cut. Order of use: lever the tire off, find the cause, check the tire and rim for the object that caused it, patch or swap the tube, refit. A rider on r/bikepacking listed tape as the item they always forget, which is a good argument for a written checklist rather than memory.
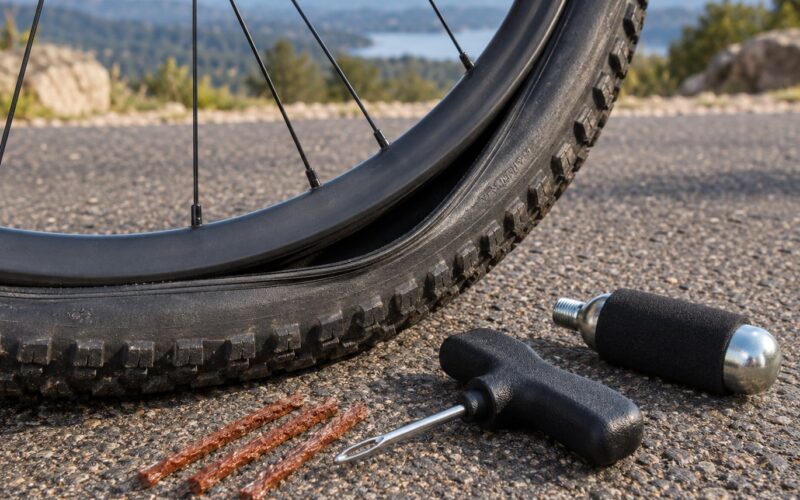
Tubeless setup. Plugs, an insertion tool, a valve core tool, spare sealant, and a spare tube as insurance. The order matters: plug first if the hole is small and the bead area is intact, because a plug takes under a minute and reinflates on the bike. Reach for the tube when the cut is long, when the damage is at the bead or shoulder, or when the plug will not seat. Keep the tube in the seat pack rather than your jersey pocket, and keep the plug kit in a jersey pocket.
That combination is the one people get wrong. Plugs without an insertion tool are scrap, sealant without plugs is a slow leak, and a valve core tool left out means a sealed valve you cannot inflate. Forum threads on incomplete tubeless kits come up constantly because each of those gaps looks covered right up until you need it.
Self-inflating tube option. For riders who want fewer separate parts, a self-inflating tube works as a spare for clincher tires. It costs a little weight and needs less fuss to fit, which matters when you are cold and kneeling in the grass.
Inflation. A pump with a gauge is the main event; a CO2 cartridge is late-day insurance when your hands have gone and you need pressure now. Cartridges are single-use and useless once empty, so they are a supplement, never the replacement.
How to Test Your Long-Ride Tool Kit
Untested gear discovered mid-ride is the worst outcome, and it is entirely avoidable. Canyon recommends a 30-minute loaded test ride before a trip, and the same logic works for a long day ride.
After the ride, ask three questions. Does everything still fit in the bags the way you packed it at home? Did anything move, rattle, or fall out? Can you get the plug kit out with cold hands and one glove off?
Then do the practice, indoors if you can. Change a tube. Fit a plug. Fit a quick-link and re-tension the chain. Reseat a brake pad. Do each one twice, because the second attempt is the one that teaches your hands.
Check compatibility while the kit is on the bench. The tube fits the tire size and valve type. The plugs match the insertion tool. The cassette tool matches your lockring. The multi-tool’s hex keys fit your stem and seatpost bolts. Most roadside failures that are not a flat are compatibility mistakes that a flat tire would have exposed later anyway.
Common Mistakes
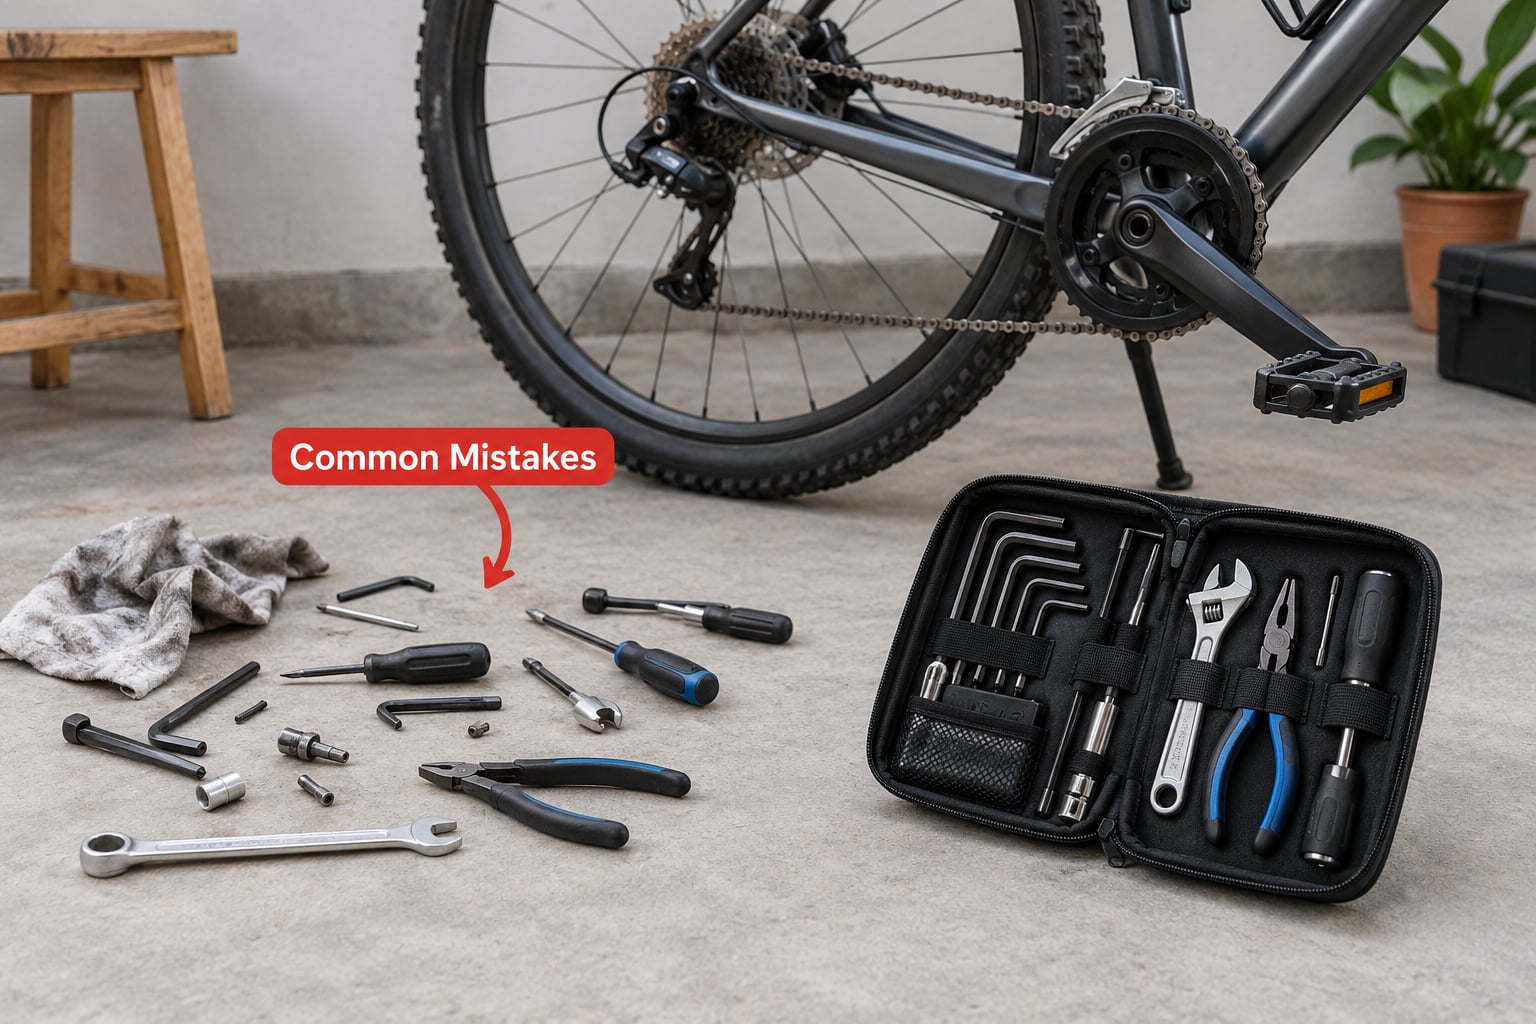
Overpacking. A rider carrying a full shop’s worth of tools on a day ride will feel every one of those grams on the climbs and use almost none of them. The fix is the layered kit: core layer always, everything else tied to distance from help. If you cannot name the specific failure an item prevents, leave it out.
Carrying the wrong spares. A derailleur hanger for a bike that has never had a derailleur damage is wasted weight, while a bike with a worn chain and no spare links is one bad shift from a walk. The fix is to match spares to your actual drivetrain: hanger model, cassette range, disc or rim, rotor size.
Tools that are awkward to operate. This is the Leatherman-versus-minimal-ratchet debate in disguise. Pick one that you can actually use with cold hands in the rain, and make sure it has a chain breaker or carry the tool for that separately. A tool you cannot operate is heavier than no tool at all.
Small parts left unsecured. Screws, valve cores, and plug tips find their own way into the drivetrain if the bag is loose. The fix takes thirty seconds: wrap them, bag them, or tape them to something solid.
Skipping the practice repair. Chain repair is the most-feared roadside failure and the one most riders have never done. That fear is about practice, not tools. Twenty minutes on a spare chain in a garage removes it.
Treating first aid as part of the tool kit. Keep them packed but separate. A tool kit gets dumped out at the roadside; a first aid kit gets used in the dark by someone with shaking hands.
Frequently Asked Questions
What tools should I pack for a long road ride?
Carry a multi-tool with a chain breaker, two tire levers, a patch kit or spare tube, a mini pump with a gauge, a quick-link, zip ties and a short roll of duct tape. Add spare brake pads and a second tube past 100 miles. The core layer should stay under 400 grams including one tube. Scale everything else by how far you are from a bike shop, not by how long the ride is.
Do I need a spare tube if my bike uses tubeless tires?
Yes, most riders carry one anyway. Plugs handle small cuts fast, but they fail on long gashes, bead and shoulder damage, and multiple punctures. A spare tube is 100 grams and turns an unrepairable morning into a ten-minute delay. Keep the plug kit in a jersey pocket for speed and the tube in the seat pack for emergencies.
Where should I store bike tools on a long ride?
Split the kit across four places. Jersey pockets or a top tube bag hold what you need without stopping: tube or plugs, levers, quick-link. A seat pack holds the pump, multi-tool, tape and first aid because it sits low and centred. A frame bag takes overflow spares and balances the load. A reserve pouch holds the items you hope never to touch.
How can I pack bike tools without carrying too much weight?
Weigh the kit on a kitchen scale before the ride. Core layer should be 300 to 400 grams, a century layer adds roughly 200, and a self-supported kit lands around 1.2 kilograms all told. Beyond that you are carrying a workshop. Drop anything you cannot tie to a specific roadside failure, and prefer one multi-purpose item over three single-purpose ones.
Should I practice repairing a flat before a long ride?
Yes. Do a full tube change and a plug insertion indoors, twice each, before you leave. Cold hands and dark roads make unfamiliar tasks far harder than the same task on a kitchen floor. Time yourself. If a tube change takes you more than about ten minutes in a garage, it will take much longer beside a road with a car behind you.
What emergency tools should every road cyclist carry?
Beyond the basic tool kit: two small tubes or ten tubeless plugs, a boot or patch material for sidewall cuts, a spare quick-link, a compact tire boot, zip ties, duct tape, a rag, a small first aid kit, and identification with an emergency contact. On unsupported rides add a satellite communicator and emergency cash. Those items weigh less than a kilo together.
Conclusion
Packing tools for a long ride is a sequence of decisions, not a shopping list: pick the container that keeps weight low, sort by how likely each failure is, split into layers, secure the small parts, and rehearse the repairs at home.
Start by checking your route for distance from help, confirming your bike’s actual bolt and cassette sizes, and being honest about which repairs you have done before. Then assemble the smallest kit that covers the failures you could plausibly meet, weigh it, and go for a loaded test ride. Anything you add after that should come with a reason.