How to wash a road bike at home is simpler than most riders expect: a quick clean takes about 10 minutes and a full one takes 45. The basics are to rinse, wash with mild bike soap, degrease the drivetrain separately, dry properly, and re-lubricate the chain — with brake parts protected before any water goes near them.
Road grime is not mud. It is a thin film of brake dust, road oil, pollen, sunscreen and winter salt that packs into the chain, cassette and chainrings, where it behaves like grinding abrasive between metal surfaces. Ignore it and drivetrain life shortens while gears start to skip. Moisture trapped around bolts, spokes and cable ports does the other damage, quietly rusting steel from the inside.
Riders on r/cycling and forum.cyclinguk.org describe almost the same routine: degrease the drivetrain, wipe the frame down with a soapy microfibre, then dry it off with a clean cloth. That consensus is sound, and it works without a repair stand, without a garden, and without any specialist kit.
The one thing you do need to know before you start is what kind of brakes you run. Disc and rim brakes behave completely differently around water and chemicals, so this guide splits the advice wherever it matters.
Table of Contents
- What You Need
- Know your brake type before you pick up a bottle
- Know which cleaner does what
- How to Wash a Road Bike Step by Step
- 1. Inspect the Bike and Choose Where to Clean It
- 2. Degrease the Chain and Cassette
- 3. Wash the Chain and Remove the Cassette if Needed
- 4. Clean the Frame, Fork, and Cranks
- 5. Clean the Wheels, Tires, and Rims
- 6. Clean Cables, Shifts, Brakes, and Handlebars
- 7. Rinse Lightly and Dry Thoroughly
- 8. Lubricate, Protect, and Perform a Safety Check
- Common Mistakes
- How often to wash a road bike
- Two wash tiers worth having
- Frequently Asked Questions
- How often should I wash my road bike?
- Can I use dish soap to clean my road bike?
- Is it okay to rinse a road bike with a hose?
- Do I need to clean the cassette before lubricating the chain?
- When should I take my road bike to a professional mechanic?
- Conclusion
What You Need
Gather everything first. A wash that stops halfway to hunt for a brush turns into a two-hour job, and a wet bike left sitting overnight is worse than a dirty one.
- A bucket of warm water with a small amount of bike-specific soap. A drop of mild dish soap works as a stopgap, but it is not the habit you want to build.
- Bike chain degreaser. A bio-based or water-based formula is gentler on finishes and bearings than solvent-based sprays. You need very little of it.
- A stiff gear brush for the cassette and chainrings, and an old toothbrush for the derailleurs, chainring bolts and brake callipers.
- A soft-bristle brush or a clean sponge for the frame, fork and cranks.
- Two or three microfiber cloths — one for soapy water, one for degreaser, one dry. Never reuse a grimy cloth on paint.
- A low-pressure hose or just the bucket. A tap or shower sprayer on a gentle setting is enough. A jet of mains pressure is not your friend.
- Chain lube matched to your climate and how you ride.
- Isopropyl alcohol and a rotor-safe disc brake cleaner, if you own disc brakes.
Handy but optional: a chain wear gauge, a chain keeper or rag to catch drips, a bike wall hook or ceiling wheel hook, and a small blower or compressed air for the brake callipers and gear ports. If you ride in salty winter conditions, a bottle of chain and cassette lubricant with a corrosion inhibitor earns its place quickly.
Know your brake type before you pick up a bottle
With rim brakes, the main risks to a wash are grit trapped in the pads and road film on the braking surface of the rim, which makes the bike brake badly until you clean it. With disc brakes, the risk is contamination: oil, degreaser, soap or polish on the rotor or pads gives you noisy braking that no amount of bedding in will fix.
Disc brake users get one extra step. Cover the pistons with a clean cloth or a dedicated disc brake cover before any water, soap or degreaser goes near the caliper. Many riders on r/bikewrench and r/MTB have learned this the expensive way, replacing a set of pads that had nothing wrong with them except degreaser overspray.
Know which cleaner does what
Most ruined brake components trace back to grabbing the wrong bottle. Here is the distinction riders get wrong most often.
| Product | Use it on | Never use it on |
|---|---|---|
| Bike soap or mild detergent | Frame, fork, wheels, cranks, painted and decal-free surfaces | Disc rotors and pads, bare brake cables, high-pressure spray |
| Chain degreaser | Chain, cassette, chainrings, both derailleurs, chainring bolts | Rotors, pads, rim brake pads, rim braking surfaces, coated frame finishes |
| Brake cleaner | Rotor contamination and brake pad surfaces, caliper pistons | Tyres, chain, rubber grips, cable housing, plastic parts it can craze |
| Isopropyl alcohol | Rotor surface and pad faces, gear pivots, bolt heads | Rubber, anodised finishes, plastic, painted surfaces |
| Dish soap | Bucket washing of a dirty frame in a pinch, well diluted | Anything to do with your brakes; routine use on a coated or matte finish |
How to Wash a Road Bike Step by Step
Work in this order and the job stays under 45 minutes. The drivetrain comes first because it is the dirtiest part of the bike and because degreaser needs time to work before you rinse it away.
1. Inspect the Bike and Choose Where to Clean It
Look the bike over before a drop of water lands on it. Check tyre pressure by squeezing the sidewall, spin both wheels to see whether they run true, and check the pads or rotors while you are there. A wash is the best time to spot a worn chain or a pad down to the backing plate.
For the setup, you have three options and none of them need a repair stand:
- A wall hook or ceiling wheel hook is the easiest. Hang the bike by the front wheel, cover the disc rotor with a cloth, and you have both hands free.
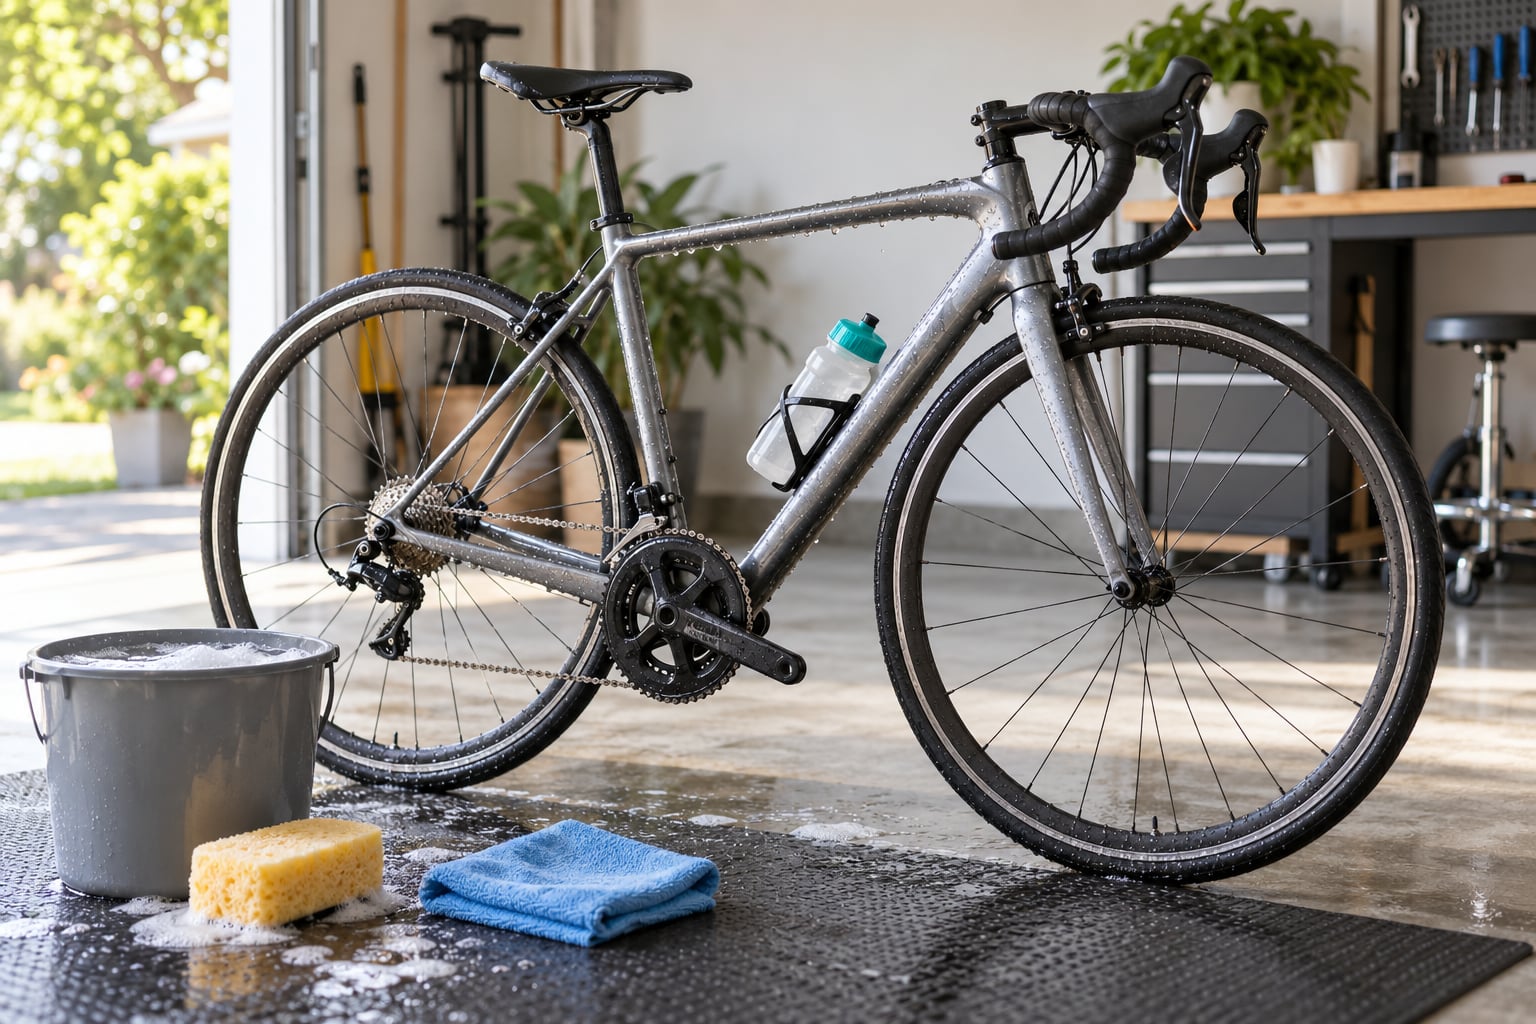
- A driveway or patio with a drain works well. Put down a mat or a couple of old towels so you are not washing grit into concrete joints.
- Indoors in a flat, use the bathtub, a shower or a balcony. Bring the whole bike in rather than scrubbing it outside on a wet floor — riders without a stand do this constantly and it works fine.
Lay towels under the bike before you start. Whatever you do not catch on the towel ends up on the floor.
2. Degrease the Chain and Cassette
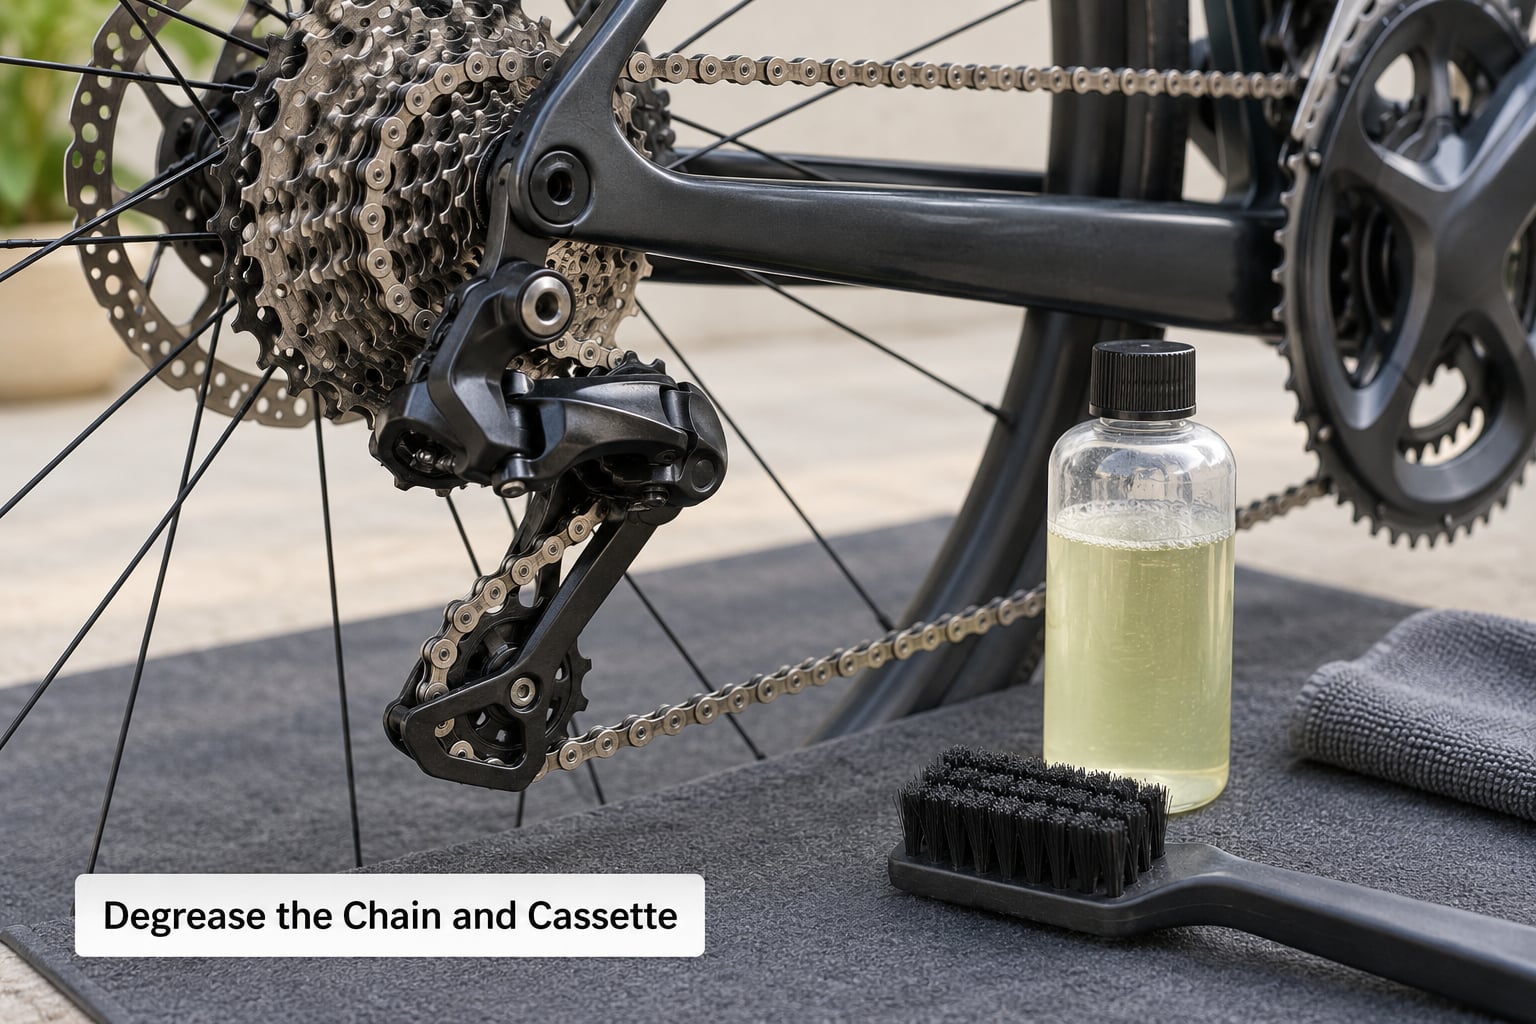
This is the step that matters most for a road bike. A film of chain oil mixed with road dust is abrasive, and it stays in the rollers and the cassette valleys where a sponge will never reach it.
Shift to the smallest sprocket, which is the tightest gap between cassette and chain, and back-pedal the cranks slowly while you drip degreaser along the chain. Work through the cassette by pedalling through each gear, applying a little more degreaser each time so the spray reaches the spaces between sprockets.
Let it sit for three to five minutes. On an old, oily drivetrain, give it closer to ten. Then agitate the chain with a stiff gear brush or a chain-specific brush, which also works well on the cassette faces.
Keep the brake side of the frame protected. If the bike has discs, the caliper covers go on before degreaser, not after, and you should wipe any overspray off the rotor immediately with a clean cloth and isopropyl alcohol.
3. Wash the Chain and Remove the Cassette if Needed
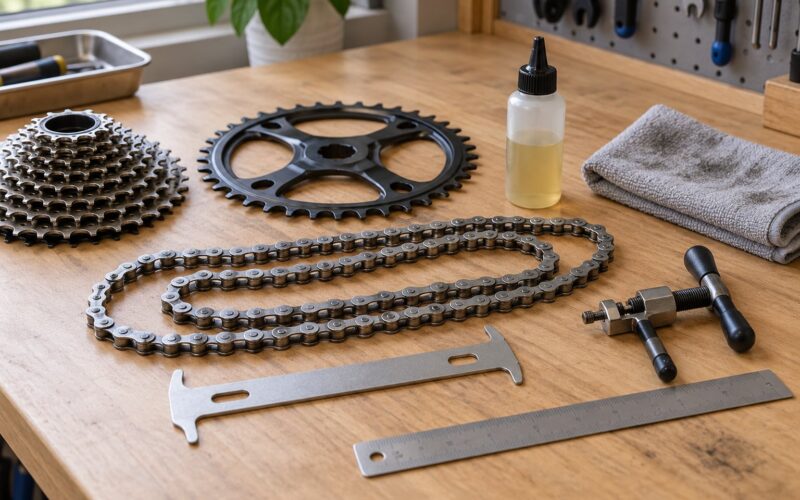
Take the chain off the cassette if it is properly black or if grime has hardened into the links. Release it with a chain tool, or unlatch it at a quick link, and hold it in one hand or hang it over a bucket while you scrub each link with a stiff brush.
Rinse or wipe each link section and move along. A black, gritty chain should come out looking silver-grey between the plates. If it stays black after two passes, the links are probably pitted and the chain is due for replacement anyway.
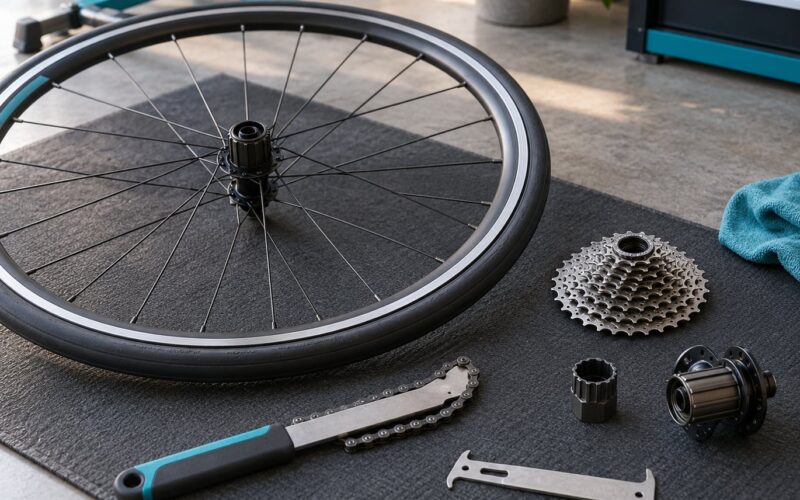
Removing the cassette is optional and takes ten minutes with the right tools. If grime has packed solid in the gaps, take the cassette off, lay the sprockets in a row on a mat, and scrub between the teeth from both sides. Refit it in order, tightening evenly so it sits square.
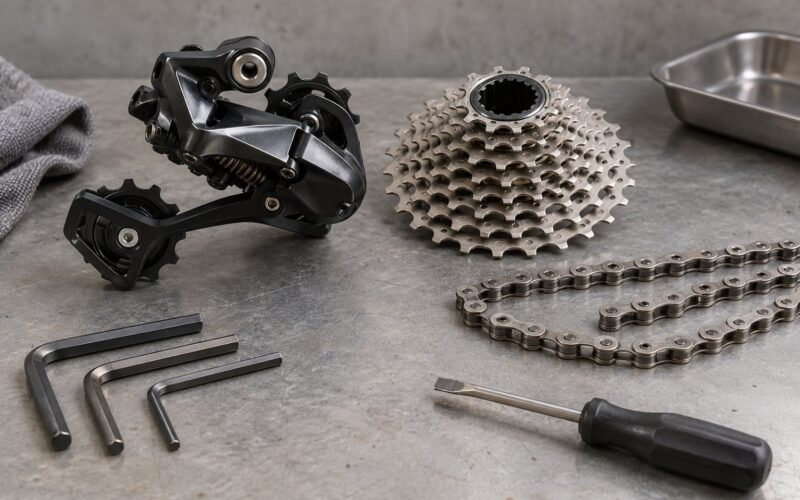
The chainrings and both derailleurs get the same treatment. A toothbrush and a little degreaser on the jockey wheels and the pivots does more good for your shifting than any amount of work on the frame.
4. Clean the Frame, Fork, and Cranks
Mix your bucket: warm water, a squirt of bike soap, and a sponge or soft brush. Work top-down — bars, then saddle, then frame, then cranks — so grime runs downward into the sponge instead of back up onto a clean section.
Use plain soap on painted, decal and gloss-finished frames. For bare metal frames or badly soiled areas, a very light pass of degreaser first helps, followed by a soap wash, but keep degreaser off clear-coated finishes unless the manufacturer says otherwise.
Never aim a hose or a jet nozzle at the bottom bracket, headset, seat tube ports, or the charging and button ports on an electronic bike. Water driven into a bearing is how a free hub or headset starts to feel gritty, and compressed air makes it worse by pushing water further inside.
Wipe decals with a soft cloth rather than scrubbing. Grit dragged sideways across a decal is what makes lettering peel and go matte.
5. Clean the Wheels, Tires, and Rims
Spin each wheel and wipe the tyre surface with your soapy sponge. Road grime builds up on the shoulders of the tyre where the casing meets the road, and it holds grit that will grind into the casing once you are riding again.
For the rims, run a soapy cloth around the braking surface and the sidewalls. With rim brakes, this step matters more than it looks: a greasy rim brakes noticeably worse, and a rim with embedded grit in the pads will chew the braking track.
Valve stems are usually the forgotten part. Wipe them out with a cloth and make sure the valve cap is not full of grit, because that grit ends up inside the rim tape and tyre.
Tan-wall tyres need a mild soap and a soft sponge only. Solvent-based cleaners and pressure washing will take the colour out of a tan sidewall faster than anything else you do to the bike.
6. Clean Cables, Shifts, Brakes, and Handlebars
Wipe the accessible parts with a damp cloth: the lever bodies, the shifter paddles, the exposed inner cable, the chainstay protector and the tops of the cranks. A toothbrush gets into the brake lever reach adjusters and the barrel adjusters, where grit quietly makes shifting feel vague.
Do not flood the cable ports or the lever bodies with cleaner. Solvent wicks up the housing and turns the outer cable into a grinding paste inside the frame — the noise people describe as mice in the wall a few months later.
Use bicycle-safe lubricant only where the manufacturer permits. For exposed cables at the entry points, a drop of light oil on a cloth is plenty.
With disc brakes, clean the rotor with isopropyl alcohol and a clean lint-free cloth, never degreaser. Check the pad thickness while the wheel spins. With rim brakes, check pad wear and make sure no grit is embedded in the pad surface.
If a pad has picked up chain oil or degreaser and the bike will not stop properly, you have options. Isopropyl alcohol on a clean cloth will often recover a pad that has light contamination, and 120-grit wet-or-dry paper on a flat surface will take light glazing off a rotor. Heavy contamination on either part usually means replacement — riders on r/bikewrench are consistent about that, and they are usually right.
7. Rinse Lightly and Dry Thoroughly
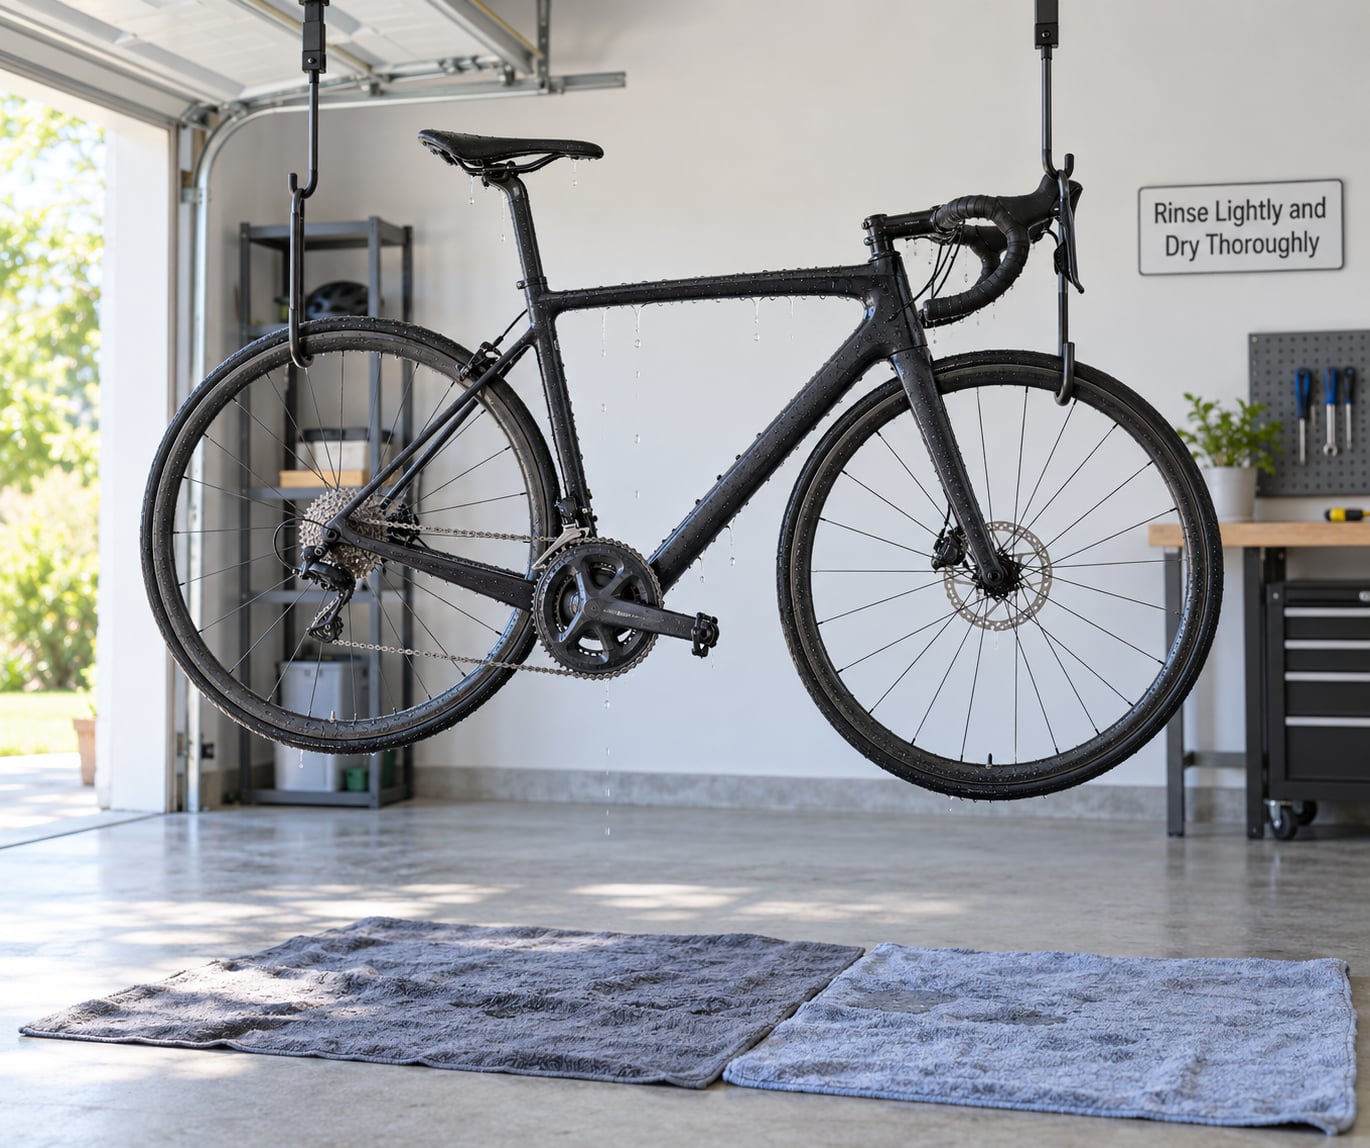
Use a gentle stream, or skip the rinse entirely and rely on the soapy sponge and a bucket. A rinse is only there to carry away soap and lifted dirt, and every second of directed water is a small risk to bearings, ports and brake parts.
Never rinse over the brake calipers. Shield them with a cloth, and if you used degreaser anywhere on the bike, go over the rotors with isopropyl alcohol and a clean cloth before you ride.
Drying is where most people go wrong. Use clean, dry microfiber towels and work along the frame, bars and wheels, then turn the bike upside down by the saddle and bars if the manufacturer allows it so trapped water runs out. Pay attention to the underside of the chainstay, the fork crown, the bottle cage mounts and inside the frame triangle.
In humid weather, stand the bike somewhere with airflow and give it more time. Residual water in a sealed frame or around a hub is what turns a clean bike into a pitted one. If you can, finish with a blower or compressed air held well clear, then re-wipe.
8. Lubricate, Protect, and Perform a Safety Check
Only lubricate once the chain is completely dry. Water under a lube film traps grit, which is the opposite of what you want.
Lube choice follows your climate and your riding:
- Wet lube suits winter, rain and long distances. It stays on the chain in wet conditions and washes off with a degreaser, so reapply more often.
- Dry lube suits dry summer riding and dusty roads. It resists grime and needs reapplication every 100 to 150 km.
- Ceramic lube runs quiet and lasts longer, and costs more. Some riders dislike it on a heavily contaminated drivetrain.
Put a drop on each roller with the chain still on the top of the chainring, back-pedal slowly to spread it, then wipe the excess off with a clean cloth. Too much lube collects road dust; you want a thin film, not a wet chain.
Next, apply a frame protectant or wax if you use one, wipe the tyres down, and check the pressure printed on the sidewall rather than a number you half remember. Then do the post-wash inspection:
- Check chain wear with a gauge. A stretched chain destroys a cassette and chainrings quickly, and a wash is a good moment to find out.
- Check pad thickness and rotor condition.
- Spin both wheels and confirm they run true with no wobble.
- Check that wheel, stem, handlebar and seatpost bolts are to the torque the manufacturer specifies.
- Run the brakes hard and confirm they bite properly, and shift through every gear.
- Look for weeping oil at the bottom bracket and hub seals.
Common Mistakes
Almost every ruined part traces back to one of these. The fix is usually simple, and the damage is not always reversible.
| Mistake | Why it hurts | The fix |
|---|---|---|
| Pressure washing or a drive-through car wash | Forces water past seals into bearings, strips lube from the chain and can strip decals and transfer onto disc rotors | Low pressure only, from a distance, at a shallow angle. Never let the jet touch bearings, ports or brakes |
| Dish soap as your regular wash | Some formulas leave a film that attracts dirt, and on coated or matte frames it can alter the finish | Use bike-specific soap for routine washes. Save dish soap for a heavily soiled bucket wash on plain frames |
| Degreaser anywhere near discs | Contaminated pads lose most of their braking ability and the noise does not go away | Cover calipers before degreasing, wipe overspray off immediately, and clean rotors with isopropyl alcohol only |
| Soaking bearings and sealed hubs | Water sits inside and corrodes the races; blow-drying pushes it deeper | Wipe with a soapy sponge, rinse sparingly, and dry the outside thoroughly |
| Drying with a dirty or grit-covered rag | Acts like sandpaper on paint and can scratch brake rotors | Use a second clean cloth for drying, and keep the degreaser cloth away from the frame |
| Spraying brake cleaner on a chain, tyres or plastic | Strips lube, dulls plastic and leaves the chain dry and gritty | Brake cleaner lives in the brake bay. Keep it in a labelled spray bottle and out of reach of lazy habits |
| Washing the bike straight after a ride while it is hot | Seals are less likely to keep water out and hot grime sets faster | Let it cool for 20 minutes first |
How often to wash a road bike
Riders argue about this constantly, and the answer depends more on where you ride than on the calendar. Road grime is oily rather than muddy, so a light wash every few weeks beats one huge wash once a season.
| When | What to do | Why |
|---|---|---|
| After every wet or salty ride | Wipe the frame and chain down with a damp cloth, re-lube if it rained hard | Road salt attacks steel and aluminium fast and leaves a film that holds grit |
| Weekly | 10-minute quick clean: soapy sponge wipe, degrease the chain, lube | Keeps the drivetrain from turning into a grinding paste and takes very little time |
| Monthly | Full 45-minute wash with cassette scrub and a chain off the bike | Cassette gaps and chainrings collect grime a quick clean never reaches |
| Before winter storage | Deep clean, degrease everything, lubricate the exposed metal, check tyres and brakes | Six months in a damp shed is where rust actually starts |
| Before selling or racing | Deep clean plus a full inspection, then a light wax | A clean bike reads as a cared-for bike, and inspection catches what riders miss |
Two wash tiers worth having
The most useful thing riders take away from forum threads is a tier system, because it decides how to wash a road bike in a hurry and how to wash one properly over a long afternoon. One routine for weekly maintenance, one for the twice-a-year reset.
- Quick clean, about 10 minutes: soapy microfibre wipe-down, degrease and scrub the chain, short rinse, dry, re-lube. No bucket of dirty water, no tools out.
- Deep clean, 40 to 45 minutes: cassette off, chain off and scrubbed link by link, chainrings and derailleurs, frame and wheels washed top-down, wheels removed for the rims, rotors cleaned with isopropyl, brake inspection, chain wear check, fresh lube.
If you have no outdoor space and no stand, the bathtub method works for both: lay towels in the tub, bring the bike in whole, and rotate it as you go. Riders doing this in flats report the same result as a driveway wash, with the bonus of warm water.
Frequently Asked Questions
How often should I wash my road bike?
Wipe the bike down after any wet or salty ride, give it a 10-minute quick clean weekly, and do a full deep clean monthly. Road grime is oily rather than muddy, so a light wash every few weeks does far more for your drivetrain than one big clean once a season. If you ride through winter rain or road salt, clean more often, not less.
Can I use dish soap to clean my road bike?
It works in a pinch, diluted in a bucket, on a plain painted frame. It is not the right habit for routine washes: some formulas leave a film that attracts dirt and can alter matte or coated finishes. Use bike-specific soap for the frame, wheels and cranks, and keep every detergent away from disc rotors and brake pads, where contamination is expensive to fix.
Is it okay to rinse a road bike with a hose?
Yes, at low pressure and from a distance, so the water falls across the bike rather than being driven into it. Cover the brake calipers with a cloth first and never aim the stream at bearings, cable ports or electronics. Skip the rinse altogether if a bucket and sponge are doing the job. A pressure washer or a drive-through car wash is a different question entirely: avoid both.
Do I need to clean the cassette before lubricating the chain?
Yes, because lube only sits on top of grime. Packaged dirt in the sprocket gaps keeps grinding between the chain rollers and accelerates wear on both parts. A quick weekly clean needs nothing more than degreaser and a stiff brush worked through the gears. Take the cassette off only when grime has hardened into solid deposits, which is a monthly or seasonal job rather than a weekly one.
When should I take my road bike to a professional mechanic?
Take it in when you need to remove and refit parts you have no tools for, such as a bottom bracket, headset or wheels; when braking feels wrong after a contamination scare; or when a wash reveals a stretched chain, worn pads or loose bolts. A shop can also supply the specific torque values for your bike. Regular washing and light inspection you can do yourself, but anything involving bearings, threads or braking hardware is worth a shop visit.
Conclusion
Start by making the bike stable and checking it over. If you take one thing away from how to wash a road bike at home, take the order: dirty parts first, clean parts last. Hang it from a wheel hook, or lay towels under it wherever you are, and put covers on the brake calipers if you run discs. Then work through the degreaser step — chain and cassette first, chainrings and derailleurs next, frame and wheels after, and a light rinse followed by a proper dry. Finish by lubricating a fully dry chain, checking chain wear and pad thickness, and confirming the brakes bite before you ride away.