Carbon assembly paste is a thick, gritty grease carrying fine abrasive particles, supplied free in the box with most carbon components so carbon and metal parts clamp securely at lower torque without seizing or taking permanent damage. It goes on static interfaces only, in a thin film, and it never touches brake rotors, pads or any moving part.
That single sentence answers the query, but the useful part of carbon assembly paste explained is knowing which joints want it, which joints must stay clean, and how to tell a paste problem from a worn clamp. A slipping seatpost is the usual reason people open a tub, and it is not always the reason the post slips.
Table of Contents
- What Is Carbon Assembly Paste?
- What Does Carbon Assembly Paste Do for a Bike?
- Grip, not torque
- The anti-seize side
- Does carbon paste scratch carbon?
- Where Should You Use Carbon Assembly Paste?
- Is Carbon Paste the Same as Grease or Threadlocker?
- How Do You Apply Carbon Assembly Paste?
- Can I tighten it less once paste is on?
- No torque wrench?
- How Much Carbon Assembly Paste Should You Use?
- What Mistakes Can Damage Carbon Parts?
- When Should You Remove or Replace Carbon Assembly Paste?
- Cleaning it off properly
- Repasting intervals
- When the component goes instead
- Frequently Asked Questions
- Can I use carbon assembly paste on any bike component?
- Is carbon paste stronger or safer than grease?
- Do I need to let carbon assembly paste dry before riding?
- Can I reuse carbon assembly paste when reinstalling a component?
- What torque should I use when installing carbon bike parts?
- How do I remove old carbon assembly paste?
- Conclusion
What Is Carbon Assembly Paste?
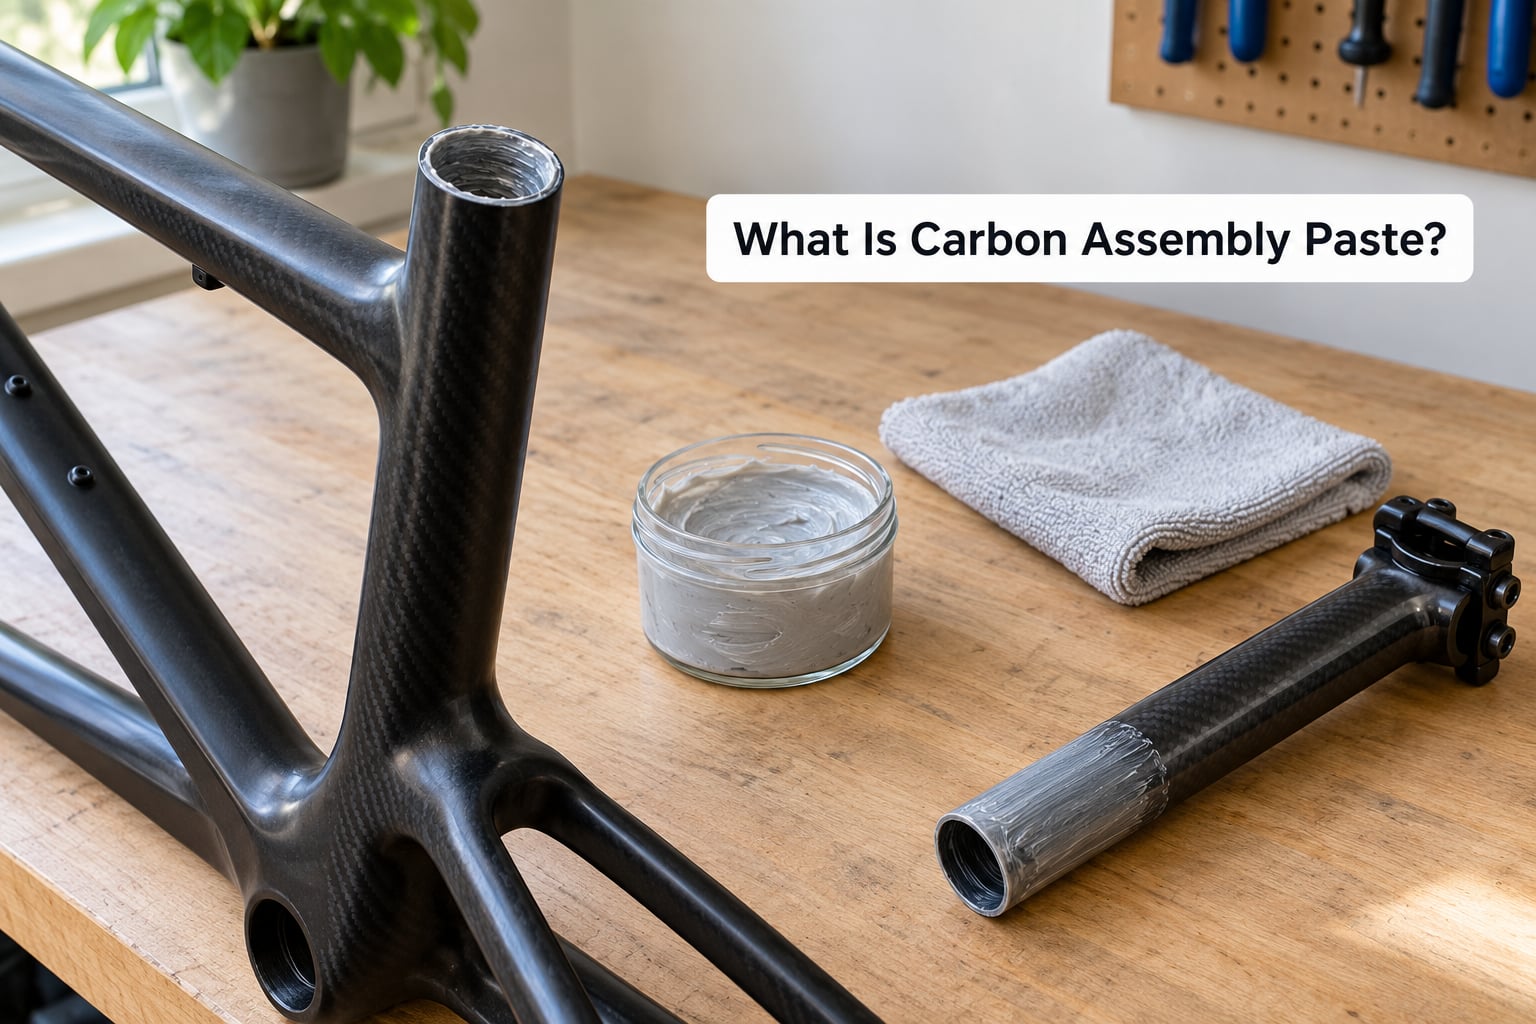
Carbon assembly paste is a thick, gritty grease containing fine abrasive particles, supplied by most carbon component makers in the box so that carbon and metal parts can be clamped securely at lower torque without seizing or damaging the composite.
It does exactly two jobs, and confusing them causes most of the mistakes people make with it.
- A protective barrier. The grease carrier seals the joint against water, road grit and salt, and keeps an alloy post from bonding to a carbon seat tube. This is the anti-seize job, and it is why a post you struggled to remove last winter slides straight out next year.
- Grip enhancement. Fine particles suspended in the carrier raise the friction between the two clamped surfaces, so the joint stops slipping at lower clamp load.
Why paste and not grease? Because grease is defined by what it does, which is reduce friction, and this product does the opposite at the interface that matters. A BikeForums poster put it neatly: it cannot be used as grease, so the carrier exists purely to hold the friction additives in place. The same family of chemistry shows up in what Muc-Off calls compression additives, with a hydrocarbon carrier and ester lubricants underneath.
Nobody is claiming the tin contains ground-up carbon fibre, which comes up more often than it should. The particles are a mineral or glass-type abrasive small enough to sit in the microscopic valleys of a surface without cutting through it.
What Does Carbon Assembly Paste Do for a Bike?
Carbon fibre grips poorly under a clamp. Its surface is smooth, it is crush-sensitive, and the layup underneath can be permanently creased by the high torque needed to stop a post creeping down. Paste lets you hold the joint firm with a lighter touch on the bolt.
Grip, not torque
Torque is what you apply with the wrench. Clamping force is what that torque produces inside the joint, and the two are not the same thing once a friction-modifying paste is present. A widely repeated figure of up to 30% lower clamping force for carbon paste exists in the marketing of several brands, and riders repeat it as a measured result.
It is not one. No controlled test backs it, and the real reduction depends on the joint, the paste and how it was spread. Treat 30% as an upper bound a brand is claiming, not a number you plan around.
The anti-seize side
Riders often notice the second job before the first. Forum users report the corollary problem clearly: without paste, seats and posts stick in position instead of slipping, which is galling and seizure. Two alloy parts clamped together, or a steel bolt turning in an alloy shell, can fret and weld itself solid through microscopic vibration. The carrier grease blocks that.
Does carbon paste scratch carbon?
No, and this myth deserves a decisive answer. Abrasion needs relative motion between two surfaces. A seatpost in a seat tube, a stem faceplate on a steerer, a crank arm on a shell are all static interfaces that never move once clamped.
Add a glass-bead abrasive and worry about scratching and you are imagining a scenario that never occurs in service. The particles stay put because nothing moves them. The reason the same particles would be destructive on a moving part is exactly the reason they are safe on a static one.
Where Should You Use Carbon Assembly Paste?
Use it where a component is clamped, bonded or threaded into place and the joint relies on friction rather than a positive mechanical stop. Skip it anywhere relative motion exists or where contamination would reach a brake.
| Component and materials | Paste? | Why |
|---|---|---|
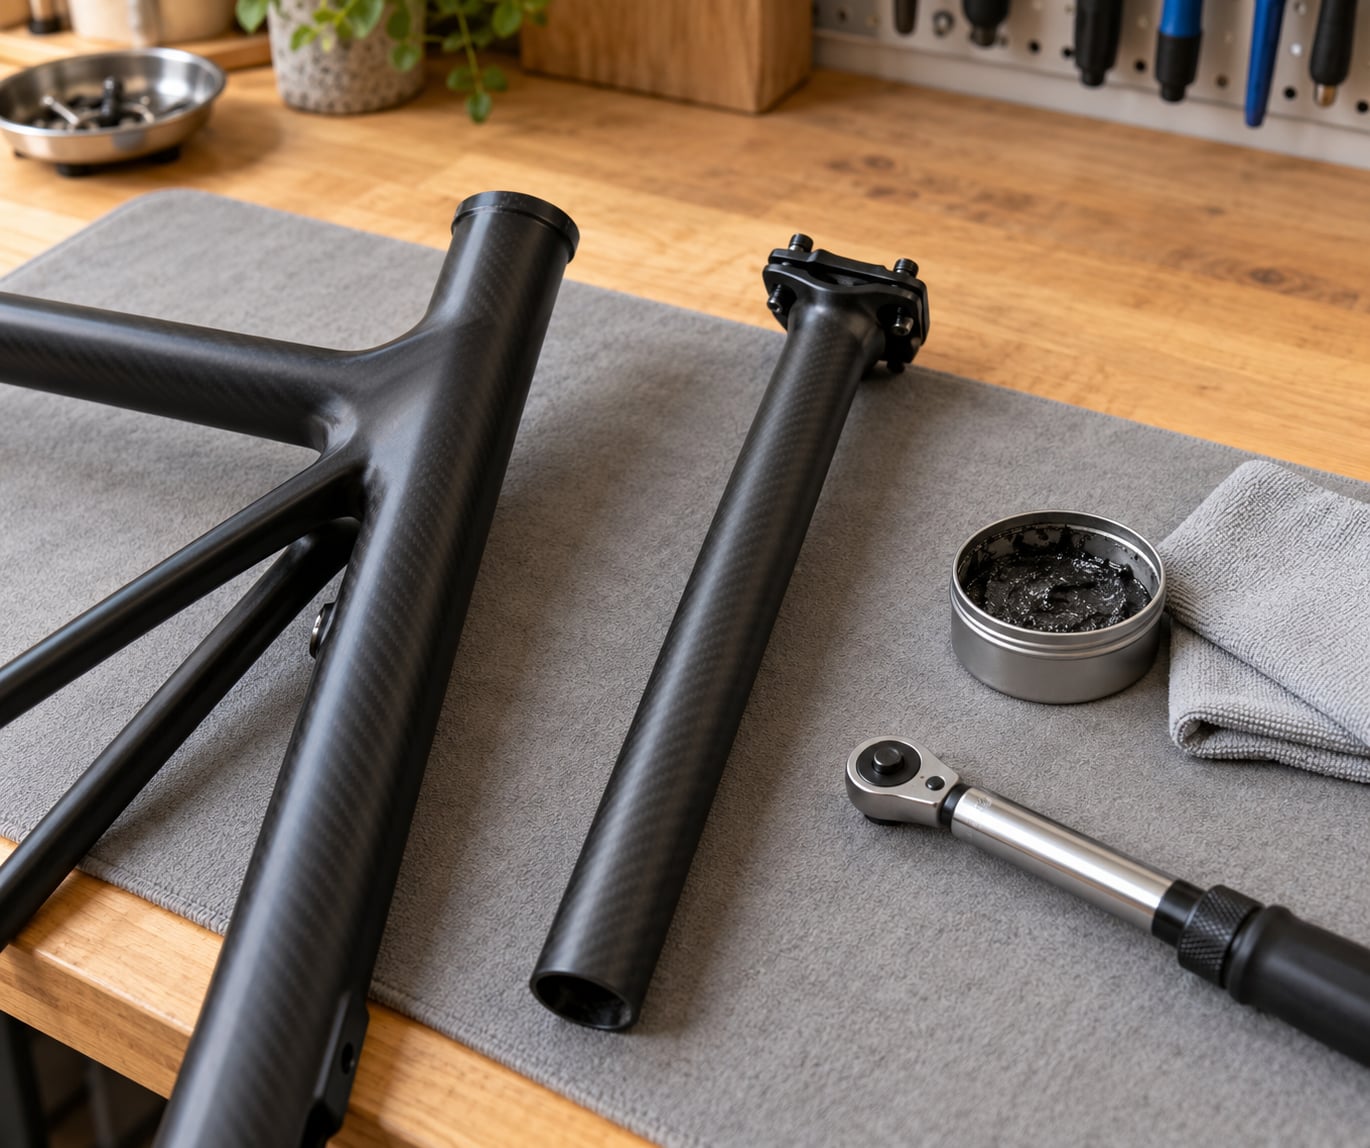
| Carbon seatpost in a carbon frame | Yes, per manufacturer | The classic case. Carbon grips poorly and takes a permanent set under over-torque. |
| Alloy or titanium seatpost in a carbon frame | Yes | Stops the post galling the seat tube bore and prevents cold seizure. |
| Dropper post cradle and clamp | Yes, thin film | You want a solid hold while keeping the post easy to slide. |
| Stem faceplate onto a steerer | Usually yes | Holds the bar position and prevents fretting. Check the maker first. |
| Steerer tube in the head tube | Follow the maker | Trek has advised against paste here because it can migrate into the head tube and bearing interface. |
| Dropper remote or matchmaker clamp | Yes | Riders report it stops levers rotating under cable pull. |
| Threaded bottom bracket shell and crank arms | Follow the maker | Often supplied with paste or specified by the crank brand. |
| Saddle clamp bolts and seat clamp interface | Yes | Static joint, low torque, high chance of creaking without it. |
| Derailleur hanger interface | Only if the maker says so | Frequently a bonded, serviceable or press-fit arrangement. |
| Brake rotors, pads or disc surfaces | Never | Abrasive contamination destroys braking performance and cannot be cleaned off. |
| Pivot points, bearings, suspension bushings | Never | Moving surfaces. The abrasive actively wears the material. |
| Chain, cassette, cables, suspension stanchions | Never | Lubrication surfaces, not friction interfaces. |
One rule covers the whole table. Carbon assembly paste belongs on static, clamped interfaces and nowhere else.
Is Carbon Paste the Same as Grease or Threadlocker?
They look similar in the tube and behave completely differently. Grease lubricates, paste grips, threadlocker resists loosening while holding oil in place.
| Product | Purpose | Compatibility | Reversible | Typical bike use |
|---|---|---|---|---|
| Carbon assembly paste | Increase friction and seal a static joint | Carbon and alloy, paint and clear coat, if the maker allows it | Wipes off with solvent | Seatpost, faceplate, stem and saddle clamps, BB interfaces |
| Ordinary bearing grease | Reduce friction in a rolling or sliding joint | Fine on metal, wrong on composite | Wipes off | Headset, bearing cups, headset spacers |
| Carbon-safe assembly grease | Anti-seize without the abrasive additives | Safe on carbon when no grip is needed | Wipes off | Seat collar interfaces where only protection is required |
| Threadlocker, medium or high strength | Stop a threaded fastener backing out | Carbon threads need care; some formulas attack resin | Medium strength needs heat to remove | Stem, bar, seatpost bolts on alloy hardware, with the maker’s approval |
| Copper paste | Anti-seize for high-temperature hardware | No useful bicycle application | Wipes off with difficulty | Essentially none on a bike |
Pipe thread sealant has no place on a bike either, despite the odd forum suggestion. It is designed to remain soft and seal a threaded joint against fluid, which is the opposite of what a clamped carbon interface needs.
How Do You Apply Carbon Assembly Paste?
This is the sequence for a typical bonded or slip-fit carbon component. It takes about five minutes once the frame is out of the stand.
- Clean both surfaces. Degrease the mating surfaces and wipe them dry. Old paste and grit left in place is what causes most of the creaking people blame on the paste.
- Check the maker’s instructions first. If the component ships with its own approved paste, use that. Some brands specify it and some forbid substitutions.
- Apply a thin, even film. A smear about the thickness of grease you would put on a bike chain bearing. Spread it with a clean finger or cloth so it covers the whole contact area rather than sitting in a bead around the edge.
- Protect adjacent surfaces. Keep paste off brake rotors, pads, disc surfaces and stanchions. Mask them with tape if they are close to the joint.
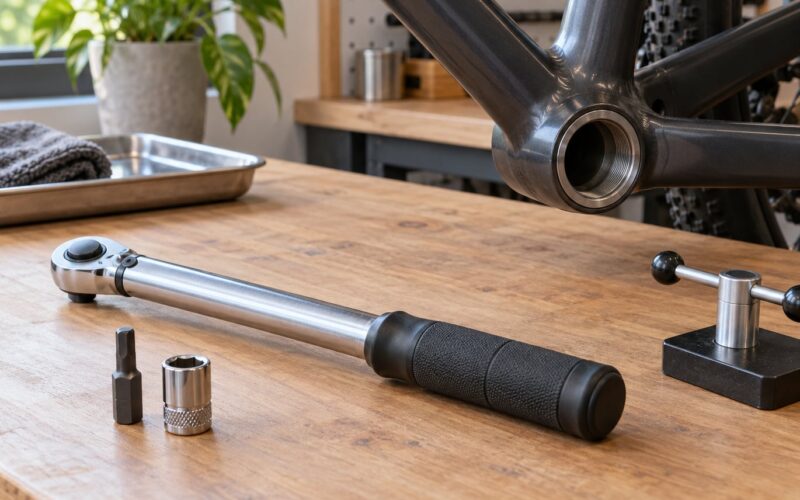
- Fit and torque to specification. Assemble the joint and tighten to the manufacturer’s torque figure with a torque wrench. Do not guess.
- Wipe the excess off. Squeeze-out from a static joint is normal. Wipe it before it cures, because hardened paste grinding against the frame finish under load is a known way to wear a paint mark.
Can I tighten it less once paste is on?
The dominant mechanic consensus across forums is torque everything to spec first, then reach for paste only if something slips. That order matters, because paste solves residual slippage rather than replacing a correctly tightened joint.
Several regular users report the opposite pattern working fine too, with a pronounced lack of slippage or creaking after three months of wet, gritty winter riding. The safe version of that advice: tighten to the specified torque, and if a joint slips, address the joint rather than reaching for a lower number.
No torque wrench?
It happens to most riders. If the component maker allows paste and gives no torque figure, a thin film plus a firm hand-tight closure that shows no movement when you twist the part is the common fallback, used on non-critical static joints. Never improvise torque on a steerer, a seatpost clamp carrying a rider’s weight, or a crankset.
How Much Carbon Assembly Paste Should You Use?
Less than most people think. The correct amount is a thin, continuous film you could almost miss, not a visible coating.
| Application | What it looks like | What happens |
|---|---|---|
| Too little | Patches and streaks, bare metal showing through in places | Grip is inconsistent. The joint holds on the painted patches and creeps on the bare ones. |
| Correct | A continuous film, faintly visible, no thick bead anywhere | Even friction across the whole interface, and excess squeezes out cleanly. |
| Too much | A thick coating or a bead sitting proud of the surface | Excess squeezes out under the clamp and grinds against the frame finish. It also contaminates adjacent brake surfaces. |
Run a fingertip across the surface after spreading. If you can feel a ridge, you have too much.
What Mistakes Can Damage Carbon Parts?
Most damage attributed to carbon paste comes from where it was put, not from the paste itself.
| Mistake | What it causes | Fix |
|---|---|---|
| Using it on moving parts | The abrasive wears pits into the material with every stroke | Wipe it off, degrease, use grease only where the maker allows |
| Contaminating rotors or pads | Braking performance drops sharply and does not recover | Replace the pads. Clean rotors with an approved cleaner, never a household solvent |
| Excess torque on a carbon clamp | Crushed fibre and a post that will not clamp flat any more | Fit a new component. The damage is permanent |
| Dirty surfaces before application | Paste becomes a grinding compound instead of a film | Degrease both surfaces, dry, then apply |
| Reusing cured paste | Lumpy, uneven coverage and a joint that reads as loose but is not | Strip it back and reapply a fresh film |
| Skipping the maker’s instructions | Paste where the brand has excluded it, such as a steerer interface | Follow the component instructions first, always |
A related failure shows up after a few hard services: bolt holes that have gone slightly oval, or a clamp face worn shiny and rounded. That is not a paste problem and no amount of paste fixes it. Replace the hardware.
When Should You Remove or Replace Carbon Assembly Paste?
Paste is a service material, not a permanent one. Remove and renew it whenever the joint is opened, and as a matter of course whenever you are chasing a creak or a slip.
Cleaning it off properly
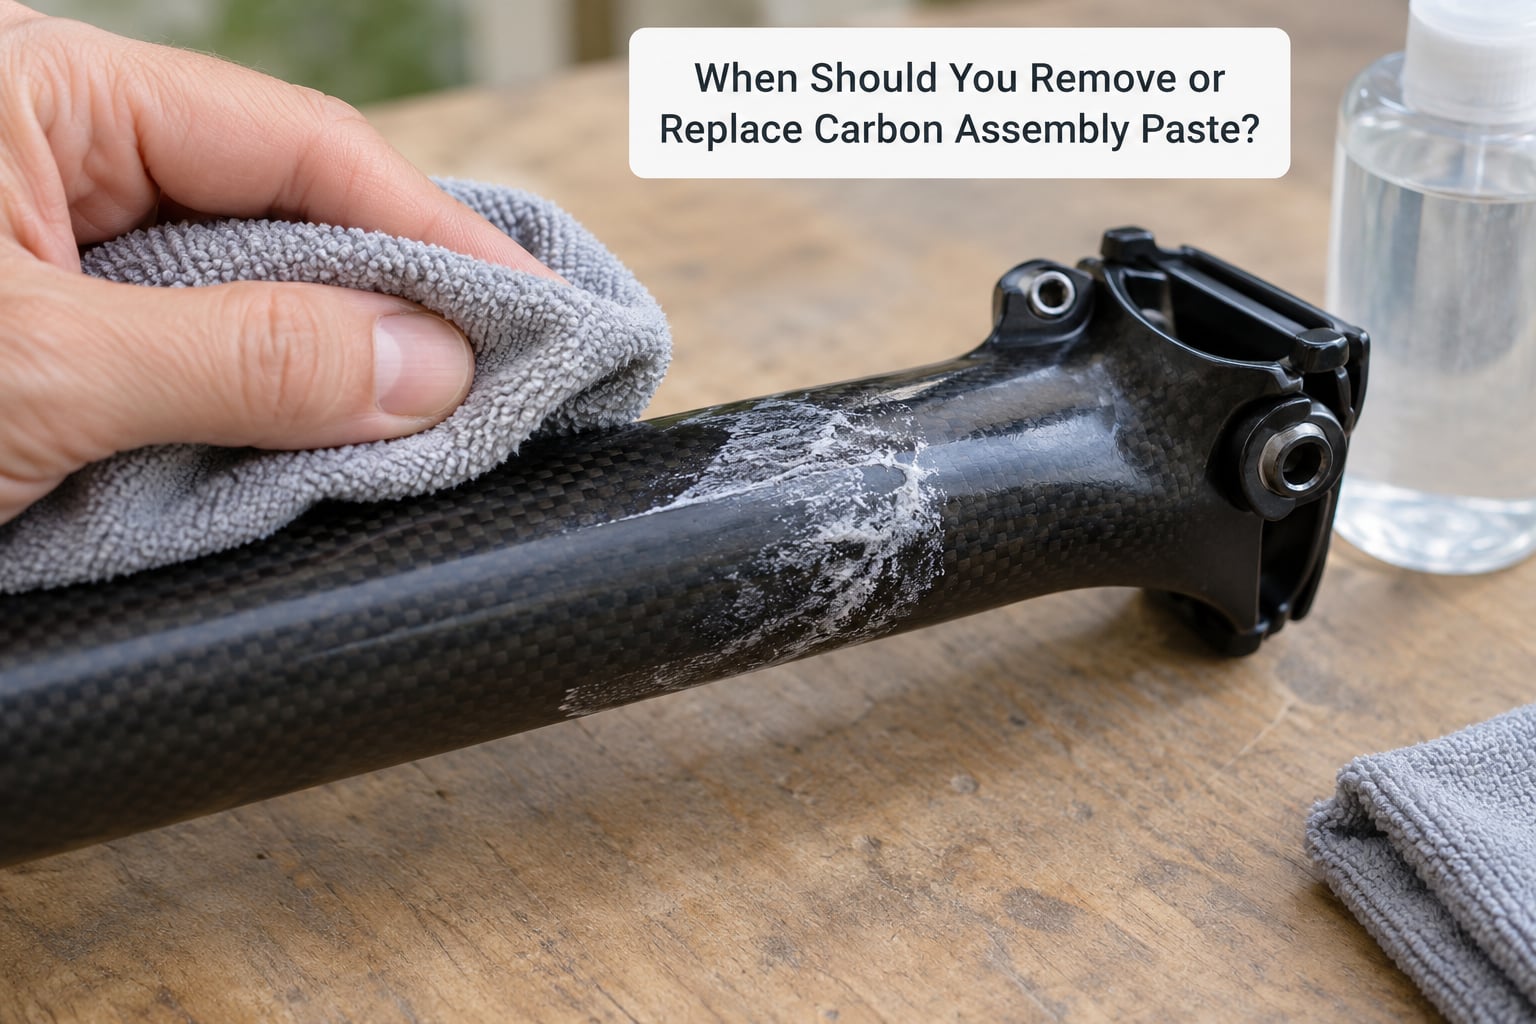
Degrease the surface, let the solvent do the work, then lift the residue with a soft lint-free cloth. Never scrape a hardened bead with a metal tool or abrade the surface to get it off, because you are working on a composite that costs more to replace than the paste did.
If residue will not shift with an approved cleaner, warm it gently first rather than reaching for something harsher.
Repasting intervals
Repaste any time a component is removed. There is no mileage figure worth quoting because the joint decides, not the calendar. A bike stored over winter with a dropper post extended deserves a look before the season, since seals can allow a small amount of oil to creep down.
When the component goes instead
Replace the component or send it for inspection when the clamp face is worn oval, the mating surface is scored or creased, the thread is damaged, or the joint keeps slipping at full specified torque with fresh paste on correctly prepared surfaces. That last one is the case riders argue about most, and it usually points to a worn clamp, an undersized post or a frame bore that has been damaged.
A post that creeps down despite paste and full torque is not a paste failure. It is a geometry or wear failure, and buying a bigger tub will not fix it.
Frequently Asked Questions
Can I use carbon assembly paste on any bike component?
Only on static, clamped or bonded interfaces where friction holds the joint: seatposts, stem faceplates, dropper and matchmaker clamps, saddle clamps and some bottom bracket shells. Never on moving parts such as bearings, pivots or stanchions, and never on brake rotors or pads, where abrasive contamination kills braking performance. Check the component maker’s instructions first, since some brands exclude specific joints.
Is carbon paste stronger or safer than grease?
Neither. They do opposite jobs. Grease reduces friction in a bearing or sliding joint. Carbon paste increases friction at a clamped interface and seals it against water, grit and salt so parts do not gall and seize. Using grease where you need grip gives you a joint that slips, and using paste on a moving surface actively wears it. Pick the product that matches the joint.
Do I need to let carbon assembly paste dry before riding?
No. It is not an adhesive and it does not cure. Torque the joint to the manufacturer’s specification straight after application, then wipe the excess off the surface before it dries into a hard ring. A component that requires a cure time or a specified bedding-in procedure will say so in its own instructions, and those take priority over any general advice.
Can I reuse carbon assembly paste when reinstalling a component?
No. Strip it back to bare metal or composite, degrease, dry, and lay down a fresh thin film. Old paste is lumpy, uneven and carries grit, so it behaves more like a grinding compound than a friction layer. A fresh coat costs nothing and removes the most common cause of creaking and slipping after a service.
What torque should I use when installing carbon bike parts?
The manufacturer’s figure, applied with a torque wrench, and never lower because paste is present. The widely repeated figure of up to 30% lower clamping force comes from brand marketing rather than a measured test. If a joint slips when torqued correctly, fix the joint rather than reaching for a smaller number. Never improvise torque on a steerer, seatpost clamp or crankset.
How do I remove old carbon assembly paste?
Degrease the surface, give the approved solvent time to work, then lift the residue with a soft lint-free cloth. Do not scrape with a metal tool and do not sand the surface, because both permanently scar a composite that costs more to replace than the paste did. If hardened residue will not shift, warm the area gently first instead of using something harsher.
Conclusion
Start with the component maker’s instructions, not the tub in the drawer. They will tell you whether that specific joint takes paste and what torque it needs.
Then clean both surfaces, spread a thin and continuous film, torque to the specified figure, and wipe the squeeze-out off before it hardens. If something still slips after that, the clamp or the component is worn, and no amount of paste will hold it.