If your average speed has sat at the same number for a year, the problem is usually not your lungs. It is how you spend the watts you already have: the pace you open at, the shape you hold, the lines you take through corners, and how often you sit behind someone else’s back wheel instead of riding into a headwind alone. Learning how to ride faster without getting fitter is mostly about buying those things back.
There are four levers every rider can pull this week: pick a route that suits the conditions, hold a position that wastes less power, spend effort in the right places, and take corners and descents with a plan instead of with fear. Add drafting, gear choice and group tactics and you have most of the free speed available to an amateur road rider. Give the sequence below four weeks and most people find a couple of km/h at the same heart rate, without a single extra hour in the saddle.
Table of Contents
- What You Need
- Step-by-Step: How to Ride Faster Without Getting Fitter
- 1. Ride in Conditions That Favor Speed
- 2. Hold a More Efficient Position
- 3. Use an Aggressive but Sustainable Pace
- 4. Take Faster, Safer Lines
- 5. Draft Properly and Choose the Best Wheel
- 6. Descend with Control Instead of Fear
- 7. Select Gears That Keep Momentum
- 8. Use Group Knowledge and Smart Tactics
- Common Mistakes
- Riding every ride at near-maximum effort
- Chasing wheels in the wrong spot
- Braking inside the corner
- Changing gear constantly
- Treating danger as speed
- Frequently Asked Questions
- What cadence should I ride at when I want to go faster?
- How do I draft properly on a group ride?
- How do I descend faster safely?
- Does riding with a faster group actually make me faster?
- Do I need a power meter to use these tactics?
- How long does it take to see speed gains from technique alone?
What You Need
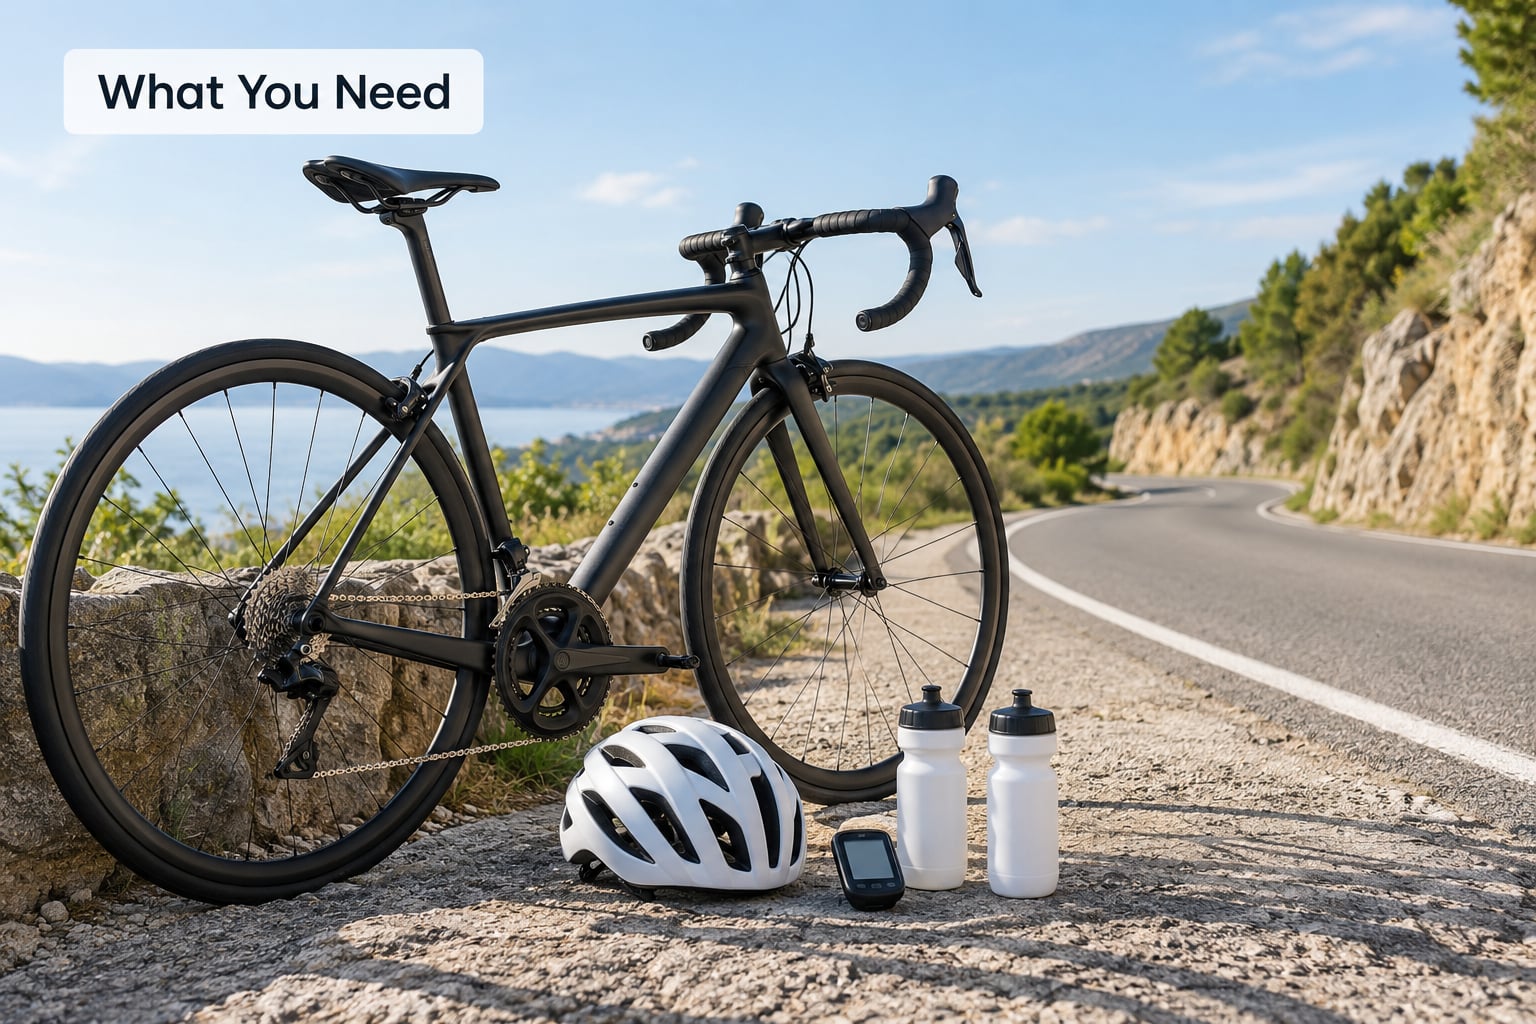
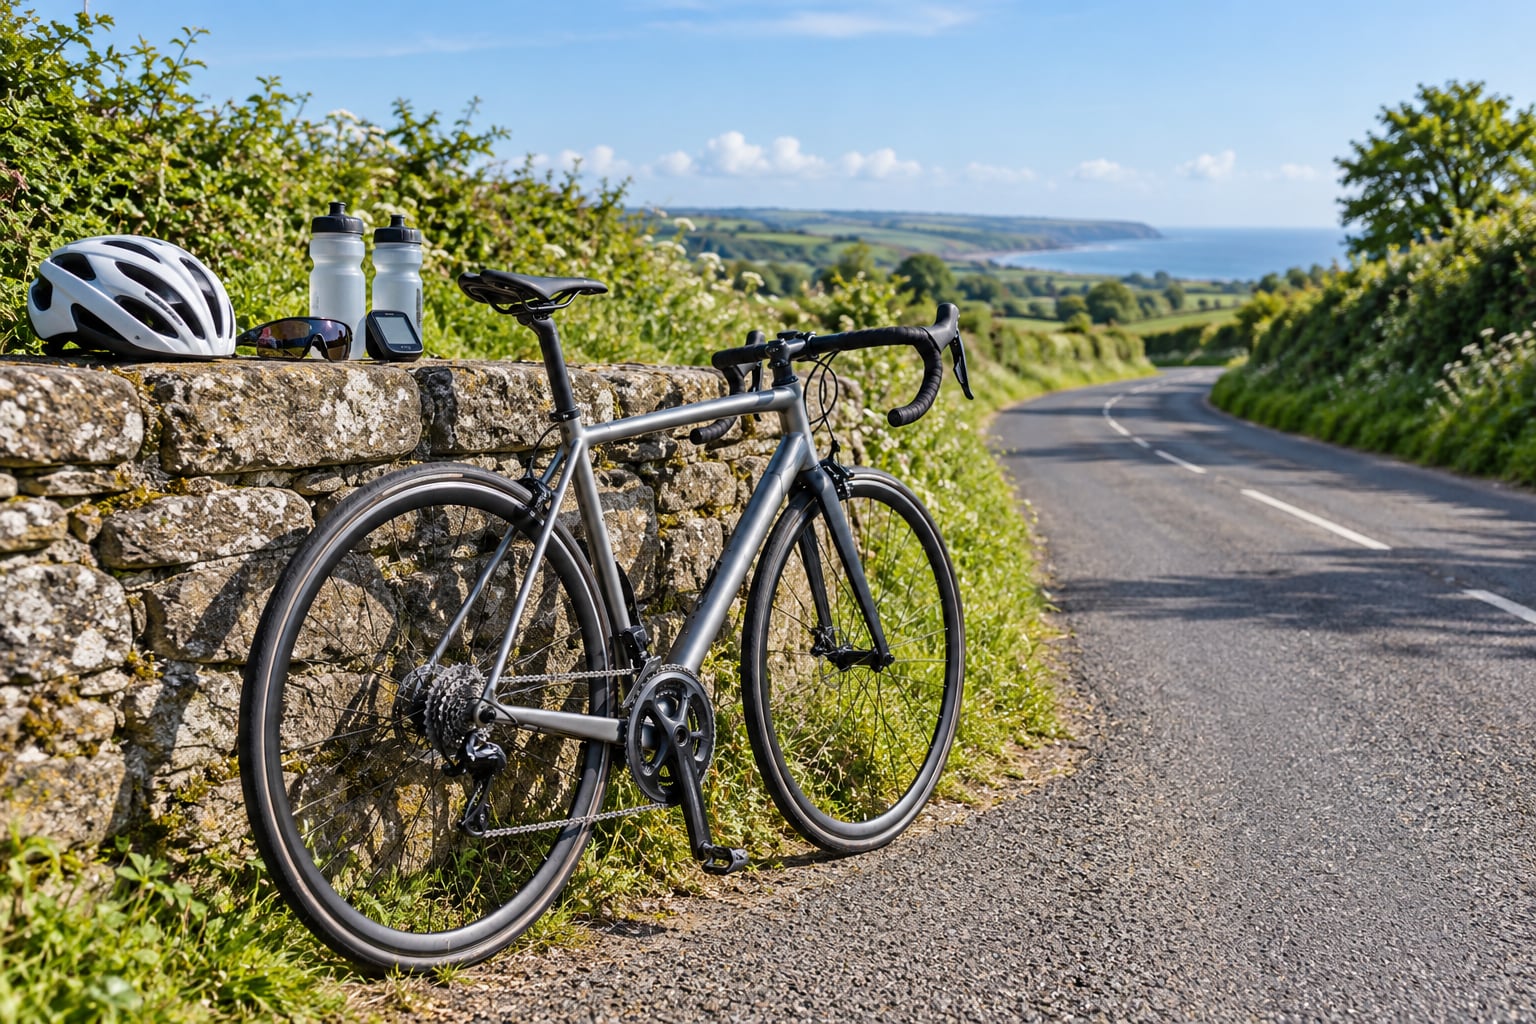
You do not need new equipment. A roadworthy bike, a helmet, bottles, and either a cycling computer or a phone recording your rides is genuinely all of it. Everything in this guide is a change in technique, and technique needs practice mileage rather than shopping.
You do need somewhere appropriate to practise. Descending and cornering work belongs on quiet roads you know well, ideally a loop you have ridden a dozen times, so you can push harder without spending attention on traffic. Group drafting and rotation practice needs a club ride with riders who are steady, not a bunch sprinting off lights.
Preparation matters more here than in most cycling topics, because every tactic below has a version that is unsafe and a version that is fine. Ride the new position at an easy pace for a few rides before you test it at speed. Pick descent routes in daylight, in dry conditions, with turnouts along the way. And keep a power meter or heart rate on your wrist so you can prove the change is real rather than a good day on a bike.
Step-by-Step: How to Ride Faster Without Getting Fitter
1. Ride in Conditions That Favor Speed
Speed starts with the road you chose, and this is the one lever that costs nothing at all. Wind direction dominates: a tailwind can be worth more than any equipment change, and a headwind can erase one. When the forecast shows a northerly blowing from behind, plan a route that points north.
Surface and traffic come next. Smooth tarmac at speed beats rough roads at speed, and a road with one steady climb and flat top is far quicker than a rolling route that never lets you settle. Familiarity is underrated too, because knowing where the turns, crests and rough patches come saves the hesitation that costs you metres every time.
How to tell it worked: compare two rides over the same distance on the same route in opposite wind directions, and the gap tells you exactly how much of your average speed is weather rather than you.
2. Hold a More Efficient Position
A lower, quieter position lets you hold the same speed at a lower power. Above roughly 20 km/h, aerodynamic drag accounts for the large majority of the resistance you are fighting, so the shape of your body matters more than most riders expect.
Lower your head until your eyes are just below the level of the brake hoods, keep your elbows softly bent rather than flared wide, and drop your shoulders away from your ears. Turtling, lifting your chin and rocking side to side all add drag. On the hoods you can go fast and still see the road; on the drops you go faster and see less, so use them on the straights you know.
Comfort decides how long you can hold it, so aim for a position you can sit in for an hour rather than the lowest one you can manage for a minute. How to tell it worked: hold the same speed on the same stretch two weeks apart and compare your power or heart rate. A few watts is normal, several is real.
3. Use an Aggressive but Sustainable Pace
Pacing is the biggest free lever there is, and it works because of the cube law: power rises with the cube of speed. Going from 30 to 31 km/h costs more power than going from 20 to 21, which means hard efforts pay best when you are already slow and expensive efforts make you disproportionately slower.
So push harder when you are slow and ease when you are fast. Attacks out of corners, short rises, starts after junctions and closing gaps are where extra power buys the most speed. Long straights at high speed are where the same power buys the least. That sounds backwards until you look at the numbers.
Aim to hold an even or slightly negative split over the ride rather than going flat out early and dying in the last third. Make the adjustments in small steps, a few watts at a time, rather than surging constantly, because every surge you did not need is fatigue you did not budget for.
4. Take Faster, Safer Lines
Most riders lose more time in corners than they lose by being unfit. The road is fixed, but the line through it is not, and a good line is usually wider and later than the one most people take by instinct.
- Brake before the corner, in a straight line, not with one finger on the lever while turning.
- Enter wide and take the apex late, running the inside edge only as late as the view allows.
- Look through the corner at the exit, not down at the front tyre.
- Drive out of the turn on the outside pedal in one smooth push rather than shuffling twice.
A later apex carries more speed into the corner and more speed out of it. How to tell it worked: pick one familiar corner, ride it five times with a clear plan, and notice the exit speed, not the entry speed, is where the gain shows up.
5. Draft Properly and Choose the Best Wheel
Drafting is the largest single speed gain available to a road rider, and almost everyone in a club ride leaves it on the table by sitting too far back or in the wrong place. The air a rider pushes against is largely the air the rider behind them rides through, so directly behind is where the saving is.
Wheel to wheel at roughly a bike length, or half a bike length if you want the bigger saving and can hold it. Move your handlebars so your front wheel sits in the gap where you can see the back wheel of the wheel ahead. Sit slightly to the side when a crosswind pushes you onto their wheel, and drop back a little on the front wheel when the road is greasy or the pace is high.
Time your effort for the gap, not for the rider in front of them. Sit in the longest of the long pull, then move up when the pace drops, then pull through yourself on the front. How to tell it worked: compare your average speed over a rolling club ride against the same route ridden solo the week before, and the difference is mostly other people’s legs.
6. Descend with Control Instead of Fear
Descending is the most under-taught skill in road cycling, and for plenty of riders it is a confidence problem rather than a technique problem. The riders who go fast downhill are not braver, they are just busier. They make several small decisions before the corner rather than one big one inside it.
Drop a gear or two before the descent begins so you are pedalling rather than locked, and keep both hands on the hoods with light pressure. Brake firmly and early to a speed you know you can hold through the turn, then release the brakes as you turn in so the bike rolls rather than slides. Look through the turn, keep your weight centred over the bike, and tuck on the straights between corners where you can see the road surface clearly.
Controlled speed and reckless speed feel similar from the saddle and are nothing alike from the cockpit. Controlled means you could stop or change line at any moment. If you cannot, you are at the limit of the road surface, not the limit of your skill. How to tell it worked: time the same descent three months apart and the average should drop by seconds, not by luck.
7. Select Gears That Keep Momentum
Gears do not create energy, they decide whether the energy you have reaches the road. Grinding up a rise at 65 rpm costs far more for the same speed than spinning at a comfortable cadence, and the difference shows up as fatigue long before it shows up as speed.
Spend most of the ride between roughly 75 and 95 rpm. On short rises, shift up early and hold the same cadence rather than dropping into a low gear and bogging down. On descents and flat-out sections, wind out to a higher gear so you keep pushing instead of freewheeling. On long climbs, use the gear that lets you hold a smooth pedal stroke with a slightly bent supporting knee at the top of the stroke.
Change gears before the terrain changes, not while you are loaded up and leaning. How to tell it worked: on your next ride, count how often your cadence drops below 70 for more than a few seconds outside of deliberate efforts. That count should keep falling.
8. Use Group Knowledge and Smart Tactics
A group is the cheapest coaching available in cycling, and most riders waste it. Strong groups call hazards, signal turns, hold a steady line through corners and set a pace you can tuck behind for hours without managing anything yourself.
To hold a wheel, watch the rider ahead’s hips rather than their back wheel, stay in the sweet spot behind their saddle, and keep your handlebars clear of their wheel. Rotate the lead every 30 to 60 seconds so the work is shared and the pace stays consistent. When someone attacks or a gap opens, move up the outside to keep the group together instead of the inside where the pace is slowest.
If your current ride is too slow to teach you anything, spend a season with riders slightly above your level. They set a pace you cannot quite hold at first, and within a few weeks you are holding a wheel you could not hold in spring. How to tell it worked: your group ride average speed rises while your heart rate on the same stretch stays flat or falls.
Common Mistakes
Riding every ride at near-maximum effort
The mistake: treating every ride as a test, so you finish each one more tired than you started.
The correction: keep easy days genuinely easy and spend the hard efforts on short, specific work. Speed on the day comes from being fresh enough to hold a pace tomorrow as well.
Chasing wheels in the wrong spot
The mistake: sitting side by side in a crosswind or riding two bikes back.
The correction: sit directly behind the wheel, offset slightly away from the wind, and time your effort so you arrive when the gap opens.
Braking inside the corner
The mistake: squeezing one lever while turning, which costs you line and grip at the same time.
The correction: finish all braking before the turn, then release and let the bike roll.
Changing gear constantly
The mistake: hunting across the cassette on rollers, so the chain jumps and the cadence never settles.
The correction: make one deliberate shift per change in gradient and hold it until the next change.
Treating danger as speed
The mistake: pushing past the limit of grip or the limit of your line-reading ability, which usually ends in a crash or a very slow recovery.
The correction: speed is repeatable. If a corner only works once every few attempts, you have found the edge of your control, not the edge of your speed.
One more thing worth knowing before you change anything: hold your fitness steady while you test these. If you chase a bigger average every week you will not know which change worked, and the honest way to find out is to keep the effort constant and watch the speed move.
Frequently Asked Questions
What cadence should I ride at when I want to go faster?
Around 75 to 95 rpm for most of your riding, with a smooth stroke held at that range. Higher cadences feel efficient but only pay off if you can keep them without swaying or bouncing. Gear choice matters more than the number: pick a gear that lets you hold that range instead of grinding at a low one. On short rises, stay in the same cadence rather than dropping into a harder gear.
How do I draft properly on a group ride?
Sit directly behind the wheel ahead, with your front wheel in line with their back wheel at about a bike length, or half a bike length if the pace is steady. Watch their hips instead of their wheel, keep your bars clear, and offset to the side in a crosswind. Time your effort for the gap, not the rider in front of you. Pull through on the front so the work is shared.
How do I descend faster safely?
Drop a gear or two before the descent so you are pedalling, keep light pressure on the hoods, and brake firmly in a straight line to a speed you know you can hold through the turn. Release the brakes as you turn in, look through the corner at the exit, and tuck only on straights where the surface is clean. Practise the same descent repeatedly until the line is automatic.
Does riding with a faster group actually make me faster?
Yes, usually within a few weeks. A group slightly above your level sets a pace you cannot quite hold at first, which forces you to tuck in properly, hold a wheel and keep the effort smooth. Your average rises before your fitness changes at all. The risk is burning out on every ride, so pick a group whose pace you can hold most of the time, not one you survive.
Do I need a power meter to use these tactics?
Not to benefit from them. A heart rate strap and a ride recording will show whether your average speed is rising at the same effort. A power meter simply makes the diagnosis quicker, because it separates an aerobic limit from a position or pacing limit in seconds. If you are plateaued and unsure which one is holding you back, that measurement is worth buying.
How long does it take to see speed gains from technique alone?
Position and pacing changes usually show up within two to four weeks of regular riding. Cornering and descending gains take longer because they need repetition on roads you know, and the confidence arrives after a handful of clean repetitions rather than the first attempt. If nothing has moved after six weeks of consistent practice, the limit is probably your fitness rather than your technique.
If you do one thing from all of this, drop your head, relax your shoulders and stop opening rides at a pace you cannot hold. Position and pacing cost nothing and pay back on every single ride. The rest of the tactics build on those two, and most riders who stick with them for a month find they are faster on the same fitness they had in spring.