Riding relaxed means carrying your weight through the three contact points — saddle, bars and pedals — instead of holding yourself up with your arms. If your forearms burn before your legs, your shoulders creep toward your ears or your hands go numb at mile 40, you are holding tension, not working hard. The fix is a short sequence you can run at any point on a long ride, and it takes about ten quiet seconds once it is habit.
I have watched the same thing happen on club centuries for years. Riders who finish strong are rarely the strongest in the bunch. They are the ones who looked down at their hands twice an hour, let go, and breathed out.
This guide covers how to relax on the bike for comfort in the order that works: prepare the bike and the body, release the upper body, add a breathing pattern, smooth out the pedal stroke, check how the three contact points relate, pace the ride, and fix the habits that undo all of it. Takes about fifteen minutes of attention over a five-hour ride, and the difficulty is low. If something hurts rather than just feels tense, read the last section before you ride again.
Table of Contents
- What You Need
- Get the fit close enough first
- Dress the problem points
- Know the difference between fatigue and a warning
- Step-by-Step: How to Relax on the Bike for Comfort
- 1. Release Your Upper Body
- 2. Breathe Deeply Without Changing Your Form
- 3. Use a Relaxed, Smooth Pedaling Motion
- 4. Check Your Position at the Three Contact Points
- 5. Pace the Ride to Delay Fatigue
- 6. Common Mistakes and How to Correct Them
- Relaxing when the ride is making you nervous
- Frequently Asked Questions
- Should cycling feel effortless?
- How do I relax while climbing a hill?
- Why do my hands and fingers go numb on long rides?
- What is the best breathing technique for biking?
- When should I get a professional bike fit?
- What can I put on my bike seat to make it more comfortable?
- Conclusion
What You Need
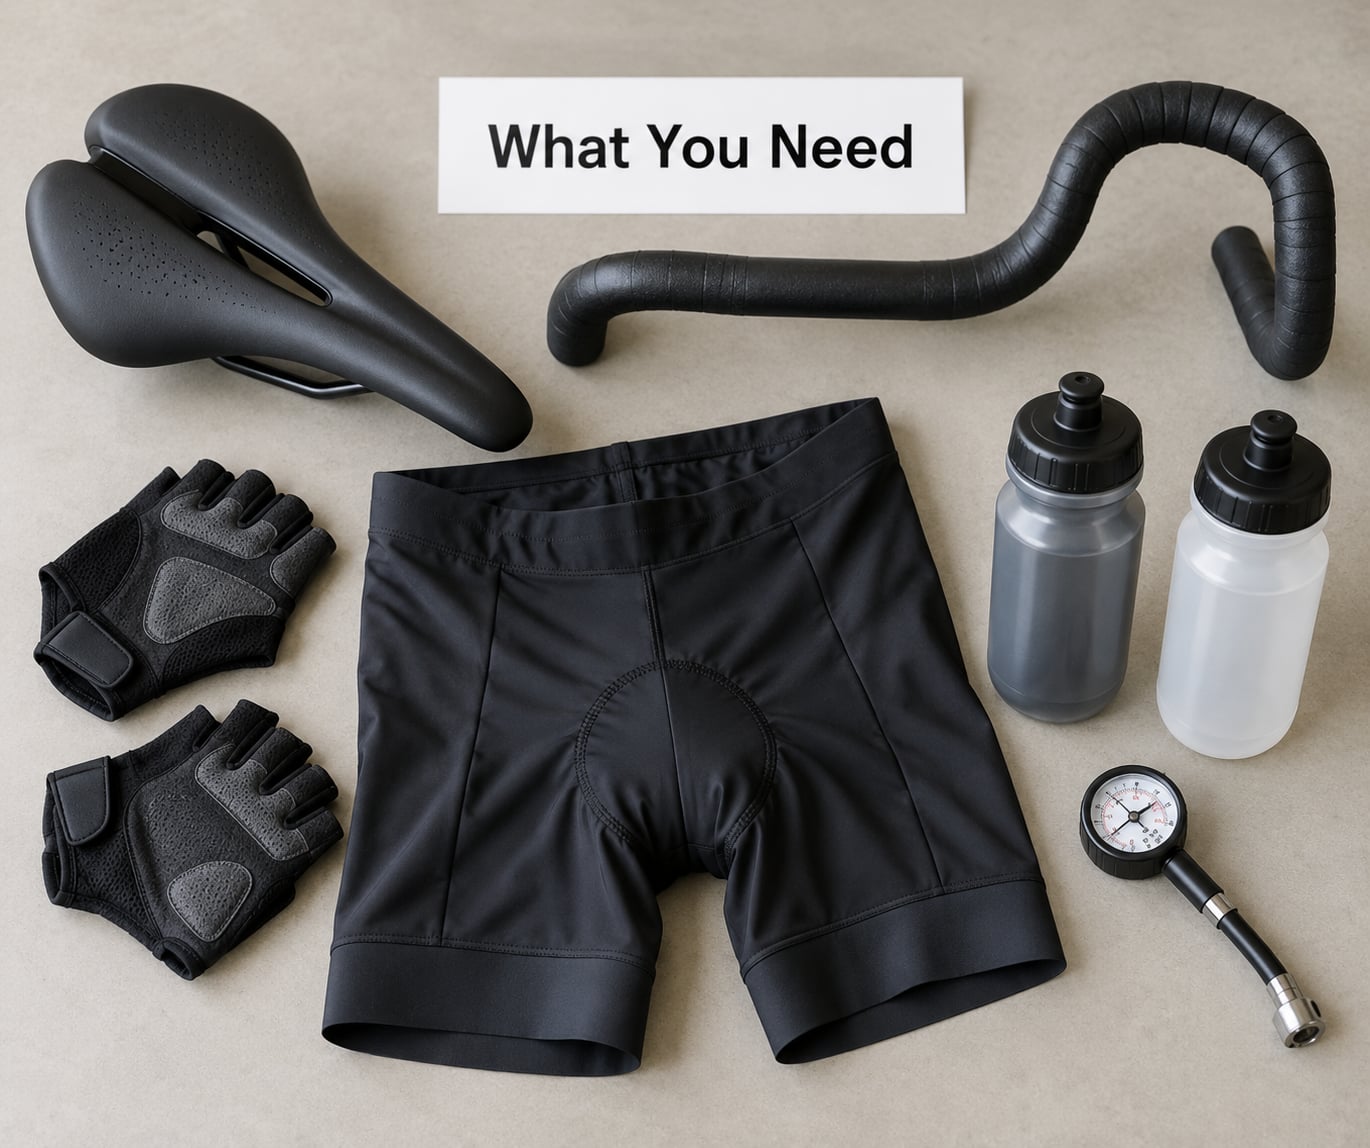
Relaxation is much easier when the bike is not asking your body to fight it. You need three things: a fit that is roughly right rather than perfect, clothing that removes chafing and pressure, and enough time in the saddle for the new pattern to become automatic.
Get the fit close enough first
Sitting on a bike that is too long or too low forces the hands, neck and lower back to hold you in a position they cannot sustain. Rough checks take five minutes. With the heel on the pedal at the bottom of the stroke, your leg should be almost straight — a small bend of the knee is where you start, and you ride in the middle of the range from there. Your knee should track over the pedal spindle at the front of the stroke, and your weight should sit on your sit bones rather than the soft tissue in between.
If your bars are further away than your elbows can comfortably hold, no amount of conscious relaxing fixes it. A shorter stem, a higher bar or a slightly more upright torso usually helps more than anything you do with your muscles.
Dress the problem points
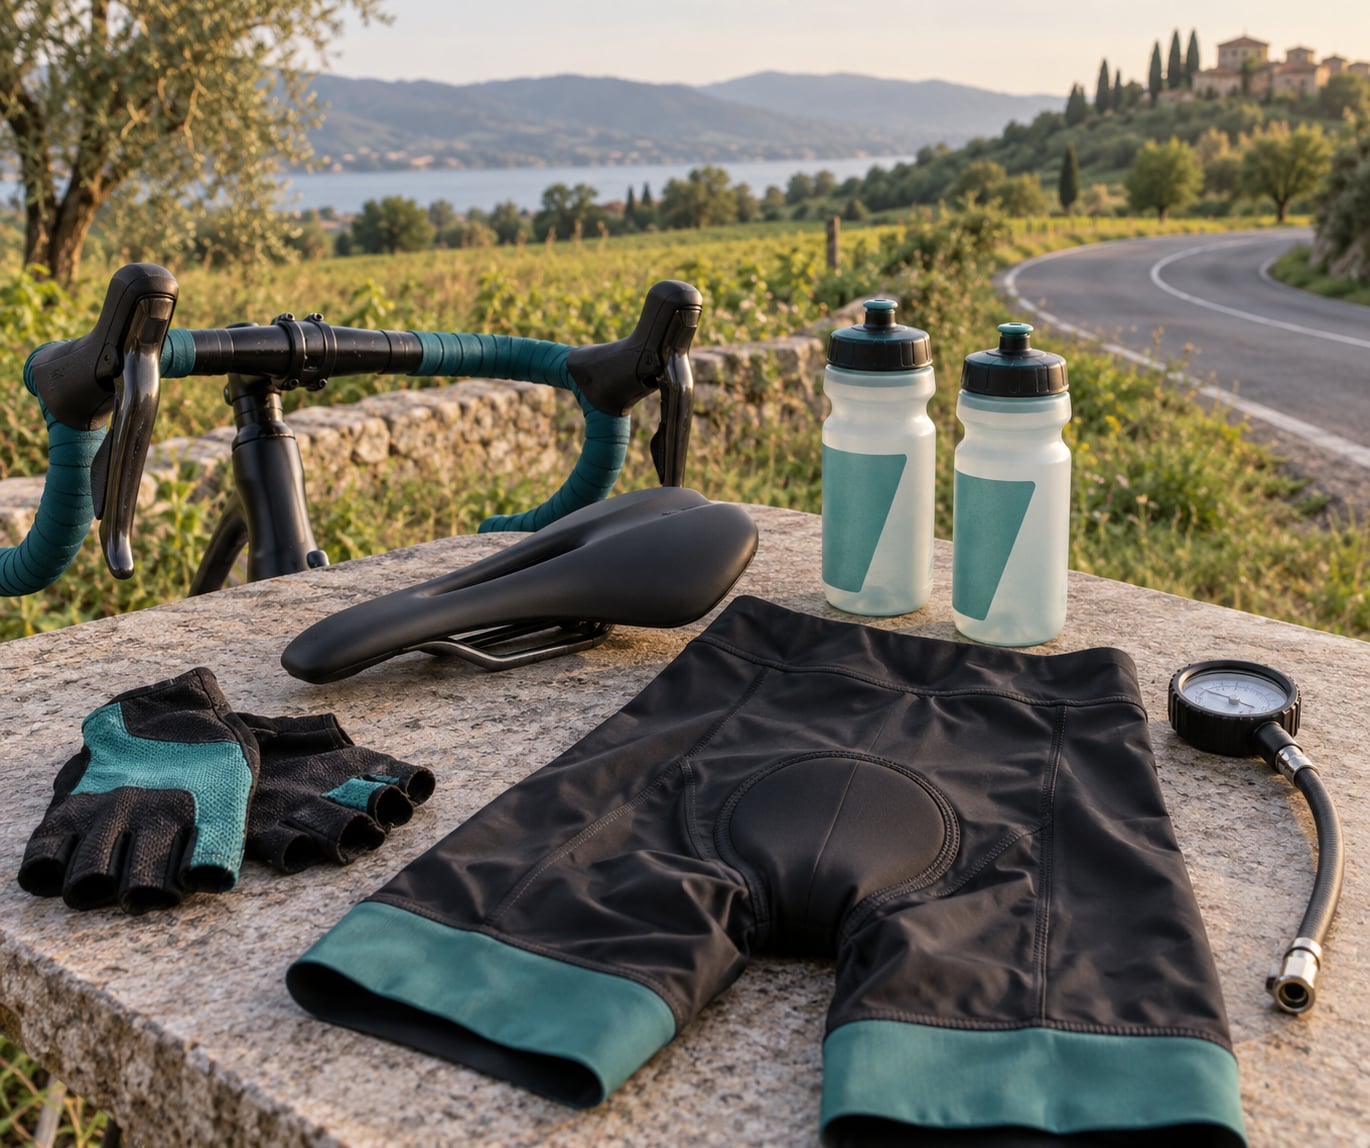
Pressure and friction are what turn a long ride into an uncomfortable one. Padded bib shorts with a flat seam, a well-fitted pair of gloves and socks that stay up are the three items that change a day out. Chamois cream applied before you set off reduces the friction that causes most hot spots, and reapplying at the halfway mark is normal practice on a century.
Know the difference between fatigue and a warning
Riding long enough to feel tired in the legs and mildly uncomfortable in the sit bones is normal. Stop and take a break. Pain that sharpens with each revolution, numbness that does not clear within a few minutes of changing position, loss of grip strength, chest pain, or tingling that runs down the arm are not. If any of those appear, stop riding and see a doctor, and plan a professional bike fit appointment before the next long ride.
Here is where tension shows up first, and what usually clears it.
- Hands and forearms. White knuckles, cramped fingers, forearms burning early. Let go completely for three seconds, then re-grip lightly, and check bar width and glove fit.
- Shoulders and neck. Shoulders creep up toward the ears, head cranes forward. Exhale, let the shoulders fall away from the ears, and look ahead with the eyes rather than lifting the chin.
- Jaw and face. Clenched teeth, furrowed brow, shallow breaths. Rest the tongue on the roof of the mouth and breathe out slowly through the nose.
- Hips and lower back. Rocking side to side in the saddle, wiggling to get comfortable. Check saddle height and width first, then add a longer ride at an easy pace to adapt to the position.
- Legs and feet. Knee tracking inward, heels lifting, feet gripping the pedals. Drop the cadence slightly, float the foot through the top of the stroke, and relax the arch.
Step-by-Step: How to Relax on the Bike for Comfort
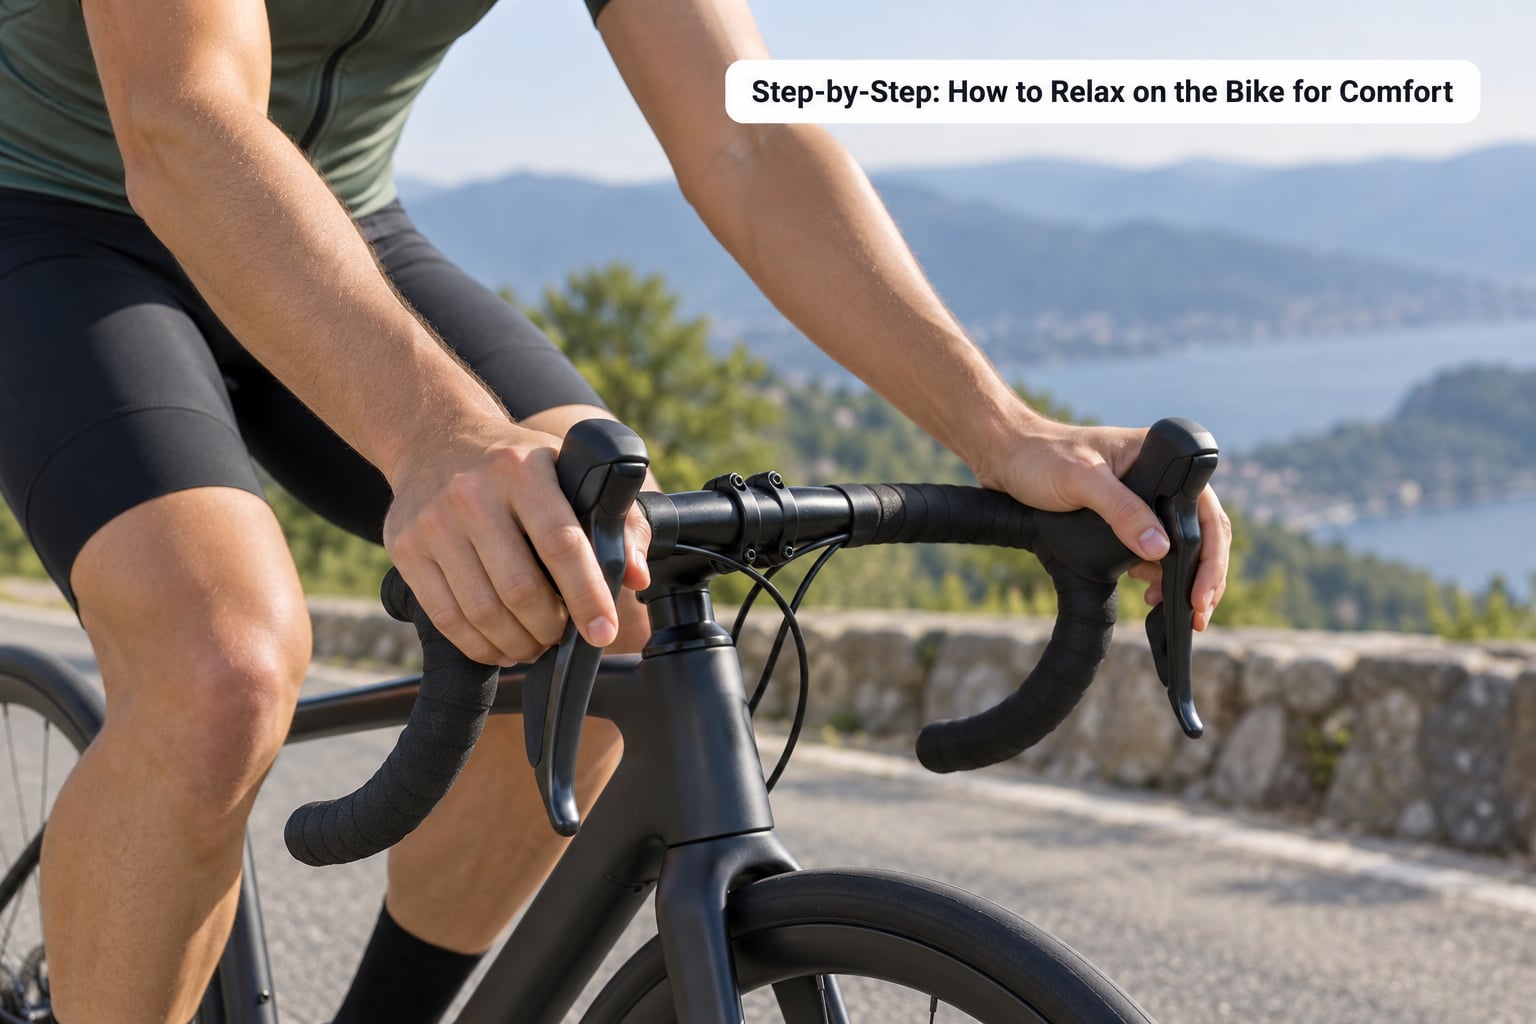
Run the sequence in this order, from the hands down to the legs, then finish with pacing. Each step only takes a few seconds, and doing them once at the start of the ride and again at every rest stop turns them into a pattern your body recognises.
1. Release Your Upper Body
Let your shoulders drop away from your ears and let your upper back open slightly. Keep the elbows softly bent rather than locked straight, and hold the bars with the minimum contact you can steer and brake with. Riding with your hands resting on the brake hoods, thumbs hooked lightly under the curve, takes the weight out of your wrists and forearms.
The forearm is where tension becomes expensive. Squeeze harder and the muscles along the top of the forearm stay contracted through the whole ride, which is exactly why riders whose arms burn first usually get more relief from loosening their grip than from any amount of fitness work.
How you know it worked: the elbows hang under the shoulders instead of flaring out, the wrists stay straight rather than bent back, and the fingers are soft enough to move individually. If the bike wobbles when you ease off, you were steering with your hands instead of your balance and your hips.
2. Breathe Deeply Without Changing Your Form
Breathe in through your nose and out through your mouth, and make the exhale longer than the inhale. Most riders hold a shallow breath high in the chest, and the upper ribs stay tight, which keeps the neck and shoulders braced. Dropping the breath into the belly on the way in and letting the ribs settle on the way out releases that bracing within about a minute.
Tie the rhythm to your cadence. Breathe in over four pedal strokes and out over six, or simply exhale once per downstroke and twice on the recovery. On a steady climb at a comfortable cadence, that pattern does the work for you without thinking about it. On a recovery spin after a hard effort, slow the cadence and lengthen the exhale further.
Breathing is also the fastest tool for nerves. Riders who tense up on descents and in drops usually report the same thing: the fear shows up as a held breath and a locked grip, and both ease when the exhale is deliberately made longer.
3. Use a Relaxed, Smooth Pedaling Motion
Push with the leg and float through the top of the stroke. A useful cue is to think of the pedal coming up to you rather than the leg pushing down, which keeps the hip from bobbing and stops the saddle rocking side to side. Keep the foot light on the pedal, especially the arch, and let the toe angle slightly rather than pointing straight down all the way through.
Drop the cadence a little when you feel tension. A low cadence demands more force per stroke, and more force means more torso movement, more bracing and more grip. One gear easier for a minute is usually enough to bring the movement back to a smooth level.
Two habits to watch for: the knee straightening fully at the bottom, which pushes the body weight into the pedal and rocks the saddle, and squeezing the pedal hard at the top, which pulls the upper body side to side. Both feel like effort and both tire out the arms first.
4. Check Your Position at the Three Contact Points
Comfort comes from how the saddle, handlebars and pedals relate to each other. Look at the gap between them, not at any single point. Saddle too far back and too low and you get rocking hips and burning arms. Bars too low and too close and your neck curls forward within an hour. Saddle too high and your weight moves off the sit bones onto pressure points that hurt rather than support.
A quick self-test on the road: ride easy for a minute, then glance down without dropping your head. Your hands should be ahead of your knees with a soft bend in the elbows, and your hips should be able to stay level through the top of the stroke. If you cannot hold either of those, the answer is a fit change rather than more effort.
Where riders are unsure whether a small adjustment is enough or they need different frames, forums consistently report the same result: a shorter stem and less reach solve most hand and shoulder pain first, because they move the load away from the hands and onto the sit bones.
5. Pace the Ride to Delay Fatigue
You cannot relax your way out of a pace you cannot hold. Ride the first hour easier than you think you need to, which is usually the advice experienced riders give more often than beginners want to hear, and hold a cadence and effort that let you talk in full sentences. On hilly roads, settle into a gear on the climbs and spin rather than stamping, then pedal easily on the descents instead of coasting and then being surprised by how tired you feel afterward.
Eat before you are hungry and drink before you are thirsty. Plan two or three stops, use them to change position and to run the release sequence again, and take five minutes of easy walking at each one if the day is long. Most late-ride discomfort that riders blame on their position is really accumulated fatigue showing up as tension.
6. Common Mistakes and How to Correct Them
- Locked elbows. Straight arms transmit every bump straight into the neck and shoulders. Correction: bring a visible bend into the elbow and let the forearm hang rather than pushing.
- Gripping the bars. A death grip tires the forearms faster than anything else. Correction: squeeze for one second on a technical section, then consciously release to about a third of that pressure.
- Hunching over the bars. Rounding the upper back pushes the head forward and shortens the neck. Correction: bring the chest up and slightly forward, and let the head hang from the spine rather than push forward from the neck.
- Tense hips. Rocking in the saddle is usually a fit symptom. Correction: check saddle height and fore-aft position before blaming your technique.
- Holding the breath. Breath-holding stiffens the whole torso. Correction: exhale on every downstroke until the rhythm runs by itself.
- Bouncing while pedaling. Rising out of the saddle at every stroke keeps the upper body working. Correction: stay seated, unweight the saddle slightly on rough ground instead of bouncing continuously.
Relaxing when the ride is making you nervous
Tension from nerves looks exactly like tension from effort, and beginners experience it most on descents, in drops and at speed. The pattern is simple: the breath holds, the grip tightens, the shoulders rise, and the arms start to ache before the legs have done any work. Riding a bike without fear is built by repeating small, controlled exposures. Roll out with a group, stay in the drops for a few minutes rather than an entire climb, and use a lower speed than you think you need.
One thing that helps more riders than any equipment change is the same exercise they use for the arms: release the grip, drop the shoulders, and breathe out on a schedule you can count. It is a legitimate way to ride, not a compromise.
Frequently Asked Questions
Should cycling feel effortless?
No. A century is a long time on a bicycle, and you should expect hard efforts. What you should not feel is tension in your shoulders, forearms, jaw or neck, or pain in your hands. Those are technique or fit signals, not effort. If your legs burn but your upper body stays quiet, you are riding the way it is meant to feel.
How do I relax while climbing a hill?
Settle into a gear you can spin rather than one you have to stamp, drop your cadence a few revolutions per minute and exhale on every downstroke. Let your weight sit on the sit bones instead of pushing down through the bars, and take your weight off the handlebar. Shortening the stem and opening the torso to a taller position helps on long climbs where the neck starts to ache.
Why do my hands and fingers go numb on long rides?
A tight grip, a bent wrist and pressure from the handlebar all load the nerves in the wrist and forearm, and the symptoms show up as tingling, numbness or aching fingers. Check bar width and glove fit, ride with a straight wrist, and ease off the grip. Numbness that does not clear within a few minutes of changing position needs a medical assessment rather than another adjustment.
What is the best breathing technique for biking?
Breathe in through your nose and out through your mouth, with the exhale longer than the inhale, and match it to the pedal stroke. A simple pattern is one inhale over four strokes and one exhale over six, or an exhale on every downstroke and an extra one on the recovery. This lets the ribs and neck release, which is what most riders are looking for when they think they need to breathe harder.
When should I get a professional bike fit?
Book a fit when discomfort lasts through the whole ride despite small adjustments, when your hands go numb, when you cannot hold the position for more than an hour, or when you have changed bike, saddle or riding style. A fitter can measure stack, reach, saddle height and setback, and check cleat position, which is far more precise than adjusting by feel. It is worth it before you change frames, not after.
What can I put on my bike seat to make it more comfortable?
Start with the things that reduce friction and pressure: a well-fitted saddle matched to your sit bone width, padded bib shorts with a flat seam, quality cycling socks, and chamois cream applied before the ride. An extra gel cover on a saddle that already fits well rarely helps much, and a cushion that is too thick can create more numbness. If the saddle itself is wrong, no accessory above it will fix it.
Conclusion
Start with one short easy spin this week and nothing else. At the first sign of tension, run the check: hands soft on the hoods, shoulders dropped, jaw loose, weight on the sit bones, a smooth pedal stroke. Add the breathing pattern and the pacing on top of that, and only then go back to chasing speed and distance. Riders who stay comfortable for five hours are not built differently; they just stop spending energy on holding themselves up.