Randonneuring is long-distance, self-supported, non-competitive cycling against a clock, on a fixed route with mandatory checkpoint stamps, held in timed events called brevets. If you are new to the sport, the short version is this: you ride the whole route yourself, you collect a stamp at every control before it closes, and the only person you are racing is time.
The sport is more approachable than it sounds. Nobody sprints away, nobody gets a podium, and finishers are usually listed alphabetically because there is no first place. What there is, is a very clear standard: complete the distance, reach every control in time, and get to the finish before the cutoff.
Table of Contents
- What Is Randonneuring?
- Randonneuring for Beginners: What Should You Expect?
- What Are the Standard Randonneuring Distances?
- Why Do Randonneurs Finish by the Cutoff Time?
- How Do You Prepare for Your First Randonneuring Event?
- What Equipment Does a Randonneuring Beginner Need?
- How Should You Eat, Drink, and Pace During a Long Ride?
- How Can Beginners Stay Safe on Randonneuring Routes?
- Randonneuring for Beginners: Mistakes to Avoid
- Frequently Asked Questions
- What distance should I start with for my first randonneuring event?
- How long does it take to train for a first randonneuring ride?
- Can I use a road bike, hybrid, or touring bike?
- What gear is required for night riding?
- What happens if I miss a randonneuring cutoff time?
- Conclusion
What Is Randonneuring?
Randonneuring is the sport of riding long distances, from about 200 km up to 1,200 km, on routes set by a sanctioning body. The Audax Club Parisien created the format in France, and it now runs under national organisations worldwide, including Randonneurs USA (RUSA) in the United States and Randonneurs NL in the Netherlands. The rules are broadly the same everywhere, which is why the same distance and time pairs show up in every beginner guide.
A brevet is a single timed event at a set distance. A permanent is a self-directed route you can ride whenever you like, with the same controls and the same clock, and you collect the validated card over months or years. Both use the same control-and-cutoff logic.
It is not a century, even though a 200 km brevet and a 200 km century cover the same ground. A century is a single-day ride with no checkpoints and no clock. Randonneuring spreads the same distance across a day and a night, with stops built into the route, and it asks you to manage darkness, food and fatigue rather than just fitness.
It is not racing either. There is no drafting strategy, no breakaway, no result to chase. Several groups often leave the start together and split up within the hour, because the cutoffs reward steady pacing rather than hard efforts.
Randonneuring for Beginners: What Should You Expect?
Expect to be on the bike for most of a day, and past sunset on anything starting in the morning. A 200 km event that starts at 7am and finishes in August can still have you rolling through darkness at 9pm.
Expect aid stations, called controls, roughly every 40 to 70 km. They serve water, food and sometimes a mechanic, and they are the only place on the route where other riders help you. Between controls you are genuinely on your own.
Expect route markings: arrows, reflectors on posts, and written turn instructions on a route sheet, often called a que sheet. Some events now run on GPS files as well, but paper is still the fallback that experienced riders carry.
For a first-timer, the sensible move is to start shorter, not longer. A 200 km brevet, or even a shorter club populaire ride, teaches you the whole routine without asking you to also learn how to manage a 27-hour limit. Aiming straight at 400 km as your first event is how a lot of people end up with a DNF and a bruised opinion of the sport.
What Are the Standard Randonneuring Distances?
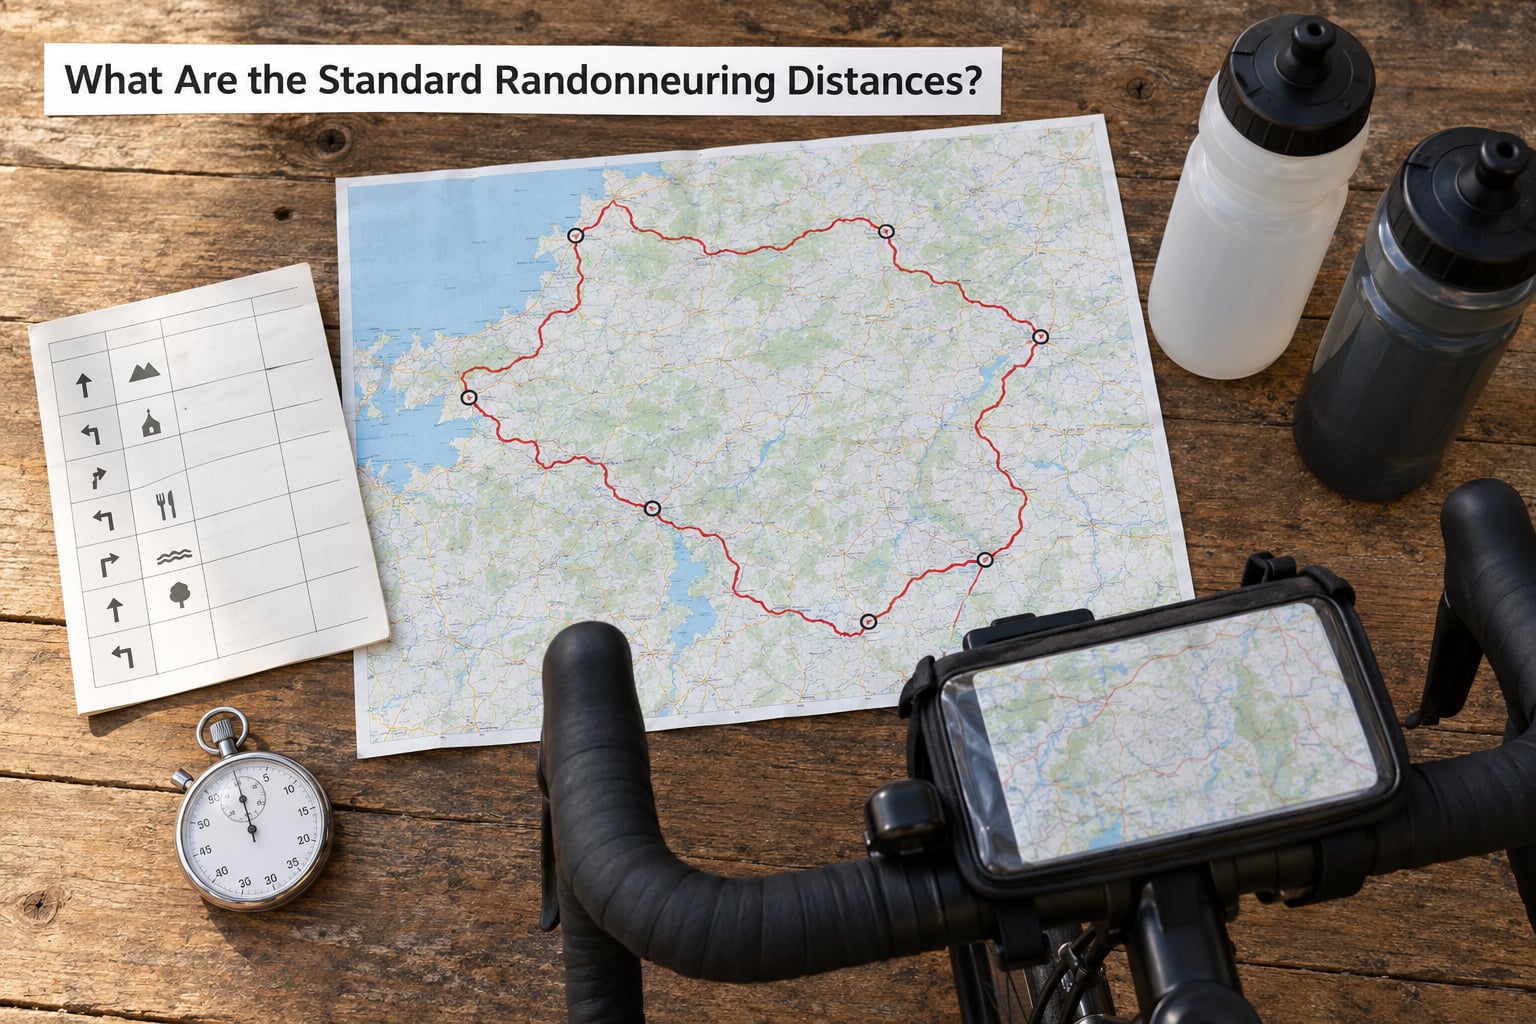
The standard formats run from 200 km to 1,200 km. Each one has a maximum finishing time, and the implied minimum average speed is the real difficulty dial.
| Distance | Approximate equivalent | Maximum time | Minimum average speed |
|---|---|---|---|
| 200 km | 124 miles | 13 hours 30 minutes | 14.8 km/h (9.2 mph) |
| 300 km | 186 miles | 20 hours | 15 km/h (9.3 mph) |
| 400 km | 249 miles | 27 hours | 14.8 km/h (9.2 mph) |
| 500 km | 311 miles | 35 hours | 14.3 km/h (8.9 mph) |
| 600 km | 373 miles | 40 hours | 15 km/h (9.3 mph) |
| 700 km | 435 miles | 48 hours 30 minutes | 14.4 km/h (9 mph) |
| 1,200 km | 746 miles | 80 to 90 hours | 13.3 to 15 km/h (8.3 to 9.3 mph) |
Those are the common defaults, not permanent ones. Sanctioning bodies set the final figures and adjust them for terrain, and several add a rolling clock for the 1,200 km so a late finisher does not ride through a second night. Check the rules published for your specific event in 2026 rather than assuming the table above applies.
Note what the numbers say. A rider going at exactly the minimum average speed is riding an endurance pace for 13 and a half hours, with no margin for a mechanical, a wrong turn or a long stop. Most finishers aim for ten to fifteen percent above the minimum.
Why Do Randonneurs Finish by the Cutoff Time?
The cutoff is what makes randonneuring an endurance sport rather than a touring holiday. A time limit turns a very long ride into a self-contained problem: how do you pace, feed and rest yourself well enough to still be moving when the clock runs out?
Controls come with their own opening and closing times, and they must be reached in order. A 400 km event might give you 27 hours overall, but the second control closes at a specific hour, and the third closes earlier than that. Miss a control window and the ride stops there, regardless of how much distance you covered.
Some events also include secret or hidden controls, placed on the route without advance notice. You find them, or you do not get that stamp. They exist to confirm you actually rode the course rather than cutting across country.
Contrast that with a relaxed supported tour, where you can stop for two hours at a cafe and nobody checks anything. A brevet is not that. If you roll past a control ten minutes after it closes, you do not get a valid finish, even if you rode every kilometre afterwards. That single rule is the source of most first-timer anxiety, and it is also why riders spend so much time checking the route sheet the night before.
How Do You Prepare for Your First Randonneuring Event?
Start with an honest baseline. Write down your longest comfortable ride in the last six months. Riders on the r/randonneuring forum consistently give the same advice: if you can hold 100 to 150 km comfortably, a 200 km brevet is within reach. If your longest ride is 60 km, spend a season on general endurance riding first.
Then train the specific demands. Long rides build gradually, and the most useful session is the one where you ride a long way and then ride again the following day. That is the closest cheap approximation of a brevet, where day two starts tired.
Add a weekly structure that includes:
- One long ride, built up over several months rather than crammed into a fortnight.
- One back-to-back session, either the next morning or a long Saturday ride on the following weekend.
- Regular shorter rides, which build the engine that the long rides depend on.
- At least one session after dark each month, until a night ride feels ordinary rather than frightening.
- At least one long ride in bad weather, so rain and cold are familiar on event day.
Recovery is part of the programme, not a break from it. Most beginners do better with three or four quality long rides spread across a month than with a heroic weekend followed by two weeks of nothing.
If you already have a solid base of regular long rides, a twelve-week ramp towards a 200 km brevet looks roughly like this:
| Weeks | Long ride | Focus |
|---|---|---|
| 1 to 4 | 60 to 80 km | Comfortable rhythm, steady heart rate |
| 5 to 8 | 80 to 110 km | One ride ending after dark |
| 9 to 10 | 110 to 140 km | Back-to-back weekend ride, full fuelling routine |
| 11 | 70 to 90 km | Easy, with a 24 hour gap before the event |
| 12 | 200 km brevet | Start conservative, ride within the cutoff |
If that ramp looks like too much, it is too much. Drop back a stage and enter a shorter club event instead. There is no prize for skipping steps in this sport.
What Equipment Does a Randonneuring Beginner Need?
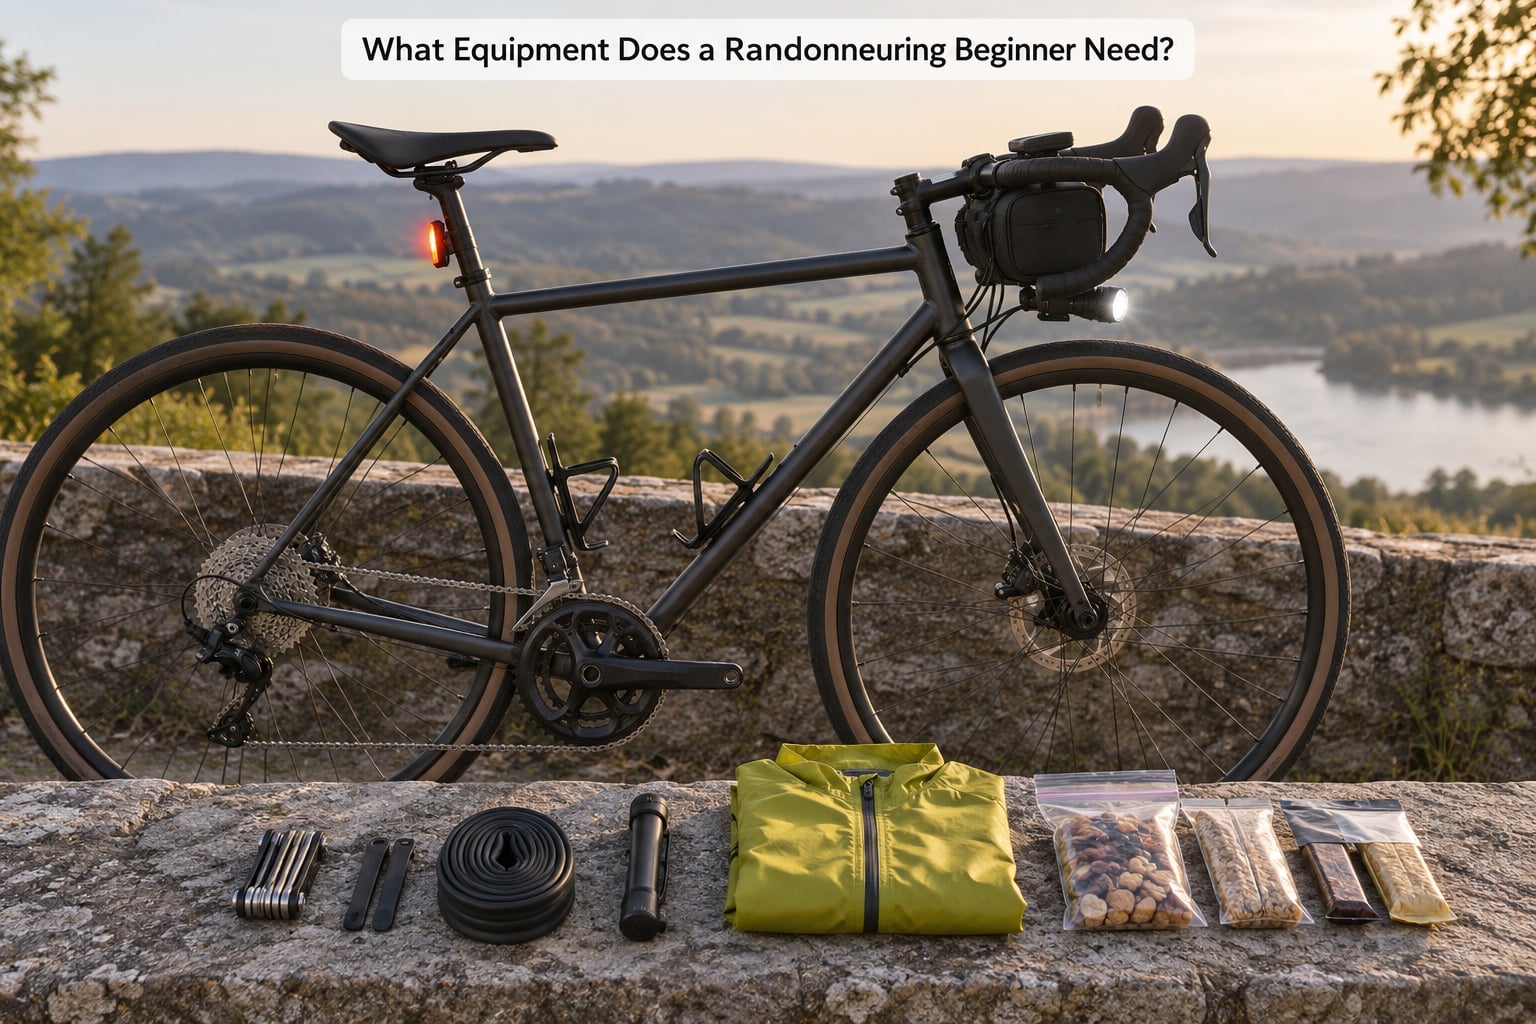
No specialist bike is required. That is the single most reassuring fact for newcomers, and it is repeated constantly on cycling forums: any bicycle that fits you and that you can ride for ten hours without pain will get you through a 200 km. A road bike, a hybrid, a touring bike or a well-used cyclocross bike all work. What matters is that the saddle is comfortable and the bike is mechanically sound, not that it is expensive or fashionable.
These items are genuinely essential for a first event:
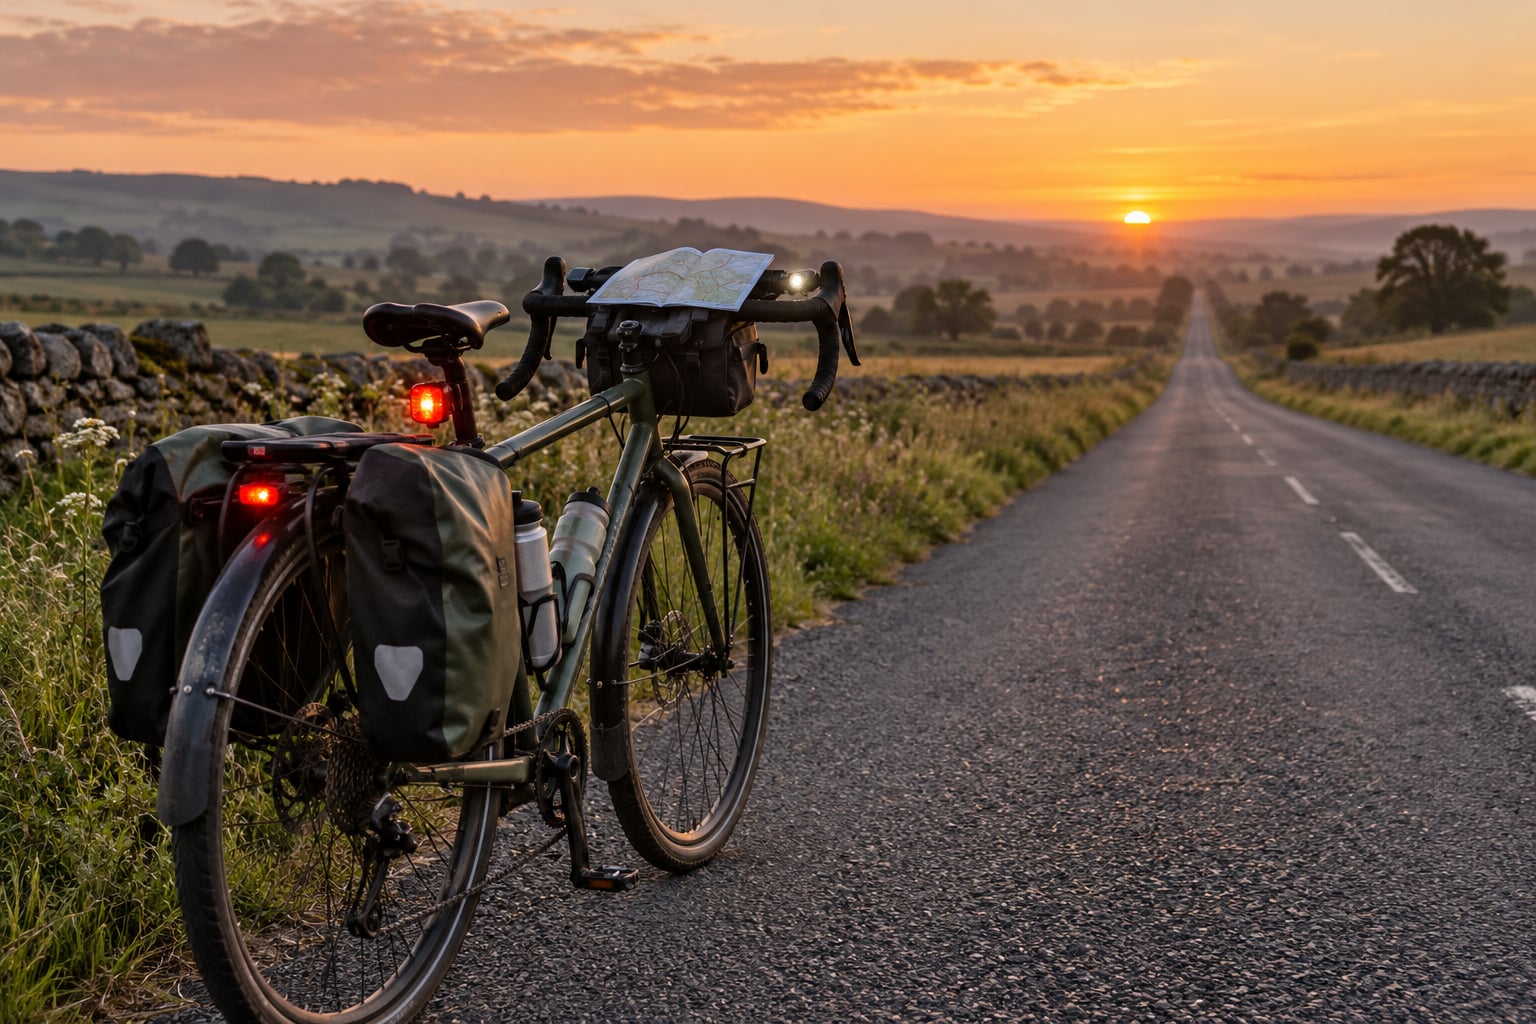
- Lighting. A white front light and a red rear light, both with fresh or freshly charged batteries, plus a backup light. Check your event’s rules, since many require a light source that runs for a stated number of hours.
- Reflective gear. A reflective vest or jacket, and reflective ankle bands, which are visible in a car mirror when everything else is dark.
- Repairs. A multi-tool, two spare tubes, tyre levers, a pump or CO2 inflator, and a patch kit. A chain quick link and a spare brake pad are cheap additions.
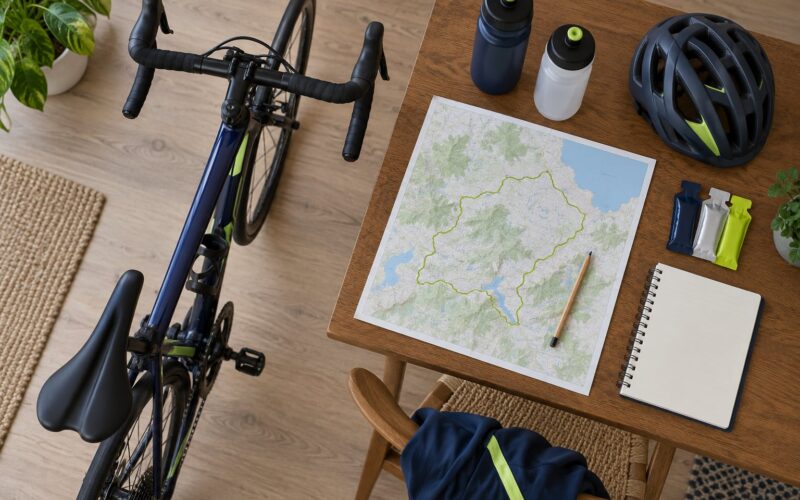
- Navigation. The printed route sheet, mounted somewhere you can read it without stopping, and a charged phone in a waterproof pouch.
- Weather layers. A packable rain shell, warm gloves, and a thin layer for the coldest hours before dawn. Fenders help if your route is unpaved or your climate is wet.
- Food and water. Enough for the full time limit plus a margin, not just the planned finishing time. See the next section for the details.
- Contact points. Comfortable saddle, well-fitted shoes, and a chamois cream you have actually used before. A padded liner is worth trying if you sit uncomfortably at four hours.
Optional upgrades include a handlebar bag for easier access to food, a dynamo or hub-generator light set, a rack with panniers, and a small first aid kit. Add them as you move to longer distances, not before your first event.
How Should You Eat, Drink, and Pace During a Long Ride?
Eat a normal meal two to three hours before the start, and take something with you for the first hour. Riding on empty costs you more than the fifteen minutes it takes to eat before you leave.
During the ride, aim for small, frequent intake rather than large meals. Most riders land somewhere between 60 and 90 grams of carbohydrate an hour, and everyone tolerates that differently. The practical version is a piece of fruit or a sandwich at every control, plus something between controls if the gap is long.
Test everything in training. This is the rule people break most often: nobody discovers on a 600 km that they cannot stomach their own energy bars. Buy a mixed bag of options, use them on long rides, and drop whatever does not sit well.
For fluids, drink to thirst and more in heat. Plain water can leave you short on sodium over a long day, so a modest amount of electrolyte drink or a salty snack helps. Caffeine is fine in normal amounts, but test the dose and timing first, because a strong caffeine strategy on an unfamiliar schedule tends to end badly.
Pacing is the simplest lever and the one most beginners get wrong. Hold an easy, conversational pace for the first few hours, especially in the first 50 km, because that is where the temptation to go too hard lives. Randonneuring rewards arriving at the 10 hour mark with something left in the tank.
If you have any medical condition, take medication, or a history of eating or hydration problems, talk to a doctor or a registered dietitian before planning long events. General guidance has limits, and a personalised plan matters here more than it does for ordinary rides.
How Can Beginners Stay Safe on Randonneuring Routes?
Most brevet risk is ordinary and preventable. It comes from darkness, mechanicals, and riders pushing through signals that something is wrong.
- Plan the route and the controls. Read the route sheet the night before. Note where the controls open and close, and identify the last one you must reach before sunset so you know when to push forward.
- Manage daylight. Assume you will be out after dark unless you have checked otherwise. Have your lights running before you need them, not after.
- Stay visible. Reflective gear, lights on at all times, and a predictable line on the road. Most accident risk on a night brevet is a car failing to see you.
- Check the bike before the ride. Tyres, brakes, chain, bolts, lights, and a full water supply. Riders on the forums put it simply: if the bike has survived three long rides, it will survive one brevet.
- Expect weather to change. A clear morning can become a cold wet night. Carry the layer you were hoping you would not need.
- Know how you will get help. Carry a phone, save your emergency contact details, and tell someone your route and expected finish time. A DNF call or a wait for a lift is a normal part of the sport, not a failure.
- Be willing to stop. Ending a ride is a decision made on a bike, in the dark, far from anywhere. A stop at a control with time to spare is a good decision.
Stop riding and seek prompt medical help for chest pain, severe difficulty breathing, fainting, confusion, signs of heat illness, or a significant injury. Fatigue and mild confusion after 20 hours in the saddle are common and different from those warning signs, but if you are not sure, stop and ask someone.
Randonneuring for Beginners: Mistakes to Avoid
Entering a 400 km as a first event. The temptation is that 400 sounds more impressive. In practice it triples the time you need to learn fuelling, lighting and pacing. Start at 200 km or a shorter club event, then step up once the routine feels ordinary.
Treating the cutoff as a target. Riders often plan to ride at close to the minimum average speed and hope for the best. That leaves no room for one flat, one wrong turn, or one long control stop. Finish comfortably inside the limit instead.
Not practising the eating. You cannot fix a stomach problem at kilometre 180. Every food item you plan to use should have been tested on a long ride first.
Riding a bike that hurts. Saddle pain that appears at hour six of a 200 km does not get better at hour twenty. Fix the fit, adjust position, or ride a different bike.
Misreading the control times. The overall limit is not the control limit. Read the que sheet properly and mark the controls you must reach before dark.
Training through warning signs. Pushing through persistent pain, illness or exhaustion in training is how a beginner picks up an injury in week six instead of finishing a 200 km in week twelve.
Frequently Asked Questions
What distance should I start with for my first randonneuring event?
A 200 km brevet is the standard first step, and it works if you can already ride 100 to 150 km comfortably in a day. If your longest recent ride is much shorter, start with a club populaire or a supported 100 to 150 km ride. The point of a first event is to learn the control routine and the night-riding routine, not to test a limit.
How long does it take to train for a first randonneuring ride?
Most riders need three to six months of structured long riding, building from 60 km rides up to 130 or 140 km plus a back-to-back session. Riders who already ride regularly can compress that, and riders returning to the saddle after years should expect longer. The mark of readiness is not a number but two consecutive long, well-fed rides without feeling wrecked afterwards.
Can I use a road bike, hybrid, or touring bike?
Any of them will do. Randonneuring places no weight on the type of bike, only on whether it is mechanically sound and comfortable for long hours in the saddle. A touring bike with racks is arguably more practical for food and spares, while a road bike is faster and lighter. Choose the one you can ride all day without pain, and fit fenders and a rack if the route is unpaved or wet.
What gear is required for night riding?
Most sanctioning bodies require a white front light and a red rear light, and many specify a minimum battery runtime, so check your event rules. In practice, carry a backup light, reflective ankle bands, a reflective vest or jacket, and spare batteries. Route markings and reflective posts are aids, not substitutes for being seen from a car.
What happens if I miss a randonneuring cutoff time?
Your finish is not valid. Controls have their own closing times and must be reached in order, so arriving after a control shuts ends the attempt regardless of the distance you have ridden. Randonneuring is not a race you can ride after the fact. Most riders plan to reach each control well before its window closes rather than aiming for the deadline itself.
Conclusion
The safest first step in randonneuring is unglamorous: pick a beginner-friendly 200 km or shorter supported event, build a real riding base first, and rehearse the whole fuelling and lighting routine on training rides rather than on the day. Set a conservative time goal that finishes you comfortably inside the cutoff, read the route sheet properly, and go.