Truing a wheel means adjusting spoke tension until the rim spins straight: no side-to-side wobble, no up-and-down hop, and the rim centred between the axle nuts so nothing rubs. You can do it at home with a spoke wrench, a fixed reference and about half an hour of patience. The awkward part is not the tools, it is making small corrections and rechecking instead of cranking one spoke and hoping.
This guide walks through the whole process for a road bike wheel, including how to do it without a truing stand and how to tell a wheel that can be saved from one that is finished. Most beginners get a usable result on the first sitting and a good result by the second.
Table of Contents
- What You Need
- How to True a Wheel at Home Step by Step
- 1. Inspect the Wheel Before Trimming
- 2. Set Up the Wheel and Check Lateral Runout
- 3. Mark and Equalize the Spoke Tension
- 4. Correct the Main Wobble in Small Adjustments
- 5. Fine-Tune Radial Hop and Recheck the Wheel
- Common Mistakes
- Frequently Asked Questions
- Can I true a wheel without a truing stand?
- How much should I tighten or loosen a spoke?
- Should I true the wheel with the tire installed?
- Is a slightly wobbling wheel safe to ride?
What You Need
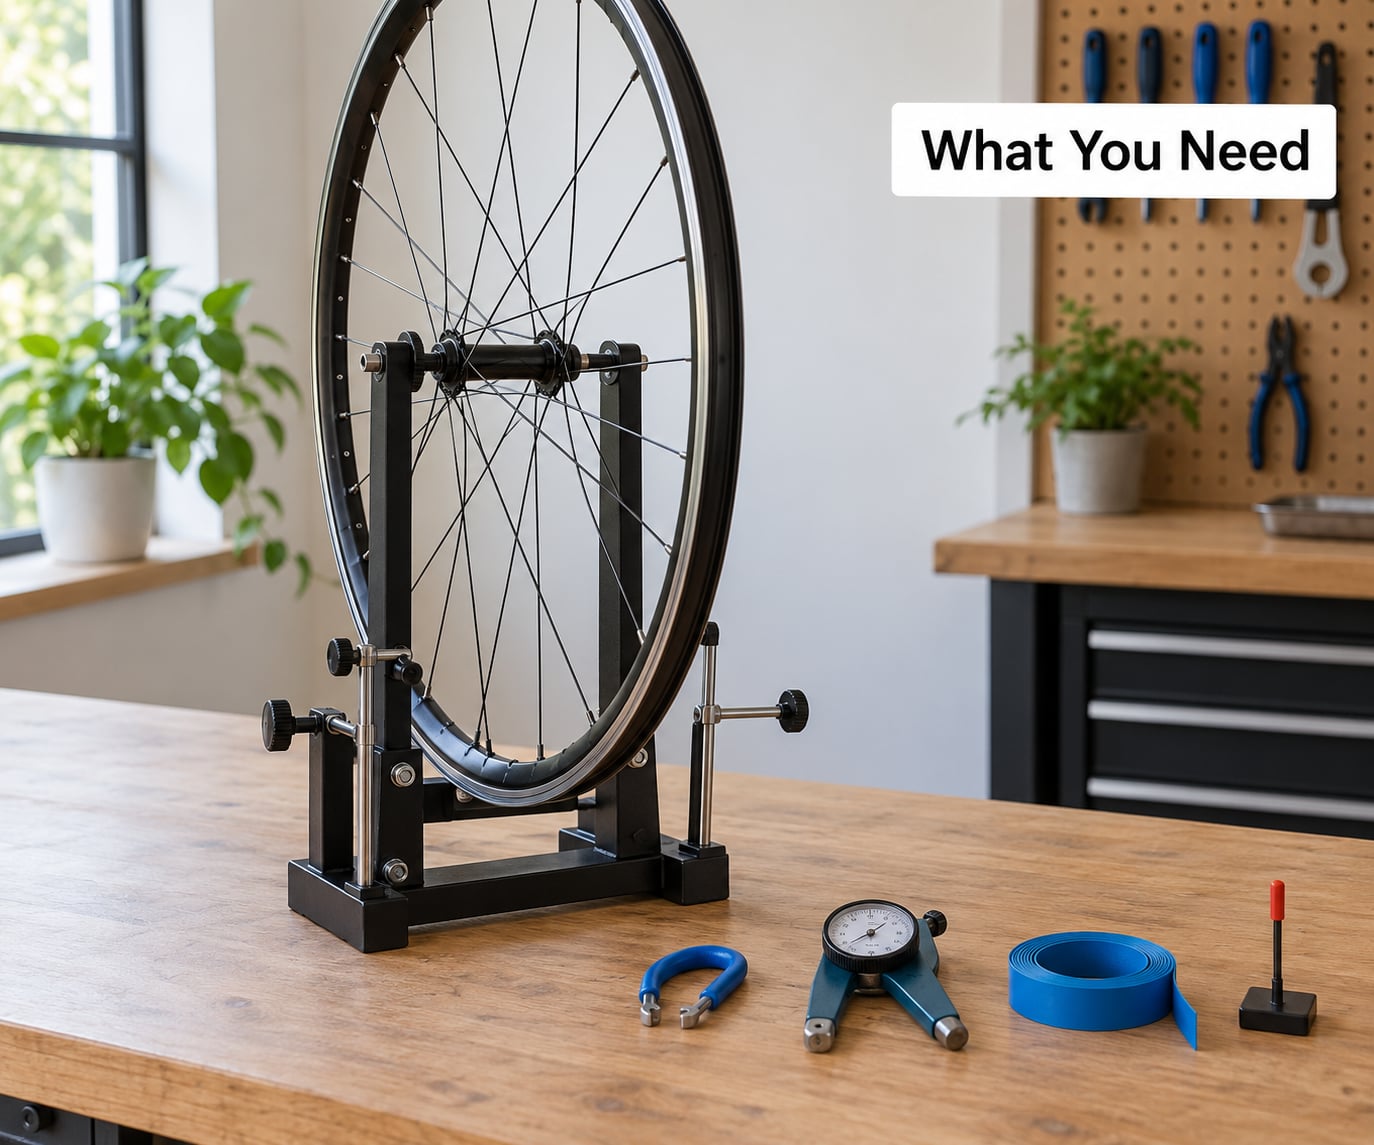
Start with the spoke wrench, because everything else on the list is optional. It has to fit your spoke nipples exactly, and a wrench that is slightly too big will round the corners off. Once you damage a nipple, the wheel is no longer a beginner job.
The table below maps the two numbers that matter: the nipple thread diameter stamped on the spoke, and the spoke wrench size that fits it.
| Spoke nipple thread | Spoke wrench size | Notes |
|---|---|---|
| 2.0 mm (common on road wheels) | 2.0 mm, or a triple wrench with the 2.0 slot | The usual fit on modern alloy road rims |
| 2.3 mm (heavier, common on older wheels) | 2.3 mm, or a triple wrench with the 2.3 slot | Used on many OEM and touring wheels |
| 2.6 mm (heavy duty) | 2.3 mm or 3.0 mm slot, depending on the nipple | Check the nipple before forcing it |
A triple spoke wrench covers three common sizes in one tool, which is the reason most home mechanics buy one instead of three single-size wrenches. If you already own a 2.0 mm spoke key, check that it fits cleanly before you start.
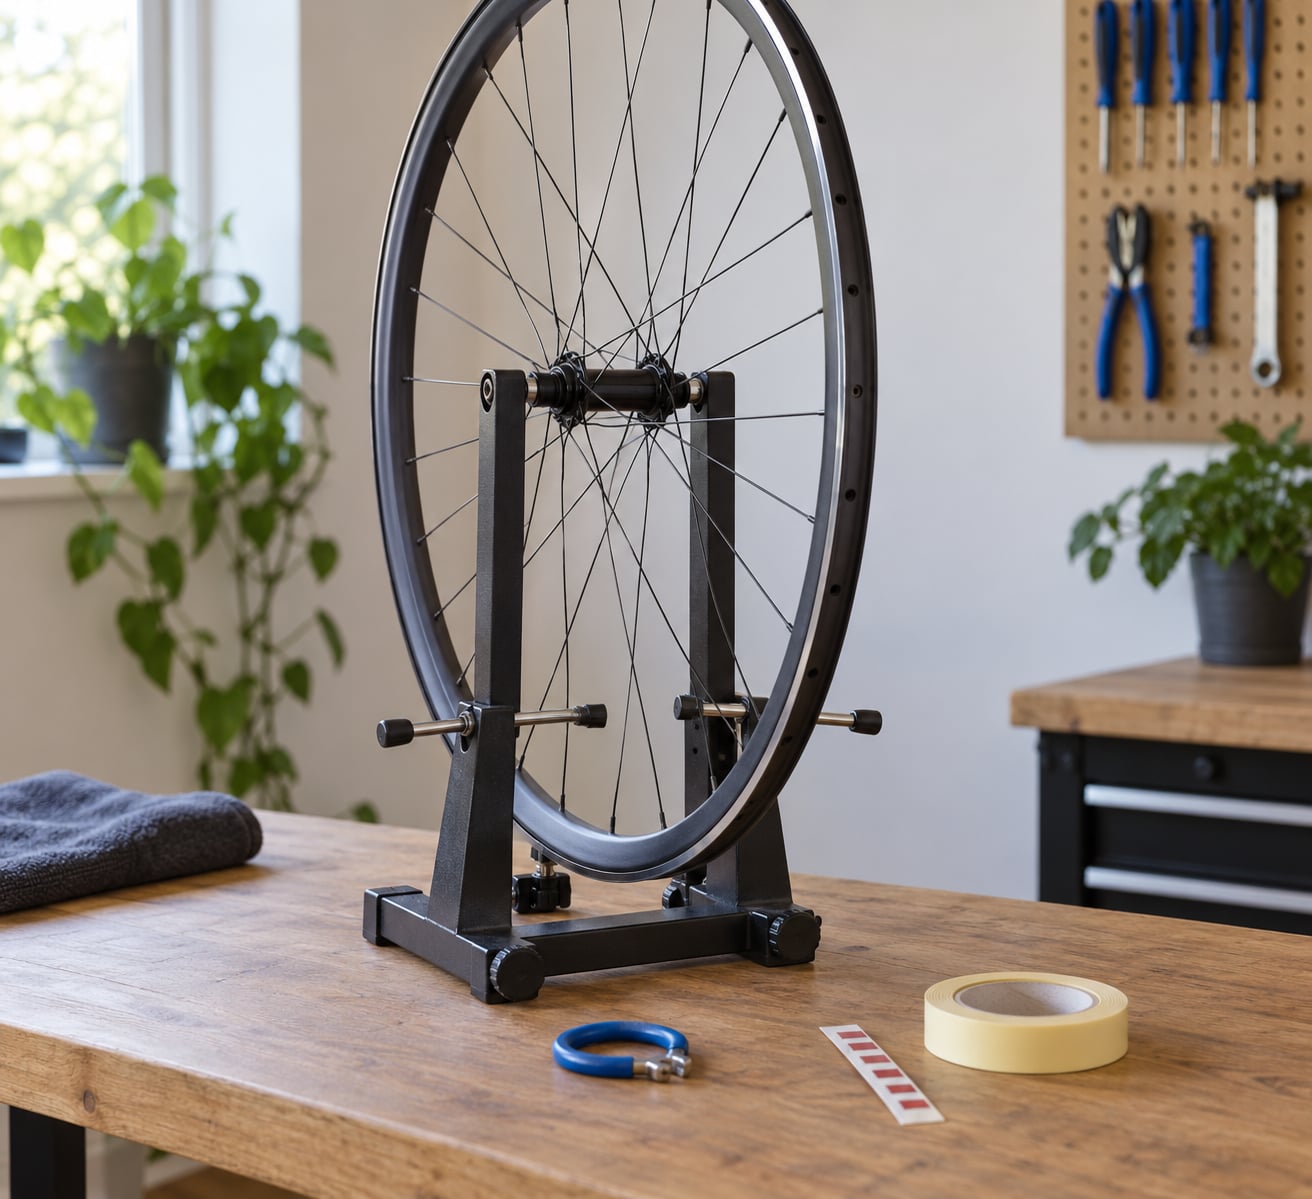
For support, a truing stand is the easiest option because it holds the axle centred and lets the wheel spin freely. Without one, you can work with the wheel held in a repair stand by the axle, in the frame or fork, or leaning in a stable wheel holder. What you need is a fixed reference point near the rim so you can see the same gap twice.
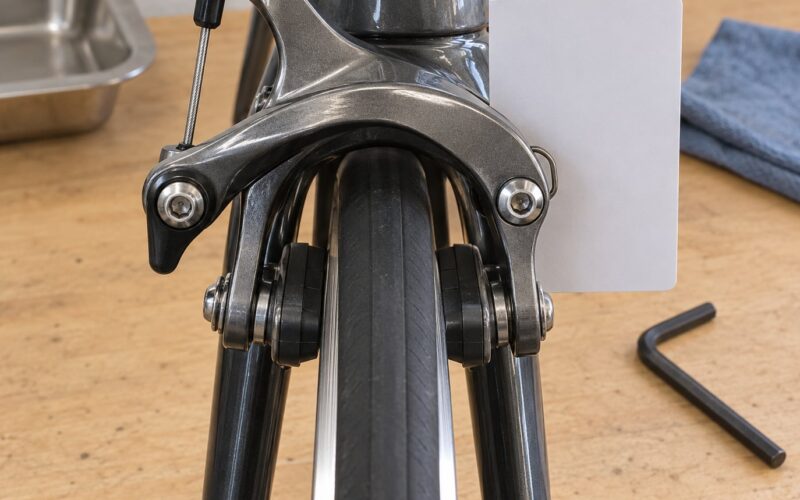
A zip tie clipped to the fork leg or frame, with a short tail cut off, makes a reliable fixed lateral reference. For the vertical check, a straight edge, a ruler or an L-square held against the fork or frame gives you a radial reference. A piece of tape and a fine marker let you mark rim spots and the spokes you have already adjusted, which is what keeps the corrections repeatable.
Optional but useful: a spoke tension meter reads actual tension in kilograms-force, which is the only way to confirm the wheel is evenly loaded rather than just looking straight. Rounding off, a small bottle of light oil for sticky nipple threads, fresh rim tape, and a pair of safety glasses are worth having within reach.
How to True a Wheel at Home Step by Step
1. Inspect the Wheel Before Trimming
Check the whole wheel before you touch a single spoke. Look at every spoke for a break, a sharp kink near the nipple or a twist, and run a finger along the rim tape to feel dents or a torn section. A broken spoke under tension can fire out of its hole, so keep your face out of line and wear the glasses.
Then check the hub. Hold the axle and rock the rim: any play at the bearings means the wheel should go to a shop before you touch the spokes. Also confirm the axle is properly seated and tightened, since a loose axle will make every adjustment you make meaningless.
Deflate the tire fully and remove it if you can. A tire under pressure changes the rim profile and hides the brake track, and it will bias your read of the runout. While the tire is off, look at the rim tape and the spoke holes, because a loose rim strip causes the rub that sent you looking for truing in the first place.
2. Set Up the Wheel and Check Lateral Runout
Mount the wheel so the axle is held in a fixed point and the wheel spins freely by hand. In the frame, the brake pads become your lateral gauge: if they are centred and the wheel spins without touching, the rim is already centred. Without a stand, hold the axle in a wheel holder or hang the axle in a dropout with the wheel clear of the ground.
Spin the wheel slowly and watch the rim pass the fixed reference, a zip tie or a pad. Lateral runout is the gap opening and closing on one side as the wheel turns, which is the wobble you can see from above while watching a valve stem or a single marked spoke. Mark the rim with tape wherever the gap is widest.
Ignore the reflections. A polished rim under a garage light throws shadows that look exactly like wobble, and spokes crossing the gap create a false edge. Read the rim against a plain, dark reference, and confirm any wobble with a second pass before turning a wrench.
3. Mark and Equalize the Spoke Tension
Before chasing alignment, get tension roughly even, because a wheel with one slack spoke will never hold a true. Pluck each spoke with a fingertip and listen: on a front wheel, every spoke should sound about the same from either side. On a rear wheel the two sides legitimately sound different because the drive-side spokes cross at a shallower angle, so compare side against side, not across the whole wheel.
Account for the holes that do not carry a spoke. The valve hole, and any extra holes used for a rack or mudguard on a commuter frame, are normal and are not signs of a bad wheel. Mark the valve position with the marker so you always know where you are when you restart.
Now equalize. A spoke that reads obviously slack gets tightened a quarter turn at a time until it matches its neighbours, and one that reads obviously high gets backed off the same amount. Do this all the way around before any fine alignment, then re-spin, because equalizing usually changes the runout noticeably.
4. Correct the Main Wobble in Small Adjustments
Picture a clock face on the rim with the valve stem at twelve o’clock: six is directly opposite, three and nine are the sides. Mark the rim spots where the gap against your fixed reference is widest and narrowest, then read off the spoke positions in that convention. The point is that you and the next person can describe the same spoke the same way.
The rule that makes this work is the flange rule. Tightening a spoke pulls the rim toward the hub flange that spoke passes through, so a spoke crossing to one side pulls the rim that way and the opposing spoke on the other side has to be loosened by the same amount or the wheel will simply be over-tensioned and still crooked.
| What you see | Where to work | What to do |
|---|---|---|
| Gap at twelve o’clock opens on one side | The spoke at twelve, then the two either side | Tighten the spoke pulling toward that side by a quarter turn, loosen the opposite spoke a quarter turn |
| Gap at three or nine o’clock | Spoke at three and its opposing spoke | Same flange rule, quarter turn each, most on the spoke at the widest point |
| Wobble spans a large section | The centre spoke of the wobble | Take most of the correction on the centre spoke and taper to half turns on its neighbours |
| Whole wheel leans toward one side | All spokes pulling that way | That is a dishing problem, not lateral runout, so work between the axle nuts |
Work in quarter turns of a half turn at most, and taper the correction: most adjustment on the spoke at the centre of the wobble, less on each neighbour. Turn the wrench clockwise to tighten and anticlockwise to loosen, and remember that the nipple sits upside down in the rim, so the direction looks reversed from the outside.
After every few adjustments, spin the wheel again from the valve stem. Two or three passes will tell you whether the correction is converging or whether you are chasing your own changes.
5. Fine-Tune Radial Hop and Recheck the Wheel
Radial true is the up-and-down hop. Hold a straight edge or L-square against the fork or frame and spin the wheel, or set a flat reference across the rim with the wheel on a flat surface. Wherever the rim rises above the reference is a high spot; wherever it drops away is a low spot.
Correct it the same way you corrected the wobble, with one twist: a high spot drops when you loosen the spokes that pull it down, and a low spot rises when you tighten those same spokes. Radial errors of a millimetre or two are normal; more than that is worth correcting.
Then pre-stress the spokes, which is the step beginners skip and then blame when the wheel is out of true again a month later. Squeeze pairs of parallel spokes firmly in turn, then lay the wheel flat on the rim and push down on it in eighths of a circle, letting it flex past centre each time. That relaxes the spokes into their working shape.
Re-true afterwards, since pre-stressing will have moved things. Then spin the wheel several times and check three things: the gap against the fixed reference stays roughly constant, the brake pads or your gauge clear the rim on both sides, and no spoke is visibly tighter than the rest. Listen to a few plucks on each side one last time.
Common Mistakes
Almost every failed home truing job comes down to one of a handful of habits. These are the ones that come up again and again on the bike repair forums.
Chasing the wobble instead of measuring it. Adjusting until the wheel looks right at one spot produces a wheel that is out of true somewhere else. Mark the high and low points, work to those marks, and re-spin before every new decision.
Turning too far. A half turn on one spoke moves the rim far more than most people expect, especially with the wheel unsupported. Quarter turns keep you in control; a big correction is almost always a misread gap.
Only touching one side. Pulling the rim toward one flange without loosening the opposing spoke over-tensions the wheel. The result is a wheel that looks nearly straight and has uneven tension that will loosen and break spokes later.
Ignoring a broken spoke. A missing spoke cannot be trued around. Replace the spoke with the correct length and diameter for that hub flange, check the nipple thread size matches, and true the wheel again from scratch.
Using the valve stem as the only reference. One spoke going past your eye is difficult to judge accurately, and the stem also hides a local rim dent. Use a fixed reference such as a clipped zip tie or a brake pad so you are reading the gap against something that does not move.
Skipping the recheck and the pre-stress. A wheel that spins straight but has uneven tension will drift out of true within weeks. Pre-stress the spokes, re-true, and recheck the tension with a pluck test or a tension meter before you refit the tire.
Two more things keep a wheel true longer. A drop of light oil on nipple threads stops sticky spokes from binding and shearing, and recording your final spoke settings with a strip of tape on the rim means a later repair starts from your numbers instead of from scratch. A quick spin and listen at the start of every riding season catches most looseness early.
Frequently Asked Questions
Can I true a wheel without a truing stand?
Yes, and most home wheels get trued this way. Hold the axle in a fixed point, either in the frame, a repair stand or a wheel holder, so the wheel spins freely. Use the brake pads as a lateral gauge and a zip tie clipped to the fork or frame as a fixed side reference. For the vertical check, hold a straight edge or L-square against the fork. It takes longer than a stand because the axle is less rigidly located, so support it well.
How much should I tighten or loosen a spoke?
Move the wrench a quarter turn at a time, and no more than a half turn in a single correction. A spoke on the centre of a wobble usually needs about a quarter turn, with its neighbours taking less. Quarter turns keep the correction controllable and make it obvious which change caused which movement. If you think you need more than a half turn, you are probably measuring a different part of the rim than you think you are.
Should I true the wheel with the tire installed?
Remove it if you can. An inflated tire changes the shape of the rim, hides the brake track and can hide a loose rim strip that is causing the rub in the first place. Working bare gives you a clear view of the rim, the nipple holes and the runout. If you cannot remove the tire, deflate it fully and work with that, accepting a slightly less accurate read than you would get with the wheel bare.
Is a slightly wobbling wheel safe to ride?
A small amount of side-to-side movement is normal, because a wheel spins true in two directions and never perfectly in both at once. Visible wobble is worth correcting, though, since it causes tire and brake pad rub, uneven braking, and uneven spoke loading that leads to looser spokes over time. Do not ride a wheel with a broken spoke, a bent rim or side-to-side play at the axle, and take any of those to a bike shop rather than truing around them.
If you are starting out, check the wheel first: look for broken or kinked spokes, check for play at the axle, and confirm your spoke wrench fits before you make any adjustment. Those three checks take a minute and rule out most jobs that look like truing but are not.
Take it to a bike shop when the rim is bent or cracked, when several spokes are broken in the same area, when the wheel has mixed spoke lengths or thicknesses from a previous repair, when the hub has play, or when your nipple corners are already rounded from a wrench that did not fit. Those wheels need parts or a jig you probably do not have, and the alternative is a wheel that looks straight but fails on the road.