Most broken chains on a road ride come apart cleanly at one link, and most of those are repairable in about ten minutes with a chain breaker and a spare quick link that matches your chain speed. If you know how to fix a broken chain on a ride, the job is mechanical rather than dramatic: get off the road, work out what actually failed, remove the damaged section, join the two ends, and test every gear before you roll again.
The harder half is the diagnosis. A chain that dropped off the cassette, a chain that snapped, and a chain that is intact but jammed against a bent derailleur hanger are three different problems, and only one of them is a ten-minute fix.
The short version: shift to the smallest cog, find the damaged link, drive its rivet out with a chain tool, join the two ends with a matching quick link, rotate the chain to the top of the drivetrain and pedal to seat the link, then run through the gears at walking pace. Expect roughly ten minutes of work and about fifteen before you are genuinely riding again.
Table of Contents
- What You Need
- Quick Link Compatibility by Chain Speed
- Step-by-Step: How to Fix a Broken Chain on a Ride
- 1. Move to a Safe Place and Inspect the Damage
- 2. Determine Whether a Broken Chain Can Be Rejoined
- 3. Remove the Damaged Links and Reconnect the Chain
- 4. Check Chain Length, Tension, and Drivetrain Clearance
- 5. Test the Repair and Decide Whether to Continue
- Common Mistakes
- Frequently Asked Questions
- Can I keep riding with a temporarily repaired chain?
- Do I need a special tool to fix a broken chain?
- Can I reconnect a chain with any master link?
- Why does my repaired chain skip when I change gears?
- Should I replace a chain after breaking it on the road?
- Conclusion
What You Need
A chain tool alone gets you nothing. It removes links, but something has to put the chain back together, and the connection part is what riders forget to carry.
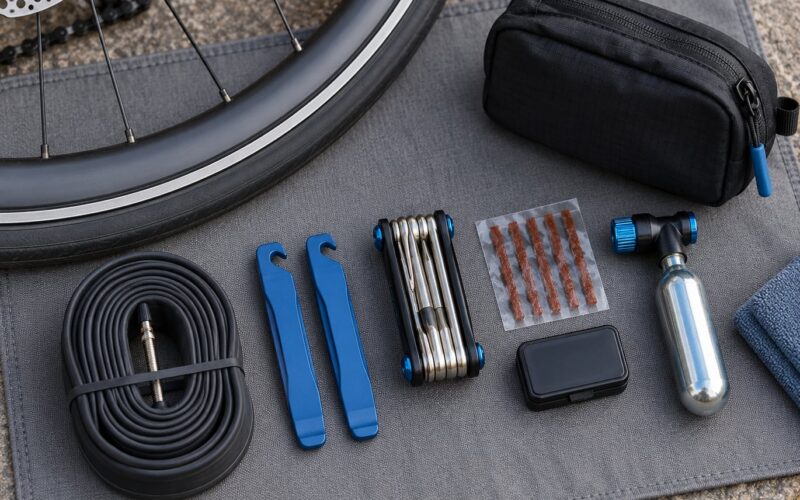
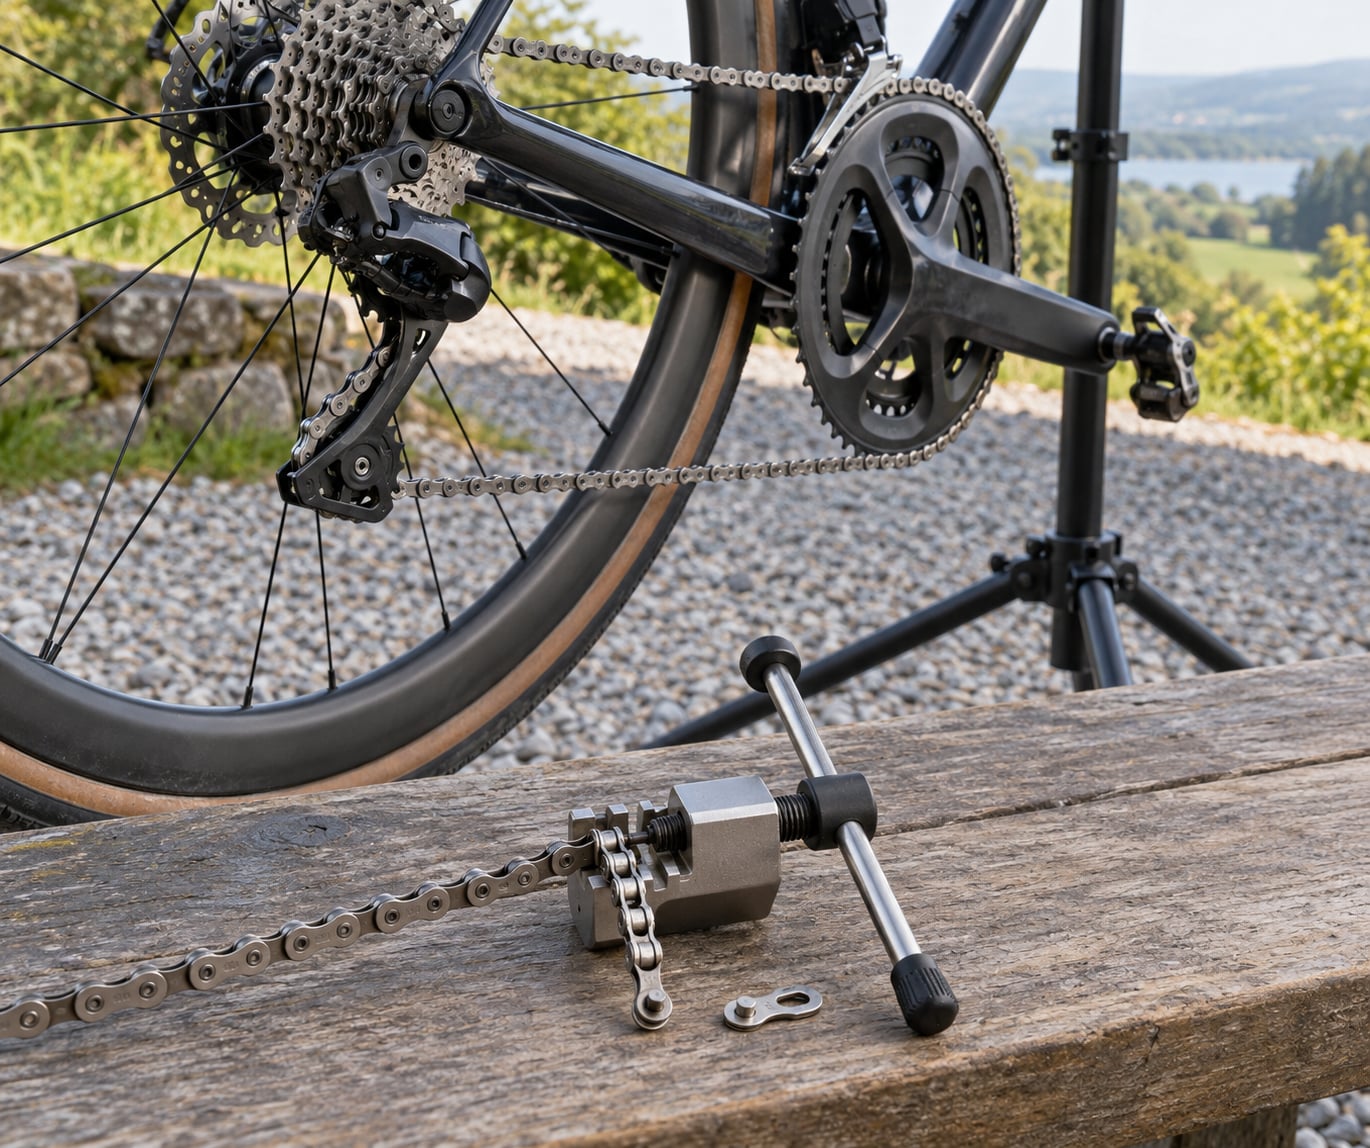
- A chain breaker. Usually the chain breaker slot on a multitool is enough. A standalone tool like a Park Tool Master Chain Tool is the same idea in a sturdier housing. It pushes the rivet out of a link so that section can come off the chain.
- A spare quick link or master link, matching your chain speed. A quick link is the joining part that locks the two chain ends together. Brand names include SRAM PowerLock and PowerLink, Shimano QUICK-LINK, and KMC connectors.
- Something to hold and turn the chain. Needle-nose pliers work. So does a tyre lever in a pinch, if it is stiff enough not to bend.
- Optional: master link pliers. Genuinely useful, not required. Almost every quick link can be closed by hand, which is covered in step 4 below.
Quick links are speed-specific, and a link that is close but wrong will not seat properly no matter how long you press on it. SRAM states that its quick links are single-use once closed, and Shimano gives the same guidance for its QUICK-LINK, so treat a spent connector as a consumable and carry a spare rather than reusing the one you just installed.
Quick Link Compatibility by Chain Speed
| Chain speed | Link type | Reusable after closing | Notes |
|---|---|---|---|
| 9-speed and below | Master link with a clip | Clip may be replaced | Rare on modern road and gravel bikes |
| 10-speed | 10-speed quick link | No | Wider rollers than 11- and 12-speed |
| 11-speed | 11-speed quick link | No | Common on current road groupsets |
| 12-speed | 12-speed quick link | No | Narrowest link; 11-speed links will not work |
One more practical note on the kit: a quick link lives loose in a saddle bag and eventually goes missing. A short spare section of chain, complete with its own link, stored in a small bag in the same pocket, is harder to lose.
Step-by-Step: How to Fix a Broken Chain on a Ride
1. Move to a Safe Place and Inspect the Damage
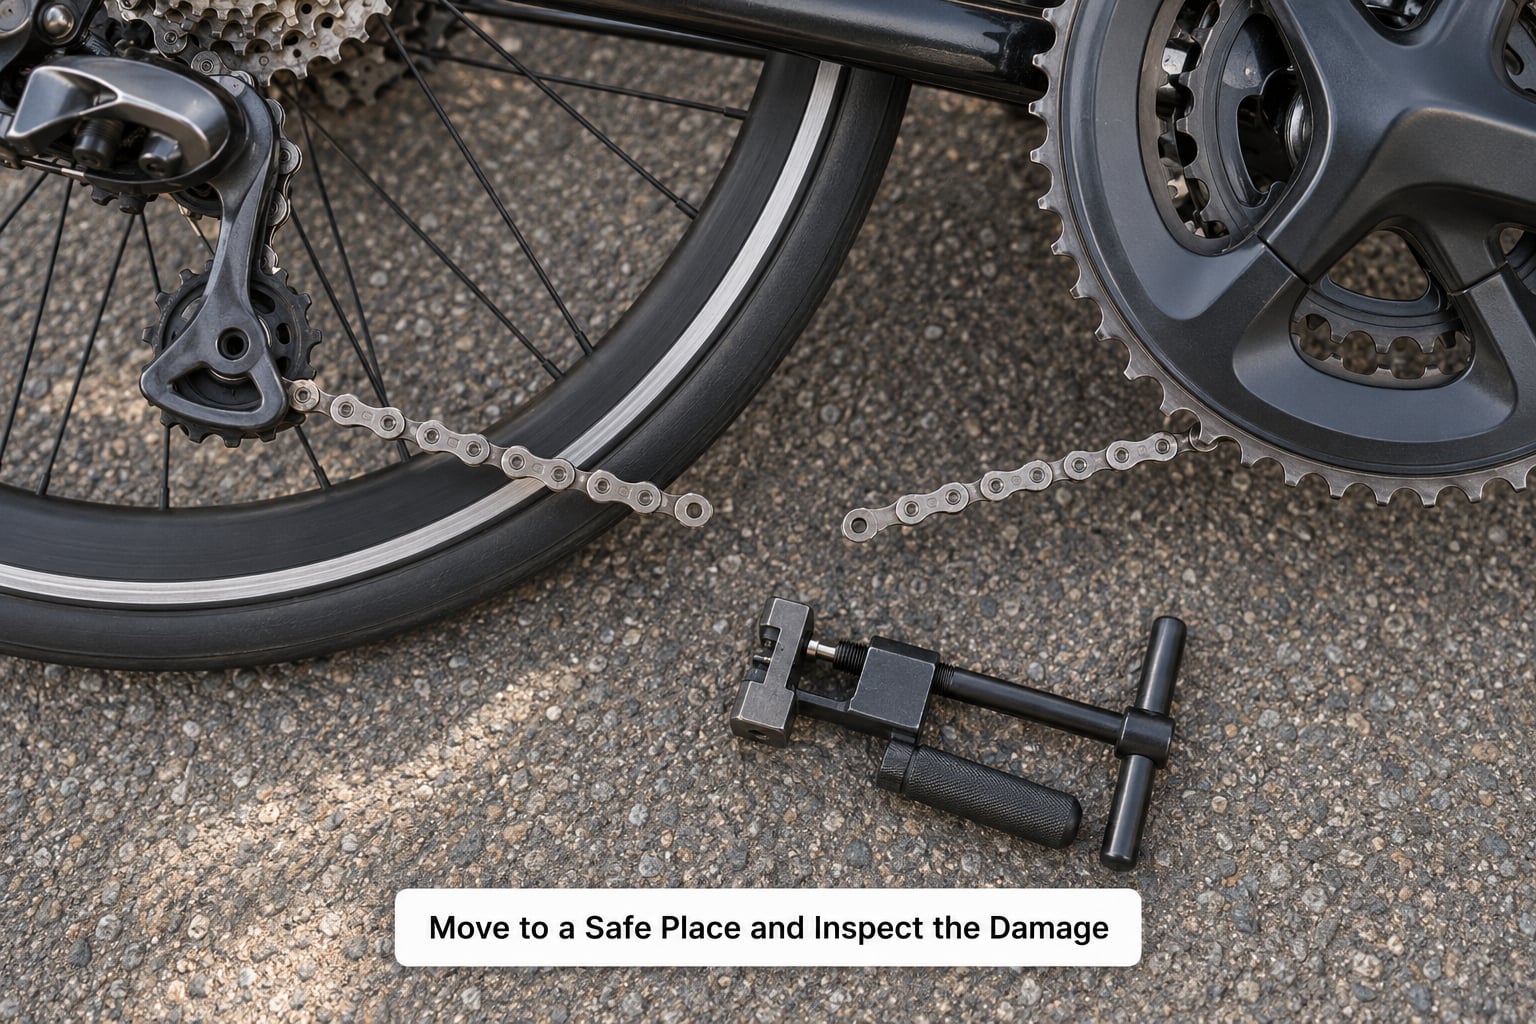
Get off the road before you look at anything. On a road ride the usual sequence is to coast to the verge, turn the bike around so it faces oncoming traffic, and step well clear of the lane. Do not diagnose a chain in a traffic lane, however quiet the road looks when you are standing in it.
Then look before you touch. Work through this list:
- Did a link break, or did the chain simply come off the cassette or chainring?
- If a link broke, is the damage one plate, or several links in a row?
- Is the derailleur hanging straight, or is the cage twisted and pointing sideways?
- Do the cassette and chainring teeth look intact, or are there gouged, hooked or shark-fin teeth?
- Do the jockey wheels spin freely when you turn them by hand?
A chain that dropped off an intact drivetrain and a chain with one failed link are the two easy cases. Gouged cassette teeth, a twisted derailleur cage, or several mangled links mean the damage is bigger than the chain.
2. Determine Whether a Broken Chain Can Be Rejoined
You can reasonably repair roadside when the chain failed at a single clean point and the surrounding drivetrain is undamaged. That covers the common failures: a master link that let go under load, one pin that sheared, or a chain that came off entirely with nothing bent or gouged.
Walk or call for a lift when you find any of these:
- A bent derailleur hanger or a twisted derailleur cage. Straightening it roadside is guesswork, and riding on it can ruin the hanger and the cassette together.
- Hooked, gouged or pointed teeth on the cassette or chainring. A chain runs over those teeth and will drop again.
- Two or more damaged links in one area, or damage where the chain wrapped around a crank or spoke. That usually means a bent link somewhere inside the section you cannot see.
- A stiff link somewhere other than the break, which usually points to a bent link that will not survive under load.
A bent chain that has not broken is a grey area. Pliers can straighten a kink in a side plate well enough to ride home carefully at low speed, and plenty of riders have done it. If the bend is in a roller or a link plate is creased rather than kinked, cut it out instead.
3. Remove the Damaged Links and Reconnect the Chain
Shift to the smallest cog on the rear cassette, or the smallest ring at the front if the chain came off the chainring, so there is as little tension as possible on the section you are opening.
Line the chain breaker up over a rivet in the damaged link. Push the handle down slowly and steadily until the pin is fully out. This is the step riders rush, and it is where the top-ranking advice on this question comes from again and again: pushing the pin all the way out, losing it, then trying to reinsert it loosely produces a weak joint that fails under the next climb.
Remove enough links that the damaged section is fully out. For a single broken link, removing that one link is usually enough.
Now check what you have left at each end. A quick link only fits across two inner links, which are the narrower pairs of plates that the rollers sit between. If you removed one link, the two ends will be inner links and a quick link will fit. If you removed an even number of links, or the wrong ones, the ends will be outer links and no quick link will seat correctly. This is the single most common reason a roadside quick link job fails, and it is fixed by removing or adding one link so the ends are inner links.
Feed the two ends together, insert the quick link so its pin enters the hollow end of the inner link, and press the plates until the pins are flush. Do not force anything. If it will not go in by hand, the ends are the wrong type or the link is the wrong speed.
The real work of how to fix a broken chain on a ride happens here, and if you rush the inner and outer link check you will be doing it twice.
4. Check Chain Length, Tension, and Drivetrain Clearance
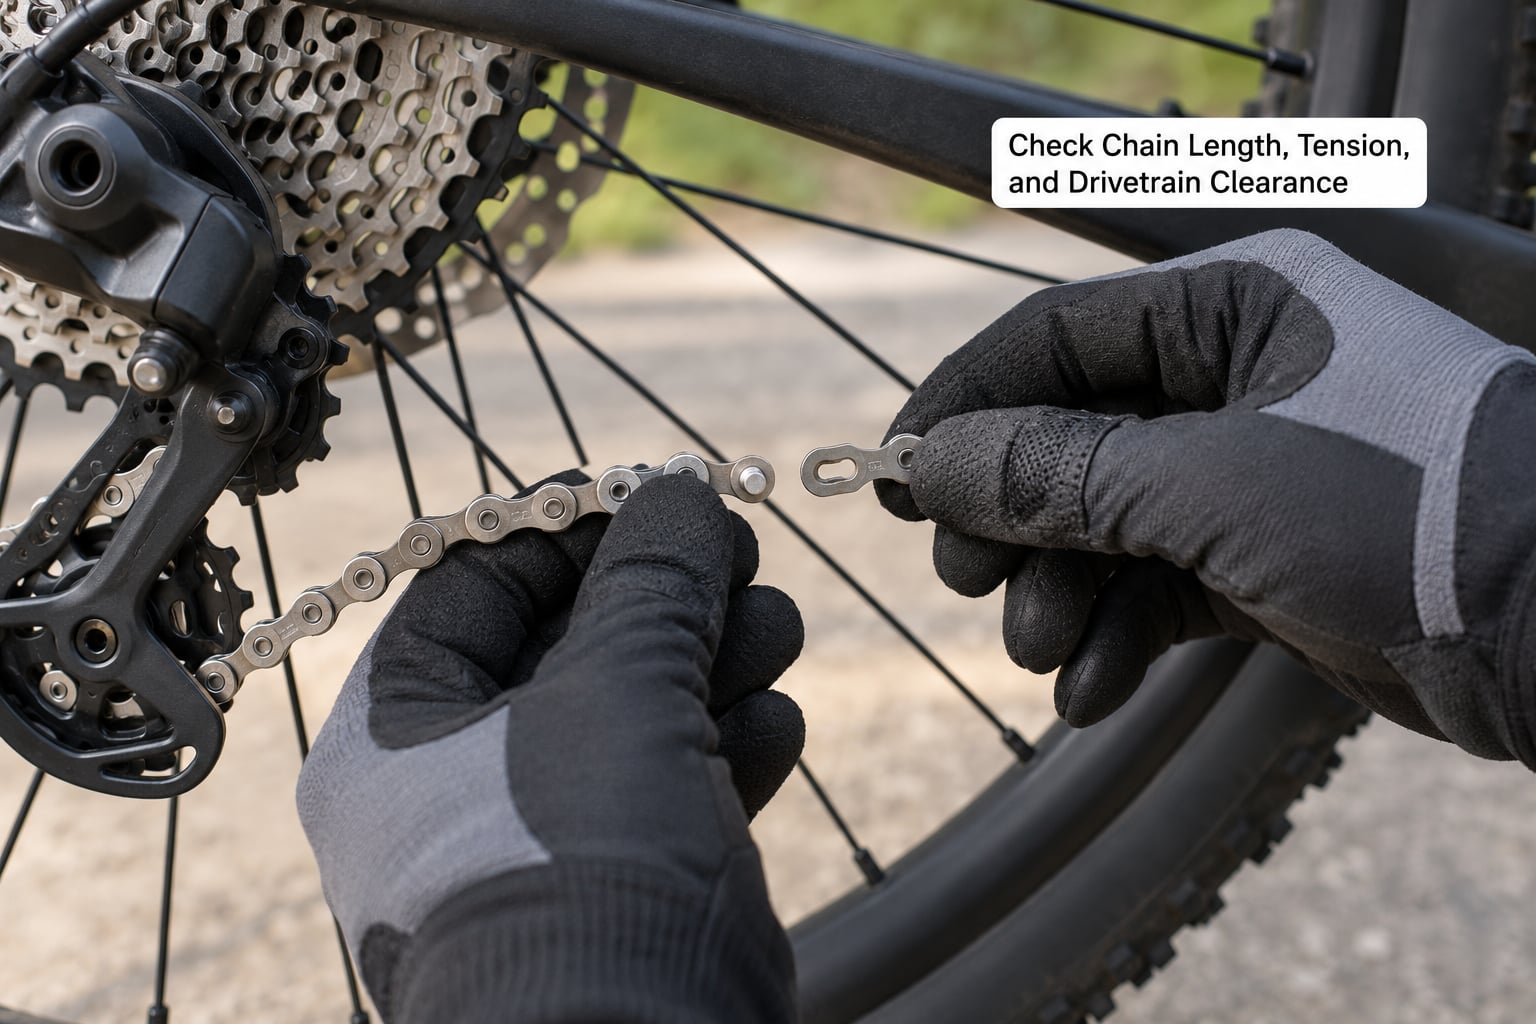
Close the quick link by flexing it sideways so its pins seat into the wider plate. If it resists, back it out and check the link type again. To seat it firmly without pliers, hold the rear brake and press firmly down on the front pedal: that loads the top run of the chain and snaps the link into its locked position. Some riders rotate the cranks backwards so the joint rises to the top of the chainring first, which puts more load on the link.
With master link pliers, grip the link at the centre rather than at the ends. Crimping the ends twists the plate.
Then check three things:
- Seat: the link should be flush with the plates on both sides, with no gap and no visible pin protruding.
- Slack: the repaired chain should sag in roughly the same way as the rest of a correctly sized chain. Too little slack means the derailleur cannot take up the extra, and too much means it cannot feed it out.
- Clearance: spin the cranks by hand through a full revolution and watch the repaired section pass the cassette, chainring and jockey wheels. Any contact means stop.
5. Test the Repair and Decide Whether to Continue
Before you load the chain with your weight, run through the gears at walking pace. Shift across the cassette one cog at a time, then through the front rings if you have them. Listen and watch for three things: skipping under pedalling load, a click or hesitation while shifting, and any noise that changes as the links rotate through the drivetrain.
If the repaired link is stiff, you will usually hear a tick once per pedal revolution. That is the joint telling you it is not seated.
On a shortened chain you also lose low range, so the big-big combination of largest chainring and biggest cog is now harder to reach and much more likely to throw the chain off or overload the links. Stay in smaller gears, shift gently, and get the chain out of the gear before you stop pedalling.
Decide honestly before you set off. If the chain runs silently through every gear and the drivetrain looks straight, ride to the nearest shop. If anything still feels wrong after a few minutes of easy spinning, shorten the route or arrange a lift rather than gambling on a failure twenty kilometres past the last town.
Common Mistakes
Joining the ends with the wrong link type. A quick link needs two inner links. Outer-to-outer ends will either refuse the link or seat it into a sharp, fragile position. Count the links you removed and check the ends before you reach for the connector.
Using the wrong speed link. A 12-speed chain uses narrower links than 11-speed, and the pin will not enter the plate cleanly. If it goes in at all, it will not carry load properly.
Forcing the chain tool. Drive the pin out straight and slowly. Twisting it shears the pin halfway and leaves you with a link that is neither open nor intact.
Skipping the drivetrain check. A bent hanger or twisted cage is the reason the chain came off in the first place. Reconnecting the chain and riding away hides that until the next shift drops it again.
Riding off before testing every gear. A repair that works in one cog can skip in another. Test the whole range, including the smallest cog and the largest ring, before you reach the road.
Returning a spent quick link to the kit. Once closed, manufacturers treat these as single-use. The pins deform slightly in the plate. Carry spares, and count them before and after every ride.
Forgetting where the tool lives. The most common roadside story is a rider who owns a chain tool, in a bag, that was at home. If it is not on the bike or in your pocket at the start, it is not with you.
A broken chain is usually the cheapest drivetrain part on the bike, while a cassette, chainring and derailleur hanger are not. Replacing the chain once you are home, and checking the cassette for wear at the same time, is well worth it after any roadside repair.
Frequently Asked Questions
Can I keep riding with a temporarily repaired chain?
Yes, if the failure was a single link and the cassette, chainring and derailleur are undamaged. Stay out of the big-big gear, shift one cog at a time, and stop pedalling before you shift so the chain is not loaded. Treat it as a ride home rather than a ride as normal, and replace the chain as soon as you get back. If the derailleur cage is bent or the teeth look hooked, do not ride.
Do I need a special tool to fix a broken chain?
You need a chain breaker to open the chain, plus a spare quick link to close it. The chain breaker is the chain-breaking slot built into most multitools, so a separate tool is not necessary. A standalone tool is more robust and easier to use in roadside mud. Quick link pliers are helpful but optional, because most quick links can be seated by flexing them and pressing the pedal with the rear brake held.
Can I reconnect a chain with any master link?
No. Quick links are speed-specific, so a 12-speed link will not fit a 10-speed chain, and a link of the wrong speed will not seat properly even if the pins appear to enter. The link must also span two inner links, so check the type of chain end before fitting it. Once a quick link has been closed, treat it as single-use and fit a fresh one.
Why does my repaired chain skip when I change gears?
Skipping usually means the joint is not fully seated, or the repaired section is too tight or too loose for the derailleur to tension the chain. Check that the quick link plates are flush and that its pins are fully inside the wider plate. If you shortened the chain more than a link, the cage tension may now be wrong and the chain needs trimming to a proper length. Bent or gouged cassette teeth will also cause skipping that no adjustment fixes.
Should I replace a chain after breaking it on the road?
Replace it. A chain that broke once from wear will usually stretch and break again, and a shortened chain alters the derailleur tension. Measure the old chain with a wear gauge if you still have it, then fit a new chain of the same speed and correct length. Check the cassette and chainring at the same time, since a worn chain is usually what wore them out.
Conclusion
Move fully out of traffic first, then work out exactly what failed. If it was one link and the drivetrain is straight, how to fix a broken chain on a ride is a ten-minute job with a chain tool and a speed-matched quick link in your pocket. Test every gear before you ride away, keep out of the big-big gear on a shortened chain, and replace the chain properly once you are home.
If the hanger is bent, the teeth are gouged or several links are damaged, stop fiddling. Arrange a lift and call it a day.