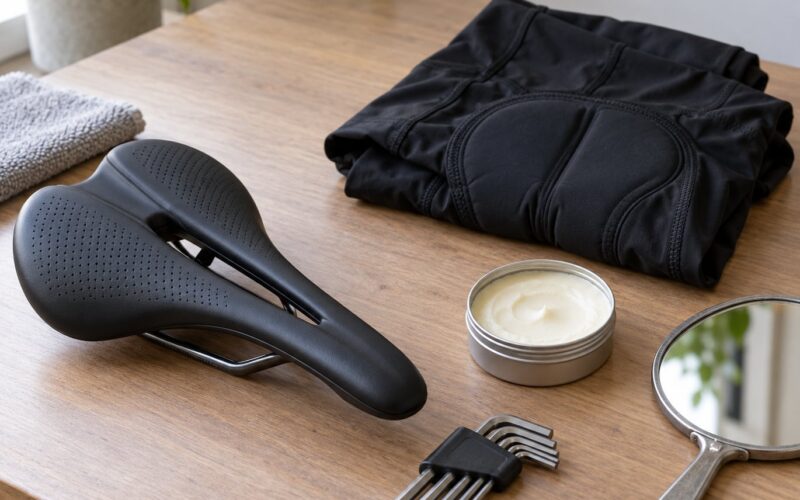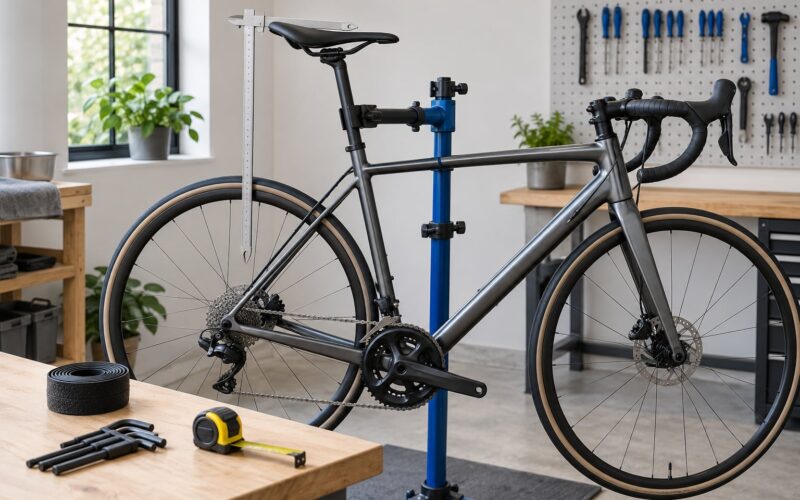
To choose saddle width for a road bike, measure the distance between your two sit bones, add about 20mm, and look for a saddle at least that wide at its widest point. Then ride it and check for pressure before you commit. How to choose saddle width properly comes down to three numbers: your measurement, your posture, and how much clearance fits between your legs.
Most people get this wrong in one of two directions. They keep the saddle that came with the bike because it was fine on a 20-minute spin, or they size up “just in case” and spend a season sliding around on a saddle that’s too broad for their sit bones.
The good news is that the whole process takes an afternoon and a soft tape measure. What follows is the order I’d work in: measure, convert, compare, test, adjust.
Table of Contents
- What You Need
- Step-by-Step
- Measure Your Sit Bones
- Check Your Current Saddle and Bike Setup
- Compare Saddle Width Options
- Test the Saddle in Real Riding Conditions
- Make a Final Fit Decision
- Common Mistakes
- Frequently Asked Questions
- How narrow should a road bike saddle be?
- Is a wider road bike saddle always more comfortable?
- How do I measure my sit-bone width at home?
- What saddle width should I use if I get numb on long rides?
- Can saddle width change my knee or back position?
- When should I ask a bike fitter about saddle width?
- Conclusion
What You Need
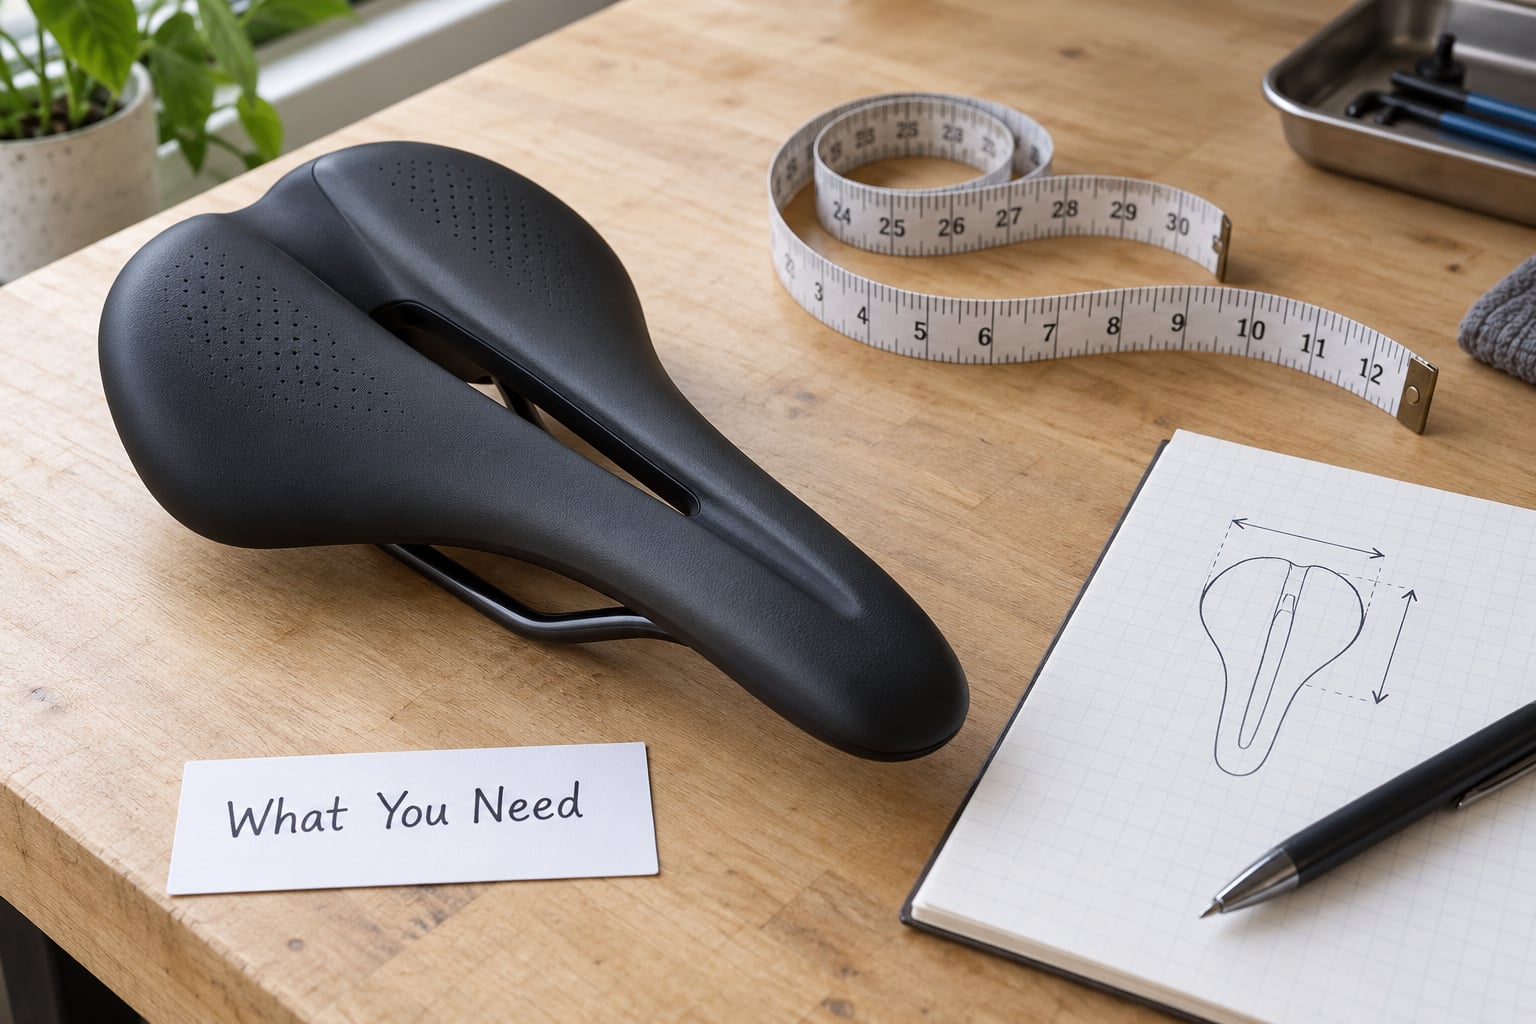
Gather five things before you start shopping.
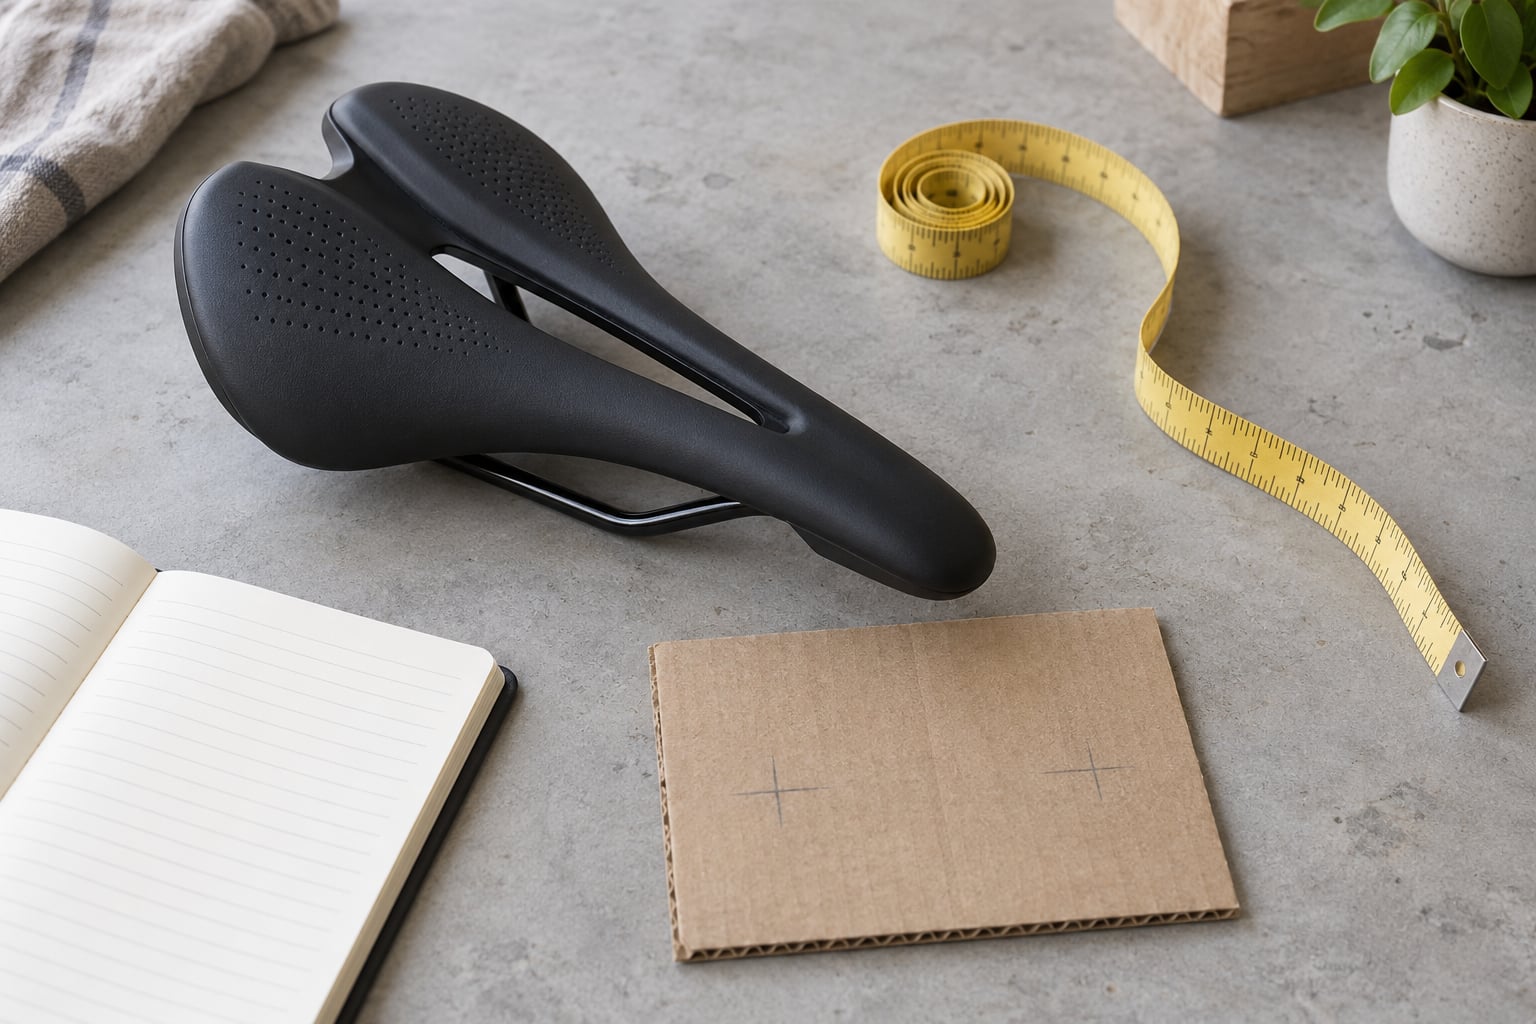
- A soft tape measure that can measure millimetres, ideally reading in the same unit you will use on the brand charts. A sewing tape is fine. A rigid ruler is not.
- A piece of stiff corrugated cardboard roughly 30 by 30cm, or a closed-cell foam mat if you have one.
- A hard, flat, upright chair with a flat seat. Not a sofa, not an office chair with a contoured seat, not the edge of a bed.
- Your current bike and saddle, plus the brand’s published sizing chart for the models you are considering.
- A short, low-intensity ride or a 30 to 45 minute indoor trainer session to test the result without a four-hour day ride on the calendar.
Have a pen and your phone camera ready. Photograph the measurement so you do not have to re-create it later from memory.
Step-by-Step
Measure Your Sit Bones
Your sit bones, anatomically the ischial tuberosities, are the two bony points where your pelvis meets your thighs. They carry almost all of your weight when you sit on a bike. Everything between them is soft tissue, and soft tissue does not like being compressed for three hours.
Here is the home method that works most of the time.
- Place the cardboard on the flat, hard chair so it sits under both sitting bones.
- Sit down squarely, weight even, and lean forward slightly from the hips the way you would over a bike. Keep your back straight and your head up rather than rounded forward.
- Stay there for 20 to 30 seconds so the weight settles into the cardboard.
- Stand up carefully and look at the surface. You should see two shallow depressions.
- Mark the centre of each depression with a pen, then measure the distance between the two centres in millimetres. Centre to centre, not edge to edge.
Where it fails, it fails for two reasons. Sitting upright instead of leaning forward puts your weight somewhere different, and heavier riders sometimes get no visible mark at all because the cardboard is too soft to deform deeply. If you get no clear indentations, move up to a foam mat or a firmer surface, lean forward harder, and sit longer.
That complaint is common enough that it has its own thread on every cycling forum, so you are not doing it wrong on your own.
If home measurement keeps failing, a bike shop will usually measure you on an ass-o-meter, a padded block with a slot in it that reads your sit bone width off a scale. Pressure-mapping analysis at a fitter is more accurate still, because it shows how the load is actually distributed rather than where two bones happen to sit. A fitter’s reading is the one to trust if you are spending real money or have been fighting discomfort for months.
| Method | What it tells you | Main failure mode | Best for |
|---|---|---|---|
| Corrugated cardboard on a hard chair | Two indentations, read centre to centre | No visible mark, or an upright posture gives a wrong number | A first pass before you spend anything |
| Closed-cell foam mat | Cleaner contours than cardboard | Still reflects an off-bike posture | Repeat measurements to check consistency |
| Shop ass-o-meter | Direct reading in millimetres | Only as good as the posture you adopt in the shop | Confirming a home measurement |
| Fitter pressure mapping | Where load actually goes, and how it changes across a ride | Cost and appointment time | Recurring numbness, numbness that appears early |
For context, the widely cited PeopleSize study from 1998 put men’s sit bone width at roughly 100 to 140mm and women’s at 110 to 150mm. Note the 30mm overlap between those ranges. Sex-based rules of thumb are unreliable enough that measuring yourself beats guessing.
One more adjustment worth knowing about. Sitting forward on a bike rotates the pelvis, which narrows the effective distance between your sitting bones at the point of contact. Some fitters tell riders to subtract roughly 20mm from a seated measurement before adding the base allowance, which is why your result might not match a chart on the first try.
Check Your Current Saddle and Bike Setup
Before you change anything, know what you have. Measure your existing saddle across its widest point, usually at the rear wings, and write down the number in millimetres along with the brand and model. That gives you a working reference and something to compare against later.
Width does not work alone. It interacts with how far forward you lean, how much you can rotate your hips, crank length, and handlebar drop. A rider who has switched to a more aggressive position usually needs a slightly narrower saddle and a shorter nose than the same rider in an upright endurance position. Someone with more hip mobility can sit further forward on the same width.
These are the signs of a saddle that is too narrow: numbness or tingling within the first hour, pressure on the sides of the sit bones that feels like being perched on a ledge, a persistent urge to shift position, and knees or lower back that ache after an hour rather than during a short spin.
These are the signs it is too wide: inner thighs rubbing against the wings, a feeling of being pushed forward onto the nose, and a rocking or side-to-side sway while pedalling. If you can fit two or three fingers between your thighs and the saddle at its widest point, you are in the right region. If nothing fits at all, it is too narrow.
Compare Saddle Width Options
Most road saddles run from about 130mm to 180mm wide. Typical size labels map loosely like this.
| Your sit bone width | Target saddle width (neutral position) | Common size label |
|---|---|---|
| Under 100mm | 120 to 130mm | XS / narrowest road sizing |
| 100 to 110mm | 125 to 135mm | Small |
| 110 to 120mm | 135 to 145mm | Small to Medium |
| 120 to 130mm | 145 to 155mm | Medium |
| 130 to 140mm | 155 to 165mm | Large |
| 140 to 150mm | 165 to 175mm | Extra wide |
| Over 150mm | 170mm and above | Look past the mainstream charts |
Those are baseline bands. Now adjust for posture.
| Riding position | Add to your sit bone width | Notes |
|---|---|---|
| Upright endurance, commuting, touring | 25 to 30mm | More hip rotation available, so a broader platform is fine |
| Neutral road, all-rounder | 20 to 25mm | The baseline rule most charts assume |
| Aggressive road, time trial, triathlon | 15 to 20mm | Narrower rear, usually with a shorter nose |
Two situations come up constantly.
Your number falls between two sizes. With a 135mm measurement and a brand that steps 130, 143 and 155mm, go wider if you ride upright and narrower if you ride low. Too narrow tends to be the worse mistake, because an over-narrow saddle lets your sit bones overhang the edge and dumps the load onto nerves and blood vessels. A saddle that is a little too wide mostly makes you rock.
Your number is above the widest size a brand lists. This is where mainstream charts quietly run out. If you measure 155mm and the widest saddle anyone stocks is 168mm, that is fine, but you are now in territory where shape matters more than the width number alone. Look for brands that publish a genuine width at the widest point rather than a letter, and expect to try a few. Plenty of riders report that a 168mm saddle still leaves them with pressure because it was narrow at the top of the wings.
On comparing across brands, one number is not automatically comparable to the same number elsewhere. Check where each brand measures, because some quote the widest point of the shell and others quote a narrower point on the top surface.
| What the label says | How to read it |
|---|---|
| A width in millimetres on the shell or box | The most reliable. Still confirm it is measured at the widest point |
| S, M or L | Useful within one brand, unreliable across brands |
| A stamped number such as 130, 143, 155 or 168 | Common on some brands and clearly stepped. Compare the steps, not the letters |
Shape and padding come into play here too, but they are adjustments rather than the base decision. A flat profile suits a more aggressive position, a curved or waved profile supports an upright rider. Firm padding generally beats soft padding over long distances, because soft foam compresses into pressure points rather than spreading load. A pressure relief channel helps, but it is a complement to correct width, never a substitute for it.
Test the Saddle in Real Riding Conditions
Buying blind is where most people go wrong, because a correctly sized saddle can feel oddly firm for the first few rides while your soft tissue adapts to it. Judge it over a few sessions, not one.
Start with a 30 to 45 minute easy ride at your normal position. Check these things as you go.
- Numbness or tingling. Note when it starts. Numbness inside the first hour is a width or position problem, not a break-in.
- Pressure on the sit bone points. A specific ache on the bony widest part of your pelvis usually means the saddle is too narrow.
- Rocking side to side. Usually too wide, or a saddle that has not settled onto flat rails.
- Chafing on the inner thighs. Almost always width-related, and made worse by a thick chamois over cotton.
- Knee or lower back ache. Sometimes the saddle is innocent. Check height and fore-aft position before blaming width.
| Symptom | Likely cause | First fix to try |
|---|---|---|
| Numbness within an hour | Saddle too narrow, or sitting too far back | Go up one width step, check fore-aft offset |
| Pressure on the sit bones after several rides | Saddle slightly too narrow for your bone spacing | Add 10 to 15mm of width |
| Thigh rubbing on the wings | Saddle too wide | Drop one width step or change shape |
| Rocking while pedalling | Too wide, or tilt is off | Narrower saddle, or level the saddle first |
| Saddle rotates under you in hard efforts | Nose angle pointing down | Drop the nose slightly and re-test |
| Knee and lower back ache | Height or fore-aft, not width | Re-check saddle height before changing saddles |
Change one variable at a time. Swap the saddle, ride twice, and only then adjust something else. Changing width, tilt and height together means you learn nothing.
Make a Final Fit Decision
The decision rule is simpler than most sizing guides make it sound. Keep the width that carries your weight on the sit bones, lets you sit upright and lean forward without sliding forward, and leaves you free to change position through a long ride without thinking about it.
Go back a width step if you feel pushed onto the nose, if your thighs touch the wings, or if you find yourself rocking. Go up a step if you feel perched on an edge, or if numbness keeps arriving early. One size either way is a normal adjustment, not a failure.
Before buying a second saddle, ask whether the bicycle fit is the real problem. Saddle height comes first, then fore-aft offset, then a few degrees of nose tilt. For a rigid road bike, a nose-up tilt of about 1 to 3 degrees is a normal working range; if you have perineal discomfort, or ride a full-suspension bike, fitters often go a little further to around 3 to 5 degrees. A correctly sized saddle on a badly positioned one will never feel right.
Common Mistakes
- Picking width from your height or jeans size. Sit bone width varies far more within any height band than it does between bands. Measure.
- Copying a friend’s saddle width. Two riders with the same height can be 30mm apart in sit bone spacing.
- Sizing up defensively. A too-wide saddle makes discomfort worse rather than safer, and puts you further forward on the nose.
- Choosing by colour or by what a brand’s letter label says. Read the width in millimetres, at the widest point.
- Ignoring shape and nose length. A 143mm saddle with a long nose suits a different position than a 143mm short-nose saddle, around 240mm rather than 270 to 280mm.
- Changing several things at once. Width, tilt, height and bar height all in one afternoon will leave you guessing.
- Riding through pain to “prove” the saddle. Numbness that arrives early is information. Stop, adjust, and test again.
Frequently Asked Questions
How narrow should a road bike saddle be?
Road saddles run from roughly 130mm at the narrow end to about 180mm at the widest. The narrowest are built for aggressive positions and riders with closely spaced sit bones. As a rule, do not go narrower than your sit bone width plus about 20mm, and never narrower than the width where you can fit two fingers between thigh and saddle.
Is a wider road bike saddle always more comfortable?
No. Wider is better only up to the point where your sit bones sit on the platform rather than overhanging it. Past that, extra width presses on your inner thighs, pushes you forward onto the nose and creates rocking. Too narrow is usually the worse error, but slightly too wide is common and worth correcting.
How do I measure my sit-bone width at home?
Sit on stiff corrugated cardboard on a hard, flat, upright chair, lean forward slightly from the hips, stay for 20 to 30 seconds, then stand up. Mark the centre of each of the two depressions and measure between those centres in millimetres. If no clear marks appear, retry on firmer cardboard or a foam mat, leaning further forward.
What saddle width should I use if I get numb on long rides?
Numbness that arrives within the first hour usually means the saddle is too narrow or you are sitting too far back, not that you need to toughen up. Move up one width step of roughly 10 to 15mm and re-check your fore-aft position. Persistent numbness warrants a stop and a visit to a fitter, since it affects blood flow.
Can saddle width change my knee or back position?
Saddle width changes where you sit rather than how far you reach. A saddle that is too wide pushes you forward onto the nose, which rotates you and can bring knee or lower back discomfort. A saddle that is too narrow leaves you rocking and shifting. Knee and back pain is more often a height or fore-aft offset problem, so check those first.
When should I ask a bike fitter about saddle width?
Ask a fitter when home measurement keeps failing, when numbness or perineal pressure arrives early on every ride, when your measurement falls above the widest size a brand publishes, or when you have already changed saddle twice without improvement. A fitter can also read the actual load distribution rather than inferring it from two bony points.
Conclusion
Do one thing this week. Sit on cardboard on a hard chair, mark the two depressions and write the centre-to-centre distance in millimetres. Then measure the widest point of the saddle you ride now and write that number down too, so you know whether the change you are about to make is up or down.
Add 20 to 25mm, adjust for posture, and shortlist two or three widths near that target rather than one. Test them separately over a few easy rides before settling. Riders who measure and test end up guessing less and swapping fewer saddles than riders who just react to pain.