How to use a CO2 inflator takes about five minutes to learn and thirty seconds to actually do. You screw a pierced cartridge into an inflator head, push that head onto your tyre valve, open the flow control, and let the gas through in short bursts until the gauge reads the pressure you want.
A CO2 inflator is a small head, usually metal or plastic, that screws into a threaded 16g, 20g, 25g or 32g cartridge and pushes that gas into the tyre through the valve. That matters because a repaired road tyre takes a few seconds to fill this way instead of a few hundred strokes with a mini pump.
A flat at 40 kilometres in the dark does not have to end your ride. Most of the riders I know who get caught out have not practised the sequence once before they need it, so that is what the steps below are for. We also cover the cartridge sizes, the cold burn warning that causes the most common roadside injury, and what to do with the tyre when you get home.
Table of Contents
- What You Need
- How to Use a CO2 Inflator Step by Step
- 1. Learn How to Use a CO2 Inflator Safely
- 2. Remove the Valve Cap and Prepare the Tire
- 3. Attach and Pierce the CO2 Cartridge
- 4. Inflate in Short Bursts and Check the Pressure
- 5. Disconnect the Inflator Safely
- Common Mistakes and Quick Tips
- Frequently Asked Questions
- Should I use a CO2 inflator or a mini-pump?
- Can I use a CO2 inflator more than once?
- How many CO2 cartridges do I need for one flat?
- Why does my tire gain pressure after I check it?
- Can I use any CO2 cartridge with my inflator?
- Conclusion: What to Do First
What You Need
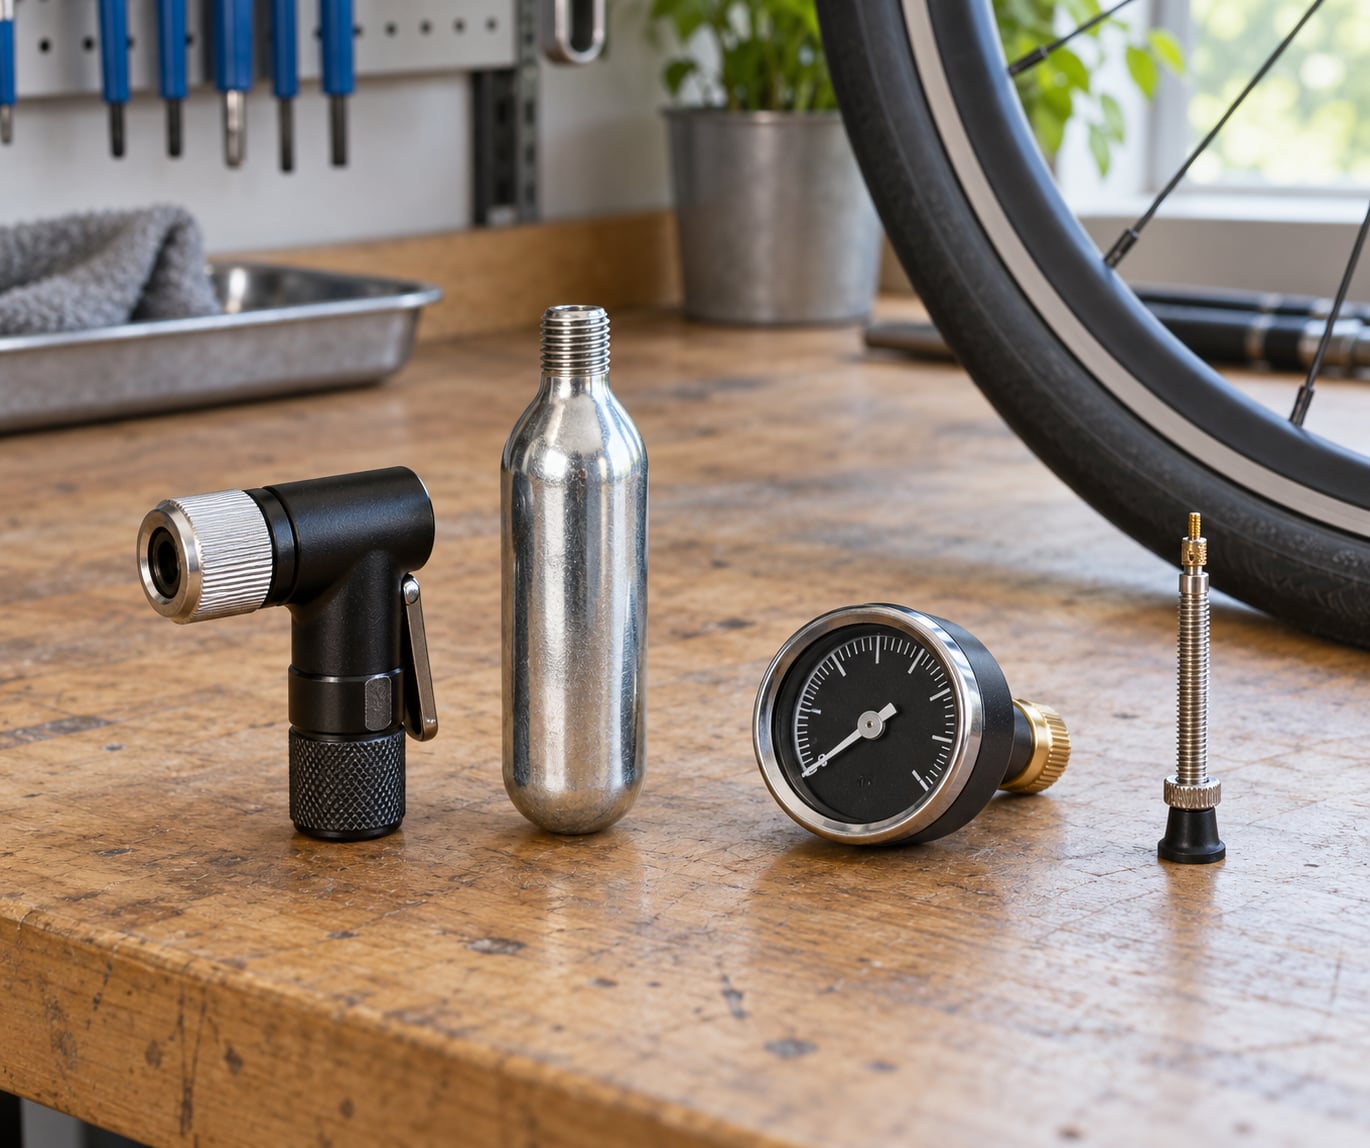
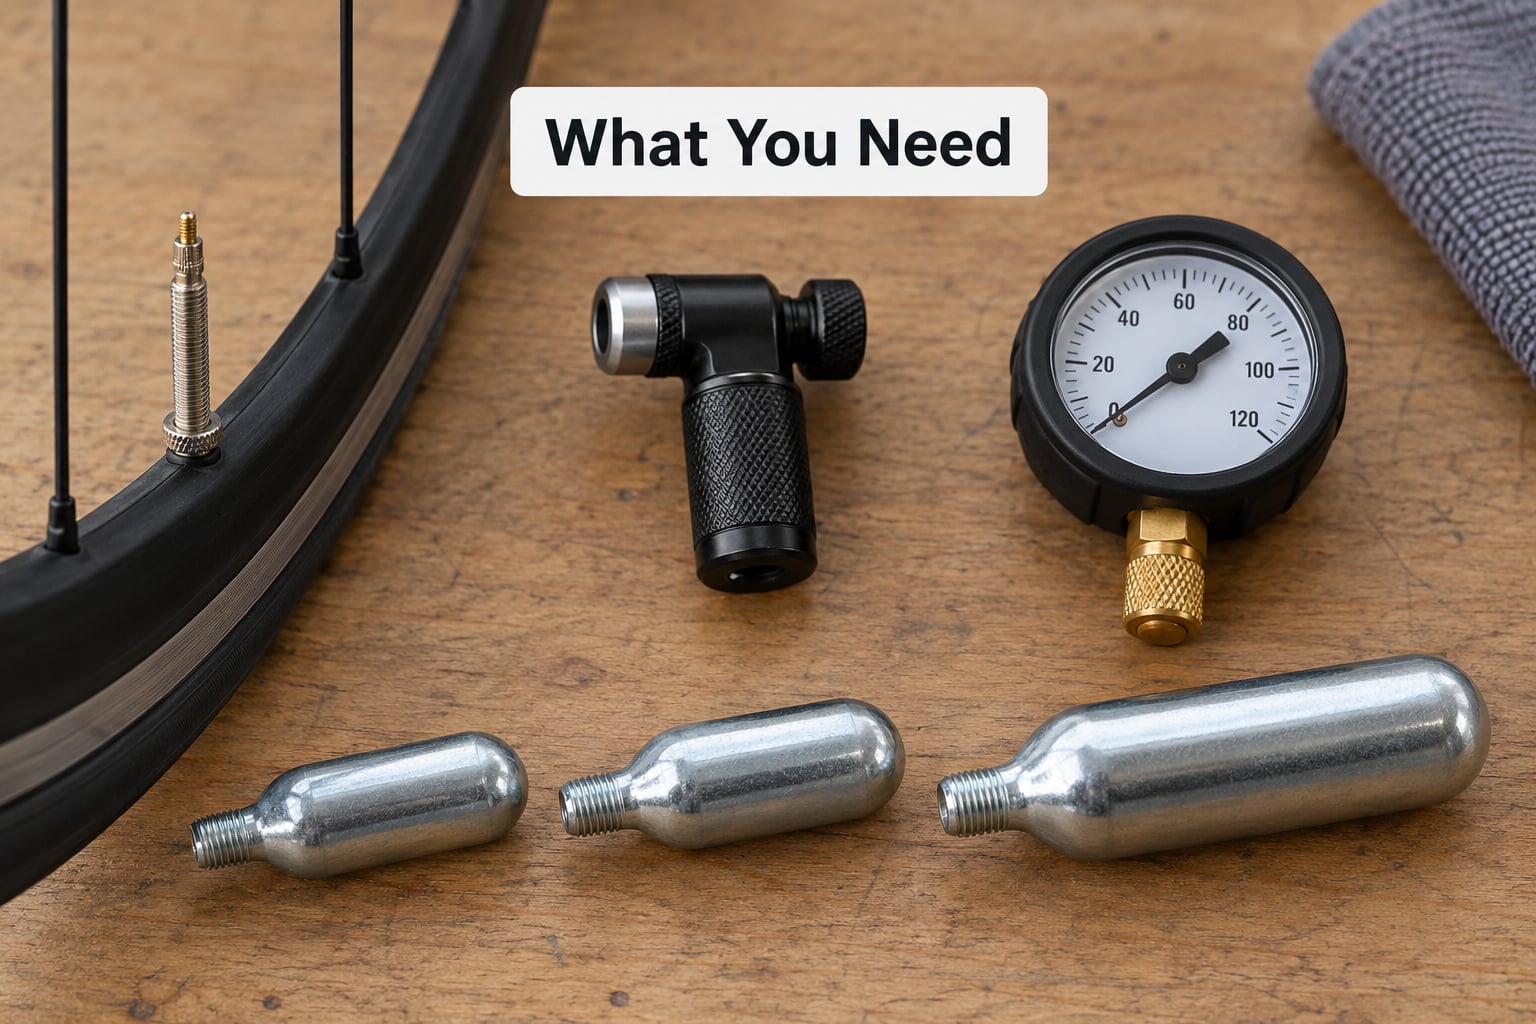
Four things have to line up before a CO2 inflator will do anything at all: a head that fits your valve, a cartridge that fits the head, a way to check pressure, and something to fall back on if the cartridge runs out. Get the first two wrong and nothing happens, which is why so many riders think their inflator is faulty.
- An inflator head matched to your valve. Some heads take both Presta and Schrader valves, others are single-valve. Check before you pack it.
- Threaded 16g, 20g, 25g or 32g cartridges. Screw-in, not the small non-threaded type.
- A pressure gauge. Either a gauge on the inflator head itself, or a separate pencil gauge with a short hose.
- A mini pump or track pump as backup. Small, light, and the only thing that tops up pressure to your real target.
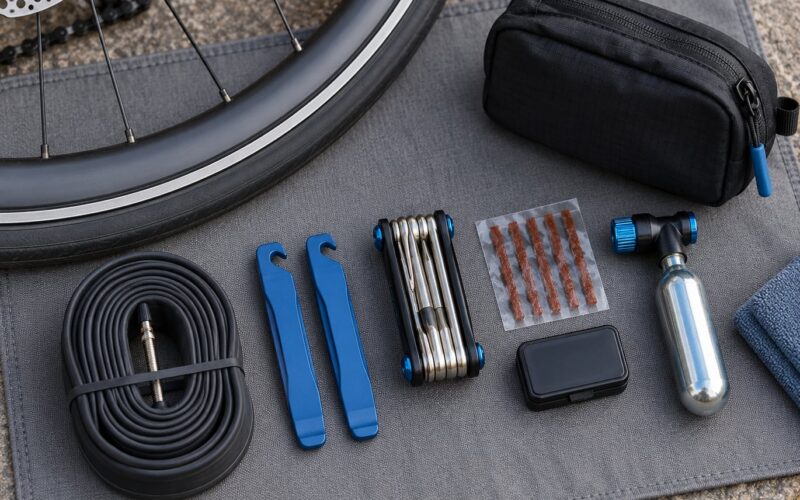
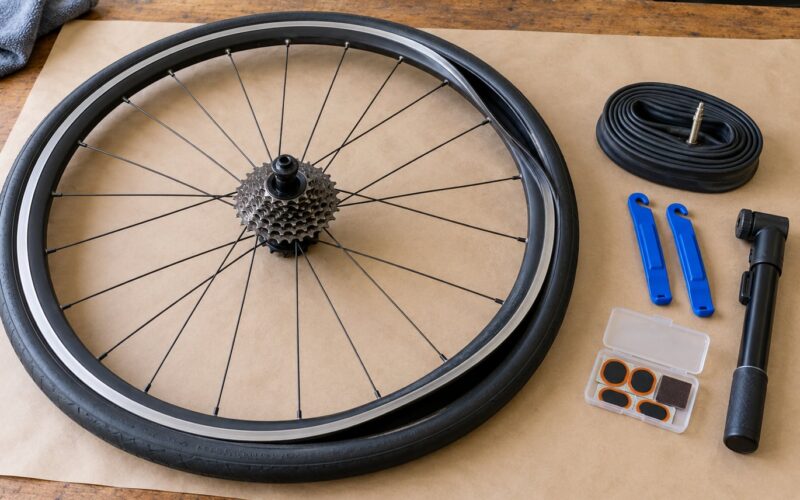
- A repair kit. Tyre levers, a patch kit or boot, a spare tube or tubeless plugs, and a pair of gloves or a small cloth for the cartridge.
Here is the cartridge sizing table riders most often ask for, worked out against the tyre volume you are actually trying to refill.
| Cartridge | Typically enough for | Common use |
|---|---|---|
| 16g | 700 x 25c to 700 x 28c road tyre | Road, gravel, commuter bikes |
| 20g | 700 x 28c to 700 x 35c | Gravel and all-road bikes |
| 25g | 700 x 40c to 27.5 x 2.4 | Gravel, hybrid, cross-country mountain bike |
| 32g | 27.5 x 2.6 to 29 x 2.4 | Trail and enduro mountain bike tyres |
One cartridge gets a road tyre from flat to firm. Wide tyres and big volume at low pressure usually want two, which is why experienced mountain bike riders carry a standard cartridge paired with a high-volume one rather than a single canister.
How to Use a CO2 Inflator Step by Step
Learning how to use a CO2 inflator safely comes down to order of operations. Fit the head or the cartridge first, depending on your design, and the whole thing works. Fit them in the wrong order or skip the safety steps and you get a burst tyre, a cold burn or a valve stem that freezes and never recovers.
1. Learn How to Use a CO2 Inflator Safely
Before you inflate anything, confirm what you are holding and what your bike takes. A Presta valve is the narrow kind with a small knurled nut and a tiny hole at the tip. A Schrader valve is the wide kind with a flat pin head on top, the same as a car tyre and common on older bikes, kids bikes and hybrid commuters.
Cartridges come in two incompatible formats. The standard type is threaded and screws clockwise into the base of the inflator head. The small non-threaded ones, sold as Whippit cartridges, physically will not fit a threaded head, and riders discover this at the roadside more often than they should.
Check the seals and the pin before you leave the house. The rubber washer on the cartridge face should be intact, the inflator head’s O-ring should sit in its groove, and the piercing pin should be straight and clean.
Look at the tyre and rim too, not just the puncture. Inspect the sidewall for cuts or bulges and the rim tape for fraying. A compromised rim can let the bead blow straight off the tyre, and a sidewall split is a whole-blowout rather than a slow leak.
Finally, sort out cold burn protection. A cartridge drops to freezing temperature the instant it starts discharging, and touching bare metal mid-blast is the most common injury riders report. RoadBikeReview forum threads on cold burn all say the same thing: hold the cartridge through a neoprene sleeve, a rag or a full-finger glove, and wait several minutes before touching the spent metal.
2. Remove the Valve Cap and Prepare the Tire
Unscrew the little valve cap and put it somewhere you will find it later, because losing one down a storm drain on a wet roadside day is genuinely annoying. On a Presta valve, press the top of the valve to unseat it, then loosen the knurled nut anti-clockwise just enough that the valve stem is free to move.
If the stem does not move when you press it, the valve core is stuck or the tube is still wrapped around it. That is the most common reason a Presta valve will not fill, and it looks exactly like a broken inflator.
Find the actual leak before you reach for the cartridge. Pump the tube up with a floor pump or your mini pump, run your fingers along the tube, listen for the hiss, or soapy water if you have some. A CO2 blast fills the tyre so fast it will hide a small leak completely.
Reseat the tube properly once you are satisfied. Make sure the valve stem is straight and not folded under the tube, that the tube is not pinched by the tyre levers, and that no sharp edge of the rim tape is sitting on top of it.
3. Attach and Pierce the CO2 Cartridge
Inflator designs split into two camps on fitting order, and the guides only ever describe one of them. Some heads take the cartridge first, then go onto the valve. Others lock onto the valve first, then take the cartridge. Neither is wrong, but following instructions written for the other design is how people end up stuck halfway through.
On a cartridge-first head, slide the neoprene sleeve over the cartridge if you have one, then screw the cartridge clockwise into the base of the head until it is tight. That closing motion is what drives the piercing pin into the seal, so you should feel a distinct click or a firm stop.
On a head-first design, lock the head onto the valve first. A push-fit head presses straight over a Schrader valve, while a Presta valve needs either a light twist or a head with the angled outlet that most dual-valve designs now use.
Some heads show you that the cartridge is armed. The SKS Airbuster style head has a red indicator tab that pops up when the seal is pierced, and that is the tab to look for before you open the valve.
Do not squeeze the trigger yet. Fit everything first, then look at the tyre, then open the flow control.
4. Inflate in Short Bursts and Check the Pressure
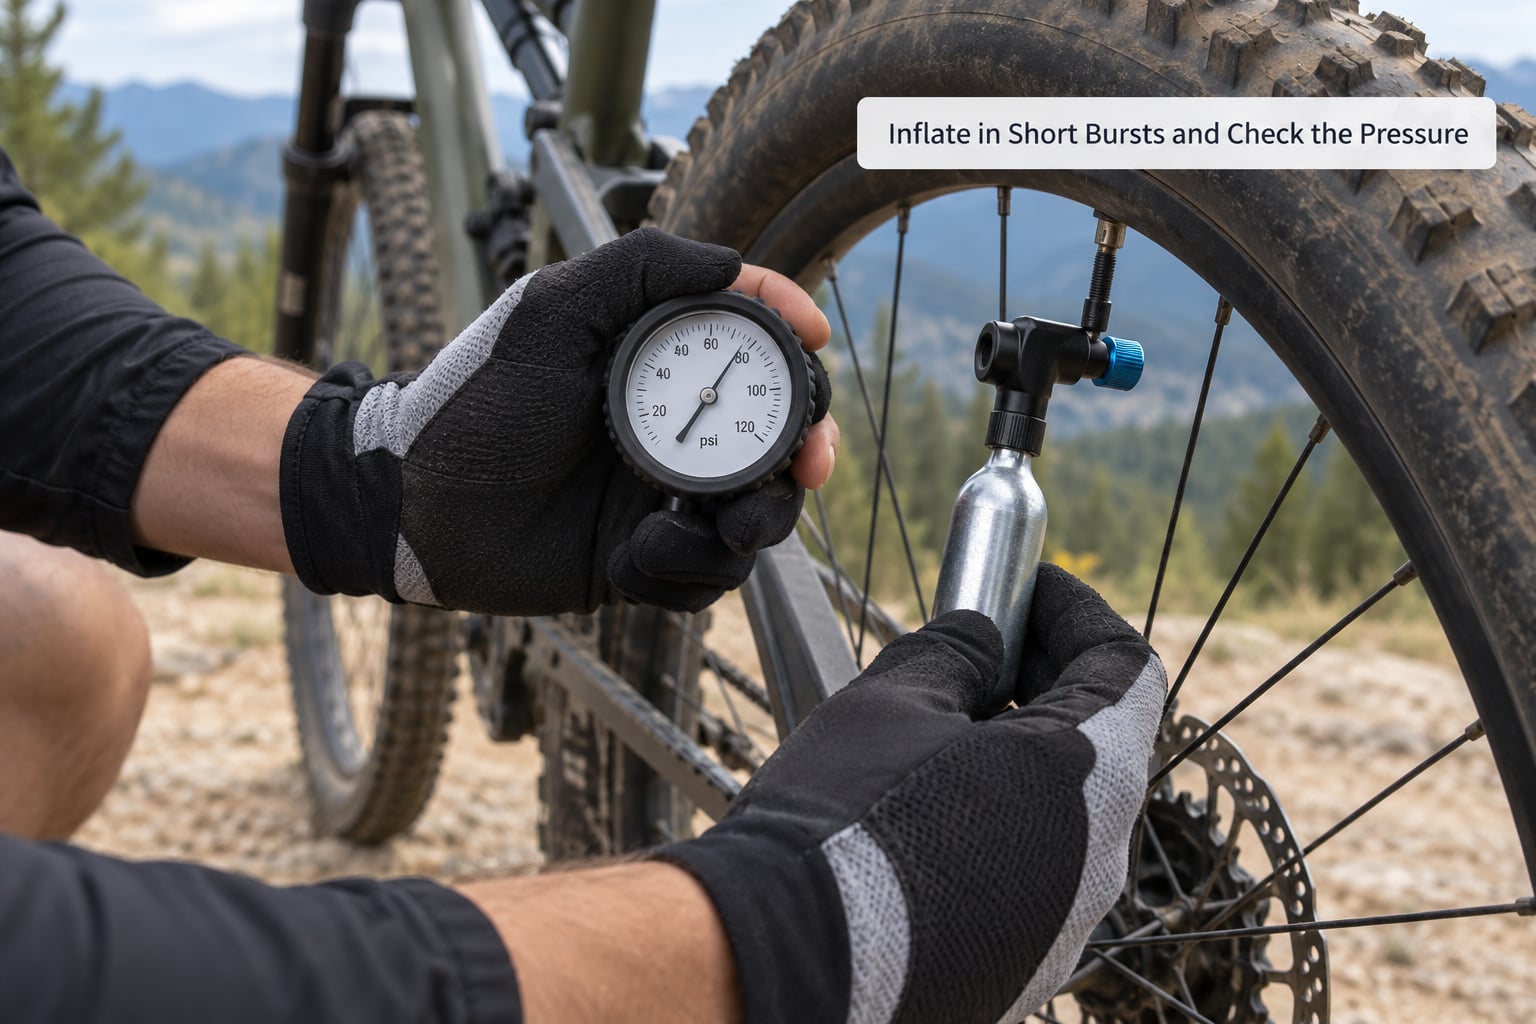
Control how fast the gas leaves. A twist-the-cartridge head meters flow by how far you turn it, a trigger head gives you everything or nothing, and a dial head lets you set a fixed rate. On any of them, start with the smallest burst your design allows.
Pump for two or three seconds, then stop the gas and check the pressure. Repeat until the gauge reads what you want. The gas cools the cartridge and the head as it expands, which is why a full-blast inflation from empty can look correct on the gauge and still keep climbing for a minute afterwards.
On a road bike, most riders land somewhere around 90 to 100 psi on a 700 x 25c for normal pavement conditions, and a few psi lower in wet winter weather or on rough tarmac. Wider gravel tyres run lower again. Treat those as starting points and check the range printed on the tyre sidewall, because the number that matters is the one inside your own tyre’s rated range.
If you have no gauge, you can learn the feel. Squeeze the tyre between thumb and forefinger: a firm tyre resists and springs back, while a soft one deforms easily under light pressure. It is a rough check, which is exactly why it is a backup and not a replacement.
Pace matters for safety, not just comfort. Riders on Bikeforums and r/bikewrench warn that inflating too hard and too fast can freeze the valve stem, especially with an all-metal head, and a frozen stem can leave you with a half-inflated tyre and no way to inflate it again. Slow bursts prevent that.
If you run tubeless, a strong burst is also the fastest way to seat the bead. The trade-off is that pure CO2 is bone dry and carries no moisture, so it dries tubeless sealant faster than air does. Treat a tubeless CO2 top-up as a get-home fix and add fresh sealant or a little water once you are back.
5. Disconnect the Inflator Safely
Close the flow control completely before you touch anything else. If the head has a retractable pin, press it back in so it is not left sticking through the cartridge when you pull the head off the valve.
Release the head from the valve the way it locked on: press and pull for a push-fit head, or turn anti-clockwise for a screw-on head. Heads with a vent button, such as the common single-valve plastic style, press that first to release the residual gas so it does not go across your jersey when the connection breaks.
Let the cartridge sit for a minute before you pick it up bare-handed, whatever is still inside it. Then put it back in the bag for recycling or disposal with your local metal recycling, and never try to pierce or cut one open yourself.
Check the tyre pressure once more, refit the valve cap, and remount the wheel. If the head was fitted over the knurled Presta nut rather than the bare stem, tighten that nut back up before you ride away.
Common Mistakes and Quick Tips
Almost every roadside CO2 disaster traces back to one of the same handful of mistakes. Here are the ones worth knowing by heart, with the fix for each.
- Oversized cartridge. A 25g or 32g canister in a narrow road tyre puts so much volume into it so fast that the tyre can blow off the rim. Match the cartridge to the tyre volume in the table above.
- Not checking the pressure. Inflating to a feeling rather than a number is how tyres end up at 140 psi. Check the gauge after each burst, not at the end.
- Excessive pressure. Going past the tyre’s rated maximum is the fastest way to blow a sidewall seam, and the sidewall is what holds the tyre on.
- Wrong valve adapter. Forcing a head that does not match your valve will damage the valve stem, and a damaged stem rarely seals again. Check the head before the ride, not during it.
- Leaving the flow open while fiddling. Gas escaping from a half-open cartridge is gas you do not have later. Close the control before you put anything down.
- Puncturing the tube. Rushing the reseat and pinching the tube with a lever is common on cold hands. The piercing pin can also nick a tube that was folded under the valve, so keep the stem straight.
- Carrying CO2 as your only inflation method. One cartridge is one fix. Carry two, carry a mini pump, or both, because a punctured tube plus an empty cartridge is a long walk.
One more that catches people out is the morning after. CO2 molecules are small enough to pass through butyl rubber much faster than air, so a tyre inflated with a cartridge overnight can be noticeably soft by breakfast. Deflate it when you get home and refill it with a floor pump so the two gases mix and the pressure holds.
Carry practice beats carrying gear. Do one full drill in the garage on a spare tube, including the freeze-burn handling, so your hands know what to do. Keep the cartridges in the bag rather than loose in a jersey pocket, keep them out of direct sun, and check them once in a while by weight or by fitting one to the head and watching for flow.
Frequently Asked Questions
Should I use a CO2 inflator or a mini-pump?
Carry both if you can. CO2 wins on speed, a cartridge refills a road tyre in seconds and matters most in races, in rain and in the dark. A mini pump wins on control and longevity, because it tops the tyre up with air that stays put and it never runs out. Riders on forum threads who moved to a quality frame pump in the bottle cage are usually happy, so the pump is the cheaper habit and CO2 is the emergency tool.
Can I use a CO2 inflator more than once?
The head is reusable as long as its seals and pin are undamaged, and many riders use the same one for years. The cartridge is single use. Once the piercing pin has gone through the seal, the gas escapes even if you seal the head again, so treat any fitted cartridge as spent and carry spares rather than trying to save a part-full one.
How many CO2 cartridges do I need for one flat?
One 16g or 20g cartridge fills a typical 700 x 25c to 700 x 35c road or gravel tyre from flat to firm, since road tyre volume is small. Wider mountain bike tyres need more: a 25g for 27.5 x 2.4 or a 32g for 29 x 2.4, and often two for a genuinely wide tyre at low pressure. Carrying two cartridges covers nearly every case.
Why does my tire gain pressure after I check it?
Because the gas is still cooling and still expanding after the valve closes. A cartridge that discharges at a fraction below freezing warms to room temperature over a minute or two, and that warming pushes the pressure up. Check the gauge again two or three minutes after you stop pumping, and only add more gas if it is still below target.
Can I use any CO2 cartridge with my inflator?
Only threaded screw-in cartridges of the size your head accepts, which is normally 16g, 20g, 25g or 32g. The small non-threaded type, sold as Whippit cartridges, will not screw into a threaded head and is a common purchase mistake flagged on cycling forums. Check the thread size printed on the head before you buy gas for it.
Conclusion: What to Do First
Do one full drill in the garage on a spare tube before anything else. Know which valve type your bike takes and which cartridge size the head wants, because that pairing is where most failures start.
Then pack a gauge, a mini pump and at least two cartridges, and remember the three things that go wrong most: a cartridge that freezes your hands, a valve that never opens, and a tyre inflated far past its rating. Inflate in short bursts, read the gauge instead of guessing, and deflate and refill with air once you are home.