Replace a bike chain once it reaches 0.5% wear on an 11- or 12-speed drivetrain, or 0.75% on a 6- to 10-speed system. That sounds technical, but the check takes about a minute with a chain wear gauge, and doing it on schedule keeps the cassette and chainrings alive far longer.
The single most common drivetrain mistake is running a worn chain until it snaps or grinds. A stretched chain rides on the tips of the teeth rather than seating in the valleys, and that is what reshapes a cassette into something hooked and unusable. Every mechanic will tell you the same thing: replace the chain before the cassette, never the other way round.
Below is how to measure wear, how to read the numbers, and how to fit the replacement without a trip to the shop.
Table of Contents
- What You Need
- When to Replace a Bike Chain
- Expected chain life by bike type
- Symptoms that mean check it now
- How to Check Chain Wear
- Method 1: chain wear gauge
- Method 2: the ruler test
- Method 3: chainring lift and visual check
- Step-by-Step: Replace the Bike Chain
- 1. Confirm the correct chain and drivetrain condition
- 2. Check the wear percentage
- 3. Remove the old chain without forcing it
- 4. Fit and size the new chain
- 5. Install the chain and restore secure closure
- 6. Test shifting and pedal through every gear
- 7. Lubricate, recheck and break the chain in
- Common Mistakes
- Frequently Asked Questions
- How often should I replace a bike chain?
- Can I use a chain wear tool instead of counting miles?
- Do I need to replace the cassette when I replace the chain?
- How do I know the new chain is the correct length?
- Should I lubricate a new bike chain immediately?
- Why does my new chain still skip or shift poorly?
- Conclusion
What You Need
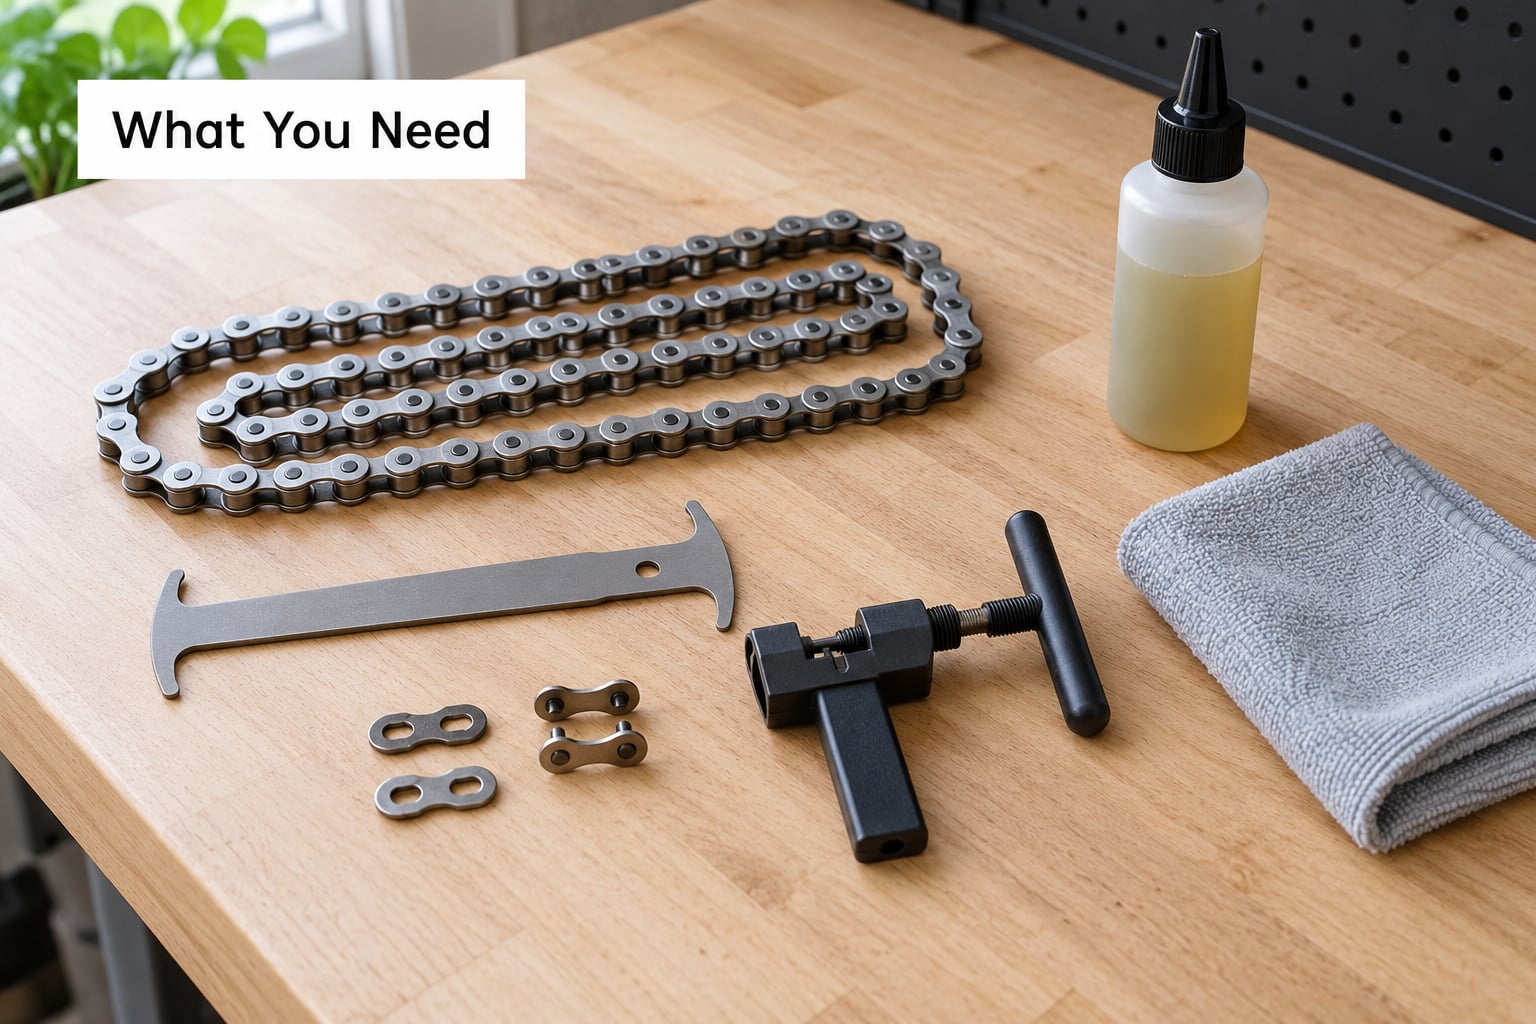
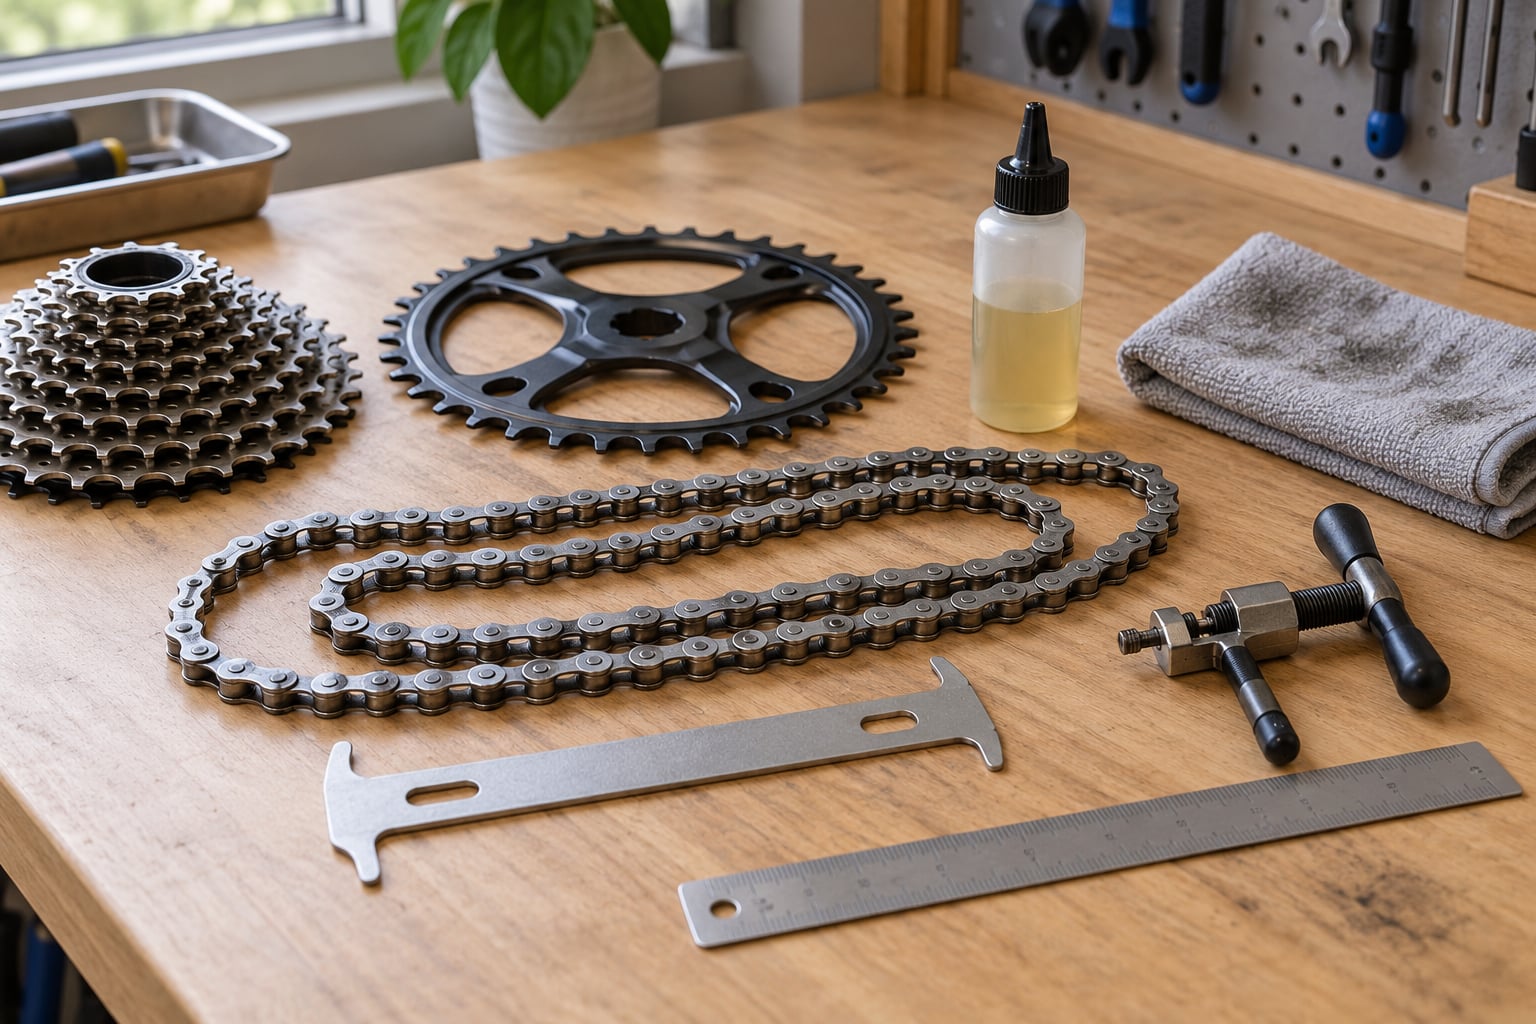
A chain wear gauge is the one tool that turns this from guesswork into a number. A common choice is the Park Tool CC-3.2, and the CC-4 covers wider-range systems; either gives you a pass or fail in seconds. A steel ruler or a machinist’s rule works too if you know the reference lengths.
You will also need the replacement chain itself. Match the speed count to your drivetrain exactly, and pay attention to brand compatibility: Campagnolo, Shimano and SRAM systems do not all cross-fit, and a chain from the wrong family will not size correctly.
- Chain wear gauge or precise steel ruler
- Replacement chain in the correct speed count and brand family
- Chain tool or quick-link tool for opening and closing links
- Clean rag and a degreaser or solvent for wiping grime off before measuring
- Chain lubricant appropriate for the conditions you ride in
Have the bike maker’s or component maker’s compatibility chart within reach if you are unsure. It takes two minutes and saves a wasted trip.
When to Replace a Bike Chain
You replace a chain when the pins and bushings inside it wear past the point where they can seat the rollers properly, and that wear is measured as a percentage of chain pitch. It is often called chain stretch, though nothing is actually stretching: the holes in the inner plates and the holes in the bushings widen, and each roller sits a little further from the last.
The thresholds most shops use:
- 0.5% wear — replace immediately if the 0.5% side of the gauge drops fully into the chain. This is the limit for 11- and 12-speed drivetrains, where narrower teeth tolerate less slop.
- 0.75% wear — the common limit for 6- to 10-speed systems, and a sensible caution point for anyone riding in rain, winter salt or dust.
- 1.0% wear — the point of no return. A chain here can permanently deform teeth, and you are now shopping for a cassette and possibly a chainring too.
Expected chain life by bike type
Mileage is a rough guide rather than a rule, because chain wear tracks revolutions, not miles, and dry or dirty conditions speed it up sharply.
| Bike type | Typical chain life | Why |
|---|---|---|
| Road | 2,000 to 3,000 miles | Clean, dry riding and high wheel rotation |
| Gravel | 1,800 to 2,500 miles | Dust and occasional grit on the road surface |
| Mountain | 1,000 to 2,000 miles | Mud, water crossings and interrupted pedalling |
| E-bike | Around 1,000 miles | Motor torque loads the chain at low speeds |
| Commuter | 1,500 to 2,500 miles | Stop-start riding wears bushings faster |
E-bike owners tend to report far shorter chain lifespans with mid-drive motors, largely because the motor delivers torque at low cadence and in conditions where a chain would normally be under tension. Checking every few hundred miles is the habit that keeps those drivetrains healthy.
Symptoms that mean check it now
Measurement beats symptoms, but you cannot feel 0.4%. Treat these as reasons to go measure rather than as a verdict:
- Grinding or clicking from the drivetrain while pedalling
- Skipping under hard effort, especially in a smaller sprocket
- Slow, hesitant shifts that were crisp last month
- Ghost shifting, where the chain moves across two sprockets at once
- Visible rust on the pins after a wet winter
- Bent, stiff or damaged links that catch when you rotate the chain by hand
One more symptom is worth knowing: a chain that keeps dropping off on its own is often a derailleur tension problem rather than a bad chain, so check spring tension and hanger alignment before blaming the chain.
How to Check Chain Wear
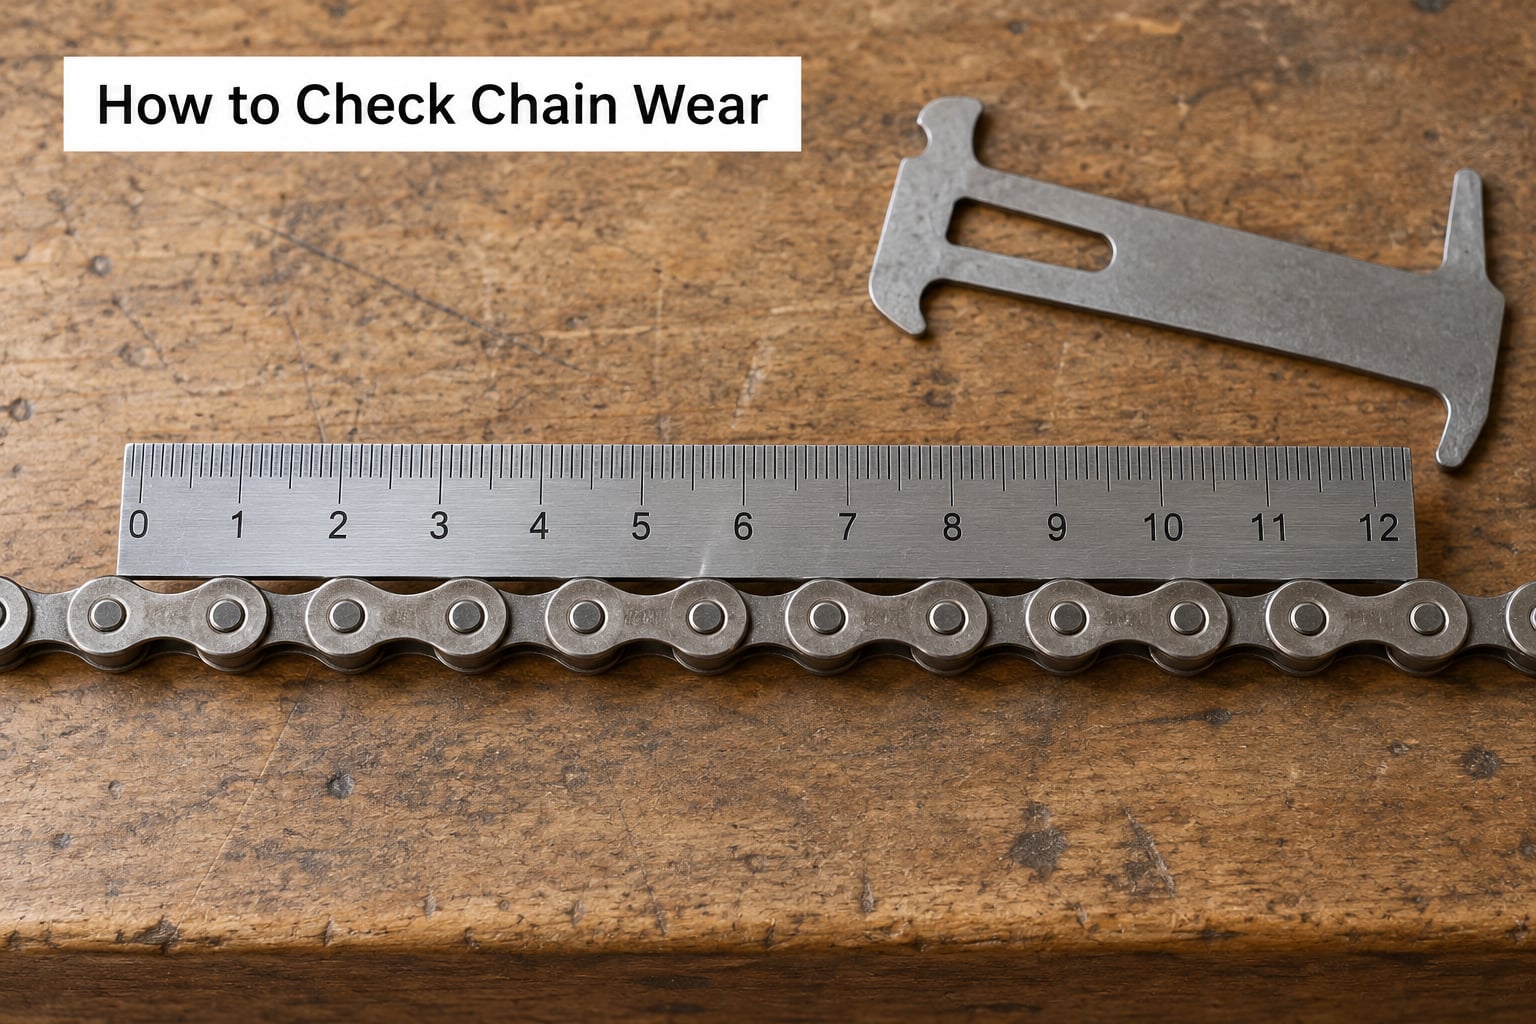
There are three practical ways to do this, and the ruler method still works when you have no tool at all.
Method 1: chain wear gauge
Wipe the chain clean first, then drop the gauge into the links and pull it away from the teeth. A gauge that slides in with no resistance means that side’s wear limit has been passed. On a 0.75% gauge, if the 0.75% side goes in fully, the chain is finished. On 11- and 12-speed systems, look at the 0.5% end instead.
A fair question comes up here: a gauge reading almost no wear after 2,500 miles is not necessarily a faulty tool. On well-lubricated, dry-weather road riding, that is a plausible result. The gauge measures pitch elongation, so the only way it lies is if the chain is dirty or you are measuring over a rusty, damaged section.
Method 2: the ruler test
Pull the chain taut and measure from the centre of one pin to the centre of the twelfth pin after eleven more pins. That span is 12 inches when the chain is new. Here is the reference table.
| Measurement over 12 links | Wear | Action |
|---|---|---|
| 12 in | 0% | New chain |
| 12 1/16 in | 0.5% | Replace on 11/12-speed, service soon on 6-10 speed |
| 12 3/32 in | 0.75% | Replace now on 6-10 speed, replace now on 11/12-speed |
| 12 1/8 in | 1% | Replace immediately and inspect cassette and chainrings |
Accuracy comes down to tension. A slack chain reads short and a stretched chain reads long, so push the links straight and hold the ruler flat against a solid surface. Measuring over 24 links instead of 12 doubles your resolution and is easier to read on a worn chain.
Method 3: chainring lift and visual check
Lift the chain off the top of the chainring and look down at the side of the teeth. On a new chain, every roller sits inside a tooth valley. As wear grows, rollers ride higher on the tooth tips until you can see daylight under the lifted chain. That is a rough sign, useful for spotting a chain that has gone far past due, not a substitute for a number.
Rotate the drivetrain by hand while you watch. Any link that binds, catches or will not roll freely needs replacing regardless of what the gauge says. Stiff links also explain the skipping you feel under load.
Before you buy a chain, inspect the cassette and chainrings. Look for hooked, shark-fin or asymmetric teeth. If the teeth are already shaped that way, a new chain will skip no matter how good it is, and no chain is going to fix a cassette that has been chewed by a chain at 1% wear.
Step-by-Step: Replace the Bike Chain
Changing a chain takes 15 to 30 minutes for most riders and needs no special tools beyond what you listed above. The order matters more than the speed.
1. Confirm the correct chain and drivetrain condition
Check the speed count printed on the packaging and compare it with your cassette. Then look hard at the teeth before you fit anything. Severely worn chainrings or a hooked cassette need replacing first, otherwise the new chain inherits the same problem on day one.
2. Check the wear percentage
Measure the old chain before removing it, and write the number down. It tells you whether this is a routine swap at 0.5% or an overdue chain at 1%, and it tells you whether to inspect the cassette closely afterwards.
3. Remove the old chain without forcing it
Find the master link or quick link. If it is a quick link, squeeze both plates together with the tool to release it. For a conventional master link, line up the correct pin and drive it out with the chain tool. Never pry a stiff link open with a screwdriver; the plates deform and the new chain will never run true.
4. Fit and size the new chain
Route the new chain around the chainrings and through the derailleur pulleys. Wrap it around the largest sprocket and pull the two ends together. The correct length leaves the small adjustment of slack that lets the derailleur take up chain growth without binding. Most derailleur-based bikes size a chain by counting, but for a bike without a derailleur, size it by rule: inner plate plus half inch over the large sprocket.
5. Install the chain and restore secure closure
Join the ends with the quick link or master link, matching the outer plates correctly so the link sits flush. Close it fully and confirm every pin is seated: a link that only half-closes will throw the chain under power. Then check that the chain follows a clean S-curve through the upper and lower jockey wheels.
6. Test shifting and pedal through every gear
Run through the cassette from the smallest sprocket to the largest in both directions, then back again, pedalling lightly. Watch the chain rather than the shifter. Small hops on one sprocket are often a limit screw; hesitation going up is usually cable tension or barrel adjuster. Make one small adjustment at a time, and only if the chain is otherwise seated correctly.
7. Lubricate, recheck and break the chain in
Apply a thin line of chain lube along the rollers while slowly rotating the cranks, then wipe off the excess with a clean rag. Excess lube attracts grit and can stain your legs and frame. Ride the bike a short distance, recheck that the joining link is still fully closed, and expect a small settling period where shifts feel slightly slower for the first ride or two.
Common Mistakes
Fitting the wrong chain. Speed count and brand family both matter, and Campagnolo, Shimano and SRAM chains are not interchangeable. An 11-speed chain will fit a 12-speed cassette but shift badly and wear faster.
Replacing a chain on a worn cassette. This is the expensive version of the same mistake, and it is the one that riders regret. Check the teeth first, and only buy a chain if the cassette is worth saving.
Forcing a stiff or rusty link. A link that binds will damage the new chain’s rollers quickly. Degrease it, work it free by hand, or replace the chain outright.
Spraying WD-40 on the chain. WD-40 is a water displacer, not a chain lubricant. It flushes out the lube you need and leaves a film that attracts dust. Use a proper chain lube instead, and expect to degrease and re-lube rather than top up.
Over-lubricating. A thick bead of lube traps grit and grinds the chain faster than an unlubricated one. Thin coat, then wipe.
Chasing noise that is not the chain. Grinding from the pedals, a knocking bottom bracket and brake rub all sound similar in traffic. Spin the cranks with the bike lifted and listen for where the sound follows the chain.
Waiting on mileage instead of wear. Miles are a guess. A gauge reading is not.
Frequently Asked Questions
How often should I replace a bike chain?
Measure rather than count. Most road chains last 2,000 to 3,000 miles, gravel and commuter chains 1,500 to 2,500, mountain bike chains 1,000 to 2,000, and e-bike chains closer to 1,000 because of motor torque. Check with a wear gauge every few hundred miles on an e-bike and every 500 miles or so otherwise, and replace at 0.5% wear on 11- and 12-speed systems or 0.75% on older ones.
Can I use a chain wear tool instead of counting miles?
Yes, and you should. A chain wear gauge measures elongation of the chain pitch, which is what actually damages your cassette, rather than guessing from distance ridden. Drop the gauge into the links and pull it away from the teeth. If the 0.5% side goes in fully on an 11- or 12-speed drivetrain, or the 0.75% side on an older system, replace the chain. Clean the chain first for an accurate reading.
Do I need to replace the cassette when I replace the chain?
Usually not. A fresh chain on a healthy cassette shifts crisply and lasts thousands of miles, which is why replacing chains early gets you four or five chains per cassette. Inspect the teeth for hooking or shark-fin shapes first. If the teeth are already worn into that shape, or if your new chain skips under hard pedalling even after a correct installation, the cassette has to go too.
How do I know the new chain is the correct length?
Wrap it around the largest sprocket and pull the ends together with the derailleur in its rest position. You want a small amount of slack, just enough for the derailleur to absorb stretch without going tight. If the chain will not pull together, it is too long. If it is dead tight, you need to add a link. Most derailleur bikes size the chain by counting, so consult the chain packaging chart for your gearing.
Should I lubricate a new bike chain immediately?
Yes, before the first ride. Chains arrive from the factory with light or no protective coating, and dry riding grinds grit into the rollers and bushings from the start. Apply a thin line of chain lube, rotate the cranks through the full revolution to cover every roller, then wipe off the excess. Over-lubricating is as bad as skipping it, so the wipe-back step matters.
Why does my new chain still skip or shift poorly?
Work through the causes in order. First, confirm the chain matches your speed count and brand family. Second, check the chain length and that the joining link is fully closed. Third, inspect the cassette and chainrings for hooked teeth, which a new chain cannot fix. Fourth, check cable or housing tension and the limit screws, adjusting one variable at a time. If shifting is still poor after those checks, it is worth a shop visit.
Conclusion
Put it plainly: check the chain with a gauge rather than a mileage guess, replace it at 0.5% wear on modern 11- and 12-speed drivetrains or 0.75% on older ones, and look at the cassette before you fit anything new. Then lube, test every gear and recheck the joining link after the first ride. That single habit is the cheapest drivetrain maintenance there is.