How to use a bike fit to prevent pain comes down to one habit: change a single contact point, ride long enough to test it, and keep it only if the discomfort went down. A fit is not a cure-all, and it cannot fix a training problem or an old injury, but it can remove a surprising amount of mechanical load from your knees, back, hands, and sit bones.
The first thing I would do is time your pain. Discomfort that shows up in the first 20 minutes is almost always a setup problem, which means the bike is worth adjusting. Pain that only arrives after 60 miles is usually about postural endurance and training load, and a fit change will only take the edge off. Sorting those two apart first saves you from spending a weekend chasing a problem that lives somewhere else.
What follows is the sequence I would use on my own bike, and on club rides where riders keep adjusting the same thing twice without writing anything down. It is deliberately slow. Slow is what makes it diagnostic.
Table of Contents
- What You Need
- How to Use a Bike Fit to Prevent Pain: Step by Step
- 1. Define the Complaint and Riding Demands
- 2. Check Feet, Cleats, and Pedal Position
- 3. Assess the Saddle Height and Foreaft Position
- 4. Use a Bike Fit to Check Contact-Point Comfort
- 5. Evaluate Reach, Spine Position, and Steering
- 6. Make One Change at a Time
- 7. Recheck the Fit After Real-World Rides
- Common Mistakes
- Frequently Asked Questions
- How often should I get a bike fit?
- Can a proper bike fit stop cycling knee pain?
- How long does a professional bike fitting take?
- Is a foam saddle enough to prevent saddle pain?
- When should I stop riding and see a doctor?
- Conclusion
What You Need
None of this needs a workshop or a motion-capture rig. It needs your bike, a few tools, and a written record.
- The bike as you actually ride it. Fit checks are meaningless on a bike you never ride. Bring your real saddle, bars, pedals, and shoes if you have a second set.
- Your fit records. Whatever a fitter wrote down: saddle height at the centre to top of saddle boss, crank arm in millimetres, bar drop, reach, stem length and spacer stack. Photos of you on the bike from the side and behind help too.
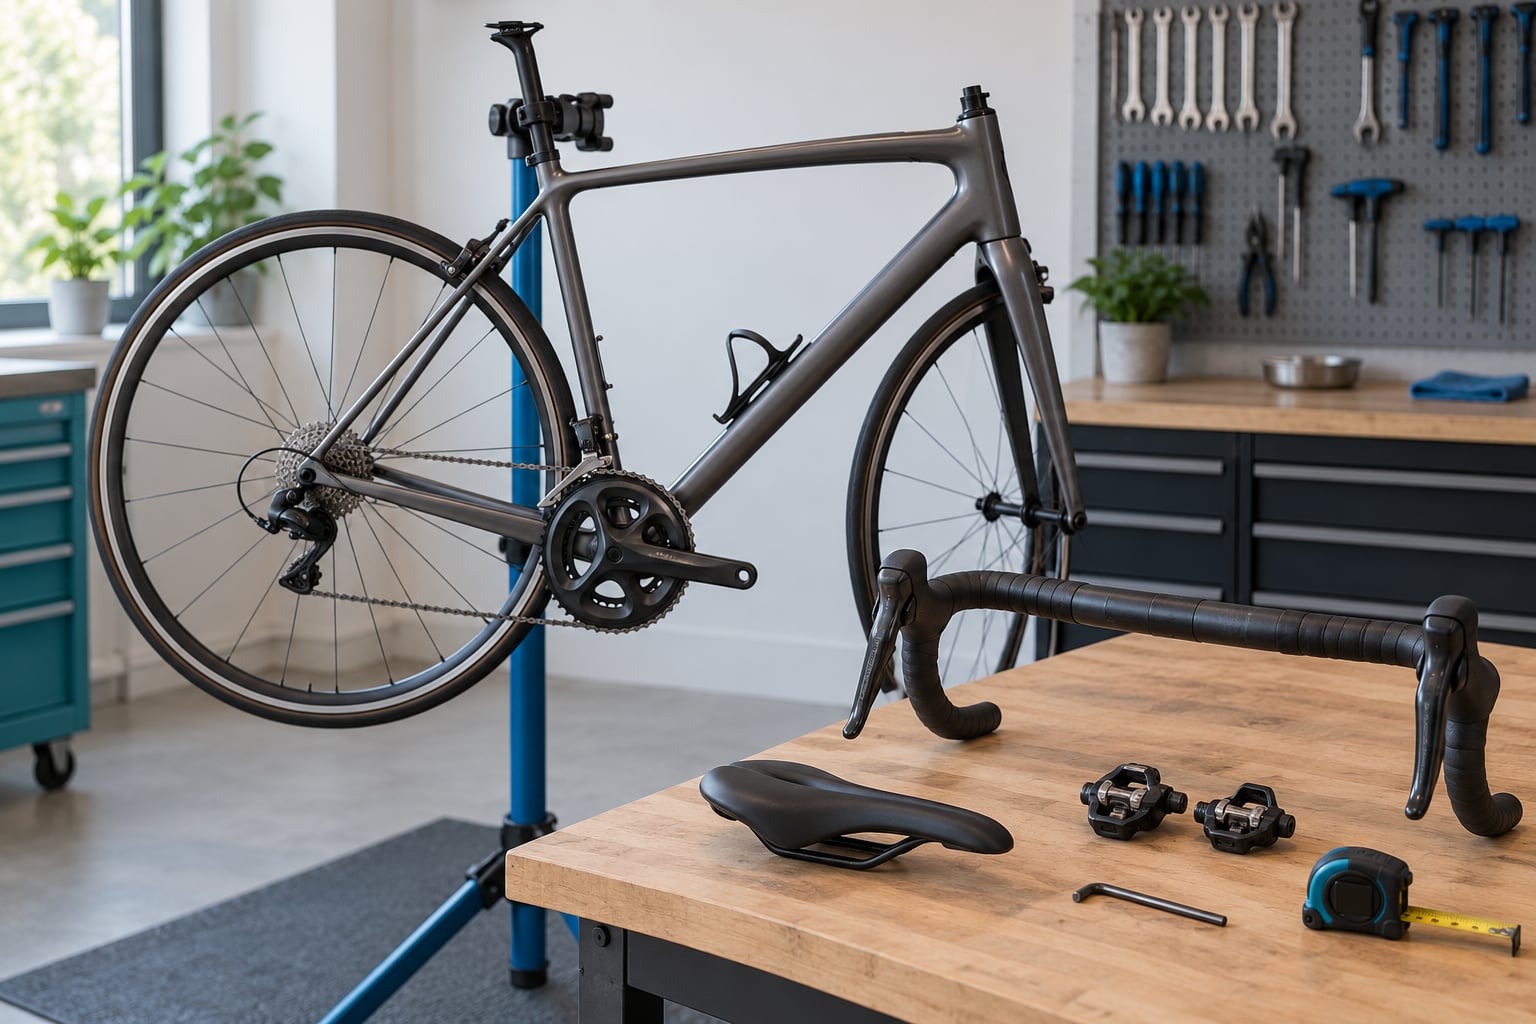
- Basic tools. A 4mm and 5mm Allen key, a 6mm for stem bolts, a torque driver, a tape measure, and a 6mm hex for through-axles if your wheels need it. A level is nice for checking bar rotation.
- Your riding conditions. Usual weekly mileage, longest typical ride, whether you ride in drops or on the hoods, indoor or outdoors, and whether the bike gets moved between bikes or bikes between riders.
- Symptom notes. Written down before you start: where the pain is, when it starts, how long it lasts after you stop, and what you changed in the weeks before it appeared.
That last item matters more than the tools. Riders who arrive with vague memories of pain cannot tell whether a change worked.
How to Use a Bike Fit to Prevent Pain: Step by Step
Seven steps, in order. Each one either rules something out or narrows the cause. Resist the urge to jump to the adjustment you already suspect, because the order is what makes the result trustworthy.
1. Define the Complaint and Riding Demands
Write the symptom down in one sentence before touching a bolt. “Front of my right knee aches about 10 minutes into the first climb and settles within an hour of stopping” is usable. “My knee hurts” is not.
Then list what has changed in the last eight weeks: mileage, intensity, a new saddle, a new pair of shoes, a route with more climbing, a desk job with longer hours in a chair. This is where the answer usually hides. A rider who added an hour of hills a week and then moved the saddle forward is treating the wrong variable.
Also record the pedal stroke you are actually in. If the pain never shows up under a steady seated cadence but appears when you stand and sprint out of the saddle, that is a different problem than a knee that hurts while seated, and it points at fit and loading rather than saddle height alone.
2. Check Feet, Cleats, and Pedal Position
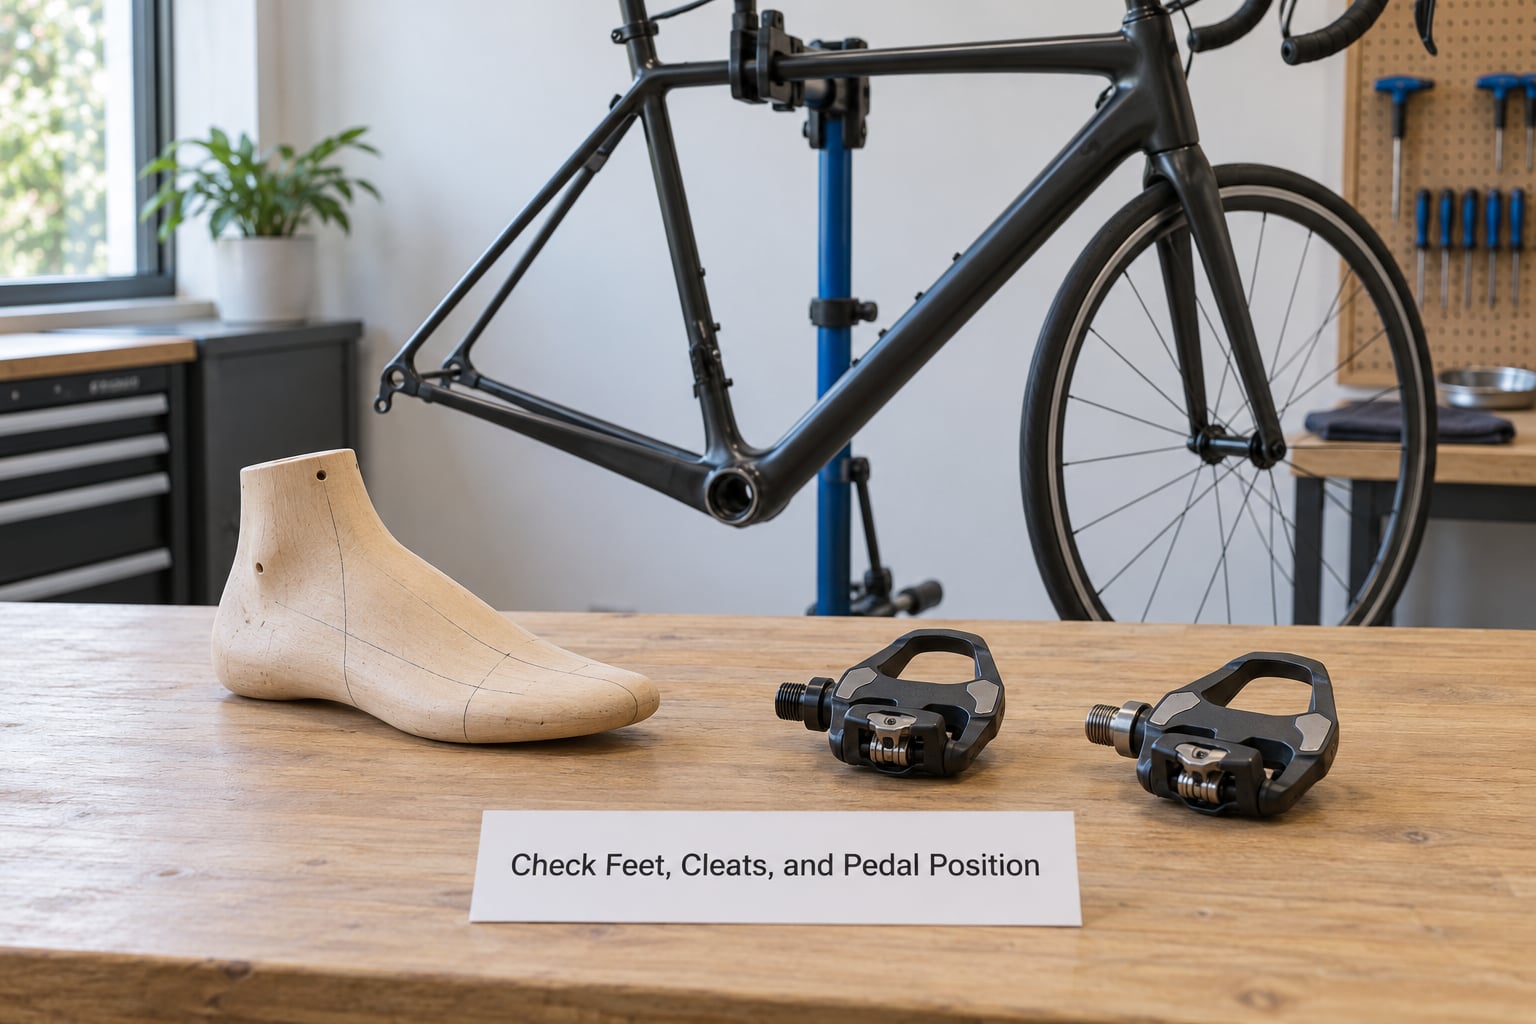
Foot problems get blamed on the saddle because the pain arrives while sitting. Foot shape, arch support, cleat setup, and pedal body width all change how load travels from the shoe up into the knee.
Three things worth checking by hand. First, the cleat position on the shoe: the ball of the big toe should sit roughly over the cleat spindle, and the toe can point slightly out or stay straight, but not angle inward past the big toe. Second, the pedal body width, called Q-factor: a wider pedal stance pushes the knee out at the bottom of the stroke, which some riders feel as lateral knee ache. Narrowing the stance or changing to a narrower pedal body is often a bigger lever than moving the saddle.
Third, ankle movement through the stroke. A saddle that is too high makes you point the toes down at the bottom, which loads the front of the knee and pulls on the Achilles. A saddle that is too low lets the heel drop and you ride up onto the front of the foot, which loads the ankle and the top of the foot. Notice which one you do on a long ride. That is your answer for why your feet go numb: pressure builds on the front of the foot and under the ball, and the numbness outlasts the ride by more than a few minutes.
A numb foot that does not come back within a few minutes of stopping, or that comes with a burning heel, is not a fit problem to keep tuning. See a clinician.
3. Assess the Saddle Height and Foreaft Position
Saddle height is the first thing most riders touch and the thing they most often get wrong in the wrong direction. The traditional reference is about 25 to 30 degrees of knee bend at the bottom of the pedal stroke, which comes from an inseam measurement taken the LeMond way, barefoot, against a wall with a book between your legs at the height of your crotch.
That number is a starting point, not a verdict. Riders with limited hamstring and ankle mobility need a slightly lower saddle to reach it without rocking, and the rocking hips are the tell. If your hips shift side to side over the top of the pedal stroke, the saddle is too high for your mobility, no matter what the measurement says.
Height and fore-aft position interact more than people expect. Moving the saddle back opens the hip angle and often relieves lower back ache on longer rides; moving it forward pushes the load onto the hands and can create back and shoulder problems. Many riders who fight back pain end up with the saddle noticeably further forward than a generic chart suggests, because their hip flexibility and torso length do not match the frame.
One warning about chasing textbook angles. A fit that measures beautifully but that you cannot hold for an hour is not a good fit. Comfort and the ability to sustain the position come first; the numbers describe what you are doing, they do not grade it.
4. Use a Bike Fit to Check Contact-Point Comfort
Three contact points carry your whole weight: hands, saddle, and sit bones. Comfort there is a share of load question, not a preference question.
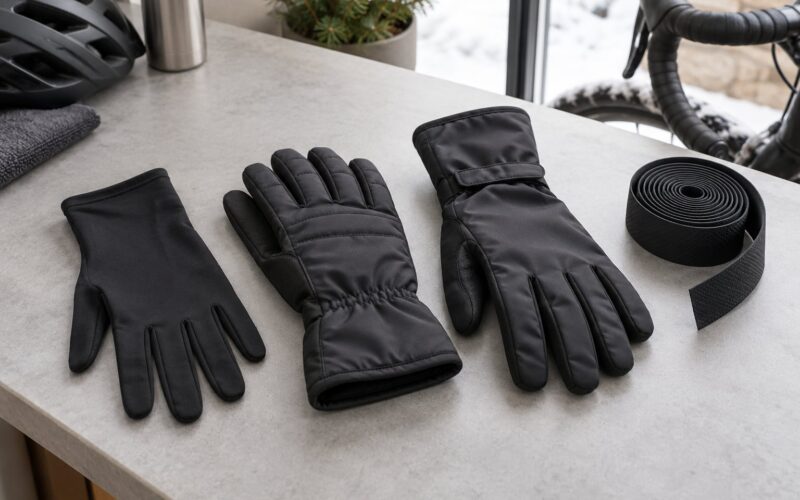
Hands. Numbness on the brake hoods is usually the median nerve compressed under a wrist that is bent upward or sideways. Bar width and bar rotation decide how much you have to bend the wrist to reach the brake. Wider bars, or bars rotated so the brake curve is closer to where your hands already sit, reduce the angle. Then check grip size against your hand width, since a narrow grip on a wide hand forces an awkward pinky or a constant re-grip. Padded gloves take the edge off pressure on long rides, and rotating your hand position on the tops, the hoods, and the drops every 15 or 20 minutes spreads the load.
Saddle and sit bones. To get saddle pain to stop, the pressure has to sit on bone, not on soft tissue. Sit bones are the two points you feel most when you sit upright off the bike. Measure the distance between them, then choose a saddle whose wide section is roughly that width. A saddle that is too narrow concentrates load onto the perineum, which shows up as numbness, tingling, or the hot spots that turn into saddle sores. A saddle too wide lets you slide around and sore your inner thighs instead.
Check tilt next. A saddle nose tilted down holds you in place and can create pressure on the front of the saddle; tilted up, it can let you slide forward. Start level and change it in tiny amounts, and only if the pressure problem persists.
Frame. Saddle pressure is a frame and rider interaction. An upright Dutch bike and a low-stretch road frame load you completely differently for the same saddle height, so the saddle that works on your weekend bike may be wrong on the bike you ride to work.
5. Evaluate Reach, Spine Position, and Steering
Handlebar reach decides how much your torso is folded. Too far away and you stretch, your upper back works harder to hold you up, and your neck cranes forward, which is a common neck and shoulder complaint. Too close and you collapse into a hunched, rounded position that compresses your lower back and loads your wrists.
Stack and reach on the frame set the baseline; spacers, stem length, and stem angle move you up or forward from there. Handlebar drop changes the angle between the tops and the drops. If you ride on the hoods and feel fine but the neck pain starts when you drop into the racing position, the drop is too aggressive for your mobility, and no amount of saddle adjustment will fix it.
Reach also has a handling cost. When you are stretched out at the front, you have less control when descending or riding fast in a group. Riders who fix back pain by pushing the saddle forward sometimes trade it for a nervous front end. A fit that lets you ride relaxed is worth more than a fit that looks aggressive in a photo.
6. Make One Change at a Time
This is the step that decides whether you learn anything. Change one meaningful variable, ride a comparable route at a similar intensity, and record three things: comfort during the ride, pedalling smoothness, and symptoms in the hour after you get off.
The numbers that work in practice are small and specific. Move the saddle in 5mm steps and change nothing else. Ride at least 20 to 30 minutes before judging, and for anything that only shows up late, judge it on a full long ride rather than a trip around the block. Most riders need two to three real exposures before their body stops treating a change as something odd.
Keep a simple log: date, what you changed, how far, what you felt, and what you felt the next morning. When you have three entries, the answer is usually visible.
If you want a starting point for saddle height, use the inseam method: measure barefoot against a wall, multiply by 0.885 for a road saddle-height reference, and treat the result as a starting point to test rather than a prescription.
7. Recheck the Fit After Real-World Rides
A fit is a snapshot. Yours drifts every season because the things holding you in position drift with it: your flexibility changes with the training block, your volume builds, your bike gets replaced, you pick up a new pair of shoes with a different last, and the demands of a long event are different from Tuesday.
Two triggers mean you should retest rather than adjust: a new bike or a new component, and a pain that appears out of nowhere after a block of consistent riding. Plan a check when you ramp volume, and again before a long event you have not trained for.
Know when to hand it over. Get a qualified fitter when you have changed something fundamental and the pain stayed, when you are returning after surgery or injury, or when you have been adjusting for weeks with no result. Get a doctor or physical therapist when numbness lingers after a ride, when pain is sharp and localised to a single point, when it follows a fall or crash, or when it wakes you at night. A fit technician can change your bike; nobody at a fitting can diagnose you.
Common Mistakes
Copying another rider’s measurements. Two people with the same inseam can need very different positions, because torso length and flexibility, in the hip and the ankle, are not captured by the inseam number. Fix: use someone else’s numbers only as a starting range and test on your own body.
Changing five things and calling it a fit. Move the saddle, swap the saddle, change the bars, add spacers, and move the cleats back in one afternoon, then ride once. When the pain disappears you have learned nothing about which change did it. Fix: one variable, one log entry, one test ride.
Treating fit as a cure. Most of the time your position is only half the equation. The other half is how much postural endurance, hamstring and glute strength, and single-leg stability you have to hold that position. Fix: keep a short twice-a-week routine of side plank, single-leg deadlift, banded clamshells or fire hydrants, and eccentric calf raises, and ride fewer truly hard sessions per week.
Ignoring training load. Pain that arrived after you doubled your distance in three weeks is a load problem until proven otherwise, and no saddle height fixes it. Fix: cut volume back to a level where the pain stops, rebuild gradually, and only change the bike if pain persists at a comfortable load.
Riding through warning symptoms. Numbness that does not clear within minutes of stopping, tingling that spreads, or a sharp point of pain under the saddle are stop signals. Fix: stop the ride, get the blood moving again with easy walking, and if it does not settle, stop riding and see someone qualified.
Changing position to chase a symptom without checking the obvious. A rubbing cable, a loose seatpost, a bent pedal thread, or a saddle that has slid sideways on its rails can produce pain that looks exactly like a fit problem. Fix: check the bolts, the cable routing, and the saddle clamp before you touch a fit number.
Never moving around on the bike. Long hours in one position cause discomfort that no fit setting removes. Fix: stand every 15 to 20 minutes, roll your shoulders, extend through the spine, and twist your pelvis. This matters most on an indoor trainer where you are locked into one position for the whole session.
Frequently Asked Questions
How often should I get a bike fit?
Treat a fit as seasonal rather than permanent. Plan a check when your training volume ramps for a new block, before a long event you have not trained for, and any time you change bike, saddle, bars, pedals, or shoes. Most riders who are comfortable and consistent need one full session a year. Riders in pain, returning after time off, or training through a big volume jump need to be in front of a fitter sooner. A fit also drifts quietly, so recheck the saddle height and reach you started with rather than assuming it still holds.
Can a proper bike fit stop cycling knee pain?
Often, yes, when the pain is mechanical. Saddle height, fore-aft position, cleat placement, and pedal stance all change knee loading, and correcting them removes a real source of stress. It does not help when the pain comes from training load, weak quads or glutes, a previous injury, or a patellofemoral problem driven by forces the bike cannot change. If the pain is sharp, localised to one point, or still with you the next morning, stop riding and get it assessed.
How long does a professional bike fitting take?
A full session usually runs one to two hours, with a shorter follow-up recommended a few weeks later. The first visit covers your goals, history, bike inspection, and adjustments with you pedalling, often with video or motion capture to check knee tracking, hip angle, and spine position. The follow-up catches what only shows up once you have ridden the new setup for real. Bring your usual shoes and, if you have them, the fit notes from any previous session.
Is a foam saddle enough to prevent saddle pain?
A foam saddle can help, but width matters more than padding. Pressure needs to land on your sit bones, so measure the distance between them and match the wide section of the saddle to that width. Padding on a saddle that is too narrow makes the pressure worse, because it adds material without spreading load. Persistent numbness, tingling, or hot spots need a width or tilt change, and any numbness that lingers after you get off the bike is a reason to see a clinician.
When should I stop riding and see a doctor?
Stop and get advice when numbness does not resolve within minutes of stopping, when tingling spreads or weakens, when pain is sharp and localised to a single point, when it follows a fall or crash, or when it wakes you at night. These are not fit problems, and no adjustment to the bike will resolve them. Gentle pain that clears during the ride and leaves nothing behind the next morning is worth tracking and adjusting. Persistent night pain, swelling, or pain that is getting worse over weeks belongs with a doctor.
Conclusion
Start here: write down where the pain is and when it appears, then check the obvious mechanical faults, loose bolts, cables, and a saddle that has drifted on its rails. Get a professional fit if you can, or work through the steps above yourself. Then make one change of about 5mm, ride for half an hour, and record what happened before you decide to keep it or undo it.
That single discipline, one change and one honest test ride at a time, is the practical answer to how to use a bike fit to prevent pain. It turns the fitting from a pile of numbers into something you can actually ride with.