Brevet riding tips for first timers come down to a handful of habits: train the distance honestly, eat before you are hungry, ride slower than feels necessary, and treat every control stop like it is costing you money. A 200 km brevet gives you 13.5 hours to cover 200 km with no support between checkpoints, so a rider who manages energy and time usually finishes comfortably, while a rider who goes out hard at sunrise often rides the last 40 km in the dark wondering what went wrong.
Below are ten lessons that show up again and again in r/randonneuring threads and club tip sheets, written for someone who rides 60 to 100 km on a weekend and has never done a self-supported event before. Nothing here needs racing experience. It needs preparation and honest pacing.
Updated for 2026 as the club calendars and rule sets shift.
Table of Contents
- Brevet Riding Tips for First Timers at a Glance
- 1. Build a Realistic Training Plan
- What a first-timer training plan should actually build
- 2. Finish Long Rides With Energy Left
- 3. Practice Eating and Drinking on the Bike
- 4. Learn to Climb and Descend Safely
- 5. Pick a Bike and Gear That Work for Hours
- 6. Understand the Brevet’s Checkpoints
- 7. Ride a Conservative First-Brevet Pace
- 8. Stay Calm in a Large or Uneven Peloton
- 9. Prepare for Weather, Mechanicals, and Delays
- 10. Set a Finish Strategy Instead of Chasing a Time
- Frequently Asked Questions
- How far should I ride before my first 200 km brevet?
- What time limit do I have on a 200 km brevet?
- How fast do I have to ride to finish a brevet?
- Do I need lights for a daytime brevet?
- What should I eat on a first brevet?
- Can I sleep at a control during a brevet?
- Is a brevet harder than a century ride?
- Start With the Distance You Can Already Ride
Brevet Riding Tips for First Timers at a Glance
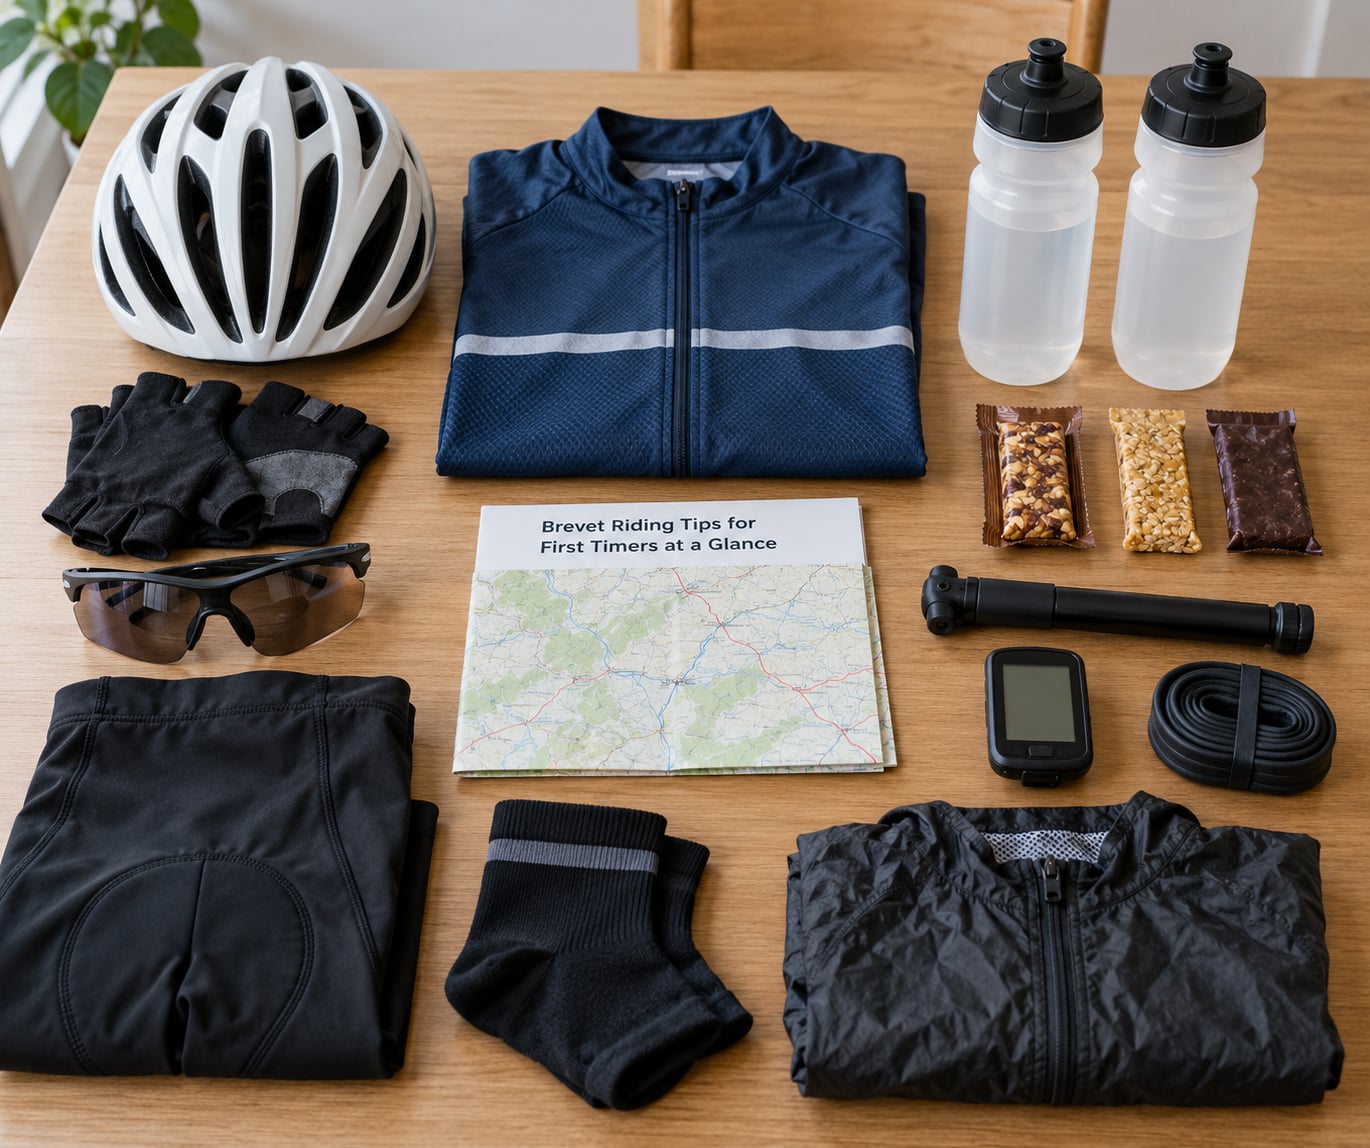
The table below is the whole plan on one screen. Read it the week before, then use the last column as a checklist on the day.
| Tip | What to do | Why it matters | How to apply it |
|---|---|---|---|
| Training | Progress to a 150 km ride | You learn what 10 hours actually feels like | Do the long ride three to four weeks out, not the week before |
| Energy | Finish long rides with something left | Judgement fades before legs do | Hold back on the first two hours, spin on the climbs |
| Fueling | 150 to 300 kcal per hour | Prevents the bonk that ends attempts | Set a repeating timer, eat before hunger arrives |
| Climbing | Low gear, seated, steady cadence | Mashing costs more than it saves | Drop to roughly 60 to 70 rpm on steep ramps |
| Gear | Comfortable bike, reliable tires, two lights | You ride 10 to 13 hours in it | Set the bike up weeks ahead, then leave it alone |
| Checkpoints | Stop short, stamp, roll | Off-bike time is the biggest self-inflicted loss | Under ten minutes per control, unless you need sleep |
| Pace | Ride by breathing, not by group | Brevets have a floor speed, not a sprint | Easy conversational effort on the flat, always |
| Group | Wheel-follow, communicate, be predictable | Sudden moves cause the crashes | Signal, hold a line, and expect the group to split |
| Contingency | Carry tubes, tools, layers, a plan | The flat happens at hour nine | Rehearse the repair before the event, not during it |
| Finishing | Keep rolling, finish inside the limit | Most DNFs are late, not broken | Leave the last control with real time in hand |
1. Build a Realistic Training Plan
A realistic training plan for a first brevet is about endurance and time on the bike, not speed. Riders in r/randonneuring repeatedly cite the same readiness benchmark: somewhere between 500 and 750 km in your legs before you attempt a 200 km, with at least one ride longer than 100 km and ideally 150 km or more.
What a first-timer training plan should actually build
- Base hours. Four to six hours a week for eight to twelve weeks, mostly steady conversational riding.
- One long ride every weekend or fortnight, building by about 20 percent each time rather than jumping to the target.
- Back-to-back days once. Ride Saturday, ride Sunday. The second ride is where you discover whether your fueling survives a tired morning.
- One night ride in the dark with full lighting, so the first time you see your own beam edge is not the event itself.
- Off-bike strength work, mostly core and back, two short sessions a week. It reduces the saddle pain that ends so many first attempts.
Add climbing, descending, rain and cold to the plan where your route demands it. The Seattle International Randonneurs tip sheet puts it plainly: the hill you can power up at the start of a brevet looks like a mountain near the end, so a 39×24 low gear is a reasonable minimum in hilly terrain.
2. Finish Long Rides With Energy Left
Finish long rides with energy left by pacing by effort rather than chasing the group in front. First-timers regularly describe the same mistake in post-mortems: they rode the first three hours at the pace of riders who had done this a dozen times, then spent the night walking up hills in the dark.
Pace by what you can control. On the flat, stay at an effort where your breathing is steady and you could hold a short conversation. On climbs, stay seated and spin rather than standing and mashing. Hard efforts belong in the first hour of a long training ride if you want them at all, not in hour eight.
A useful checkpoint: at the halfway point of every long ride, ask whether you would be happy to ride the same distance again. If the answer is a wince, you went too early.
3. Practice Eating and Drinking on the Bike
Practice eating and drinking on the bike in training so the event is not the first time your stomach has to handle a gel at hour six. A common target for long-distance riding is 150 to 300 calories per hour, taken in small pieces rather than large mouthfuls.
Set a repeating timer on your bike computer or phone, every 20 to 30 minutes, and treat the alarm as the plan. Eat before you are hungry, drink before you are thirsty, and sleep before you are sleepy, the mantra that RUSA rider stories and forum veterans keep repeating. The reminder matters more than the food, because by the time you feel hungry, you are already behind.
Fluids: aim to drink most of a bottle an hour in mild weather and more in heat, and add electrolytes if you are out for more than four hours. Refill from taps and shops along the route, and confirm on the cue sheet that water is available before the long gap between controls.
4. Learn to Climb and Descend Safely
Learning to climb and descend safely matters most in the last third of a ride, when judgement is worst. Gear selection comes first: pick a gear before the gradient steepens rather than after you have already slowed to a crawl.
On climbs, drop your cadence to roughly 60 to 70 rpm, sit back on the saddle, and keep the pedals level. Stand only to reset position, not to force the pedals. On descents, use both brakes in short alternations rather than one long grab, keep your hands in the drops, and look further down the road than feels necessary.
When fatigue or rain changes your confidence, slow down rather than pushing through. Riders describe riding the same hills at two-thirds the speed on the way back because they simply were not the same rider in hour ten.
5. Pick a Bike and Gear That Work for Hours
Pick a bike and gear that work for hours, which usually means the bike you already own, set up properly a few weeks before the event. First-timers lose weeks changing saddles, wheels and tires in the final month. Make one change, ride it a hundred kilometres, and then stop fiddling.
- Comfort first: saddle fit, handlebar height and cleat position matter more than any component.
- Tires: the club tip sheets call 23c a practical minimum, with 25 to 28c more comfortable, plus inserts if you run lower pressure.
- Lights: front and rear, steady and flash modes, a fresh battery or charge, plus a backup light. Check the light rules for your event, because European events such as Paris-Brest-Paris restrict flashing modes.
- Visibility: reflective vest, ankle bands or reflective tape, especially for anything after sunset.
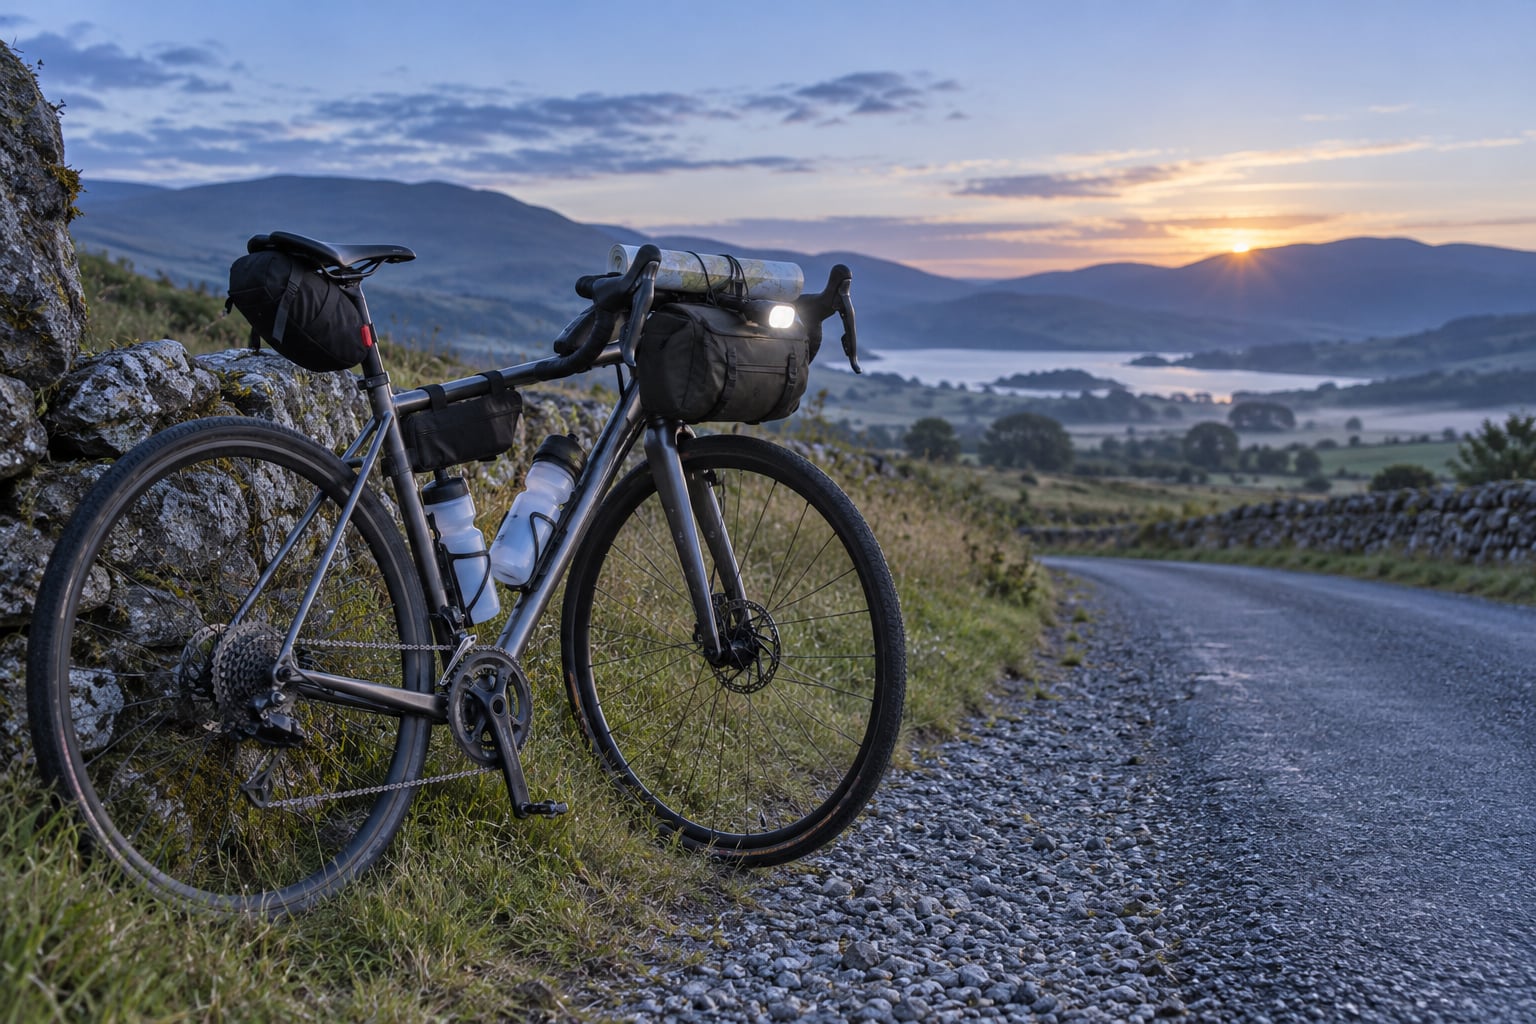
- Carrying capacity: fenders, a handlebar bag with a map window, two bottle cages, and a rain shell that doubles as a windbreaker.
- Repair kit: spare tubes, a multi-tool, a small pump, tire levers, a spare spoke or two, duct tape, and a space blanket.
Pack for the coldest hour you might see rather than the average temperature. Most brevets start before dawn, and the forums keep returning to the same warning: bring warm layers for the start even on a mild day.
6. Understand the Brevet’s Checkpoints
Checkpoints, called controls, are where brevets are won and lost. Each one has a location, a closing time and a volunteer who stamps your control card. Miss the closing time at any control and your ride is a DNF, regardless of how well you rode.
Read the cue sheet the night before. It lists every control, the distance between them, the services available, whether there is food, and any warnings about road closures or gravel. Carry the cue sheet on the bike and treat it as the primary reference, with your GPS as support rather than the other way round.
At a control: roll slowly, park clear of the entrance, hand over your card, get the stamp, eat and refill in a controlled way, and aim to leave inside ten minutes. You are allowed to sleep at overnight controls if you need it, but treat that as a scheduled decision made hours earlier, not a collapse.
7. Ride a Conservative First-Brevet Pace
A conservative first-brevet pace is the one that still feels slightly too easy at hour two. Brevets have a minimum average speed, just under 10 mph or 16 km/h, and almost nothing asks you to be faster than that. Riding inside the limit is a strategy, not a failure.
Use breathing as the primary gauge and heart rate as the backup. If you have a monitor with a reliable reading, settle on a ceiling you can hold all day and stay under it on the flat. Adjust the plan before the road starts hurting: if you are over your ceiling for twenty minutes, drop a gear and slow down immediately rather than at the next control.
Write one number on the cue sheet, your target average speed including stops, and check it at every control. Brevet riding tips for first timers are mostly about resisting the voice that tells you to catch the group.
8. Stay Calm in a Large or Uneven Peloton
Stay calm in a large or uneven peloton by riding predictably. A brevet start can be two hundred riders, and the group usually splits within the first hour as the fast riders and the night riders separate. Expect that, and do not treat it as a verdict on your fitness.
- Wheel-follow with about a wheel length of gap, more in the wet and on descents.
- Hold your line and look through the wheel in front, never at the rider beside you.
- Call out hazards, drops and mechanicals clearly and early, and pass the call back down the group.
- Say what you are about to do before you do it, especially when slowing or moving off the wheel.
- Never let someone pass you on your inside at a corner. Riders at the club level are serious about this and will remember it.
When the group slows unexpectedly, stay near the front third and ride the wheel you can see. When the group stops for a mechanical, get off the road rather than idling in the lane.
9. Prepare for Weather, Mechanicals, and Delays
Weather and mechanicals decide more brevets than fitness does. The Seattle tip sheet lists what typically fails, and the order matters: good judgement goes first, then tires, then the small things like a broken spoke, a worn chain or a loose headset. Tires fail most often because riders neglect them between rides.
The day before, walk the bike. Check tire pressure against the sidewall range, look for cuts and embedded glass, test both brakes, confirm every light mode, spin the cranks, and make sure the bolts are torqued. Load the emergency kit, the layers and the food. Set a plan for the forecast you actually have, not the one you hoped for: rain shell for wet and windy, leg warmers and a windproof layer for cold, extra water and electrolytes for heat.
If the ride is going badly, say so early. Officials, other riders and your own support person can only help if they know where you are and what you need.
10. Set a Finish Strategy Instead of Chasing a Time
Set a finish strategy instead of chasing a time. Most first attempts end because a rider was too slow, not because anyone was too fast, so your job is to keep the bike turning and the clock honest.
Three habits do most of the work: stay in contact with the control closing times, keep off-bike stops short and few, and make the last hour boring. On that final stretch, hold your steady effort rather than testing anything, because a hard effort at hour eleven can turn a certain finish into a long walk.
Leave your last control with genuine time in hand, even if that means waiting at a cafe for a while. Riders in r/randonneuring threads describe the finish as the calmest part of the whole day precisely because they stopped pushing early.
Frequently Asked Questions
How far should I ride before my first 200 km brevet?
Most club advice puts readiness at 500 to 750 km in your legs over the preceding weeks, including at least one ride of 150 km or more. If you can ride 150 km comfortably and still want another 50, a 200 km will work. The rule of thumb from experienced randonneurs is simple: if 150 km felt like just another ride, the 200 is within reach.
What time limit do I have on a 200 km brevet?
A 200 km brevet carries a 13.5 hour limit, 300 km gets 20 hours, 400 km gets 27 hours and 600 km gets 40 hours. The limit includes every stop you make, so off-bike time at controls counts against the same clock as riding time. Recreational riders typically finish well inside the 200 km limit.
How fast do I have to ride to finish a brevet?
Randonneuring rules set a minimum average speed, just under 10 mph or 16 km/h, rather than a target pace. You can ride far slower than that and still finish comfortably. The real pressure comes from control closing times, not from the final distance, so check the cue sheet and pace to make each checkpoint with time to spare.
Do I need lights for a daytime brevet?
Bring them regardless. A 200 km starting early in the morning will often still be rolling before sunrise, and any longer brevet will reach darkness. Clubs require a front and rear light with steady and flash modes, plus reflective gear after sunset. Rules vary by governing body, so check the event listing, and carry a backup light and a spare battery.
What should I eat on a first brevet?
Aim for 150 to 300 calories an hour in small, easy-to-eat portions such as bars, gels, nuts and dried fruit. Eat before you are hungry rather than after, and set a repeating timer so the habit does not depend on willpower at hour eight. Bring your own food so you eat on your own schedule instead of the route’s.
Can I sleep at a control during a brevet?
Yes, at overnight controls designed for it, and many riders do on a first 200 km. Decide in advance how long you will sleep, keep it short, and set an alarm so you keep inside the control closing time. Sleeping when you are genuinely sleepy is a skill; collapsing without a plan is what turns a finish into a DNF.
Is a brevet harder than a century ride?
Yes, mostly because of the clock and the night. A century usually takes six to eight hours in daylight with support and food at your disposal. A 200 km brevet stretches the same effort across 13.5 hours, adds checkpoint deadlines and takes away every form of support between controls, so the difficulty is less about fitness than management.
Start With the Distance You Can Already Ride
If you take one thing from these brevet riding tips for first timers, make it this: pick 200 km, train for a 150 km ride, and go slower than your pride wants. Almost every first-time finisher describes the same two feelings, relief that it was slower than expected, and surprise that they could have ridden further.
Do the boring prep first. Walk the bike, read the cue sheet the night before, pack layers for the coldest hour, and set a food timer. Then ride the plan you wrote down instead of the one the group sets. If you want a local club to ride with, most cities have one running a beginner-friendly event each season, and they are the best source of up-to-date rules for your region.
Riding pain, a known injury, or a medical condition that makes long solo riding unwise are worth a conversation with a doctor before you sign up. Otherwise, get out there and enjoy the first one.