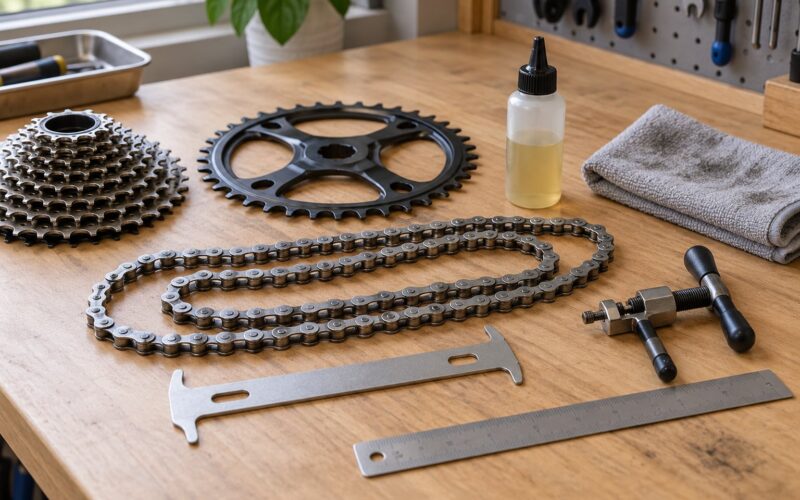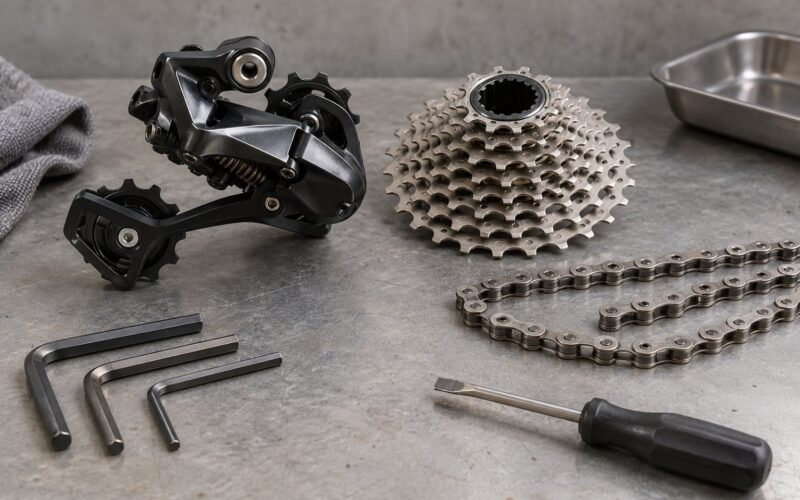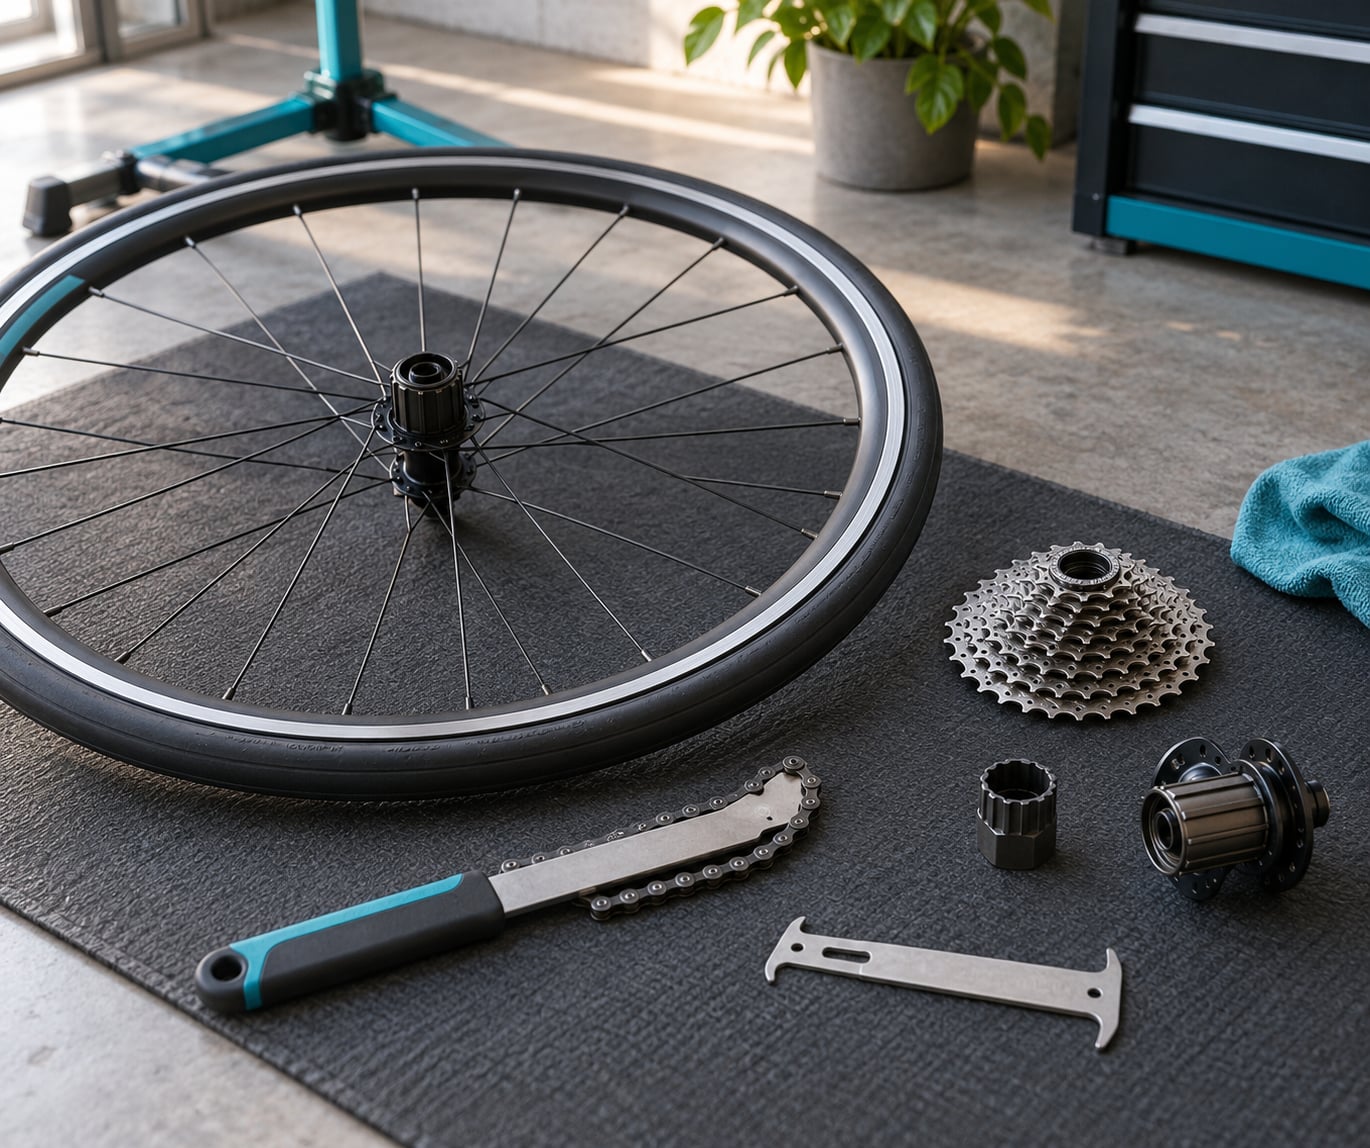
Knowing how to replace a cassette takes about 30 minutes and needs three tools: a cassette lockring tool, a chain whip, and a large adjustable wrench or socket handle. Shift into the smallest cog, take the rear wheel out, hold the cassette still with the whip, undo the lockring counterclockwise, and slide the stack off the freehub. Fit the new one the same way and the job is done. The fiddly parts are compatibility and chain length, not the turning of the lockring.
You need the right lockring tool before you start. Shimano and SRAM HG use 12 splines at roughly 23.4 mm, Campagnolo uses 12 splines at roughly 22.8 mm, and SRAM XD and XDR cassettes hide their lockring inside the stack. A tool that is close but not right will round the splines and turn a ten-minute job into an afternoon.
Put a fresh chain on at the same time unless you measured the old one and it is under 0.5% elongation. A worn chain reshapes cog teeth to its own stretched pitch, and a new cassette on an old chain will skip under load no matter how carefully you install it.
Table of Contents
- What You Need
- Tools
- Which lockring tool do you need?
- Step-by-Step: How to Replace a Cassette
- 1. Confirm Cassette and Freehub Compatibility
- 2. Shift to the Smallest Cog and Secure the Bike
- 3. Remove the Lockring and Old Cassette
- 4. Clean and Inspect the Freehub
- 5. Install the New Cassette
- 6. Reconnect the Chain and Set Its Length
- 7. Test Every Gear
- Common Mistakes
- Frequently Asked Questions
- Should you grease the freehub before installing a cassette?
- Do I need a new chain when I replace the cassette?
- How do I change a SRAM cassette?
- How tight should the cassette lockring be?
- What if the cassette lockring will not budge?
- Do I need to adjust the rear derailleur after changing the cassette?
- Conclusion
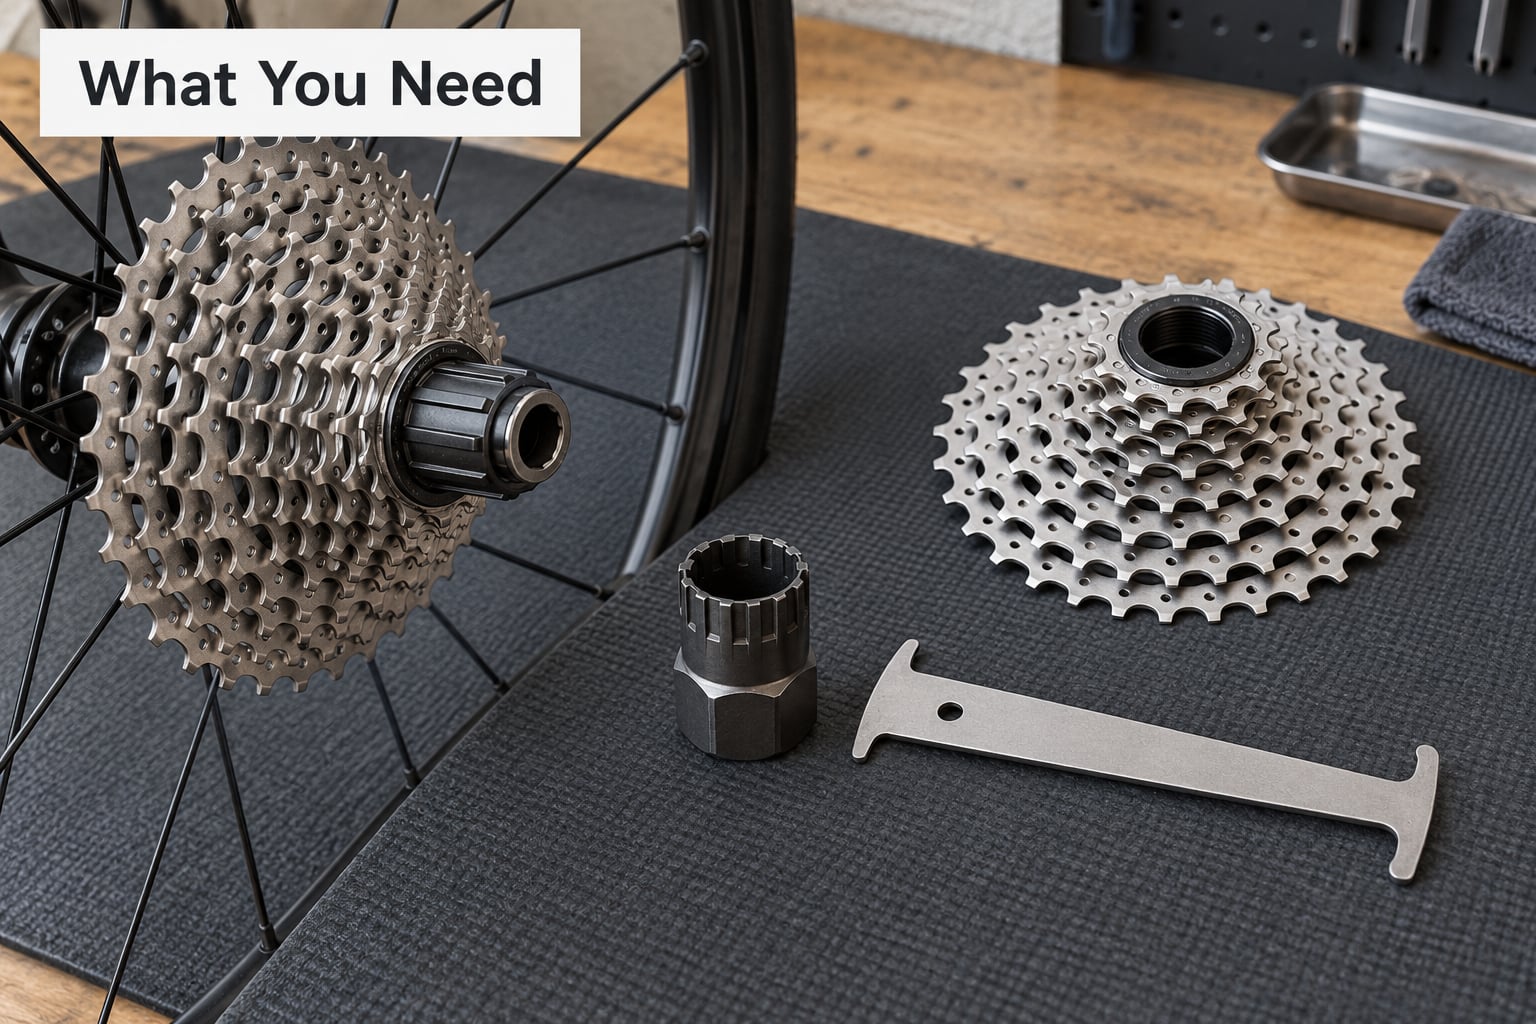
What You Need
Tools
- Cassette lockring tool matched to your spline pattern. This is the one tool you cannot improvise around.
- Chain whip to hold the cassette against the wheel. Cassette pliers work as an alternative if the whip will not seat on the cog teeth.
- Large adjustable wrench or socket handle to turn the lockring. A breaker bar gives you far more leverage than your arm does.
- Torque wrench, optional but worth having. Torque values are listed below.
- Chain wear gauge, plus a rag, a bottle of bike grease, and your frame or wheel pads.
A one-piece cassette wrench combines the lockring tool and its own handle. Experienced mechanics report these pulling the chain whip out of the tool roll entirely, because the tool cannot skip out of the splines while you are putting force through it. They cost more than a loose lockring tool and handle.
Which lockring tool do you need?
| Drivetrain | Spline pattern | Tool type | Lockring torque |
|---|---|---|---|
| Shimano / SRAM HG, most road and older MTB | 12 splines, approx 23.4 mm | Standard 12-spline lockring tool | 40 Nm |
| Campagnolo road | 12 splines, approx 22.8 mm | Campagnolo 12-spline lockring tool | 50 Nm |
| SRAM XD / XDR, 10-52 and similar ranges | 12 splines, driver replaces the lockring | Standard 12-spline tool; small cog comes off separately | 35-45 Nm |
| Shimano Microspline | Microspline body | 12-spline lockring tool | 40 Nm |
| Older freewheel bikes, singlespeed, BMX | Threaded freewheel, no lockring | Freewheel removal tool or cassette pliers | Not applicable |
Torque numbers come from the manufacturers, and they matter more than most guides admit. Under-torque and the lockring creeps, so the cassette develops play. Over-torque and you gouge the aluminium freehub threads, which makes the next removal harder than this one. Follow the spec for your brand rather than tightening until it feels right.
Step-by-Step: How to Replace a Cassette
1. Confirm Cassette and Freehub Compatibility
Before any tool touches the bike, work out what you are dealing with. On a cassette the sprockets slide onto a splined freehub body and a threaded lockring holds them on. On a freewheel the whole cluster screws straight onto the threaded hub shell. The ten-second test: stand the bike up and spin the wheel backwards. If the ratcheting clicks come from inside the cluster, it is a freewheel. If the clicks come from the hub shell outboard of the cluster, it is a cassette.
Count the sprockets on the existing cassette and match that number to the replacement, and check the freehub body type. An HG cassette will not sit properly on an XD driver, and an XD cassette on an HG freehub will sit but shift badly. If you see twelve splines inside the smallest cog on a SRAM cassette, it is XD or XDR and the lockring is hidden inside the stack. Do not force anything. A cassette that will not slide on squarely is the wrong cassette for that hub.
2. Shift to the Smallest Cog and Secure the Bike
Shift the chain onto the smallest cog at the back, which drops the tension on the chain and slackens the cassette a little. Then shift the front derailleur to the smallest chainring. Loosen the brake if your rim brake pads sit close to the rim.
Open the quick release or undo the thru-axle and drop the wheel out. Stand the bike in a work stand with the cassette side up and free to spin, or brace the frame against a wall with the drive side facing you. Do not clamp the frame on the seat tube if you have a thru-axle fork that needs the bridge clear; lay a rag over anything that will touch paint.
3. Remove the Lockring and Old Cassette
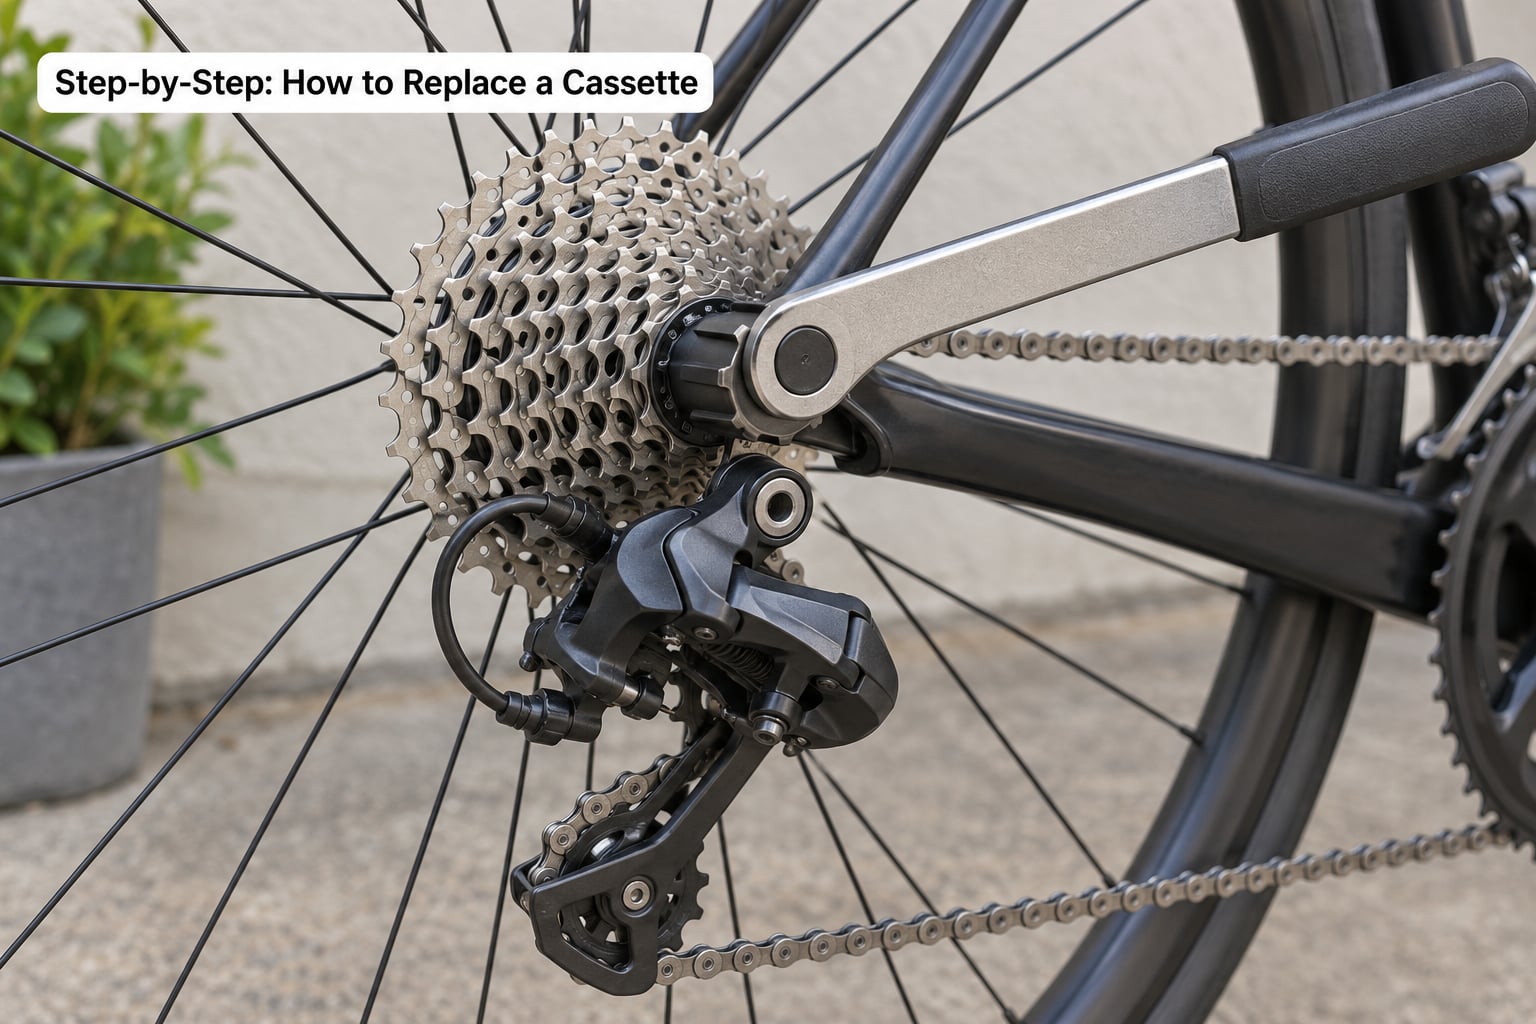
Seat the chain whip on a middle or large cog and hold it firm. A 3 o’clock position for the whip and a 9 o’clock position for the lockring handle gives you the most leverage from your own body weight.
Fit the lockring tool over the splines. If it keeps jumping out, run a thin layer of grease on the lockring threads so it bites, or thread the skewer through the tool as a retaining pin. Turn counterclockwise and the lockring should break loose quickly. Once it does, unscrew it by hand and set it somewhere safe.
Lift the cassette off the freehub, keeping the spacers in order and grouped together. On SRAM XD and XDR the cassette does not come off as a normal stack: the driver comes away with the lockring and the whole cluster leaves as one unit, while the smallest cog stays behind as part of the driver.
If you do not have the right tool, that is the moment to stop. Shops will often turn a lockring by hand for a small charge, and a rounded lockring is a far cheaper mistake than a gouged freehub.
4. Clean and Inspect the Freehub
Wipe the freehub splines with a rag and look at them closely. You are checking for three things: burrs or sharp edges that would stop the cassette seating, a spline that has stretched or rounded from a mis-sized tool, and packed-in grime that has stopped the cassette sliding.
Run a finger along the splines. Anything sharp can be softened with a file or fine abrasive paper, and a sticky spline usually means a stuck cog, not a damaged driver. If the cassette will not slide on by hand after cleaning, the splines are damaged and the freehub body needs replacing. That is a job for a wheel builder.
5. Install the New Cassette
Put a thin layer of grease or anti-seize on the outer freehub splines and on the lockring threads. It stops the cassette seizing onto the driver, and it is the answer to whether you should grease the freehub before installing a cassette. A light film, not a packed layer.
Slide the largest cog on first. Locate the wide spline and start the cassette over it, so the stack seats squarely in one go rather than at an angle. Add the spacers in their original order, then the remaining cogs smallest at the back, all engraved markings facing outward so you can read the tooth counts at a glance.
Thread the lockring on by hand until it is snug, then bring it in with the lockring tool. Tighten to the spec for your brand: 40 Nm for Shimano and SRAM HG, 35-45 Nm for SRAM XD and XDR, 50 Nm for Campagnolo road. If it does not click smoothly onto the splines, back it off and start again rather than tightening a cross-threaded ring.
6. Reconnect the Chain and Set Its Length
Put the wheel back in, feed the chain through the rear derailleur cage and tensioner, and reconnect the split pin or close the quick link. Fit the link by pulling the chain ends together so the plates engage the pins rather than forcing the pin through.
Check the chain length. With the chain on the smallest cog at the back and the smallest chainring at the front, the derailleur cage should sit roughly vertical. If the cage is pulled well forward, the chain is too long and it will drop into the spokes under load. That means a new chain, not a screw on the B-tension.
Now look at the derailleur limit screws. The upper one stops the chain overshooting into the smallest cog, the lower one stops it diving into the largest. Nudge them a quarter turn at a time if the new cassette has a different cog spread from the old one, and re-check after each ride.
7. Test Every Gear
Index the rear derailleur before anything else. Ride on a flat road, shifting one cog at a time through every gear with light pedalling pressure, and if the chain hesitates, turn the indexing screw a fraction in the direction that delays the shift. Then load the pedals and run through the range again.
Hesitation only under load usually means a new chain on a worn cassette or a cassette sitting proud of the spline. Clicking and jumping that appear only when you push hard point to a bent derailleur hanger or a damaged chain, not the cassette itself. Straighten the hanger with a hanger gauge and replace the chain.
If shifting is crisp through the full range, the job is finished.
Common Mistakes
Almost every cassette job that goes wrong comes down to one of these six.
- Wrong chain length. A chain that is too long will eventually drop into the spokes. Check the cage position with the chain on the two smallest cogs before you ride.
- Cross-chaining. Running the largest chainring with the largest cog is harsh on both and makes shifting worse. It is not a fault, but it wears parts faster than most riders expect.
- Over-torquing the lockring. It feels good to have it tight. Too much and you gouge the aluminium freehub threads, and the next removal is harder than this one. Use the number.
- Losing or misordering the spacers. The thin rings between cogs are spacers. A dropped spacer leaves a gap that makes shifting vague in that range. Count them before removal and lay them out in order.
- A bent derailleur hanger. After a crash the hanger can shift enough to break indexing. A hanger gauge is a cheap tool and straightening costs nothing compared with a new derailleur.
- Replacing the cassette without checking the chain. A chain past 0.5% elongation reshapes the new cog teeth within a few rides; past 0.75% you can expect to do the job again. Measure the chain with a gauge every time.
Frequently Asked Questions
Should you grease the freehub before installing a cassette?
Yes. A thin film of grease or anti-seize on the outer freehub splines and on the lockring threads prevents the cassette seizing onto the driver and makes the next removal far easier. Use a light film rather than packing the splines, and wipe off any grease that ends up on the chain path.
Do I need a new chain when I replace the cassette?
In most cases, yes. A worn chain stretches and reshapes cog teeth to its own pitch, which wrecks a new cassette within a few rides. Measure your chain first: under 0.5% elongation you can usually keep it, and past 0.75% you should replace the chain and expect the cassette wear to follow.
How do I change a SRAM cassette?
SRAM HG cassettes use a standard 12-spline lockring and come off exactly like a Shimano. SRAM XD and XDR are different: the lockring is hidden inside the stack and the cassette and driver come away as one unit, with the smallest cog staying on the driver. Both use the same 12-spline tool, at 40 Nm for HG and 35-45 Nm for XD and XDR.
How tight should the cassette lockring be?
Tighten to the manufacturer’s figure rather than by feel: 40 Nm for Shimano and SRAM HG, 35-45 Nm for SRAM XD and XDR, and 50 Nm for Campagnolo road lockrings. Under-torquing lets the lockring creep and the cassette develop play. Over-torquing digs into the aluminium freehub threads and makes the next removal harder.
What if the cassette lockring will not budge?
Work up a ladder rather than adding force. Confirm the tool matches the spline pattern, apply penetrating oil to the lockring threads, grease the threads so the tool stops skipping, and use a breaker bar with the whip at 9 o’clock. If the splines are already rounded, accept that and replace the lockring rather than risking the freehub body.
Do I need to adjust the rear derailleur after changing the cassette?
Usually, yes, if the cassette has a different cog spread or capacity from the old one. Re-index with the barrel adjuster on a flat road using light pedalling pressure, then check the upper and lower limit screws. A new cassette with wider gaps also calls for a reset of the B-tension screw so the guide pulley sits correctly under the largest cog.
Conclusion
Start by confirming your spline pattern and cog count so you buy the right lockring tool, then measure the chain before you open anything up. Work through removal in order, keep the spacers grouped, grease the splines lightly, and tighten the lockring to the figure for your brand rather than to feel.
Before any long ride in 2026, ride the range through every gear on a flat road and then again under load. If it shifts cleanly both ways, you have learned how to replace a cassette properly and the next one will take half the time.