Setting up cleats correctly means mounting a cleat that matches your pedal on the sole of your cycling shoe so the cleat sits under the ball of your foot, tightening the bolts to roughly 5-6 Nm, then fine-tuning fore-aft, lateral and angle position until your knee tracks over your toes. It takes about half an hour and costs nothing but patience, and it is the fix for most foot and knee problems riders blame on their shoes.
Cleats get confused with football boots on the same search results page, so let me be clear: this is about road bike clipless pedals, the plastic or composite plates that bolt to a cycling shoe and clip into the pedal body.
There is no single perfect position. Ball of the foot is the starting point every fitter agrees on, and everything after that is fine-tuning driven by how your knee tracks, how your foot feels over 90 minutes and whether you can clip out under load without falling over.
Table of Contents
- What You Need
- Step-by-Step
- 1. Set the Foot Position on the Pedal
- 2. Match the Cleat to the Shoe
- 3. Set Cleat Tension and Closure
- 4. Check Saddle Height and Fore-Aft Position
- 5. Verify the Position on the Bike
- 6. Test on a Safe Ride
- Common Mistakes
- Frequently Asked Questions
- Should my foot be straight on the pedal when cycling?
- What cleat tension should I use on road bike pedals?
- Why does my knee hurt after moving my cleats?
- How do I know if my cleats are positioned too far forward or back?
- Should I change my saddle position when adjusting cleats?
- Can I use the same cleat position on different pedal brands?
- Conclusion
What You Need
Gather everything before you start. Turning up with a pedal in one hand and hunting for a hex key in a toolbox is how cleat jobs get rushed.
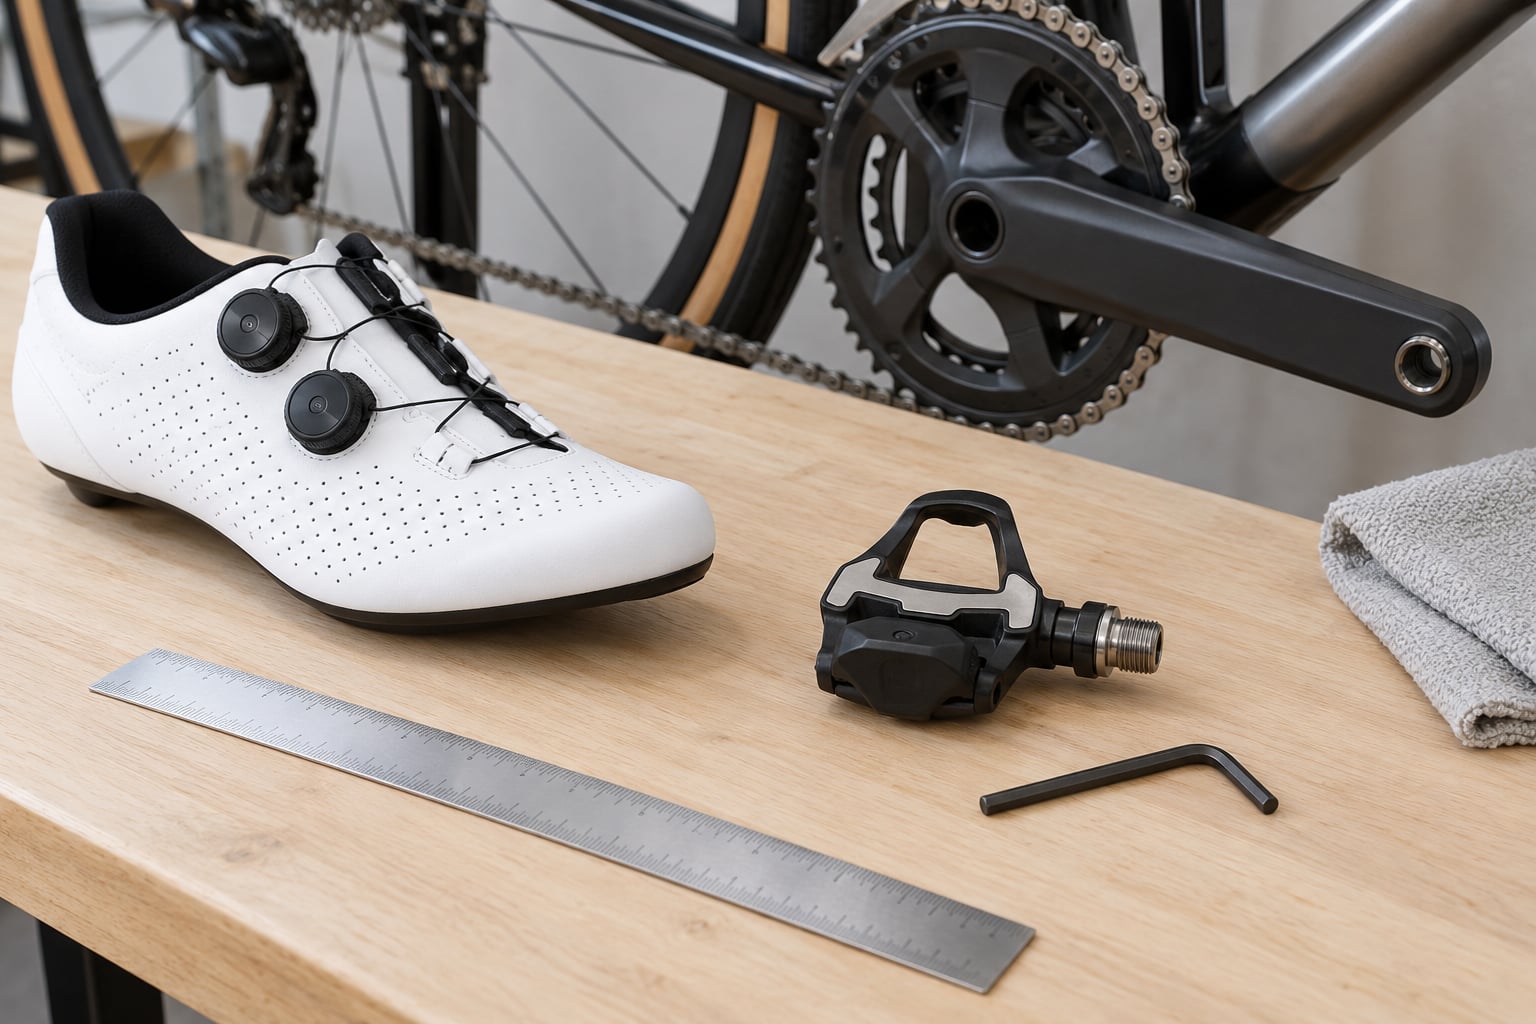
- Your bike and cleat-compatible shoes, ideally the pair you already ride in. Keep the closure straps loose for now.
- The cleats that match your pedals. Road cleats are three-bolt, narrower and have a smooth or grooved contact surface. Mountain and gravel cleats are usually two-bolt, wider, grippier and walkable.
- A 4 mm Allen key, ideally a short one that lets you work at an angle inside the shoe.
- A small torque wrench or a torque screwdriver that covers the 4-8 Nm range. Most cleat bolts need about 5-6 Nm depending on the brand, and over-torquing will chew the soft plate in your shoe sole.
- Grease – simple assembly grease or chain lube. A dry bolt head can gall and spin.
- Masking tape and a permanent marker for marking the sole of the shoe.
- A ruler or tape measure for measuring arch length and ball-of-foot position if you want a measured starting point.
- Your bike set up safely – in a stand, a doorway or on a trainer. Never work on a bike lying loose on the ground with the crank under load.
Check the pedal manufacturer’s instructions before you bolt anything down. Bolt pattern, cleat shape and torque figure all differ between road and gravel systems, and the manual settles arguments that online advice will not.
Step-by-Step
1. Set the Foot Position on the Pedal
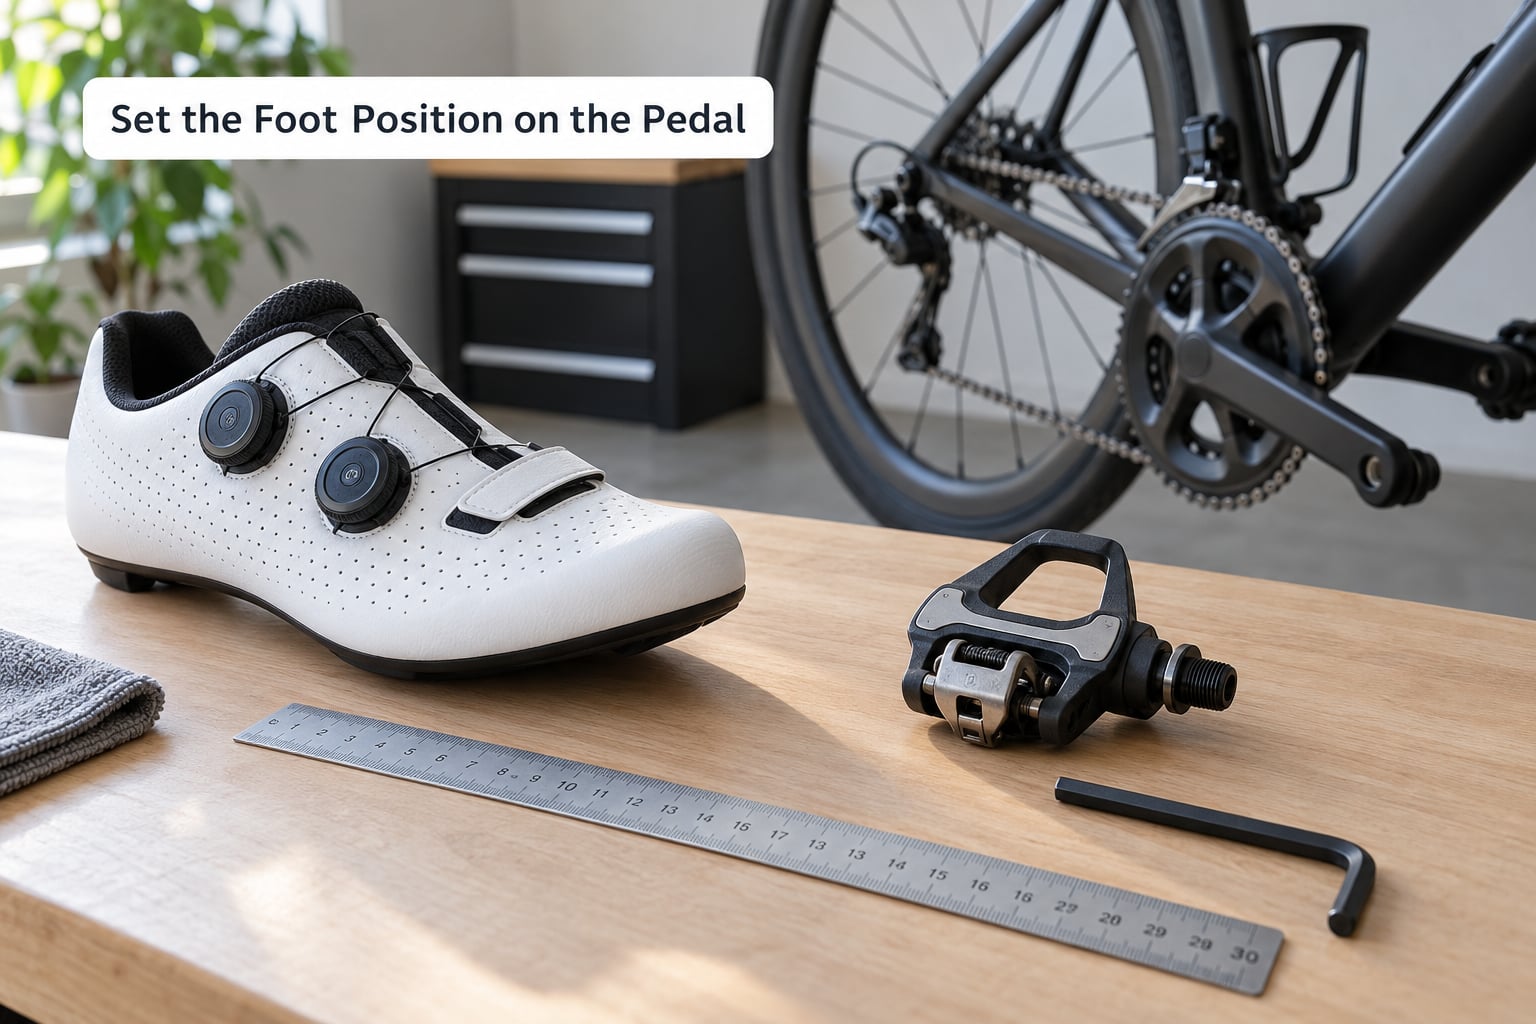
Sit on the bike and clip in. The first job is finding a neutral ball-of-foot position, and neutral is easier to feel than to measure: your knee should fall over your second toe, not inside it and not outside it.
Most clipless pedals have adjusters on the front and rear of the cleat plate. Nudging the cleat back moves your foot forward relative to the pedal spindle; pushing it forward moves your foot back. Pedal brands label this differently, so learn the direction on your own pedals before trusting a generic instruction.
Work in small moves of 2-3 mm and change both cleats together. Moving one foot and not the other is the single most common way riders end up with a twist they did not intend, and you will feel it as an odd hip or knee sensation within a few minutes of riding.
2. Match the Cleat to the Shoe
Before positioning, check the pairing actually works. Two-bolt cleats need a two-bolt mounting pattern; three-bolt cleats need three. Some gravel shoes accept both. Nothing forces them, so a mismatched cleat can start to turn in the plate the moment you pedal hard.
Look at the cleat before you fit it. If the ridges or grab texture are rounded off, the contact face is chewed, or the plastic is discoloured near the mounting holes, it is finished. Worn cleats grip badly, which feels exactly like a tension problem on the pedal.
To transfer position to a new cleat, stick four small pieces of masking tape to the sole around the existing cleat – one at the front, one at the back, one on each side. Trace the line that centres each new cleat on the same position, then peel the tape off and use it as your alignment guide.
Loosen the bolts just enough to let the cleat slide. Seat it first, then tune it while you are clipped in.
3. Set Cleat Tension and Closure
Set the pedal tension before you judge the position. Tension controls how much the foot rocks around the cleat bolt, and if it is wrong you will blame the position for a problem the position cannot fix.
Start at the manufacturer setting or a touch tighter, then tighten the cleat bolts evenly to about 5-6 Nm. Apply a small amount of grease to the threads before you go in.
You want just enough tension that the foot cannot rotate noticeably, but not so much that clipping out under load takes real effort. Over-tightening the shoe closure is the more common culprit behind numb toes, so leave the straps or dial snug rather than cranked.
Check heel movement with the shoe closed. A few millimetres of lift at the heel is normal; visible rotation through the arch is not.
4. Check Saddle Height and Fore-Aft Position
Cleat position changes your effective leg length. Moving the cleat backwards effectively lengthens your leg, which raises your saddle height without touching the saddle, and that alone can cause knee pain on the downstroke.
A workable hip angle looks like this: at the bottom of the stroke, your knee has a slight bend rather than being locked straight or folded sharply. Your heel should stay roughly level with the crank arm, and if it lifts sharply on every revolution, you are usually too low for that cleat position.
When you move cleats, change one thing at a time and give it a ride before touching anything else. Riders routinely drop the saddle several millimetres to compensate for a cleat change and end up with a bigger problem than the one they started with.
5. Verify the Position on the Bike
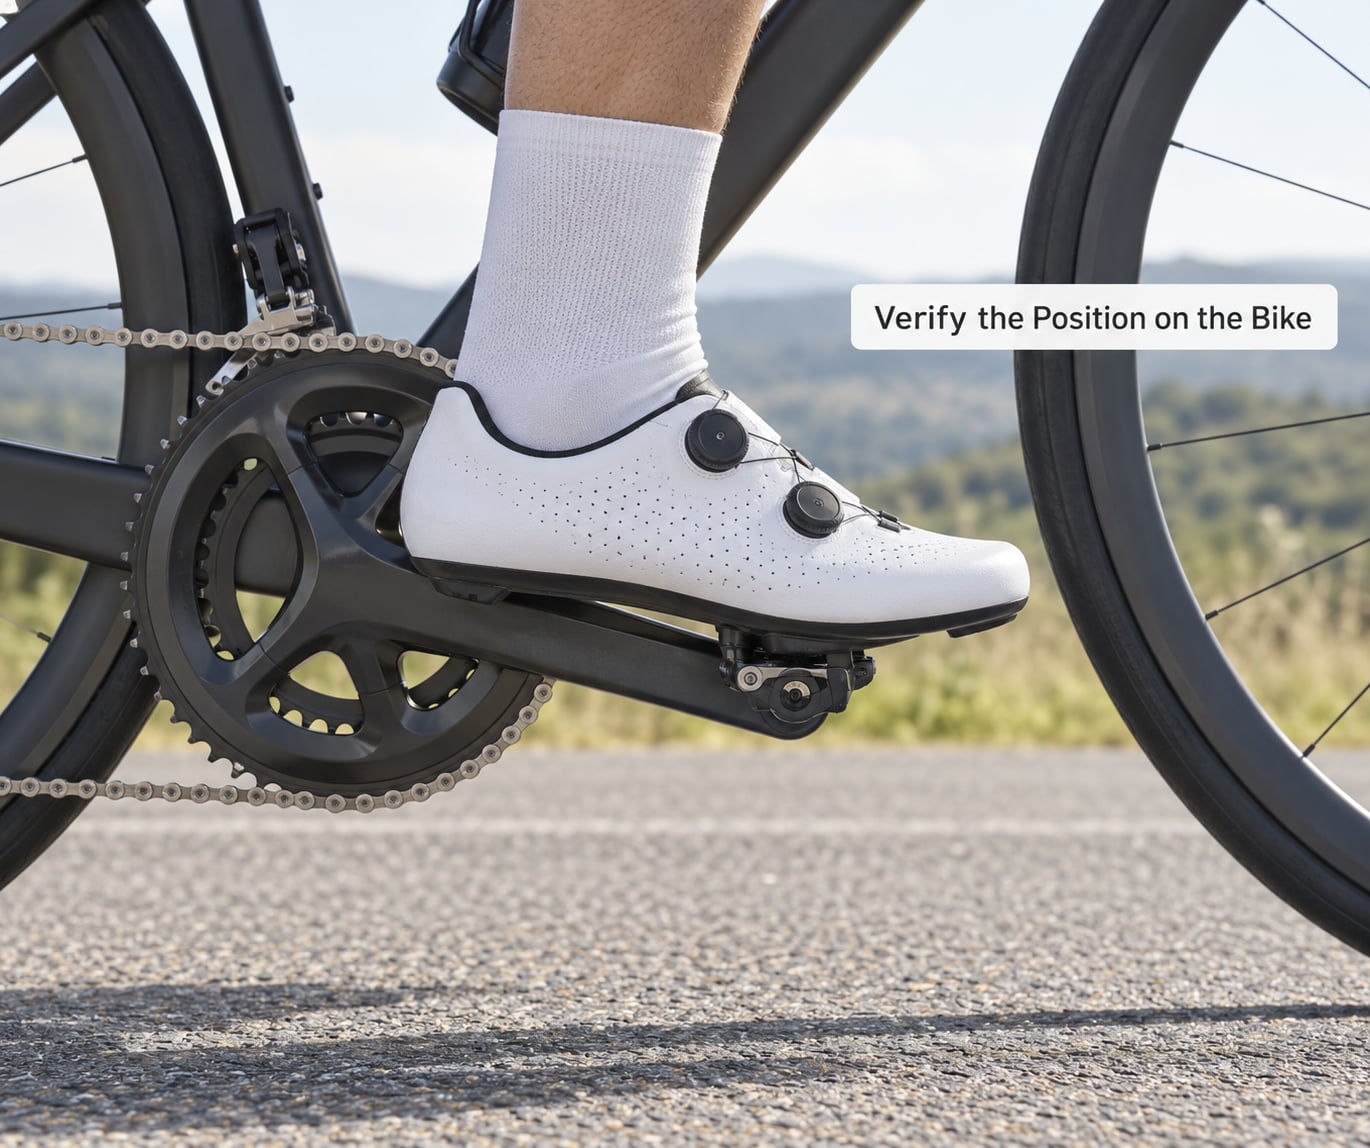
Now watch what happens while you pedal. There are five checks worth running, and each one tells you something different.
- Knee tracking. Watch the downstroke from behind. Knees falling inward means moving the cleat out toward the little toe. Knees drifting outward means moving it in toward the big toe. This adjustment often fixes lateral knee pain better than anything else you can do at home.
- Heel lift. Heel rising on every stroke points to a low saddle or a cleat sitting too far back, not to a bad shoe.
- Rocking. If you can twist your foot noticeably around the cleat, loosen the pedal tension slightly or move the cleat under the middle of the ball rather than its front edge.
- Clip security. Clip in and bounce the bike gently. If the foot stays in, the tension is reasonable.
- Clip-out effort. Clip out under light load. It should take a firm twist and lift, not a fight.
If any check fails, correct it by 2-3 mm and test again. One change per test ride is slow but it is the only way to know which adjustment did the work.
6. Test on a Safe Ride
Before the first road ride, spend twenty minutes on an indoor trainer or a quiet flat stretch close to home. Sitting upright on a trainer gives you a clean view of your knees, which is exactly the angle you cannot get from the saddle on a real bike.
On that first test, watch for pressure under the ball of the foot, numbness in the toes, tension across the top of the foot and any knee ache that builds rather than fades. Sensory discomfort under the ball of the foot is the clearest sign the cleat is a few millimetres off.
Foot pain that shows up at 45 minutes and not at 15 minutes is usually pressure or cleat position. Numb toes that arrive within minutes is usually closure straps that are too tight. If pain persists after a week of correct setup, stop and see a doctor rather than adjusting the bike again.
Common Mistakes
Here is what goes wrong most often, and the fix for each.
- Cleat too far forward on the shoe. The cleat sits ahead of the ball of the foot, pushing your foot back over the spindle. You feel it as pressure under the middle of the ball, a hot spot, and a shortened effective leg length that shows up as front-of-knee ache. Fix: move the cleat back a few millimetres at a time.
- Cleat too far back. Your foot sits well ahead of where it would naturally sit, which effectively lengthens your leg and raises the step-out force. Expect numbness in the toes, heel lift and knee pain on the downstroke. Fix: move it forward, or drop the saddle slightly to compensate.
- Too much cleat angle. Canting the cleat with the rear edge tipped in or out tilts the whole foot and twists the knee out of line. Fix: return the rear of the cleat square with the front, then correct tracking with the lateral adjuster.
- Moving both cleats differently. Small asymmetries create a pelvic twist you feel in the lower back. Fix: change both sides by the same amount, in the same direction, in the same ride.
- Excessive pedal tension. Too tight and clipping out becomes frightening, so riders stay clipped in when they should not. Too loose and feet unclip over rough ground. Fix: set tension so the foot cannot rotate visibly but releases with a firm twist.
- Using the saddle to fix a cleat mistake. Large saddle changes chase a symptom and create a second one. Fix: settle the cleat first, ride, then adjust the saddle in small steps if it is still needed.
- Ignoring pedal brand differences. Fore-aft direction, cleat markings and torque figures differ between systems. Fix: read the manual for your own pedals rather than copying a position from a video shot on a different brand.
Two final tips. Keep a piece of tape on the sole of each shoe showing the cleat position, so every future replacement starts from the same spot. And for out-of-the-saddle climbing, a slightly more rearward position often feels better because it opens the hip at the top of a standing stroke, though it is worth testing rather than assuming.
Frequently Asked Questions
Should my foot be straight on the pedal when cycling?
Roughly, yes. Your knee should travel over your second toe, with the ball of the foot sitting over the middle of the cleat and the heel level with the pedal. Straight is a starting point rather than a rule, because cleat angle and lateral position are there to correct the small deviations that straightness alone cannot fix. Check from behind: knees falling inward means the cleat moves toward the little toe.
What cleat tension should I use on road bike pedals?
Start at the manufacturer’s default setting and tighten until the foot cannot visibly rotate, then stop. Over-tensioning makes clipping out under load frightening and is a common reason riders stay clipped in when they should release. Too little tension lets feet unclip on rough roads. Check it by clipping in, bouncing the bike gently, and confirming the foot stays in, then twisting and lifting to clip out with a firm effort rather than a fight.
Why does my knee hurt after moving my cleats?
Moving the cleat backwards effectively lengthens your leg, which raises your saddle height without touching the saddle and can cause front-of-knee pain on the downstroke. Moving it sideways can also twist the knee out of line. Watch your knee from behind during the downstroke and correct the cleat before changing anything else. If pain persists after a week of careful adjustment, see a doctor rather than continuing to adjust the bike.
How do I know if my cleats are positioned too far forward or back?
Too far forward and you feel pressure and hot spots under the middle of the ball of the foot, plus a shortened leg that can irritate the front of the knee. Too far back and your toes go numb, the heel lifts on every stroke, and clipping out takes noticeably more force. Move two to three millimetres at a time and test on a trainer between changes. Numbness that arrives within minutes usually means the shoe closure is too tight instead.
Should I change my saddle position when adjusting cleats?
Only after the cleat is settled. A cleat moved backwards lengthens your leg, so a small saddle drop can be legitimate once the cleat position has stopped changing. Make large saddle adjustments before your cleats are final and you will be chasing two variables at once. Change one thing, ride, then decide. Riders who compensate immediately often end up with new knee or back pain caused by the saddle rather than the cleat.
Can I use the same cleat position on different pedal brands?
The reference point can transfer, the adjuster directions cannot. Most systems position the cleat under the ball of the foot, so a position that feels right on one brand is a reasonable starting point on another. However, front and rear adjusters push the cleat in opposite directions on different systems, and cleat markings and bolt torque figures vary. Check your pedal manual for the direction of adjustment and the torque value before you fine-tune.
Conclusion
Start with the simple part: clip in, put the ball of your foot over the middle of the cleat, and set closure tension snug rather than tight. Then change one thing at a time in 2-3 mm moves and validate each change on a trainer where you can watch your knee. If the knee tracks over the toes, the heel stays level, and a twenty-minute test ride produces no pressure or numbness, the setup is done and you can stop fiddling with it.