Riding at altitude is mostly a pacing problem, and that is good news, because pacing is something you can practise. The air still contains the same 21% oxygen up there; it is simply thinner, so every breath delivers fewer oxygen molecules, every effort costs more, and riders who keep their sea-level zones on the bike usually dig themselves a hole they cannot climb out of. If you have never planned how to ride at altitude properly, the practical answer takes about ten minutes to set up and a few days of patience to absorb. It works for a first mountain trip, a club weekend in the Alps, or a week at 2,500m before a big event.
The honest bit: if you are climbing something serious, the first few days are for eating, sleeping and riding gently, not for chasing your power file. Most people need two to four days at elevation before they feel normal, and the riders who get sick are overwhelmingly the ones who skipped that.
This is the single most repeated question in cycling forums, and it always comes from the same place: someone who lives somewhere flat and has a pass or a summit push booked three weeks out. A rider from Minnesota asking about the Beartooth and a rider from the bay area asking about a Tour stage are asking an identical question, and the answer barely changes with the mountain range.
Table of Contents
- What You Need
- Bike and kit
- Fuel and fluid
- Information
- Monitor what your body tells you
- What if you never leave sea level?
- Bike setup changes worth making
- Plan the trip home, not just the trip out
- Step-by-Step: How to Ride at Altitude
- 1. Acclimatize Before Your Biggest Climb
- 2. How to Ride at Altitude on Day One: Set a Conservative Effort
- 3. Plan the Route Around Time, Not Just Distance
- 4. Fuel and Hydrate Before You Feel Hungry or Thirsty
- 5. Use a Steady Pace on Steep Climbs
- 6. Descend Conservatively
- 7. Watch for Warning Signs and Finish Safely
- Four Altitude Myths That Ruin Good Trips
- The air has less oxygen in it
- My watch says my fitness collapsed
- Slower pace means the training is not working
- You feel fine, so you are fine
- Common Mistakes
- Riding hard on the first day
- Treating a mountain route as a flat route
- Waiting for thirst
- Underpacking and overpacking
- Descending fast because the air feels fast
- Riding through warning symptoms
- Assuming sea-level fitness transfers directly
- Frequently Asked Questions
- How long does it take to acclimatize to altitude for cycling?
- Should I ride the day I arrive at altitude?
- Can cycling at altitude make you sick?
- What are the early signs of altitude sickness?
- Why is my heart rate higher at altitude?
- Is altitude training worth it for cyclists?
- Conclusion
What You Need
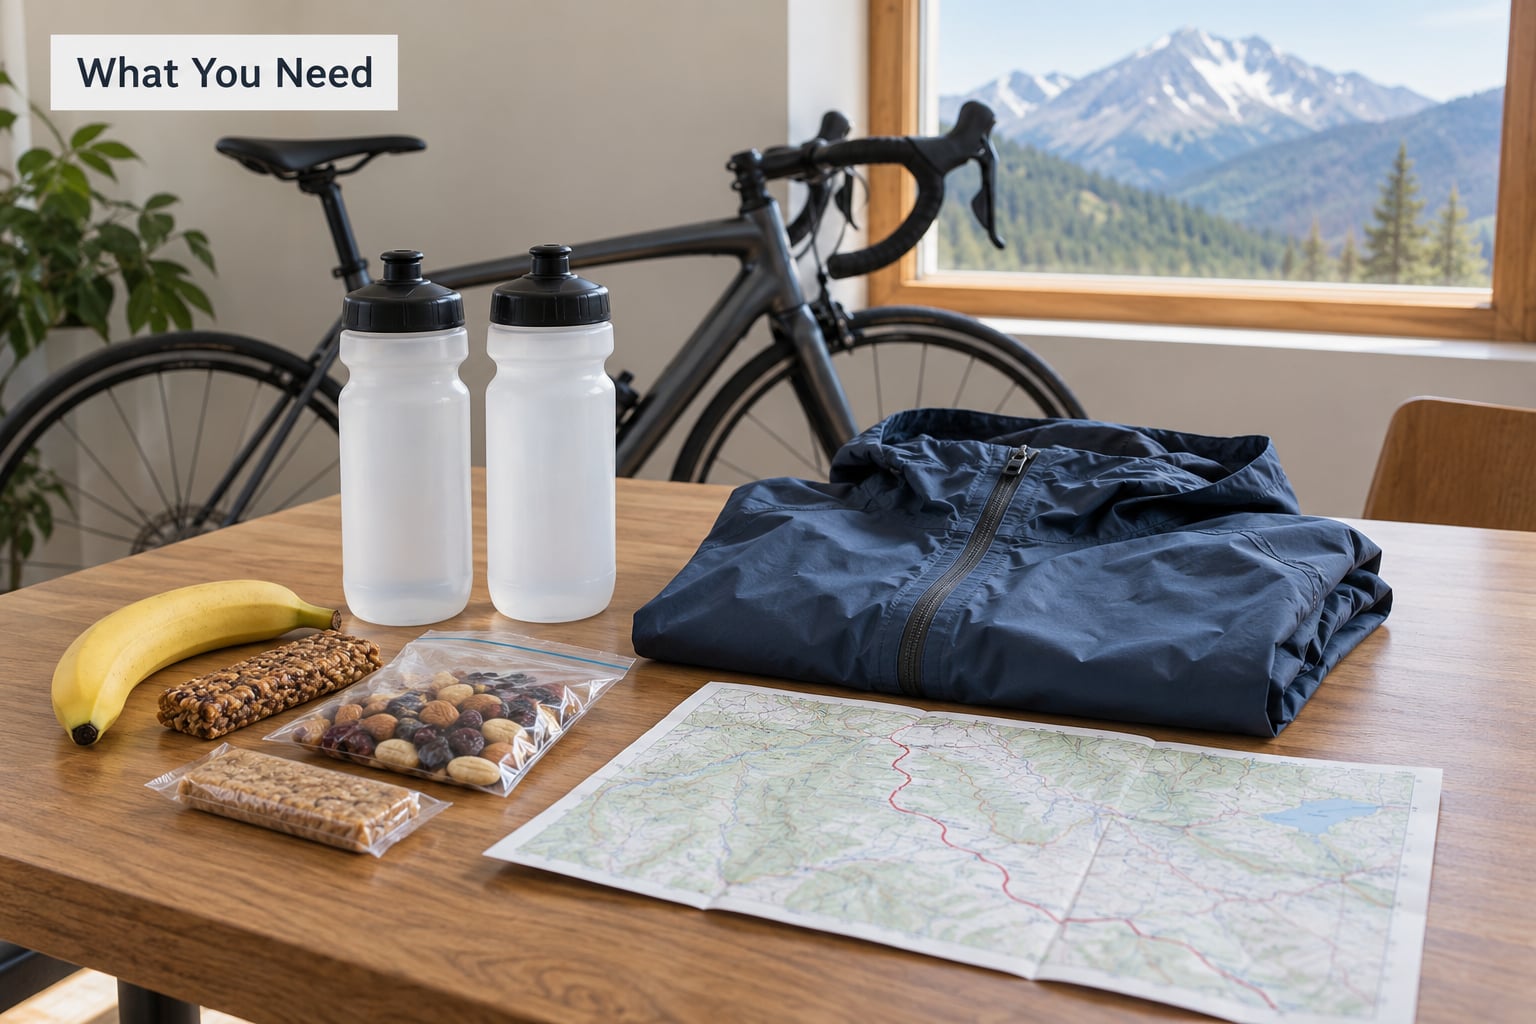
You need very little specialist kit, but five things make up most of the preparation: a bike you trust, clothing for a 20-degree temperature swing in one day, enough fuel and fluid for longer than you think, a route plan built around time, and a way to get help if something goes wrong.
Bike and kit
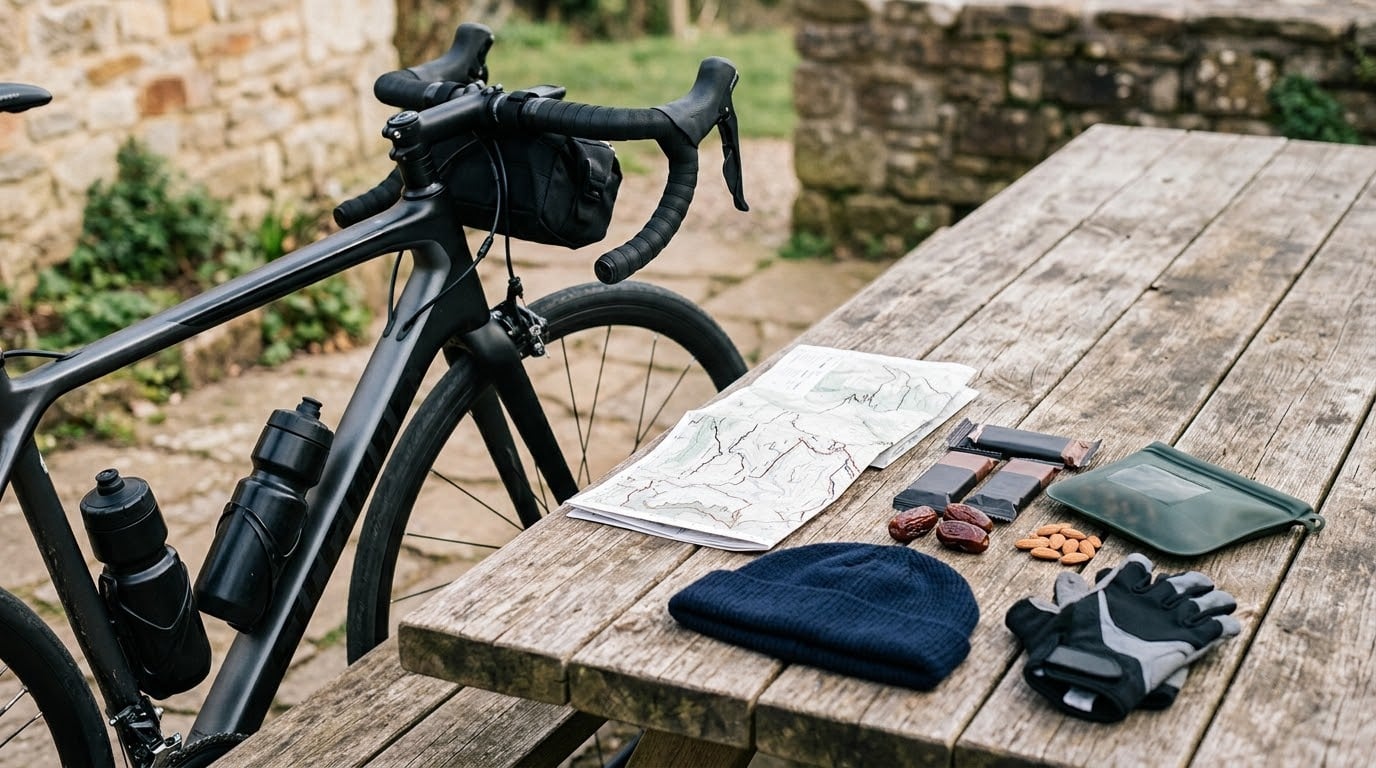
Any road bike in good mechanical order will do. What changes is what you carry: two bottles minimum on a long climb, a spare tube, tyre levers, a multi-tool, and a windproof layer you can reach without stopping. Cold and wind arrive quickly on exposed mountain roads, often halfway up a climb, so stow the jacket where your hands can find it.
Run slightly lower tyre pressure than you would at sea level if you are on tubeless or sealant-based tyres, since lower air density at altitude changes how the casing behaves over rough tarmac. Make sure your brakes are in good order before the trip rather than during a descent. Cold, moisture and repeated hard braking on a long descent are the conditions where pads glaze and lever feel goes vague.
Fuel and fluid
Carry more food than a flat-land ride of the same length would need, and eat some of it before you are hungry. Mountain air is dry, you breathe faster, and you lose more fluid than the temperature suggests. Carrying three to four litres for a half-day ride is normal practice at elevation.
Information
Know your elevation profile, the time of day you will be on the exposed section, the forecast, and the distance between the last two towns with water. Save the emergency number for the region on your phone before you leave signal. Someone at home should know your route and your expected finish time.
If you are heading somewhere genuinely high, a doctor’s appointment before you travel is worth it. Say where you are going, at what elevation, for how long, and mention any previous reaction to altitude. It is also the right place to ask about medicines that come up in altitude discussions, rather than reading about them online.
Monitor what your body tells you
Resting heart rate is the simplest recovery marker you have, and most riders only look at it when something already feels wrong. Take a reading each morning while you are still lying in bed and write it next to the date. A rise of five to ten beats that stays up for a couple of days is a signal to cut intensity, not to add a workout. Heart rate variability works the same way, as a trend rather than a single number.
Anyone spending several weeks at elevation should have iron status checked before they go rather than afterwards. The adaptation that makes altitude training worthwhile is an increase in red blood cells, and that process needs iron available. Low stores limit how much of the benefit you can actually take, which is a common reason riders feel like nothing happened.
What if you never leave sea level?
Plenty of riders want some of the effect without a training camp. If your only altitude is an annual holiday, your best preparation is simply a good road season and a couple of long climbs in the weeks beforehand, because fitness transfers and the pacing skill matters more than any gadget.
The other option is simulating the effect at home. A hypobaric chamber or altitude mask reduces the oxygen available while you train, and the research generally finds the honest answer is that masks and chambers give you a small part of the hematological benefit, while a real stay at elevation gives you the lot. Simulations can still sharpen your breathing, pacing and fuelling under thinner air, which is a genuine skill. If you do use one, treat it as practice rather than as preparation that replaces time in the mountains.
Bike setup changes worth making
Cold is the underrated problem. Mountain mornings can sit near freezing when the valley is sunny and warm at 2,000m, and cold hands cost you braking control on the way back down. Bar tape or a fresh pair of gloves matter more at elevation than at sea level for that reason alone.
Gearing is the other one. If you usually ride flat loops with a 50/34 chainset, a climb above 3,000m at a sustainable 180 watts will grind you to a halt. A compact chainset or lower gear ratio is worth borrowing for a mountain week. Check that your brake pads have life in them, because cold and wet drag hard on pads that are near the end of their life.
Plan the trip home, not just the trip out
Riders are often more careful going up than coming down, which is backwards. A few days after you return to sea level, performance commonly dips before it settles, sometimes for a week or two, as your red blood cell mass adjusts back to the lower altitude. If you have an important race or a big test ride within a fortnight of flying home, build that window into the plan and expect the numbers to look worse than they are.
The practical version: if a race matters, arrive at the venue several days ahead rather than the day before, and do not schedule your first hard test ride for the morning after a long descent day. A quiet spin, some easy miles, and normal sleep will do more than trying to hold sea-level numbers on day one home.
Step-by-Step: How to Ride at Altitude
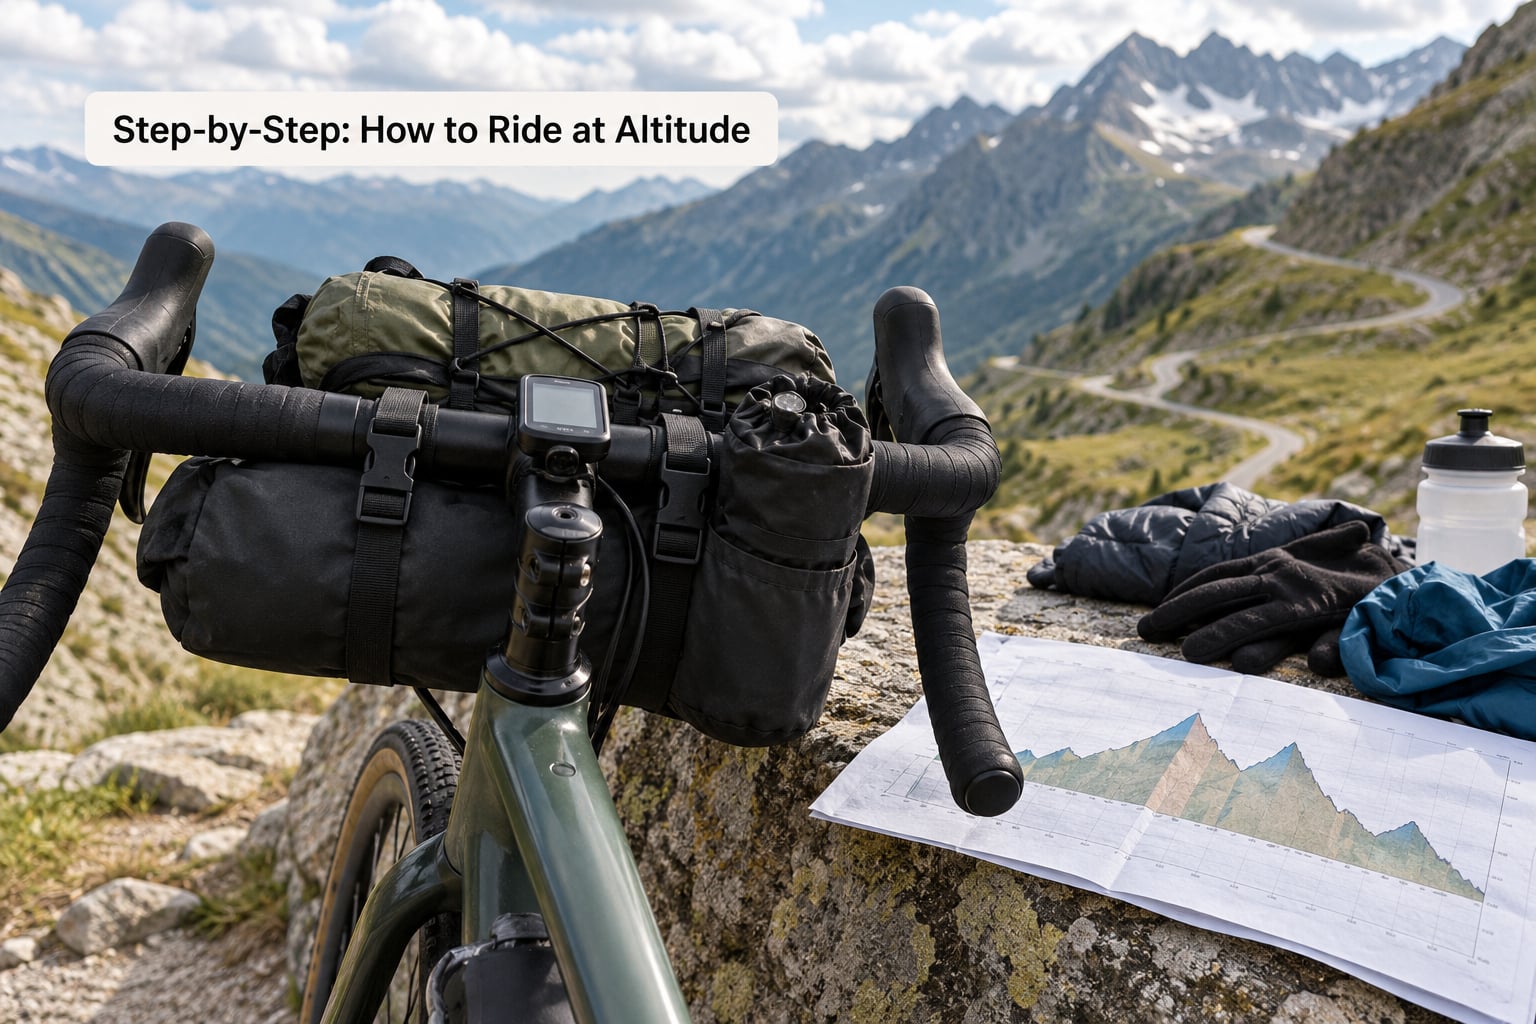
There are seven parts to riding well above sea level: acclimatize first, start conservatively, plan around time, fuel ahead of the need, climb at a steady pace, descend with patience, and treat symptoms as information rather than something to push through. Take them in order.
1. Acclimatize Before Your Biggest Climb
Spend your first one to three days at moderate altitude doing almost nothing on the bike. Easy spins of 60 to 90 minutes, plenty of walking, and an early night. The point is to let your body respond to the lower partial pressure of oxygen before you ask it to produce power you cannot deliver.
Most riders arrive at 2,000m or higher from near sea level, and that jump is the single biggest risk factor for feeling unwell. If your trip only allows one day, arrive a day earlier and ride nothing. This is the part of altitude preparation people cut first, and it is the part that decides whether the rest of the trip goes well.
2. How to Ride at Altitude on Day One: Set a Conservative Effort
On your first real ride, hold an easy to moderate effort and let your breathing be your primary gauge. If you cannot speak in full sentences without pausing, you are working too hard for an acclimatization day. Ease off until you can talk, and stay there for the first hour.
Trust power over heart rate. Heart rate at altitude drifts for all the usual reasons, plus the effect of lower oxygen, so it is a poor guide for the first few days. Power meters do not care about elevation at all, which is exactly what you want during acclimatization.
Once you know your easy power, these are rough starting points for recalibrating your old heart rate zones. Treat them as a starting guess you will adjust, not as measurements from your own body.
| Elevation | Easy ride | Steady tempo | Long climb |
|---|---|---|---|
| Sea level (your baseline) | Z2, 130-150 bpm | Z3, 155-165 bpm | Z3, 155-170 bpm |
| 1,600m | Z2, 135-155 bpm | Z3, 160-170 bpm | Z3, 165-178 bpm |
| 2,000m | Z2, 140-160 bpm | Z3, 165-178 bpm | Z3, 170-182 bpm |
| 2,500m | Z2, 145-165 bpm | Z3, 170-182 bpm | Z3, 175-188 bpm |
| 3,000m | Z2, 150-168 bpm | Z3, 175-186 bpm | Z3, 180-194 bpm |
Notice the pattern most riders find strange. Easy and steady efforts read higher at altitude than the same effort at home, while your maximum heart rate can read lower. That is the altitude paradox, and it happens because maximum heart rate is partly limited by oxygen delivery rather than by effort alone. Your watch will also quietly rewrite your VO2 max in the wrong direction on arrival, and that number is not a measure of your current fitness.
Judging the same ride by feel is another way round it. Riders used to racing at sea level often describe the first hard efforts as faster and less controlled than expected, which is a sign to back off, not a sign that they have found extra fitness.
3. Plan the Route Around Time, Not Just Distance
Do not judge a mountain route by kilometres. Build the plan around elevation gain, how long the descents take, when you will be on exposed ground, and how much daylight you have left. A 60km day that climbs 1,500m can take five or six hours, and in bad weather eight.
Add time to the schedule rather than removing time from it. That gives you permission to ride the first hour slowly, stop for a long lunch, and still finish before dark. Riding a mountain route in the dark with no headlight is how a good day becomes a rescue call.
Check the wind forecast and think about which side of the valley the road runs on. A headwind on an exposed climb at 3,000m can add an hour on its own, and a tailwind can carry you home far faster than your flat-terrain intuition suggests.
4. Fuel and Hydrate Before You Feel Hungry or Thirsty
Appetite disappears at altitude more often than legs do, and dehydration sneaks up because thirst is a late signal. Plan small, frequent intakes rather than big drinks at water stops. Plain water on its own is not ideal either; a long day needs sodium with the fluid, so use your normal drink mix or add electrolytes.
Carbohydrate is your fuel, and the demand goes up rather than down. Start eating before the ride, take 25 to 30g of carbohydrate roughly every 25 to 30 minutes on long efforts, and keep sipping on the climbs where you are working hardest. If you are riding over three hours, a couple of gels or a rice-based option per hour is not extravagant.
Alcohol the night before is a poor idea at elevation, and alcohol the night after costs you more than it normally would. It is general guidance rather than a medical rule, but the recovery math is simple: you have arrived with a disrupted sleep pattern and a partly adapted cardiovascular system, and adding a hangover is not helping either of them.
5. Use a Steady Pace on Steep Climbs
Ramps are where riders lose the ride. Twenty-five minutes at 250 watts looks heroic at sea level and can empty the tank two valleys from the finish at 2,800m. Pick a power you could hold for an hour, stay on it, and let the strong riders go.
Shift early and often on steep grades so you are not grinding a chainring at a cadence you cannot sustain. Sit for long, consistent sections to keep your heart rate down, and stand only for short surges or when you need a change of position. If your breathing is ragged and your power is drifting upward, you are already above what you can hold. Sit back down and drop a gear.
Rough gradients need more care than the steep ones. A 3% grade is where you accumulate distance quietly, and it is where most of the day’s work actually happens. Keep the effort flat there, not the speed.
6. Descend Conservatively
Descending at altitude is where mistakes cost more. You are fatigued, the air is cold, the roads are often damp or frosty in the shade of a valley wall, and you have probably been concentrating hard for hours. Long mountain descents are more dangerous than the climbs that precede them, which surprises people who came for the climbing.
One counterintuitive thing helps: lower air density means less aerodynamic drag, so the same power produces more speed. The bike feels quicker on a fast descent than it should, and that is precisely when you need to brake earlier than feels necessary. Corner entry speed is the variable to control, not how hard you are braking.
Use both brakes on long descents, overlap them lightly on straights, and stay loose through the corners. On frosty corners, brake before the turn and coast through it. Getting a cold hand or a numb foot, or having a headlight run flat, matters more at the top of a remote pass than anywhere else on the ride.
7. Watch for Warning Signs and Finish Safely
Normal acclimatization includes a poorer night’s sleep, a mild headache, feeling a bit off for the first day or two, and being more tired at the same power. That is expected. What is not expected is a headache that worsens despite rest, persistent nausea, confusion, breathlessness at rest, or a cough with frothy or pink sputum.
Your blood oxygen reading will drop at altitude, and that is not alarming in itself. Expect values in the low 90s at 2,500m, dipping after hard efforts, rather than the 98 to 100% you are used to at sea level. A sudden further drop at rest, or a reading that has not recovered after you have stopped, is a reason to stop riding.
The rule I would use: if symptoms are building rather than settling, the only reliable treatment for serious altitude illness is descent, and it works better the lower you go. Do not plan to ride through it. Turn around, walk down, get to a town, and if symptoms are severe or worsening, get medical help rather than sleeping it off.
This is general information, not a diagnosis. If you have a heart, lung or blood condition, are pregnant, or have had a serious reaction to altitude before, talk to a doctor before travelling high. Anyone with worsening symptoms at altitude needs medical care, and nothing on a bike is worth delaying that.
Four Altitude Myths That Ruin Good Trips
Most bad altitude rides come down to beliefs that sound right and are wrong. These four come up constantly in cycling forums, and every one of them costs riders a good day.
The air has less oxygen in it
No. The air is still about 21% oxygen at 3,000m, exactly as it is at sea level. What changes is air density: there are simply fewer molecules in each cubic centimetre, so the partial pressure of oxygen drops and your lungs have to work harder to get the same amount into your blood. This is also why aerodynamic drag falls with altitude and why a descent can feel unnervingly fast. Riders who “know” there is less oxygen tend to panic about pace for no reason.
My watch says my fitness collapsed
Head units estimate VO2 max from heart rate data gathered at a particular altitude, so they frequently publish a lower figure on the day you arrive. That drop is an artifact of thinner air, not a loss of conditioning. Ignore the number for the duration of the trip and let it re-estimate once you are home.
Slower pace means the training is not working
For the first several days, slower is the correct pace. The hematological adaptation that people are chasing takes weeks, and the ventilatory adaptation arrives sooner but still needs a few days. Judging the trip by first-week pace is judging it before it starts.
You feel fine, so you are fine
Plenty of serious altitude illness builds gradually, and feeling good on the first evening is not a clean bill of health. The pattern that catches people is feeling fine on a first exposure, then getting much sicker on the next ascent, which is why a previous bad experience is worth mentioning to a doctor before you travel again.
Common Mistakes
Most ruined mountain rides come down to the same handful of decisions. The fix is usually small and happens days before the bad day does.
Riding hard on the first day
The classic error. You feel fine on arrival, you are with a group, and everyone is racing to the first viewpoint. Do the first two days at conversational pace and you will probably still be riding at the end of the week; go hard on day one and you will be walking up the pass.
Treating a mountain route as a flat route
Estimating time from distance is how riders end up on a descent in the dark. Build the estimate from elevation profile, expected pace, and stops, then add a margin.
Waiting for thirst
Thirst is a lagging signal, and at altitude it lags further. Drink on a schedule, include sodium, and expect to carry more than you would at sea level.
Underpacking and overpacking
Overpacking means carrying a full kitchen and running out of water. Underpacking means one bottle, no spare tube, and no warm layer at the top of a 2,500m pass in September. The middle answer is two bottles, real food, a warm layer, and a repair kit.
Descending fast because the air feels fast
Less drag means more speed for the same effort, and tired riders react to that with surprise. Pick corner entry speed in advance, then stick to it.
Riding through warning symptoms
A worsening headache or nausea is information about the day, not a test of your toughness. Stop, rest, drink, reassess, and descend if it is not improving.
Assuming sea-level fitness transfers directly
Your fitness still matters enormously; it just does not deliver the same numbers in thinner air. Accept a slower pace for the first few days and judge the trip on how the last two days felt.
Two smaller habits help more than they should. Sleeping well at altitude is a skill, and a normal evening routine matters more than any gadget. And tell someone your route, so a delayed finish is a phone call rather than a search party.
Frequently Asked Questions
How long does it take to acclimatize to altitude for cycling?
Most recreational road riders need two to four days at elevation before they feel close to normal, and serious climbers take longer. A useful pattern is one easy rest day, two to three days of gentle riding, then normal training. Anyone ascending above 3,000m from sea level should give themselves more time than that, and should treat symptoms that worsen rather than settle as a reason to go lower.
Should I ride the day I arrive at altitude?
A short, easy spin is fine if you feel well, and a long hard ride is not. On arrival, keep the first effort conversational and stop early. Your priority for day one is eating, drinking and sleeping, not covering distance. Riders who push hard on arrival are far more likely to feel unwell on a mountain road where help is a long way away.
Can cycling at altitude make you sick?
Yes. Altitude sickness is caused by low oxygen at elevation, not by exercise itself, but exertion on top of poor acclimatization makes it much more likely. Riding hard above 2,500m within a day or two of arriving is the pattern most often linked to feeling ill on the bike. Get used to the altitude first, then ride.
What are the early signs of altitude sickness?
The common early signs are headache, nausea, dizziness, unusual fatigue, and poor sleep. A mild headache and some tiredness on the first night are common and usually settle. Get concerned when a headache worsens despite rest, when nausea persists, when you become confused or unusually unsteady, or when you feel breathless at rest. Get lower rather than pushing on.
Why is my heart rate higher at altitude?
Lower oxygen availability means your body moves more blood to deliver the same oxygen, so heart rate climbs at any given effort. Because of that, power meters are more trustworthy than heart rate for the first few days at altitude. Reread your zones every few days rather than trying to hold your old numbers, since your heart rate will drift again as you adapt.
Is altitude training worth it for cyclists?
It can be, but the effect depends on altitude, length of stay and your iron status. The most common recommendation is a few weeks living around 2,000 to 2,500m while keeping most training at lower elevation. Without enough iron available, the red blood cell response is limited, so have ferritin checked before a long camp rather than after it.
Conclusion
Start with the boring part, because it is the part that works: arrive a couple of days early, ride the first hours at a pace where you can talk, and eat and drink on a schedule. Build the route around time rather than distance, keep the power steady on the ramps, and brake earlier than the thinner air makes you want to.
Know the two or three symptoms that mean descent, and do not negotiate with them. Get that right and learning how to ride at altitude is mostly a matter of patience, and your power at sea level will still be there when you come down.