A century ride runs six to eight hours in the saddle, covers 100 miles with very little mechanical help, and rarely matches the weather you trained in. This century ride packing list is built for that reality: what to carry on the bike, what to wear, what to eat, and what you can safely leave behind if an organized ride provides rest stops.
Last updated: October 2026
Most lists you find online are written for a 50-mile ride and scaled up with wishful thinking. The useful version is specific about quantities, tells you where each item physically lives so you can find it at mile 70, and separates what a solo rider needs from what a supported rider can skip.
Table of Contents
- 12 Century Ride Packing List Essentials at a Glance
- 1. Reliable Road Bike Setup
- 2. Spare Tube and Tire Tools
- 3. Compact Inflation and Repair Tools
- Mini pump or CO2: which one belongs in the pack
- 4. Multi-Tool and Emergency Repair Kit
- 5. Comfortable Riding Clothing
- 6. Helmet and Eye Protection
- 7. Nutrition for the Full Distance
- 8. Hydration and Electrolytes
- 9. Navigation and Ride Documents
- 10. Sun, Rain, and Cold-Weather Protection
- 11. Personal Safety and First-Aid Supplies
- 12. Small Comfort and Unexpected-Problem Items
- Extras worth the space they take
- Frequently Asked Questions
- What should I pack in my saddle bag for a century ride?
- How many spare tubes and repair tools should a century rider carry?
- Do I need to bring food if the century has rest stops?
- Should I pack extra clothing for a century ride?
- How do I pack for a century if the weather is unpredictable?
- What can I leave behind when support is available?
- Conclusion
12 Century Ride Packing List Essentials at a Glance
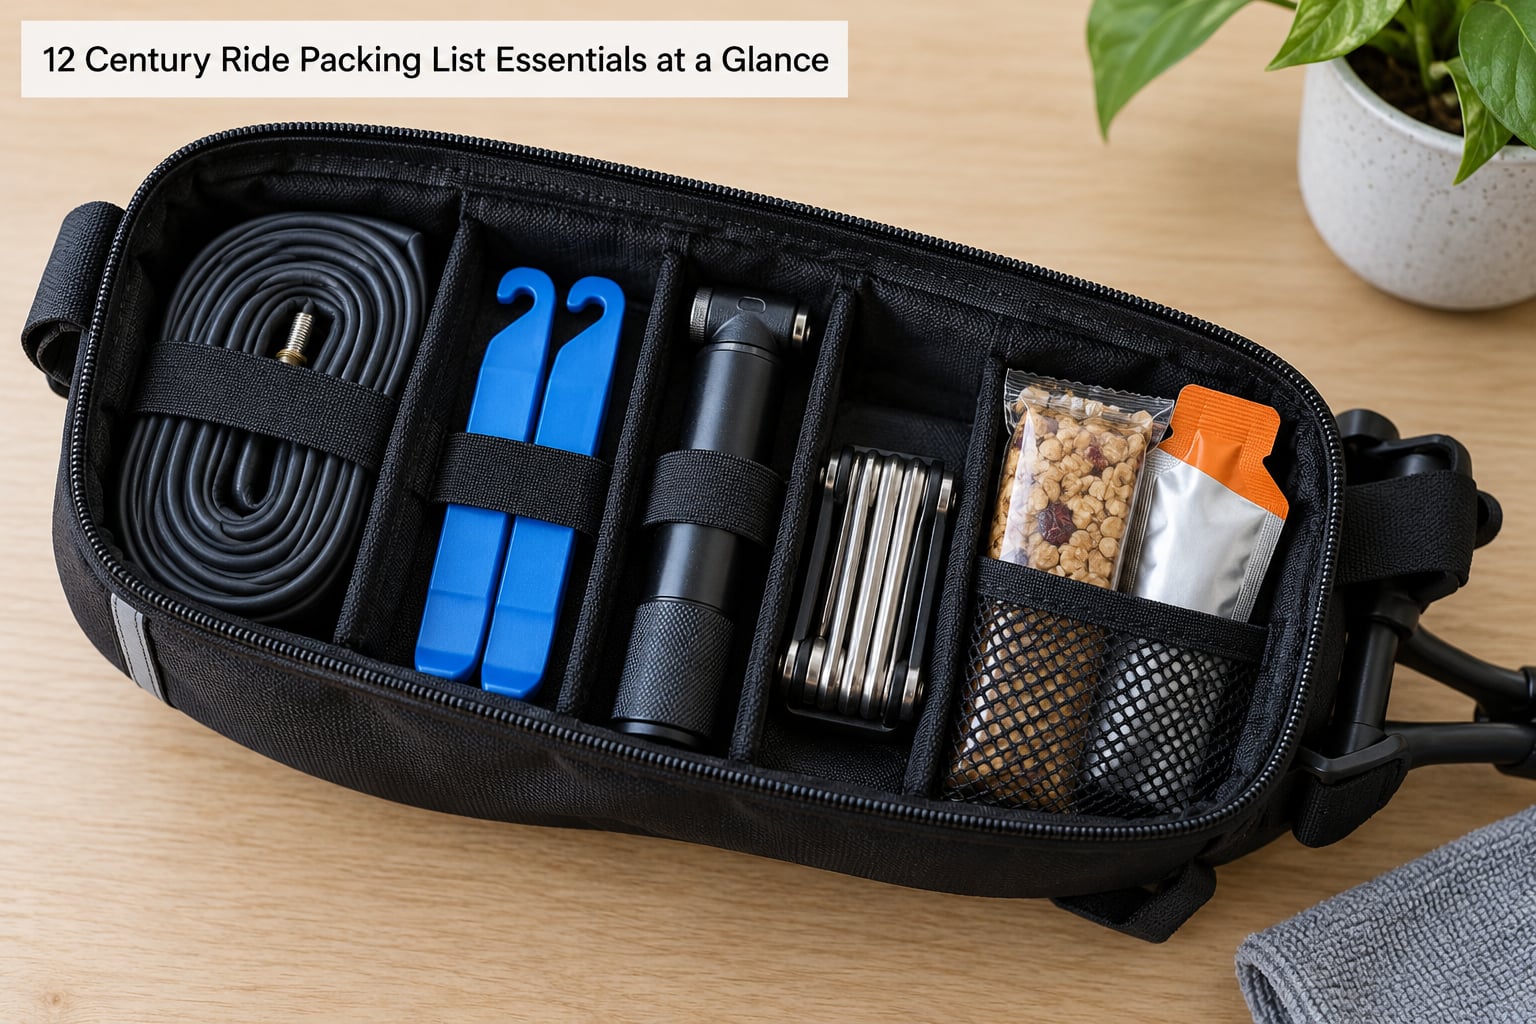
Everything below falls into one of four bags and the kit you wear. Grouping it this way matters more than the items themselves, because the failure mode on a long ride is not forgetting a thing, it is emptying an entire seat pack on the roadside to find it.
| Item | Why it matters | Where it lives |
|---|---|---|
| Spare inner tubes (2) | A single thorn at mile 80 with no spare means a taxi home | Seat pack, tube compartment |
| Tire levers and tire boot | Lever priority is splitting the bead without pinching the tube | Seat pack, small zip pouch |
| Mini pump | CO2 gets you rolling fast but cannot fix a slow leak | Top tube bag or frame bag |
| Multitool with chain breaker | Most roadside fixes are a loose bolt or a stretched chain | Bolted to the top tube bag |
| Spare chain link and quick release | Sideways on a bike means walking | Seat pack |
| Water bottles (2) plus electrolytes | Roughly 20 to 24 ounces an hour in summer heat | Bidons, top tube bag for one spare |
| Carbohydrate food for 6 to 8 hours | The bonk in the last third is a planning failure, not a fitness one | Jersey pockets and top tube bag |
| Rain shell | Rain gear is lighter than the hypothermia it prevents | Seat pack, packed in a dry bag |
| Sun protection | Ten hours of sun on the arms and neck adds up | Worn and jersey pockets |
| Front and rear lights | Even a 7am start can finish in the dark after a slow day | Bike-mounted, charged |
| Phone, battery bank, route | Battery death on an unfamiliar route is the real emergency | Top tube bag |
| ID, cash, emergency contacts | Needed if you flag down help or reach a shop | Jersey pocket |
1. Reliable Road Bike Setup
No packing list saves a bike that was not ready on the driveway. Do this work the day before and the rest of the list becomes a comfort decision instead of a survival decision.
What I check, in order:
- Tire pressure and tire condition. Check the actual pressure cold, not what the sidewall says. Look for cuts, embedded glass, and tread wear across the center strip.
- Brakes. Pad thickness, lever feel, and rotor or rim condition. A contaminated pad is a roadside waiting game.
- Drivetrain. Chain wear, cassette condition, and shifting under load. A chain near the limit of wear can snap sideways on a climb.
- All bolts. Water bottle cages, bar tape, seat post clamp, front derailleur. Bring the tool that tightens them.
- Fit sanity check. Short rides in the exact kit and saddle height you will use, because saddle sores and hand pressure build over hours, not miles.
2. Spare Tube and Tire Tools
The flat kit is the one item on this list nobody should cut. Carrying two inner tubes is the standard for a day ride, and the second one is cheap insurance.
- Two spare tubes in your tire width. If you run thorn-prone or heavy casing tires, a thorn-resistant tube is a sensible upgrade.
- Tire levers plus a good thumb glove, or accept a thumbnail or two as the cost.
- Tire boot for a sidewall cut. Two layers of tough tape or a small piece of inner tube around the casing will get you home.
- Patch kit or tubeless plugs if your tires are tubeless. Plug insertion takes seconds; a patch needs glue to dry.
- Valve core tool and a spare valve core if you run tubeless or Presta valves. A slow leak from a dried-out core ends a century quietly.
If you run clincher tires, throw a dollar bill or a small scrap of denim in the kit. Forum regulars have carried one for years, and it is a five-minute roadside repair that works when nothing else does.
3. Compact Inflation and Repair Tools
Choose your inflation method based on where your next refill is, not on what is fastest. The two options fail in opposite ways.
Mini pump or CO2: which one belongs in the pack
| Option | Weight | Inflations | Best for |
|---|---|---|---|
| Mini pump | About 90 to 130 g with mount | Unlimited | Rural routes, gravel, tubeless sealant top-ups, slow leaks |
| CO2 inflator | About 40 g for the head, plus cartridges | One road wheel per 25 g cartridge | Supported rides with short gaps between rest stops |
My honest take: carry the pump and skip the cartridges. CO2 fills a 25 mm tire in one burst and escapes through the tube faster than most people expect, so the second flat of the day becomes a repeat of the first. Plenty of riders carry both, which is defensible on a hilly route where top-ups on a low-pressure climbing tire are likely.
Add a few tire tools sized for anything mounted to the frame: a bottle cage bolt, a compact multitool blade, and strap halves or a spare zip tie for anything that vibrates loose over 100 miles.
4. Multi-Tool and Emergency Repair Kit
A road-specific multitool covers most of the day. Look for hex keys in the sizes your bolts actually use, plus a Phillips driver, a chain breaker sized to your chain, tire levers, and a scraper or chain wear gauge if your model has one.
Then pack the small things nobody thinks of:
- A spare quick release skewer with a nut, or a small torque wrench for thru-axle bikes.
- A spare chain link in a tiny bag, plus a chain master link tool.
- Two or three spare bolts for water bottle cages and accessories.
- A spare derailleur hanger for the bike you own, since a crash can bend it and end the ride instantly.
- A spare brake pad pair in a zip bag. Rubber costs almost nothing.
5. Comfortable Riding Clothing
Most century discomfort is a fit or friction problem, not a weather problem. Your kit should already be worn for two long rides before the event day.
- Jersey with a full zip and enough rear pockets to hold a gel each without bouncing.
- Bib shorts, correctly fitted. Chamois cream applied before you start and again at your first stop does more than any product upgrade.
- Two pairs of socks minimum, and never the same pair twice in one day.
- Full-finger gloves for cool mornings, or a half-finger pair for heat. Hands grip harder when they are happy.
- A wind vest, which is a few ounces and handles the 50-degree morning that turns into an 80-degree afternoon.
6. Helmet and Eye Protection
Your helmet goes on before anything else gets touched, and it should be the helmet you have actually ridden in, not the one that has been in a closet.
For eye protection, bring good sunglasses with proper coverage for wind, dust, and insects, plus a spare pair in the seat pack because a scratched lens at hour six is miserable. A clear or lightly tinted lens is worth having for overcast or night legs. If you ride with prescription glasses, a helmet cover keeps them usable in the rain.
7. Nutrition for the Full Distance
The working number is roughly 60 grams of carbohydrate an hour for a six to eight hour ride, eaten steadily rather than saved for a stop. That is the difference between finishing strong and bonking at mile 75.
- Gels or chews: one to one and a half per hour, familiar brands only. Test them on training rides.
- Real food: at least one substantial item, because gels stop being appetizing after hour five. Sandwiches, potatoes with salt, banana, or rice cakes all work.
- Sodium: salted food, drink mix, or electrolyte tablets on climbs and in heat.
- A little caffeine: about 100 mg an hour is plenty and rarely more is useful.
- Spare of everything: one extra gel and one extra food item in the seat pack, separate from the jersey stash.
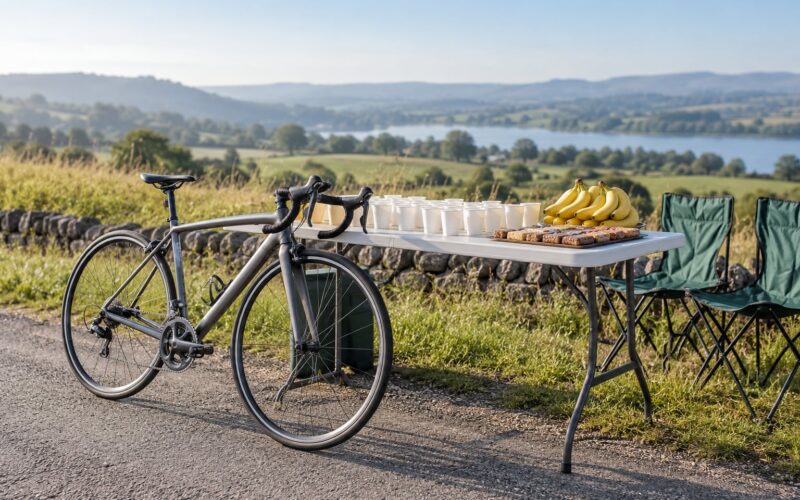
Organized rides supply rest stops well: fruit, cookies, energy bars, sports drink, pretzels, and usually sandwiches. Learn what each stop actually carries, then plan to supplement rather than replace.
8. Hydration and Electrolytes
Two bidons plus one spare capacity in a top tube bag covers most riders in temperate weather. In summer heat, plan on topping up at every rest stop instead of carrying a third bottle all day.
- Drink on a schedule, around every 15 to 20 minutes, before you feel thirsty.
- Aim for roughly 20 to 24 ounces of fluid an hour, more if it is hot and humid.
- Use an electrolyte drink mix or tablets in warm conditions and on long climbs.
- Carry water, not soda or juice, even when the aid station is pouring sports drink.
- Watch bottle cages, because one cage rattling loose at mile 60 will not stay tight on its own.
Underhydration is the quiet cause of most DNFs. Sweat rate varies hugely between people, so if you can, weigh yourself before and after a long training ride and let the number set your bottle plan.
9. Navigation and Ride Documents
Battery death is the most underrated way a century goes wrong. Plan so that a dead phone costs you nothing.
- Downloaded route map to your phone plus a screenshot of the cue sheet.
- Paper cue sheet or a route card with key turn-by-turn points and emergency numbers.
- Phone mounted or in a top tube bag, screen brightness lowered, airplane mode on.
- Battery bank charged, with a short cable you can reach without stopping.
- Cycling computer if you use one, with fresh batteries or a full charge.
- Identification, emergency contacts, insurance details, and a small amount of cash for a shop or a coffee when the plan falls apart.
10. Sun, Rain, and Cold-Weather Protection
Forecast at start time, not at finish time. A 7am start in the fall tells you nothing about the temperature when you roll in at 3pm, and weather on a century usually builds during the day.
- Hot and bright: sunscreen on face, neck, and arms applied before you leave and reapplied at every stop, sunglasses with full coverage, an extra water bottle, and arm coolers if you run hot.
- Cool: arm warmers and leg warmers that roll into a jersey pocket, a wind vest, and one more pair of socks.
- Cold: a proper rain shell as your outermost layer, thermal base layer, full-finger gloves, toe covers or warmers, and a neck gaiter. Wool socks beat cotton when it is damp.
- Rain: a packable rain shell in a dry bag, not a poncho for long descents. Gloves are the first casualty of cold rain, so protect them.
- Sun after rain: low cloud then hard sun, which is the combination most riders underestimate.
There is a real argument for skipping rain gear and simply accepting getting wet, and plenty of riders prefer it. The counterargument is simple: you end the day cold and shivering instead of merely damp. A packable shell costs very little and settles it.
11. Personal Safety and First-Aid Supplies
This section is about being able to keep riding or being easy to help. It is not medical advice, and anyone with a condition or regular medication should talk to their doctor and pack accordingly.
- A small first-aid kit: plasters, antiseptic wipes, blister plasters, tape, and any personal medication.
- Anti-chafe cream and a spare tube of cream, because applying at mile 80 beats a raw sit bone at mile 100.
- A reflective element for twilight starts and late finishes, even in daylight.
- Identification and a note listing allergies, blood type if you carry it, and emergency contacts.
- A whistle or a bright item that another rider can spot if you are off the road.
- A small emergency blanket if the ride is genuinely remote or cold.
12. Small Comfort and Unexpected-Problem Items
The last of this century ride packing list covers the items that rarely appear on anyone’s published list and yet turn an endurance day into a decent one.
Extras worth the space they take
- A cash fold in a jersey pocket, separate from the wallet.
- A phone mount or a sticky mount strip in case your top tube bag does not hold the phone securely.
- Earplugs for long descents and loud groups.
- Hand sanitizer, a small tube of the good stuff for post-ride.
- A plastic trash bag for a wet jersey, so your car seat stays dry.
- Dry base layers and a towel in the car for after you finish, which is the part riders forget until they are shivering in the parking lot.
- A support plan note. Write down where your vehicle will be, when, and the phone numbers of two people. If a friend follows you, they need a plan more than you do.
Frequently Asked Questions
What should I pack in my saddle bag for a century ride?
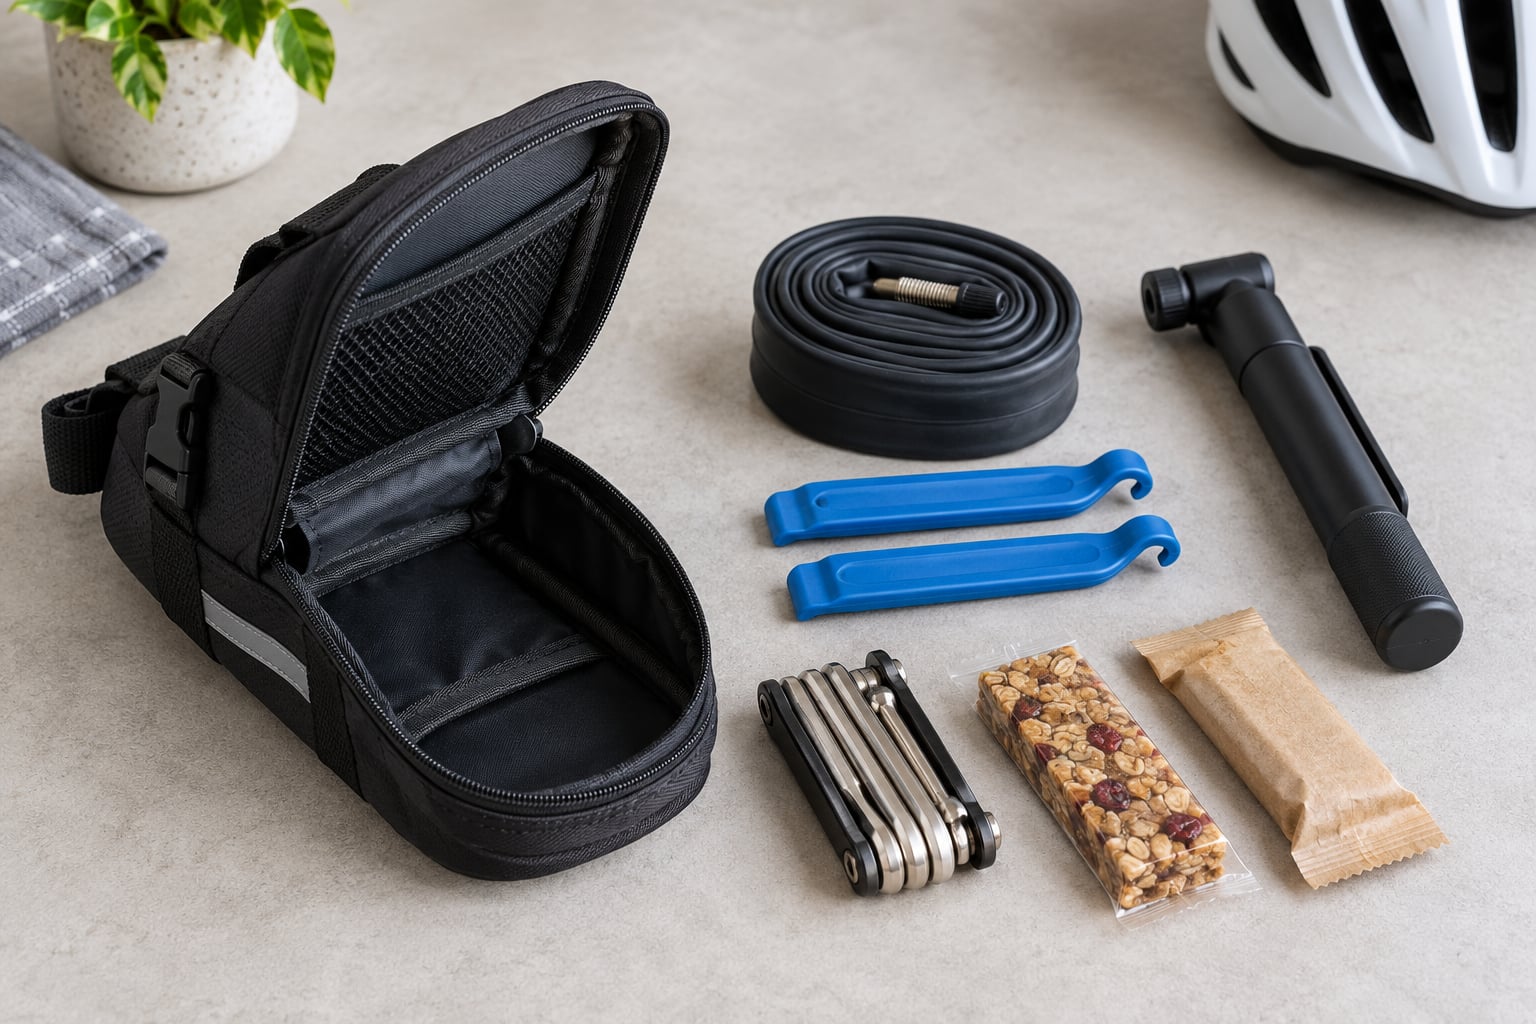
The saddle bag holds your flat kit and your emergency layer: two spare tubes, tire levers, a tire boot, patch kit or tubeless plugs, a multitool, a spare chain link, a small cash fold, and a packable rain shell in a dry bag. Keep food and bottles elsewhere so the pack stays light and you can open one zipper at mile 70 instead of dumping everything on the road.
How many spare tubes and repair tools should a century rider carry?
Two spare inner tubes is the standard for a single-day 100 mile ride, and they should match your tire width. Add tire levers, a tire boot, and a patch kit or tubeless plugs, plus a mini pump. A CO2 inflator is a reasonable backup on a supported ride where rest stops are frequent, but it will not fix a slow leak the way a pump can.
Do I need to bring food if the century has rest stops?
Yes. Rest stops stock fruit, cookies, energy bars, and sports drink, but quantities are unpredictable and queues are real. Eat your own food on a schedule of roughly 60 grams of carbohydrate an hour and treat the aid station as a bonus. Bring something substantial and familiar for after hour five, when another gel stops appealing.
Should I pack extra clothing for a century ride?
Pack one extra layer, not a full change of clothes. A packable rain shell, a spare pair of socks, and warmers for your arms and legs cover almost every case, and they cost very little. Full spare kit is for overnight or variable-weather rides, or for anyone who knows they chill easily on the descents.
How do I pack for a century if the weather is unpredictable?
Plan for the worst likely condition rather than the forecast average. That usually means a rain shell, wind vest, sunglasses, sunscreen, and one warm layer you can stuff into a jersey pocket. Check the hourly forecast, pack for the cold rain end of the range, and remember that a century typically ends three to four hours after the start, in different conditions from the start.
What can I leave behind when support is available?
With a support vehicle following the route, you can drop a second inner tube, the pump, extra tubes, and part of your food, and keep the phone, one tube, the multitool, lights, a shell, and enough water and fuel to reach the next stop. The rule is that you should still be able to finish between two planned support points on your own.
Conclusion
A century ride packing list comes down to four things that must be right: a bike that was checked the day before, a flat kit that can get you through two failures, food and water you actually consume on schedule, and clothing suited to the forecast at finish time. Load the seat pack first, then the top tube bag, then the jersey pockets, and check the hourly forecast again the night before. Everything else on this list is a comfort item, and comfort is what separates a finish you enjoyed from one you survived.