Sprint intervals on a road bike are short, all-out efforts of 5 to 15 seconds each, separated by 3 to 4 minutes of easy spinning, wrapped in a 10 to 15 minute warm-up and a cooldown. You ride them standing up, hands on the drops, winding the gears out as you accelerate, and you recover fully between reps so every sprint is genuinely maximal. The whole session takes 40 to 50 minutes.
Below is exactly how to do sprint intervals on a road bike, from checking the bike to recording the session, plus what to change if you’re new to hard efforts.
One note before you ride. This is general training information, not medical advice. If you’re managing an injury, a knee or hip problem, or you’re building back after time off, check with a doctor or physiotherapist first, and stop the set if something sharp shows up.
Table of Contents
- What You Need
- How to Do Sprint Intervals on a Road Bike, Step by Step
- 1. Check Your Bike and Choose a Safe Route
- 2. Warm Up Gradually for 10-15 Minutes
- 3. Learn the Sprint Effort on One Practice Rep
- 4. Sprint Intervals on a Road Bike: 6-10 Reps With Full Recovery
- 5. Use Gearing That Lets You Sprint Safely
- 6. Adjust the Session to Your Fitness Level
- 7. Cool Down and Record the Session
- Common Mistakes
- Frequently Asked Questions
- How long should each road bike sprint interval last?
- How long should I recover between sprint intervals?
- What cadence should I use during sprint intervals?
- Can I do sprint intervals on an indoor trainer?
- How should beginners reduce the number of sprints?
- Conclusion
What You Need
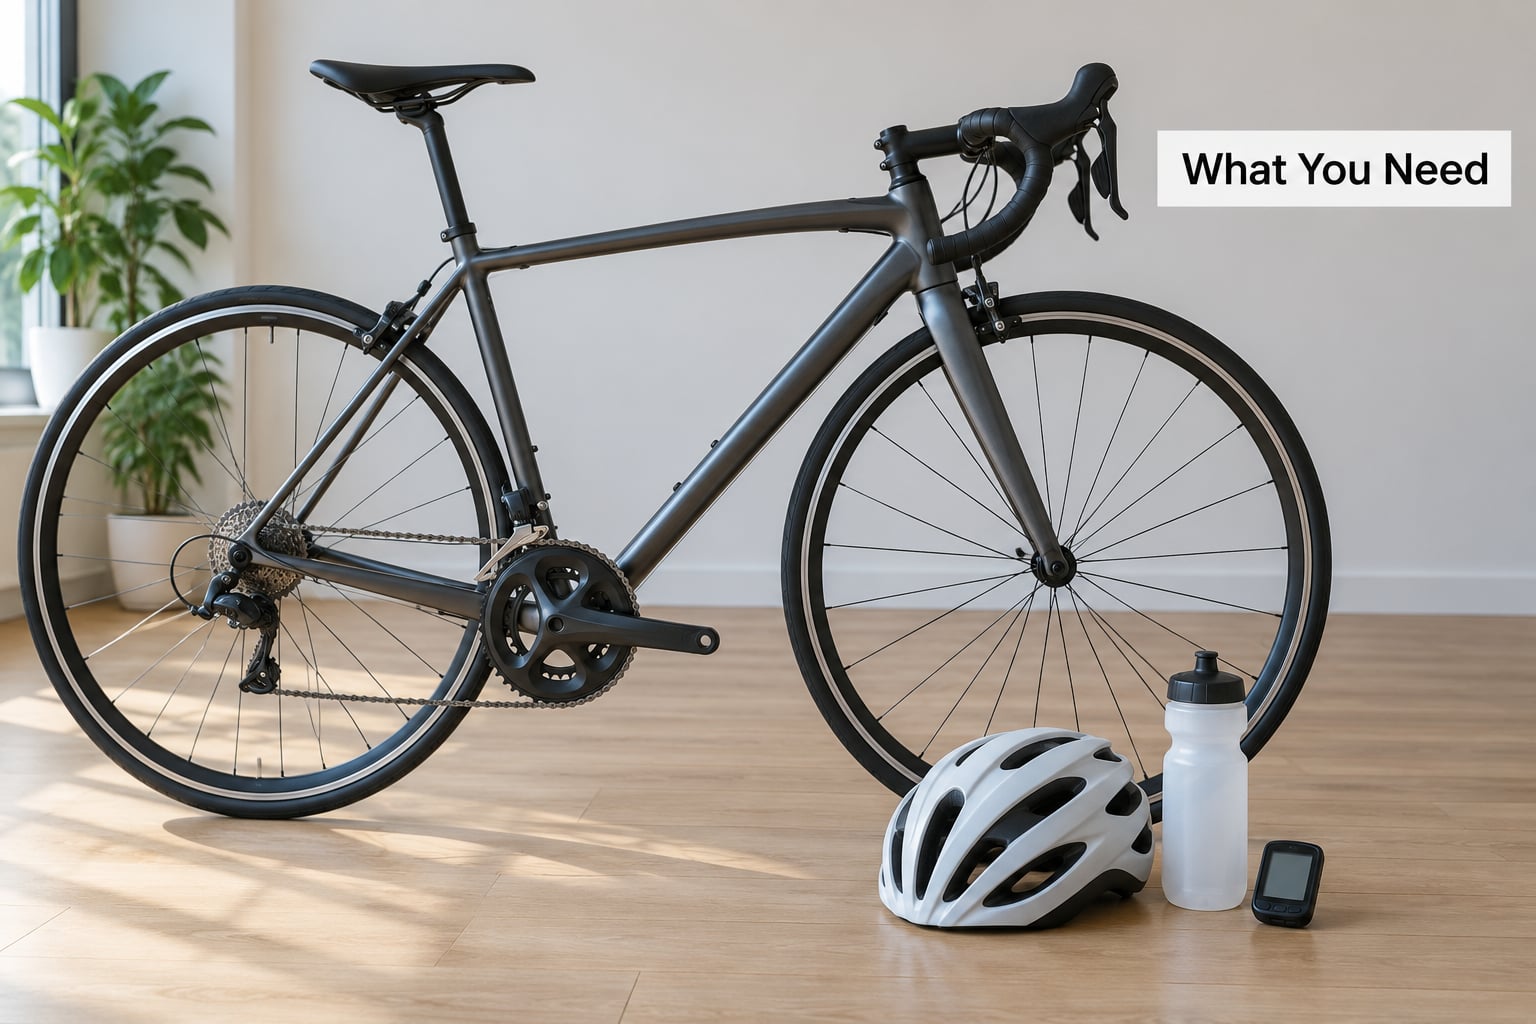
A road bike that passes a mechanical check, a helmet, water, and a timer. That’s the short list. Everything else is a preference.
- Helmet and eyewear. Clear lenses for a sunny day, tinted for an overcast one. Sprinting at speed is the part of cycling where wind noise and grit become a real problem.
- Hydration. One bottle is enough for a 45-minute session in mild weather. Two if it’s warm, plus electrolytes.
- A timer you can see at a glance. A bike computer, a phone on the bars, or a watch. Repeating reps from memory is how sessions drift.
- A quiet, flat stretch of road. Low traffic, good sight lines, no junctions or side streets for at least a few hundred metres.
- Basic ride data, if you have it. A power meter or a cycling computer with a timer makes the session repeatable. Not essential on day one.
Sprint work needs more margin for error than an endurance ride, because you’ll be out of the saddle, rocking the bike, and travelling faster than your normal cruising speed. If you can’t find flat, traffic-free road, do the session indoors instead. Everything below works on a trainer.
How to Do Sprint Intervals on a Road Bike, Step by Step
Seven steps, roughly 45 minutes from start to finish. The warm-up and cooldown are the parts riders skip, and they’re the parts that decide whether the efforts are sharp or sloppy.
1. Check Your Bike and Choose a Safe Route
Spend two minutes on the bike before you ride hard. Squeeze both brake levers hard and check the pads aren’t touching the rim or the rotor. Look at the tyre walls for cuts and bulges, and check pressure. Spin the cranks and watch for a dry, rough-feeling chain, then run the chain through the gears to be sure every shift lands cleanly.
Check the quick releases or through-axles are properly closed, especially the front wheel. A repeat offender in group rides is a wheel that wasn’t seated properly after a puncture repair.
For the route, pick a flat road with a long clear run-out and almost no traffic. Avoid anything with side streets, blind junctions, tram tracks, gravel at the edges, or wet tarmac. You should be able to stand up and wobble the bike without needing to straighten up suddenly.
2. Warm Up Gradually for 10-15 Minutes
Cold legs produce cold sprints. A good warm-up has two parts: easy spinning to raise blood flow and body temperature, then a few builds so your nervous system knows what’s coming.
Try this structure. Five minutes at an easy conversational pace, then two minutes slightly firmer, then three short builds of 30 seconds at about 70%, 80% and 90% of your sprint effort, with 60 to 90 seconds of easy spinning between each. Finish with a minute of easy riding and you’re ready.
Your breathing should be noticeably up by the end, and your hands shouldn’t feel cold. That’s the signal to start.
3. Learn the Sprint Effort on One Practice Rep
Do one practice sprint before the real ones. Its only job is to calibrate what “maximal” feels like on the day, and to check your position doesn’t fall apart.
Start from a slow roll, roughly 15 to 25 km/h, stand up, and put your hands on the drops. Keep your hips level, your torso low, and your eyes on the road ahead rather than on the front wheel. Let the bike rock gently side to side instead of throwing your weight around.
Accelerate over 10 to 15 seconds rather than attacking from a standstill. Hold it for a few seconds, then sit back down and spin. That one rep tells you whether your saddle height, your position and your gearing are right before you count anything.
4. Sprint Intervals on a Road Bike: 6-10 Reps With Full Recovery
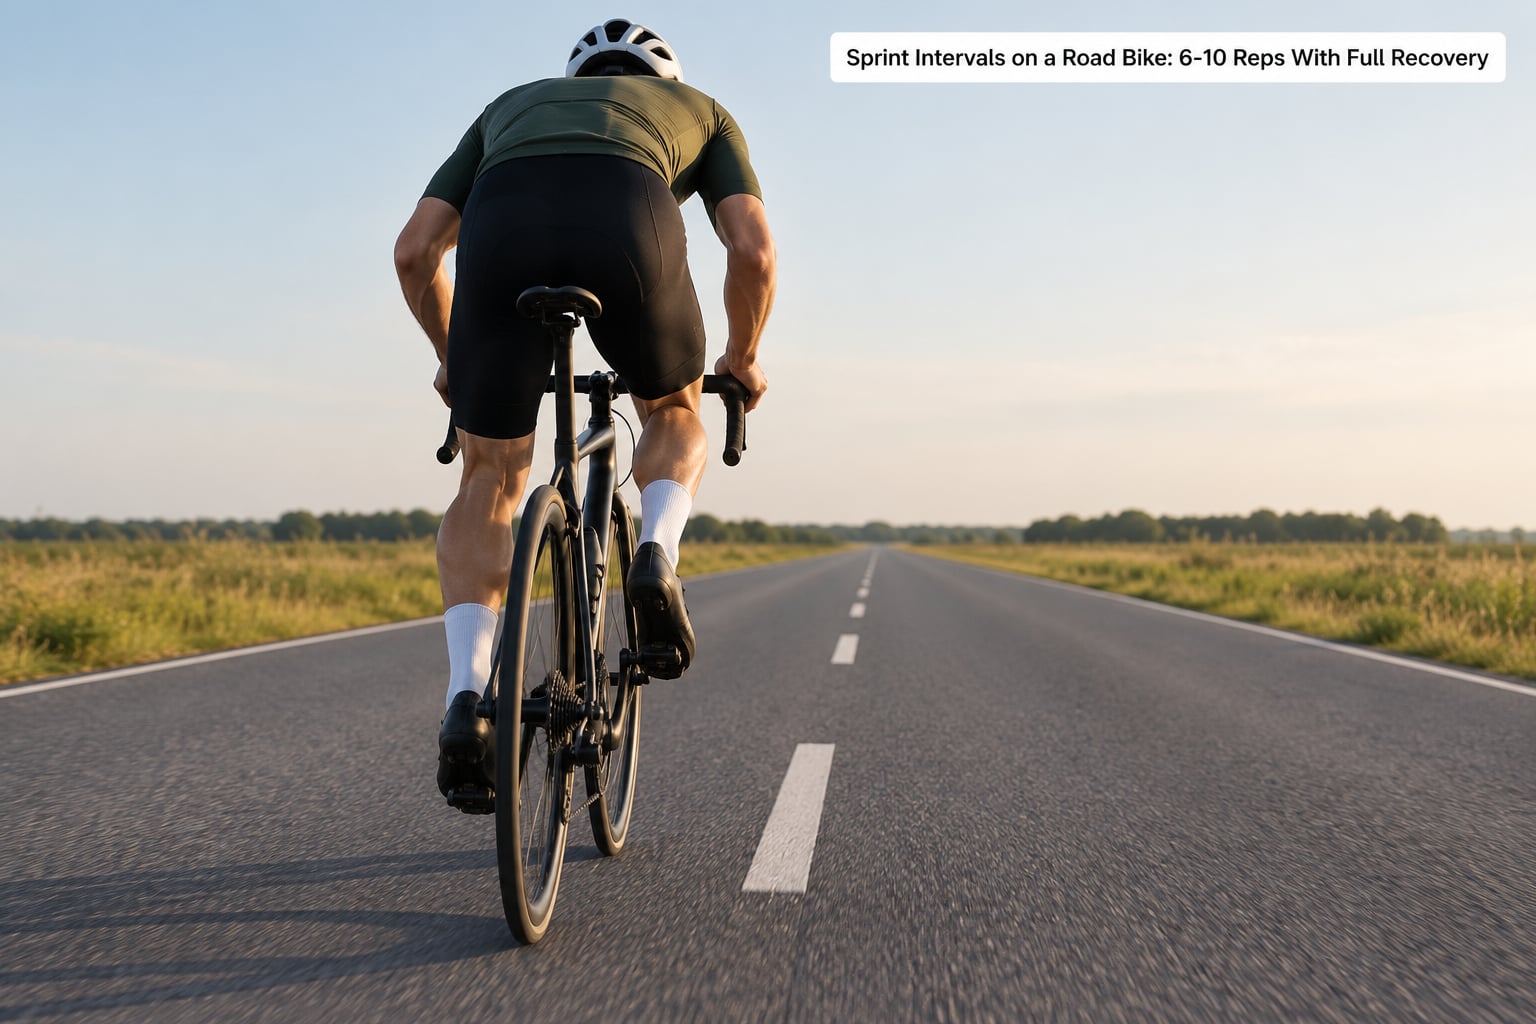
This is the core of how to do sprint intervals on a road bike: 6 to 10 efforts of 5 to 15 seconds, at near-maximal effort, with 3 to 4 minutes of easy spinning between each. The recovery is not optional padding. It’s the thing that makes the next rep equal to the first one.
Recover by spinning easy, mostly seated, at a comfortable cadence, and let your breathing come down before the next effort starts. If you’re still gasping when the timer goes, take another minute.
| Effort length | Sets | Recovery | What it develops | Best for |
|---|---|---|---|---|
| 5 seconds | 8-12 | 2-3 minutes | Peak anaerobic power and starting speed | Beginners and riders with a low power-to-weight ratio |
| 10 seconds | 6-10 | 3-4 minutes | Peak power plus a little fatigue resistance | Club racers and keen road riders |
| 15 seconds | 6-8 | 4 minutes | Power sustained slightly past peak | Riders targeting hills and short ramps |
| 30 seconds | 4-6 | 4-6 minutes | Lactate tolerance under high load | Experienced riders with a solid base |
On a power meter, aim for roughly 150 to 200% of your FTP on efforts of 5 to 10 seconds, and 110 to 130% on efforts of 15 to 30 seconds. Without a meter, use perceived effort: 9 or 10 out of 10, the kind of effort where you could hold it for a few more seconds but would strongly rather not.
Most riders’ legs feel cooked well before their lungs do. That’s normal and it’s exactly the sensation you’re training. Riders on r/Velo often frame the same idea as short near-maximal efforts with equal or longer recovery, and pro riders typically do very little of it, often just one or two efforts at the end of a ride. Low volume, full recovery.
5. Use Gearing That Lets You Sprint Safely
Choose a gear you can actually turn at sprint cadence, then wind out the gears as you accelerate rather than dumping the chain into the hardest gear before you’ve started. If you’re grinding at 60 rpm in the saddle, you’ve picked a gear that’s too hard, and you’ll finish the rep slower than you started it.
| Setup | Typical ratio | How to use it |
|---|---|---|
| Acceleration start | 52×14 or 52×15 | Use for reps that begin from a slow roll. Easy to spin, easy to accelerate out of. |
| Standing start | 53×17 | For standing starts and very short efforts. Still spins at a workable cadence. |
| Mid wind-out | 53×15 | Shift up once as you reach sprint speed and keep pushing. |
| Finish wind-out | 53×13 | The gear you should be in at the end of a 10 to 15 second rep, spinning around 110 to 130 rpm. |
Two rules cover most gearing mistakes. Don’t shift mid-sprint, and never cross-chain by holding a very big ring with a very large cog. Riders who wind out the gears rather than dumping the chain finish faster and with far less knee strain.
6. Adjust the Session to Your Fitness Level
The session above is a mid-level default. Scale it down or up without changing its shape.
- Beginner: 4 to 6 efforts of 5 seconds, starting from a slow roll, at about 90% effort rather than all-out. Full 3-minute recovery. The goal is learning the movement, not a number.
- Intermediate: 6 to 8 efforts of 10 seconds at genuine near-max, 3 to 4 minutes recovery, and a proper wind-out of the gears.
- Experienced: 8 to 12 efforts of 10 to 15 seconds at full effort, including standing starts from a slower speed for acceleration work.
Frequency matters more than volume. One to two sprint sessions a week is plenty, never on back-to-back hard days, and ideally 48 hours before a race. Riders often worry that sprint work will undo their endurance gains; in a small dose it does the opposite, because a sprint session is too short to eat meaningful aerobic volume.
Off-bike work helps more than most riders expect. Sprint threads on r/cycling are full of it: box jumps, kettlebell swings, tuck jumps and explosive step-ups for hips and legs, plus burpees and wood chops for the core and upper body. Two short sessions a week is plenty.
7. Cool Down and Record the Session
Spin down for 10 to 15 minutes at an easy pace rather than stopping at the roadside. It clears lactate and it’s the easiest habit to keep up.
Then eat and drink something with carbohydrate and protein in it within the hour, especially if the session was long or you’re riding again tomorrow.
Write down four things while they’re fresh: how many efforts you completed, the length of each, the recovery you actually took, and how the effort felt out of ten. After four to six weeks, look back at your 5-second and 15-second peak power, or your top speed, and you’ll have a real answer about whether the work is working. Riders who skip this have no idea whether they’ve improved.
Common Mistakes
- Starting every rep too slowly. An acceleration sprint builds over 10 to 15 seconds. Winding up for three seconds and stopping is a different session. Fix: start from a slightly faster roll and build through it.
- Grinding a gear that’s too hard. You’ll drop below 80 rpm and finish slower than you started. Fix: pick a gear you can spin at 100 to 110 rpm and shift up as you accelerate.
- Cutting recovery short. If rep 6 isn’t rep 1, you did a set of hard accelerations, not sprint intervals. Fix: 3 to 4 minutes, longer if you need it.
- Changing gear mid-sprint. It breaks your rhythm and can throw your balance. Fix: decide your finishing gear before you accelerate, then wind out to it.
- Sprinting in traffic or on a road with side streets. This is the one mistake that can end a season. Fix: flat, quiet road with a long clear run-out, or do it on a trainer.
- Treating soreness or sharp pain as normal. Two days of general leg soreness after a sprint session is ordinary. Sharp pain in a knee, hip or lower back is not. Fix: stop and get it looked at.
If you have a current injury, or no base of steady aerobic riding underneath you, sit this one out for now and build the base first. Riders returning from a break should spend a few weeks on endurance before adding maximal efforts.
Frequently Asked Questions
How long should each road bike sprint interval last?
Five to 15 seconds is the useful range for road sprint intervals. Five seconds trains peak power and starting speed, 10 seconds is the all-purpose length most riders use, and 15 to 30 seconds pushes into power sustained past peak and lactate tolerance. Anything beyond about 30 seconds stops being a sprint and turns into a hard anaerobic effort with a much longer recovery.
How long should I recover between sprint intervals?
Three to four minutes of easy spinning is the standard for efforts of 5 to 15 seconds, and up to six minutes for 30-second efforts. The test is simple: your breathing should be under control and your legs should feel willing before the next rep starts. Short recovery feels productive and produces slower sprints, because rep six is no longer rep one.
What cadence should I use during sprint intervals?
Aim for roughly 100 to 110 rpm through the acceleration and 110 to 130 rpm at the end of the rep. If you drop below about 80 rpm you have picked a gear that’s too hard, which costs both speed and comfort over a set. Choose a gear you can spin quickly, then shift up as you accelerate rather than starting in the hardest gear.
Can I do sprint intervals on an indoor trainer?
Yes, and it is often the better option. The same session works on a trainer: 10 to 15 minute warm-up, 6 to 10 efforts of 5 to 15 seconds, 3 to 4 minutes easy recovery, then a cooldown. Spin in a gear you can turn quickly, treat a rise in resistance as a hill, and avoid a trainer that slips under a sudden full-power effort.
How should beginners reduce the number of sprints?
Start with 4 to 6 efforts of 5 seconds at about 90% effort rather than all-out, with a full 3 minutes of recovery between each. Build to 6 to 8 efforts of 10 seconds over four to six weeks, adding one effort or a few seconds at a time. Keep one to two sessions a week, and stay at least a couple of days clear of other hard days.
Conclusion
Start with the easiest version of this session: four to six efforts of five seconds, at 90% effort, on a flat quiet road, with a full three minutes of recovery. Then add a sprint every few weeks until you’re riding six to ten efforts of ten seconds properly.
The four things that matter most, in order: safe terrain, a proper warm-up, short efforts at genuine maximum, and complete recovery between them. Get those right and sprint intervals are the highest-return session most road riders never do.