How to maintain a bike in winter comes down to three things: wash the salt off, keep the chain clean and lubricated, and store the bike dry. Cold itself does very little to a bicycle. Salt, moisture and grit are what actually destroy drivetrains, cables and bearings, and a bike that gets ten minutes of attention after each wet ride will come through the season with the parts it started with.
Most winter damage traces back to one habit: putting a salt-covered bike away in a shed and dealing with it in March. By then the chain has seized and the cassette has pitted.
There are two winter riders, and they need different routines. If you commute three to five days a week through slush, you need a two-minute post-ride habit and a proper clean every few weeks. If the bike is going to sleep for five months, it needs a one-time wash, protection and dry storage instead.
Table of Contents
- What You Need
- Step-by-Step
- How to Maintain a Bike in Winter: Start With a Safety Check
- Clean the Drivetrain Without Trapping Moisture
- Lubricate the Chain for Wet Conditions
- Inspect Tires, Tubes, and Wheels
- Check Brakes, Cables, and Bolts
- Protect the Frame and Store the Bike Correctly
- Common Mistakes
- Frequently Asked Questions
- How often should I maintain my bike in winter?
- Should I wash my bike after riding in rain or road salt?
- Do I need special chain lube for winter cycling?
- What tire pressure should I use on cold roads?
- Can I store my bike outside during winter?
- Conclusion
What You Need
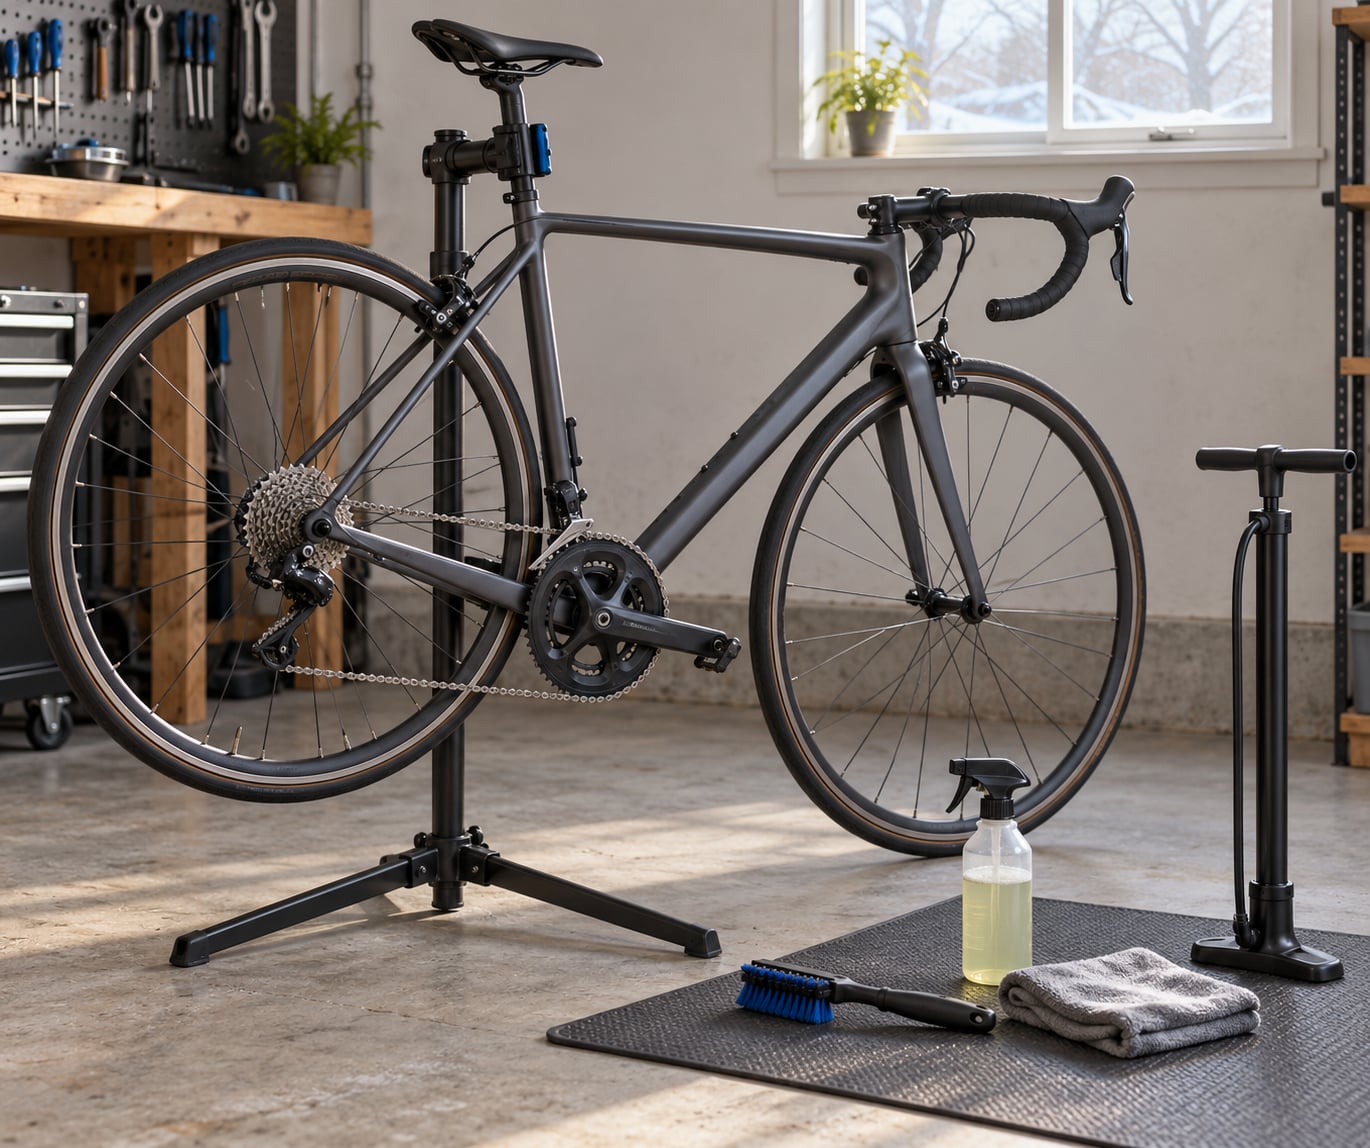
Winter care does not need a workshop. It needs a small kit you can keep by the door and use in the driveway in gloves.
The essentials:
- A pump with a gauge. Pressure drops roughly one PSI for every 10°F (5°C) of temperature fall, so a tyre set correctly in autumn reads low on a January morning.
- Tire levers and a spare tube or patch kit. Potholes and glass do most of their damage in winter.
- A chain checker. A cheap gauge tells you when a chain is spent long before the skipping starts.
- Drivetrain degreaser and a stiff brush. A toothbrush works. A stiff nylon brush for the cassette works much better.
- A wet-weather chain lube. One bottle of a quality wet lube lasts a season.
- Clean shop rags. You will go through several.
- A basic tool set. Hex keys, a chain tool, a multi-tool with a chain breaker, and a torque wrench if you tighten anything critical.
- A support of some kind. A repair stand is nicest; a sturdy shelf bracket, a boot rack, or a bike held between a door and a wall all work.
Optional but useful through a wet season: an anti-corrosion spray, a water-repellent frame protectant, full-coverage fenders, a front and rear light, a tubeless sealant bottle, and a breathable bike cover for storage.
If you only buy three things, make it the pump, the wet lube, and the rags.
Step-by-Step
How to Maintain a Bike in Winter: Start With a Safety Check
Run this check before every ride from October through March. It takes two minutes and it catches the failure modes that end a ride early: a soft tyre, a contaminated rotor, a loose bolt.
Air. Press each tyre firmly. A tyre that feels rock-hard is usually overinflated for cold weather; one that you can squeeze toward the rim is too soft. Check pressure with the gauge rather than by hand, and do it cold, before the ride.
Brakes. Squeeze both levers. They should feel firm and come to a stop without the lever touching the bar. If a lever pulls all the way in, you have a pad, rotor or fluid problem. Spin the wheel and watch for a rotor rubbing or a pad worn past its backing plate.
Chain and shifting. Shift through every gear on the front and rear. Hesitation, grinding or a chain that will not sit on the largest sprocket means adjustment or a stretched chain, not something to ride around.
Bolts and wheels. With the bike on the stand or lifted, check that the front wheel, rear wheel, stem, handlebar, seatpost and crank arms are secure. The wheel nuts or thru-axles first, every time.
Do not ride the bike if a brake lever reaches the bar, a wheel has visible play at the rim, a tyre is cut through the casing, or a bolt moves when you turn it. Those are workshop or replacement jobs, not roadside adjustments.
Clean the Drivetrain Without Trapping Moisture
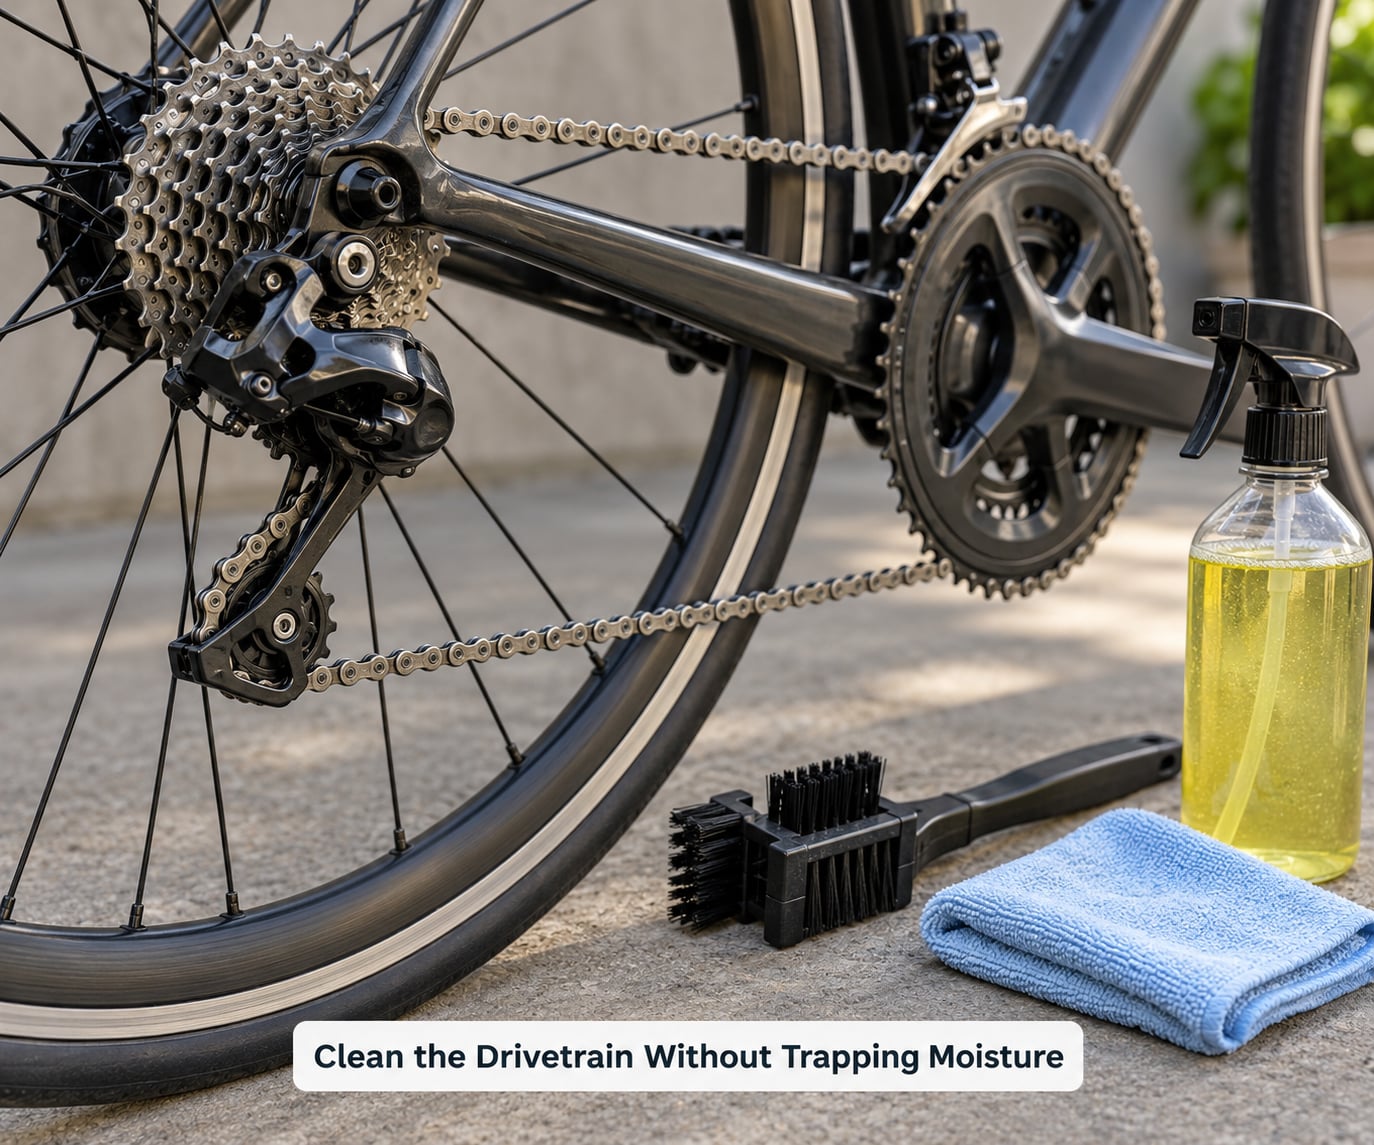
Salt and grit are abrasive. A chain that runs through winter unlubricated and unwashed grinds the cassette and chainrings into a metal paste, and every particle of that paste keeps working after the mud dries.
Work on the bike in the stand, back wheel removed, cranks at the 3 o’clock position.
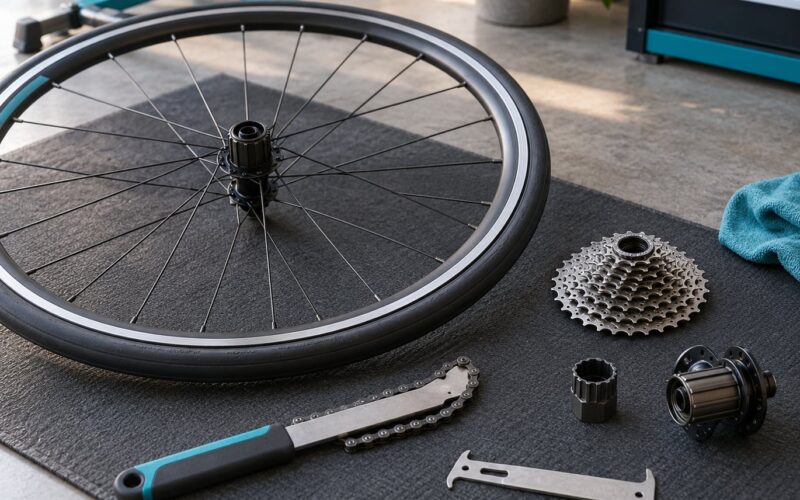
Wipe the old lube and grit off the chain with a rag first. Run degreaser through the chain while backpedalling slowly, then scrub the cassette face, the chainring teeth and the derailleur cage with the stiff brush. A dropped chain on a cassette takes several passes to clean properly.
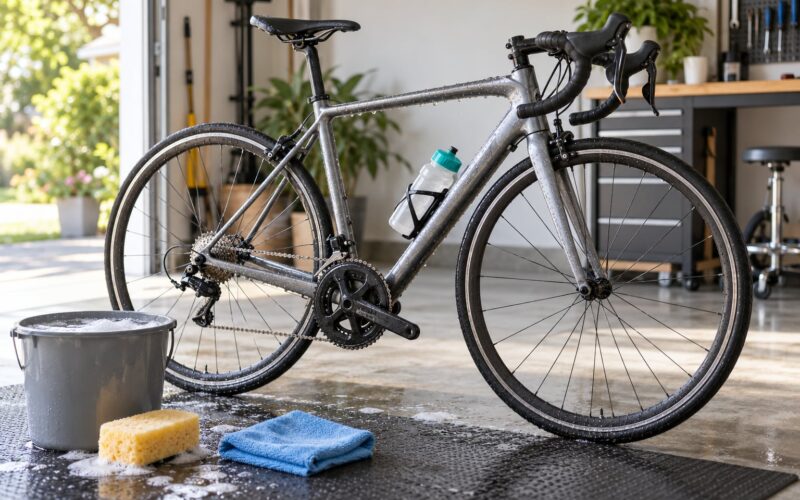
Never rinse the whole bike with a hose. Water gets into the brake calipers and the pad backing plates, and it settles in the chain rollers where it sits and starts corrosion. Clean the drivetrain with degreaser and rags, and use a damp cloth for the frame.
The step most guides skip is drying. Squeeze a clean rag firmly along the top run of the chain, then spin the cranks and repeat until the rag comes away dry and dark rather than wet and slimy. Water inside a chain roller is where rust starts, and it comes from the inside out.
While the chain is clean, check it with the chain checker. Replace it around 0.5 to 0.75 percent elongation; the gauge clicks at that point. A worn chain chews through a cassette and both chainrings, so replacing it on time protects three other parts at once. Riders sometimes get this the wrong way round: a cassette usually survives a second chain but rarely a third, so when a new chain goes onto a worn cassette you have likely reached that point.
Lubricate the Chain for Wet Conditions
Apply lube to a dry, clean chain. Lube applied over a dirty chain seals the grit in, which is worse than running dry.
The three options differ more in winter than in summer:
| Type | Best for | Re-application | Grit attraction | Cold performance |
|---|---|---|---|---|
| Wet lube | Rain, slush, salted roads, commuters | Every 100 to 200 miles, or after every few wet rides | Moderate; needs a wipe-down to keep it clean | Stays wet and quiet when cold, which is the point |
| Dry lube | Dry cold winters, indoor storage, grit-heavy roads without much water | Every ride for commuters; every 50 to 100 miles otherwise | Very low | Can be quiet when cold, but needs more frequent top-ups |
| Chain wax | The best grit resistance available; long winter storage; gravel and mud | Every 300 to 500 miles, or once a season | Lowest of the three; wax does not hold dirt the way oil does | Very good cold performance once it has set |
To apply: put a drop on each roller as you backpedal, or lay a thin line along the top of the chain if your lube is thin. Backpedal for thirty seconds so it works into the links, then ride the bike or spin the crank through every gear. Wipe the excess off the chain, the cassette and the rim braking surface with a clean rag. That last wipe is what stops the lube grabbing road dust.
You know it worked when the drivetrain is silent, shifts land on the first try, and the chain stays quiet on the first minute of a cold ride. Squeaking or hesitation means another drop on the rollers.
Inspect Tires, Tubes, and Wheels
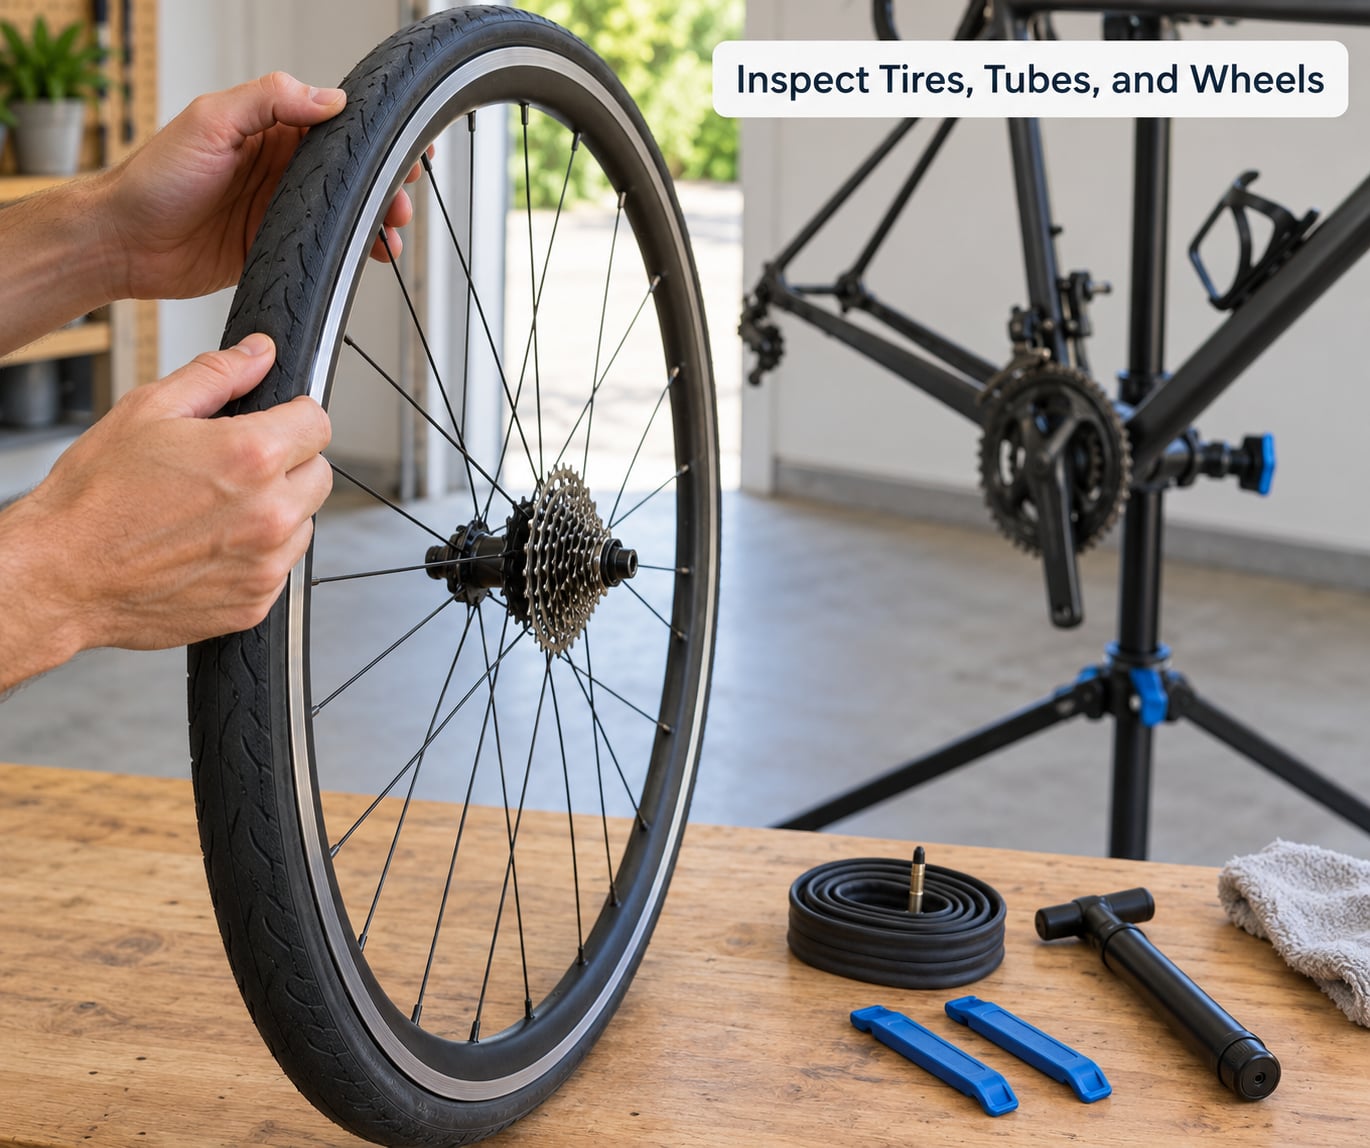
Cold air contracts the air inside the tyre, so a bike set at the right pressure in October reads 10 to 15 percent low by January. Check pressures on a cold bike, before the ride, and before you need to rely on the brakes.
Most riders also drop pressure deliberately for wet winter roads, because a slightly softer tyre deforms around grates and painted lines and grips better than a hard one. There is no single correct number for every bike and every rider, so treat these as starting adjustments to your usual pressure rather than fixed figures.
| Bike type | Typical winter adjustment | Reason |
|---|---|---|
| Road bike | Drop roughly 5 to 15 PSI (0.3 to 1.0 bar) from your summer pressure | A wet road surface needs a bigger contact patch; too little pressure risks pinch flats and rim strikes |
| Gravel | Drop 2 to 5 PSI | Already lower pressure and higher volume; small change only |
| Winter commuter or hybrid | Drop 7 to 15 PSI (0.5 to 1.0 bar) | Widest useful range for grip, comfort and durability in slush |
| Mountain bike | Drop 3 to 5 PSI | Higher volume tyres already run lower |
| E-bike | Keep pressure nearer the higher end of the usual range | The extra weight of a battery and motor loads the tyre more heavily |
While the wheels are out, run the rest of the tire check. Look at the tread for cuts and embedded glass, and check the sidewalls for cuts and scuffs through the casing. A cut through the casing is the one that ends the tire’s life. Press the bead area all the way round with your thumb; any cut there is a fitment risk, not a cosmetic one.
For inner tubes, feel for a bulge and check that the valve is seated straight. For tubeless, check that sealant is still present by spinning the wheel and listening, and top it up if the level looks low. Add a fresh strip of rim tape over any hole in the rim bed and keep the tape edges below the bead seat line so it does not poke through.
Squeeze pairs of spokes gently and compare. A spoke that feels notably slacker than the rest usually means a cracked nipple or a small hole in the rim. Check trueness by spinning the wheel against a brake pad or a fixed reference point; a wheel that rocks badly and comes back to the same spot is a truing job, and cold weather is not the moment to learn it on your own.
Check Brakes, Cables, and Bolts
Winter brakes usually fail from contamination rather than wear. Salt film and chain lube that migrates onto a rotor will make a disc rotor squeal and reduce bite, and the fix is cleaning, not a new pad.
With the wheel out, look at the rotor for blue tint, dark patches and scoring. If the rotor is oily, clean it with isopropyl alcohol and a lint-free cloth. If the pads smell burnt, feel greasy, or the rotor keeps grabbing after cleaning, replace the pads. If pads are worn close to the backing plate, replace them before they reach metal.
Feel the lever reach and the rotor gap. A lever that travels a long way before biting means stretched cable housing or air in the line; a lever that pulls to the bar means the pads are worn or the rotor is bent.
Water inside cable housing is the quiet winter problem. Lift the lever, turn the crank and watch the exposed inner wire. If it is wet or furry with corrosion, the housing is flooded and needs replacing rather than dripping with lubricant, which only holds the grit in place. Frozen exposed derailleurs are more common than people expect; they thaw in a warm room within a few hours and are usually fine afterwards.
Hydraulic brakes are the exception where cold genuinely matters. Fluid thickens as it cools, so the lever may feel spongy on the first cold morning. A bleed restores firm feel, and if the fluid is more than two years old, replace it regardless, because it absorbs water over time.
Finish with the bolt check. Torque the stem, handlebar, seatpost and crank bolts to the manufacturer’s specification, not by feel. Check that the headset has no play when you rock the bike front to back with the brake released, and that the bottom bracket shell has no creak under load. Anything involving a stuck bolt, a stripped head or a wheel true belongs in a shop.
Protect the Frame and Store the Bike Correctly
Clean before you store. Wash the frame and drivetrain to a standard you would be happy to sell the bike at, dry everything, and apply a water-repellent protectant to the frame and an anti-corrosion spray to the steel parts: chain, cassette, chainrings, bolts, spokes, cable ends and the underside of the chainstay.
Protectant is not a substitute for washing. A protective spray keeps moisture off a clean surface and does nothing for a surface already sitting under a film of salt. Riders routinely ask whether spraying a dirty chain is enough for winter storage; it is not.
Inflate the tyres to their normal riding pressure before the bike sits. Tyres lose pressure slowly over months, and a tyre that stays properly inflated holds its shape instead of taking a flat spot.
Then choose storage by damp, not by temperature.
| Storage option | Rust risk | Tyre risk | Verdict |
|---|---|---|---|
| Indoors, heated | Very low | Low | Best option. The bike comes out of winter exactly as it went in |
| Garage or shed, cold but dry | Low, as long as humidity stays down and condensation is wiped off | Low | Fine. Cold is far less damaging than damp |
| Unheated shed with a damp floor | High | Low | Poor. Lift the bike off the floor, keep it clear of walls, and check it monthly |
| Outside under a plastic sheet | Very high | High in cold weather | Avoid. Plastic traps condensation and the temperature swings make it worse |
A cold garage is fine, and it surprises people how often it is. Corrosion, not cold, is what ends a stored bike’s life, and a bike kept in a cold dry space can sit for years untouched.
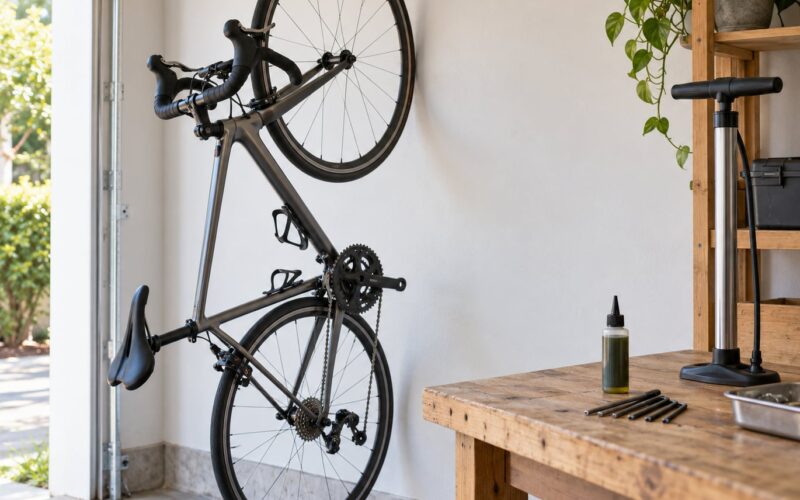
Use a breathable cover rather than a plastic tarp, for the same condensation reason. Hang the bike by the frame or stand it on its wheels; never hang it by a wheel, which can leave the tyre out of round for months. Keep it away from a bare concrete floor and away from a heater or a wall that runs damp.
If it sits for months, look at it once a month. Wipe the chain, check for condensation, and top up the tyre pressure. Fifteen minutes of attention across the winter is usually enough.
For an e-bike, take the battery indoors if you can. Store it somewhere cool and dry, not below freezing, at around 40 to 60 percent charge, and top it up every couple of months rather than letting it sit empty. A battery left at zero for months is the part most likely to be permanently damaged. Keep the charge port sealed and the motor and chain protected from the same salt as the rest of the bike.
Common Mistakes
Rinsing the whole bike with a hose. It feels like a clean, and it drives water into the calipers, the pad backing plates and the chain rollers where it sits and corrodes from the inside. Fix: degreaser and rags on the drivetrain, a damp cloth on the frame, and a dedicated dry-down of the chain.
Spraying protective products onto a dirty bike and calling it done. The spray preserves whatever is underneath, including road salt. Fix: wash first, dry fully, then protect the clean steel.
Over-lubricating. A thick bead of lube turns into a grit magnet within two wet rides and slows the drivetrain down. Fix: a drop per roller, backpedal, then wipe the excess off completely.
Storing a wet chain. A chain that goes into storage damp, or with lube never wiped off, rusts where the plates meet the rollers. Fix: clean, dry, lubricate lightly, and store off concrete.
Leaving tyre pressure alone all winter. Cold air and slow leaks take tyres down slowly, and a soft tyre on a cold road is both sluggish and more likely to pinch flat. Fix: check cold, before the ride, and drop pressure slightly for wet grip.
Ignoring cable corrosion. Dripping lubricant into a flooded housing holds the grit in place rather than clearing it. Fix: replace the cable and housing, and put fresh sealed ferrules on the ends.
Postponing brake service. Worn pads plus a contaminated rotor is how a winter ride ends in the dark. Fix: check pad thickness and rotor cleanliness monthly through the season, and get the bleeding done before it gets cold.
A few habits worth keeping: a two-minute wipe-down after every wet commute, a proper drivetrain clean every few weeks for riders who put in the miles, and a monthly look at the bike during storage. Riders who fit the wipe-down into the end of a commute stick with it; riders who plan a 45-minute session for every ride usually skip it.
Frequently Asked Questions
How often should I maintain my bike in winter?
If you ride through winter, wipe the bike down and check tyres and brakes after every wet ride, lubricate the chain every 100 to 200 miles, and do a proper drivetrain clean every few weeks. If the bike is stored all winter, a single thorough clean, protectant and monthly five-minute check is enough.
Should I wash my bike after riding in rain or road salt?
Yes, and sooner rather than later. Salt is hygroscopic, so it pulls moisture into steel and corrodes chain, cassette, spokes and bolts from the inside. Wipe the frame with a damp cloth and degreaser the drivetrain rather than hosing the whole bike, then dry the chain rollers with a rag.
Do I need special chain lube for winter cycling?
You need a wet-weather lube, not a winter-branded one. Wet lube stays put in cold wet conditions and needs reapplying every 100 to 200 miles. Chain wax is the grit-resistant option for riders on muddy roads or storing a bike long term. Dry lube suits dry cold winters but needs re-lubing every ride.
What tire pressure should I use on cold roads?
Check pressure cold, before riding, because air contracts as temperature falls and you can read 10 to 15 percent low by midwinter. Most riders also drop pressure slightly for wet grip, roughly 5 to 15 PSI on a road bike and up to 15 PSI on a commuter. Keep e-bike pressure nearer the higher end because of the added weight.
Can I store my bike outside during winter?
You can, but it is the worst option. Use a breathable cover rather than plastic, which traps condensation, and keep the bike clear of the ground and of damp walls. A cold dry garage is far safer than a sheltered outdoor spot, and an indoor space is better still, because corrosion from damp does far more damage than cold.
Conclusion
Start with three things: tyres at the right cold pressure, brakes that bite cleanly, and a drivetrain that is free of salt and grit. Those cover most winter failures, and getting them right is most of how to maintain a bike in winter honestly works.
Then make the routine small enough that you actually do it. A wipe-down and a chain check after each wet commute, a proper clean and wet lube every few weeks, and a dry place to live until spring. If you hit a warning sign you do not recognise, such as a brake lever reaching the bar or a wheel with play at the rim, take it to a shop rather than guessing.