To adjust a rear derailleur, you work in a fixed order: set the two limit screws so the chain cannot fall off the cassette, set cable tension, then index the cable so each click of the shifter moves the chain exactly one cog. Most riders get a clean fix in 30 to 45 minutes with two screwdrivers and a couple of Allen keys.
Shifting that feels vague is almost never a broken derailleur. It is usually cable tension that has drifted, a hanger that moved a few millimetres after a kerb or a crash, or a chain that has stretched past the point where it can sit quietly on the sprocket teeth.
The order matters more than the effort. If you index first and set the limit screws afterwards, you will chase the same symptom twice. This guide walks through the checks first, then the adjustments in order, then the mistakes that waste the most time on a first attempt.
Table of Contents
- What You Need
- Step-by-Step
- Step 1: Check the drivetrain and identify the problem
- Step 2: Release cable tension and reset the barrel adjuster
- Step 3: Set the high and low limit screws
- Step 4: Tension the cable and fine-tune indexing
- Step 5: Test shifting under controlled pedaling
- Common Mistakes
- Frequently Asked Questions
- Why is my rear derailleur skipping gears?
- How do I know whether I need the barrel adjuster or the H screw?
- Can I adjust a rear derailleur without shifting through all the gears?
- What direction should I turn the barrel adjuster?
- How often should I check rear derailleur adjustment?
- Conclusion
What You Need
A road bike rear derailleur adjustment needs very little. If you have these six items within reach, you can finish the job at home rather than paying a shop to do a twenty-minute job.
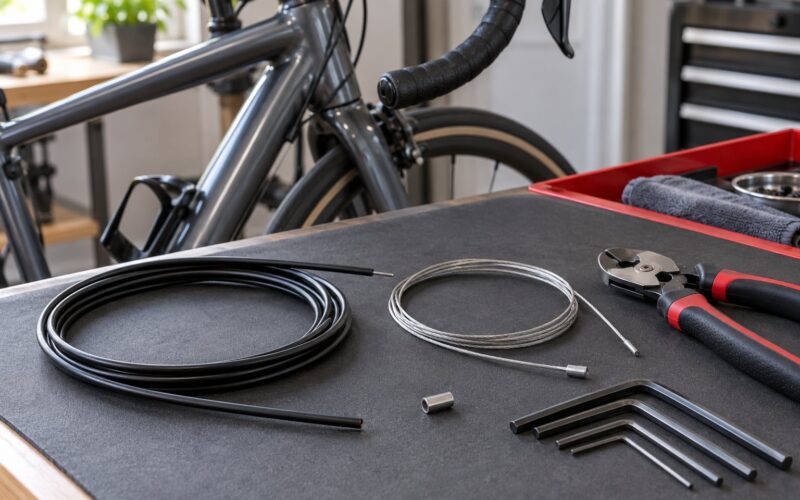
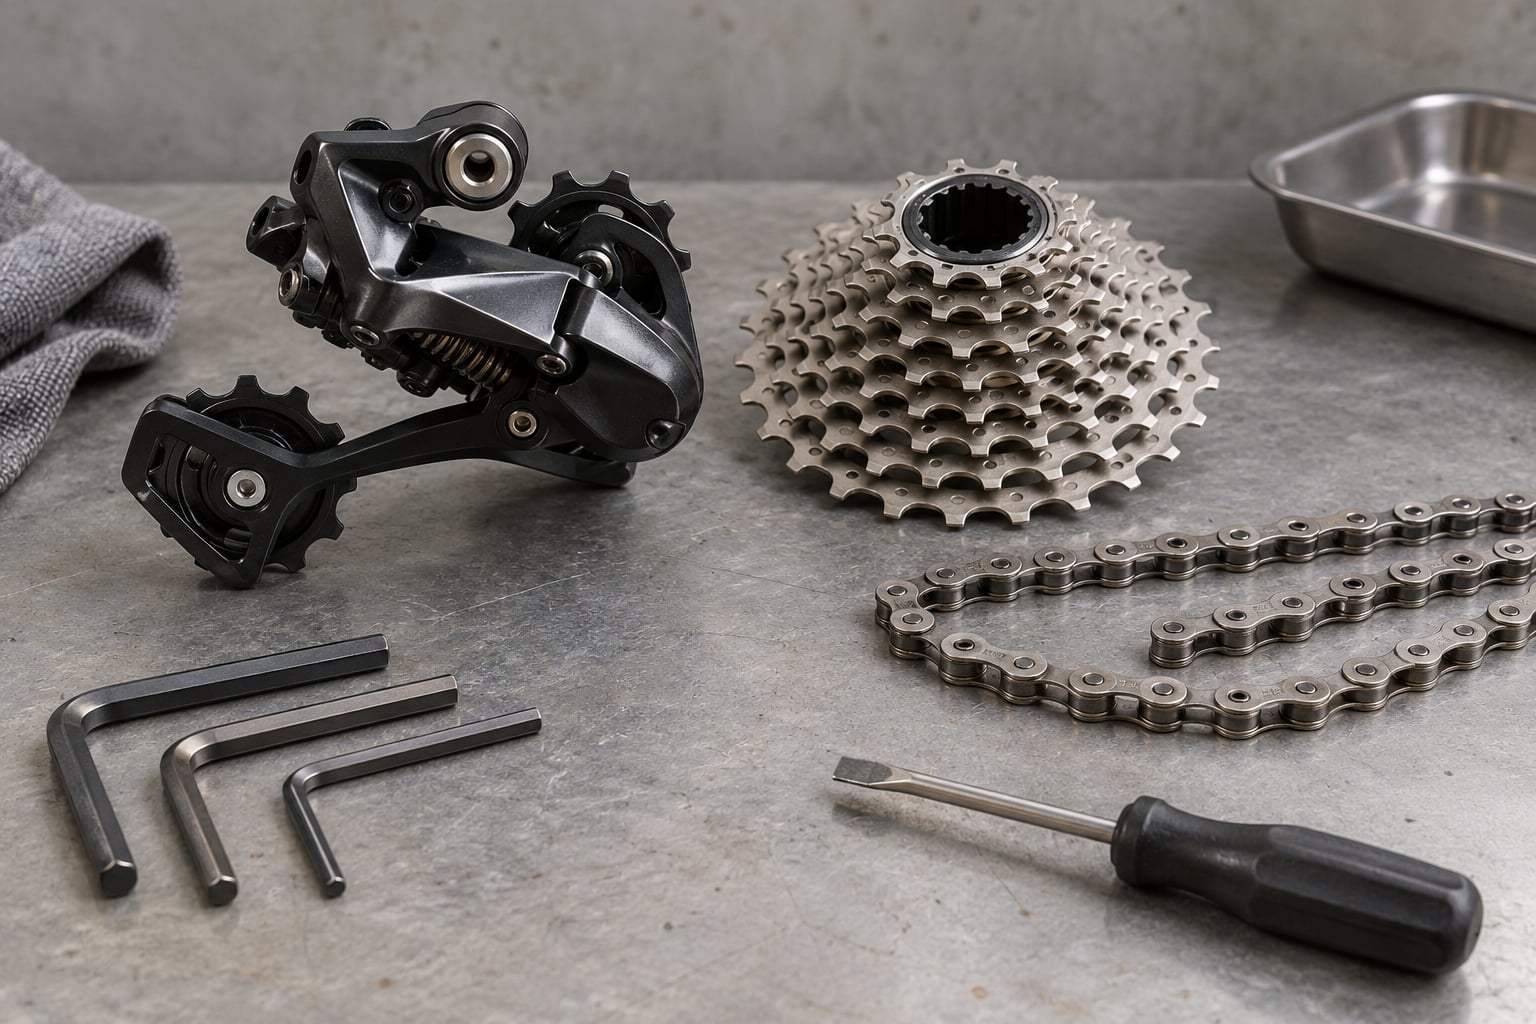
- Two Phillips screwdrivers, ideally #1 and #2. The barrel adjuster and the cable anchor bolt usually take a small Phillips, while the limit screws on many mechs take a #2. A stubby driver makes reaching the H screw in tight frame clearance far easier.
- Allen keys matching your cage and mounting bolts. Most road cages are 4 mm or 5 mm at the pivot bolt. Check the bolt head before assuming the size.
- A flat-head screwdriver or the small dedicated limit screw driver. Modern Shimano, SRAM and Campagnolo rear mechs use slotted screws on the derailleur body rather than Phillips, and a flat blade that fits the slot keeps the screw head from stripping.
- A chain wear gauge if you own one. A ruler also works for a rough check: on the eleven-speed section, a new chain measures about 12 inches over 12 links including two half links, and you should replace it around 12 and 3/16 inches.
- A derailleur hanger alignment gauge, or a careful straight-edge check. Not strictly required, but this is the one tool that saves the most guessing when indexing will not hold.
- Bright light and a stand or a way to lift the drive-side wheel off the ground. You need to spin the cranks and watch the jockey wheels while pedalling.
Check the drivetrain before you touch a screw. Look at the cable where it enters the derailleur and check whether the inner wire is frayed. If the housing is split, kinked or has a sharp bend near a stop, replace it rather than adjusting around it. Look at the cassette teeth from the side: hooked, shark-fin shaped teeth mean the cassette is worn out.
Spin the cranks by hand and watch the gap between the upper guide pulley and the cassette teeth. On a worn chain the chain sits deep and the upper jockey wheel can sit noticeably higher under load. That is a chain replacement, not an adjustment, and no amount of turning will fix it.
For safety, work on a stand if you have one, never run the bike with the wheel off the ground and your foot in the path of the crank, and keep fingers and loose clothing clear of the chain while it moves.
Step-by-Step
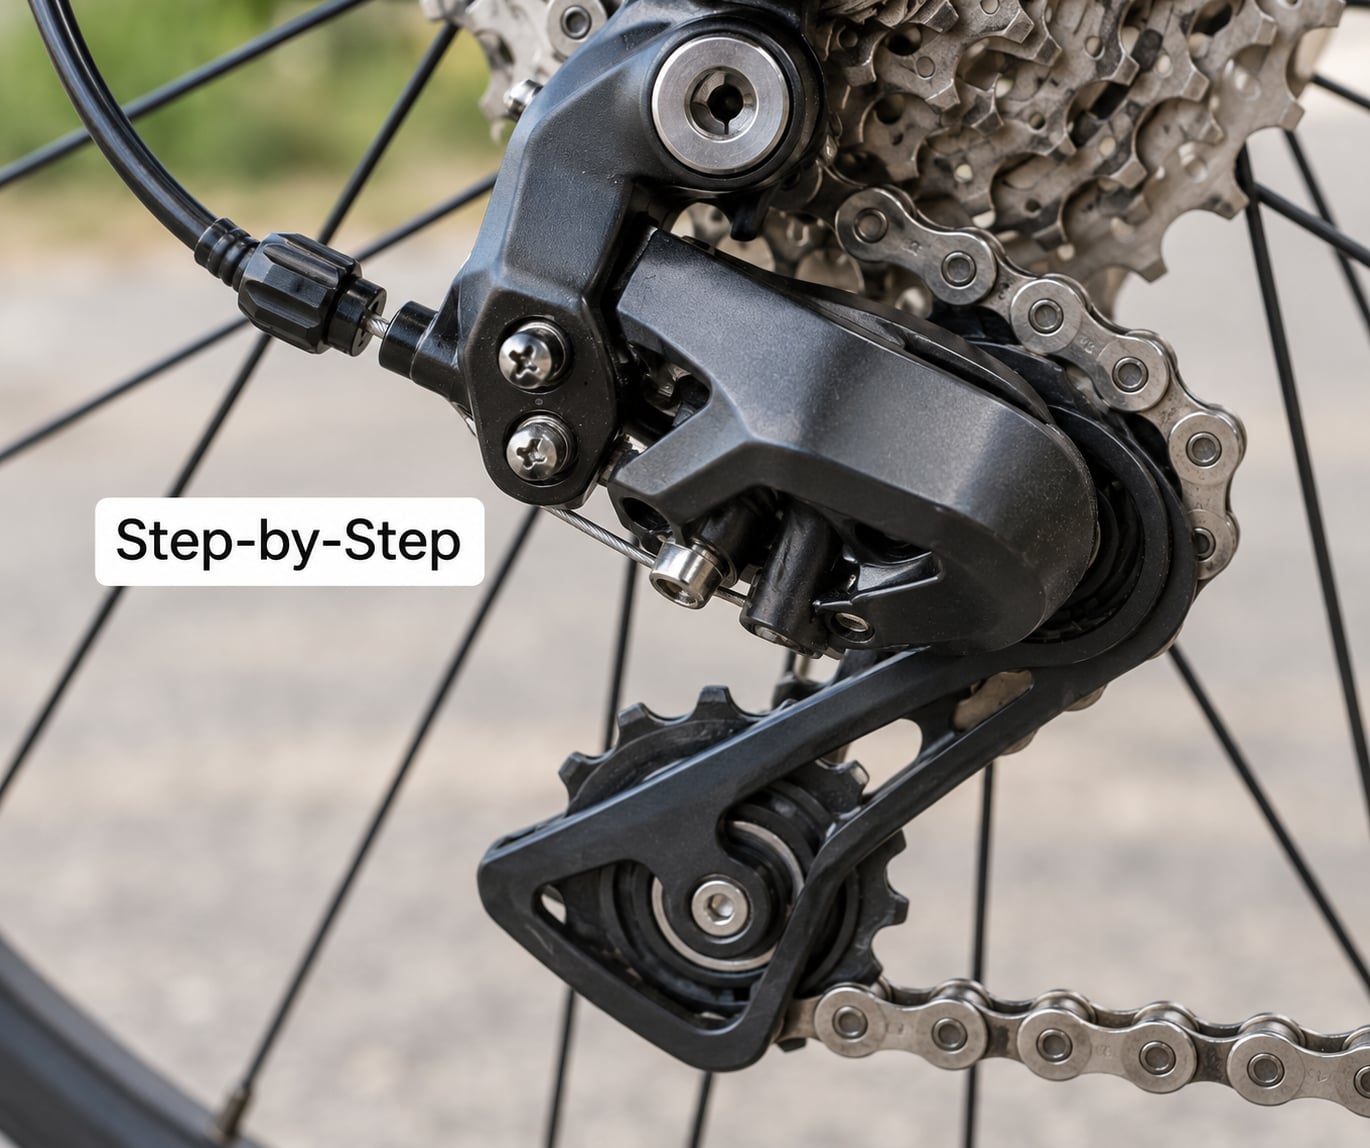
Work through these steps in order. Most first-time attempts fail because two of them get swapped, so resist the urge to jump to the barrel adjuster when the chain hesitates on one gear.
Step 1: Check the drivetrain and identify the problem
Before changing anything, ride the bike and note where the shifting actually fails. Write down the pattern in words rather than impressions: does the chain hesitate going up to the large cog, hesitate coming down, skip under load on one specific cog, or drop into the spokes on the smallest sprocket? Each of those points to a different screw.
Hesitation in only one direction, where the chain takes a moment to move, is almost always indexing, which is cable tension, handled in step 4. The chain going past the largest cog into the frame is the H limit screw. The chain sliding off the outside of the smallest cog toward the spokes is the L limit screw, and that one matters most for safety.
Then check the hanger. Look up at the derailleur from behind the bike with the cassette in the middle of the block and the mech roughly parallel to the cassette. If the derailleur leans inward toward the spokes or sits noticeably off-centre, indexing will fight you the whole way. Straighten or replace the hanger first.
Step 2: Release cable tension and reset the barrel adjuster
Loosen the cable anchor bolt on the back of the derailleur where the inner wire is clamped, usually a small Phillips head. Unhook the wire and pull the slack through the housing by hand. Some riders then wind the loose inner wire around the derailleur body a few times so it cannot disappear into the frame.
Now reset the barrel adjuster so you start from a known point. Back it out counter-clockwise fully, counting the turns as you go, then screw it back in to the middle of its travel. That gives you roughly half a turn of tightening and half a turn of loosening in either direction.
Shift the chain onto the second or third smallest cog. This is the position most road riders use as their starting point because it leaves the mech near its high-tension range, where indexing is most sensitive and easiest to feel.
Step 3: Set the high and low limit screws
The limit screws stop the derailleur from travelling past the ends of the cassette. The H screw limits travel toward the small cogs at the back, and the L screw limits travel toward the large cogs at the front. They are normally the two slotted screws on the outer face of the parallelogram, side by side.
Find the H screw by lifting the derailleur toward the large cog with your fingers. Feel for the one that stops that movement at the same time the chain becomes tight on the smallest sprocket. That is the high limit screw. The other slotted screw is the L screw, which stops the derailleur pushing the chain into the big sprocket.
With the cable disconnected and the chain on the largest cog at the back, tighten the H screw until the upper jockey pulley sits just under the teeth of that cog, roughly level with it and not able to climb past the edge. You want the guide pulley aligned below the cog, not tilted outward toward the spokes.
Then shift the chain to the smallest cog and loosen the L screw until the upper guide pulley lines up directly under it with no gap and no overlap. When the shifter releases into the smallest sprocket, the guide pulley should sit right beneath it.
One more check on both screws: make sure the derailleur cannot be pushed past either limit by hand. If it can, tighten the relevant screw another quarter turn. A derailleur that can reach the spokes will eventually drop the chain there at speed, and bent spokes are a real and expensive consequence.
Step 4: Tension the cable and fine-tune indexing
Reconnect the cable at the anchor bolt. Hold the derailleur in the high gear with the cable fully taut, and tighten the anchor bolt firmly while the inner wire is pulled tight, with no slack in the loop between the bolt and the housing stop. Most indexing problems trace back to a cable that was clamped with slack in it.
Now shift through the cassette one click at a time under light pedalling, moving from the smallest cog toward the largest. Watch where the chain lands after each click.
If the chain hesitates, will not climb, or sits between two cogs, turn the barrel adjuster counter-clockwise to add tension. A quarter turn at a time is plenty. If the chain overshifts onto the next larger cog with a clunk, turn the barrel adjuster clockwise to reduce tension. Keep pedalling lightly and repeat until every click produces exactly one clean change.
The correction travels along the cassette. Fix the gears at the small-cog end first, then work outward. Once the small sprockets are clean, work down to the large cogs and fine-tune in the same quarter-turn increments. When one direction is stubborn on a wide-range cassette, remember the cable is being stretched slightly by each click, and the far end often needs a different correction than the near end.
A barrel adjuster that needs more than half a turn usually means the cable stretch has gone too far for fine tuning. Replace the inner cable.
Step 5: Test shifting under controlled pedaling
Run through the whole cassette twice before you call it done. Start in the middle gear and shift one cog at a time, both directions, pedalling at a steady light load rather than standing on the pedals. Watch for three things: a clean click, no hesitation, and the chain sitting centred on the sprocket with no rub.
If a single cog still hesitates, small half-turn corrections at the barrel adjuster usually solve it. If the chain skips under load on one cog only, suspect a worn chain or a damaged sprocket rather than a tension problem. If the derailleur drops into the spokes, stop and re-check the L screw before riding again.
Riding position matters. On the road, the chain is under more tension when seated and pedalling hard than when you are turning the cranks slowly on a stand, so a shift that looks perfect on the stand can hesitate under load. Finish the test with a short ride on a quiet road before you commit to a long loop.
New cables settle. Expect the indexing to drift a little over the first hundred miles or so as the strands find their shape, and treat a small barrel adjuster correction as normal maintenance rather than a mistake.
Common Mistakes
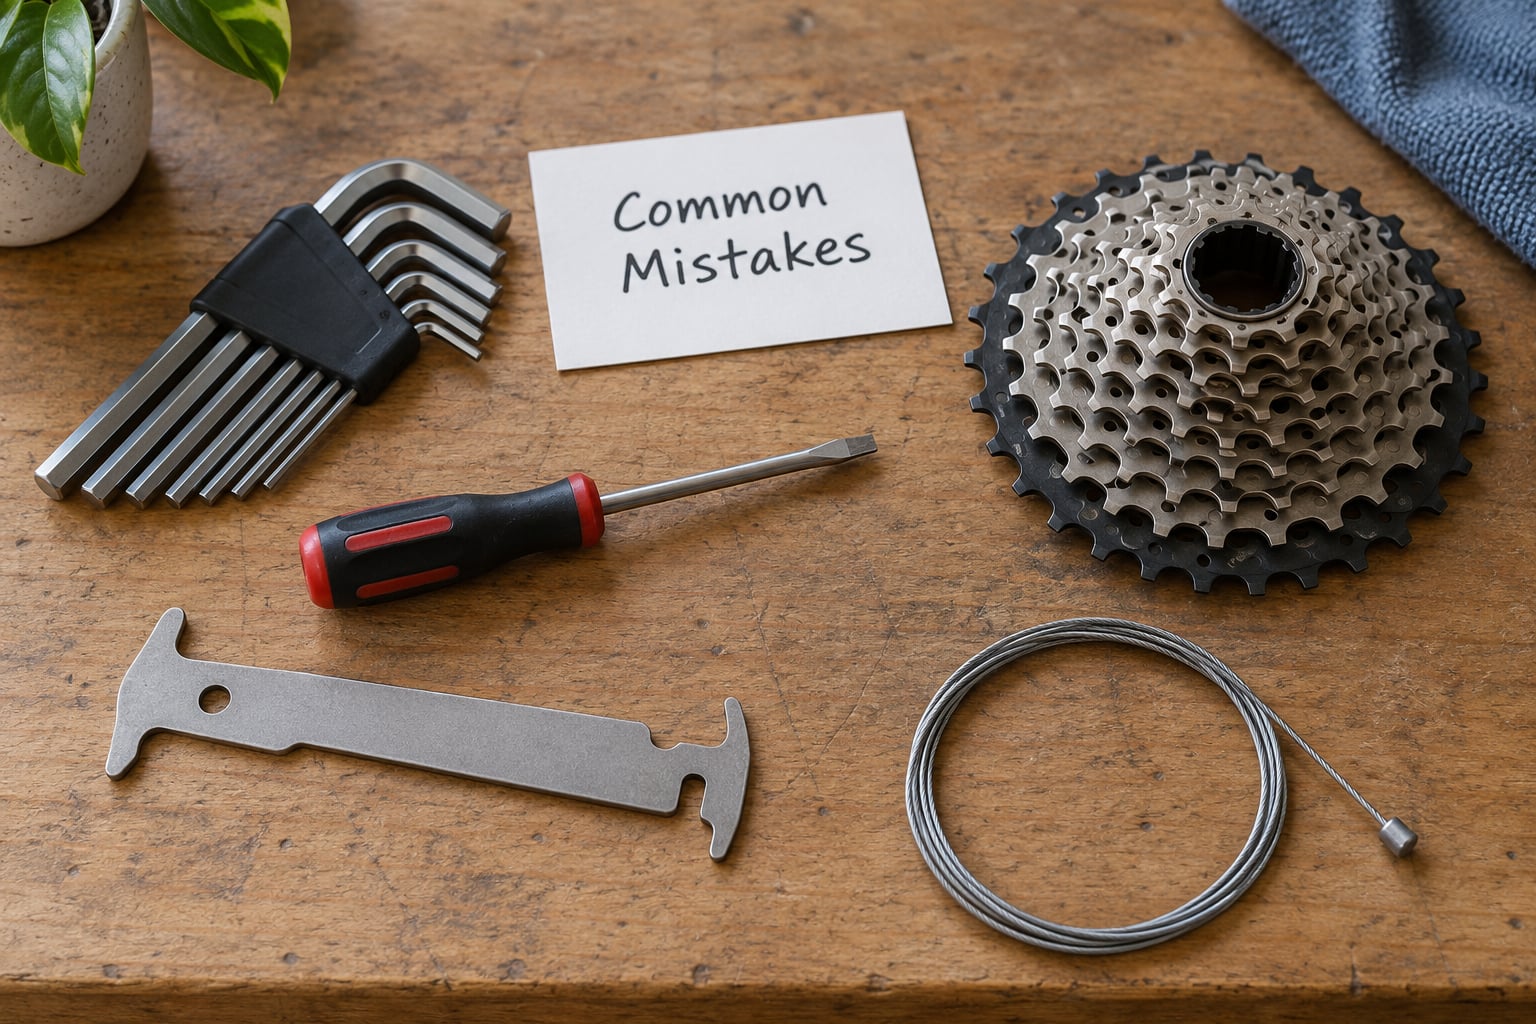
Almost every adjustment problem traces back to one of these. Work through them in order when a derailleur will not behave, because the symptoms overlap heavily.
Turning limit screws when you need the barrel adjuster. The limit screws set the outer boundaries and do nothing in the middle of the cassette. If your problem is hesitation or overshift between two gears, it is cable tension, so leave the H and L screws alone and turn the barrel adjuster instead.
Indexing before setting the limit screws. You can end up with an index that looks right while the chain can still escape past the largest cog. Set the limits first, always.
Clamping the cable with slack in it. If the inner wire has a loop between the anchor bolt and the housing, the effective tension is less than it looks and the index drifts as the loop moves. Pull the wire tight before you tighten the bolt.
Turning the barrel adjuster by feel in full turns. Half-turn corrections in the direction that reduces the problem are what make indexing predictable. Turning several turns at once hides which change helped, and it is far harder to back out.
Shifting under heavy load. A chain under full power does not move where you told it to. Shift with a light pedal stroke, let the chain settle for a moment, and then add power. Riders who adjust while mashing the pedals often chase a fault that is not there.
Adjusting around a stretched cable or a bent hanger. If the barrel adjuster bottoms out, or the chain hesitates on different gears after you have re-tensioned, the cable has stretched past the point of usefulness. If the index is clean on some gears and hopeless on others regardless of tension, look at the hanger and at chain wear before touching anything else.
Forgetting the B-tension screw on a wide-range cassette. The B screw sets the clearance between the upper guide pulley and the cassette teeth. On a large sprocket the guide pulley can sit so close that it rubs and shifts unreliably, which reads as a tension problem but is not one. Loosen the B screw enough for roughly 5 to 6 mm of gap at the largest cog, measured with a hex key of the cage bolt diameter as a rough gauge.
Two side notes for riders outside standard road setups. A clutch derailleur on a mountain or gravel bike adds a chain tension arm that has nothing to do with indexing, and it should be switched off before removing the wheel. On an electronic drivetrain there is no barrel adjuster or anchor bolt; the equivalent micro-adjustment is a function on the derailleur or the shifter, and the H and L screws still work exactly the same way.
Frequently Asked Questions
Why is my rear derailleur skipping gears?
Skipping on one or two cogs usually means a worn chain, not a tension fault. A stretched chain will not seat fully on worn teeth, and it jumps under load. Check the chain with a wear gauge or the 12-inch measurement before changing any screws. Skipping across several gears at once points instead to a bent hanger or a cable that is too loose overall.
How do I know whether I need the barrel adjuster or the H screw?
It depends on where the problem happens. If the chain hesitates, sits between two cogs or overshoots when you change gear, use the barrel adjuster, since that is cable tension and it affects every gear. If the chain goes past the biggest cog or off the outside of the smallest one, use the limit screws. The H screw stops the chain travelling past the small sprockets.
Can I adjust a rear derailleur without shifting through all the gears?
You can set both limit screws without touching the shifter at all, just by moving the derailleur by hand to each end of the cassette. Cable tension and indexing cannot be checked that way, because both depend on how far the shifter pulls the cable. For those, work through the cassette one click at a time so you can see which gear the change actually lands on.
What direction should I turn the barrel adjuster?
Turn it counter-clockwise to increase cable tension, which helps the chain climb to larger cogs, and clockwise to reduce tension when the chain overshifts to the next larger cog. Turn it a quarter turn at a time and shift a single gear after each change. If it takes more than about half a turn to fix a gear, replace the cable rather than compensating further.
How often should I check rear derailleur adjustment?
Check it whenever shifting quality changes, and expect small corrections after every cable replacement. New inner cables stretch over roughly the first hundred miles, so a barrel adjuster tweak in that period is normal. Give the whole drivetrain a proper check and clean every few hundred miles, and check chain wear at the same time, since worn chains cause skipping that no adjustment will fix.
Conclusion
Start by confirming the derailleur and drivetrain are mechanically sound: the hanger is straight, the chain is within wear limit, the cassette teeth are not hooked, and the cable is not frayed. If those hold, adjustment is a matter of order: limit screws first, cable tension second, indexing third.
Then verify it. Run the full cassette once in each direction under light pedalling, and finish with a short ride at real power. If every click gives one clean change and the chain never heads toward the spokes, the job is done.