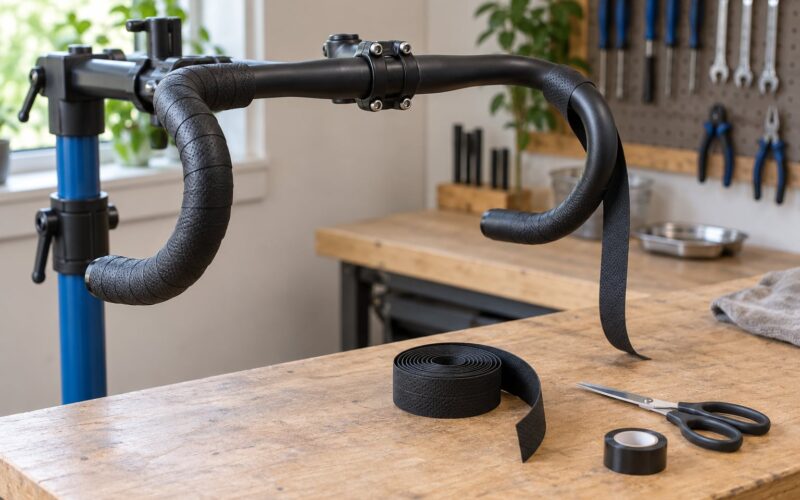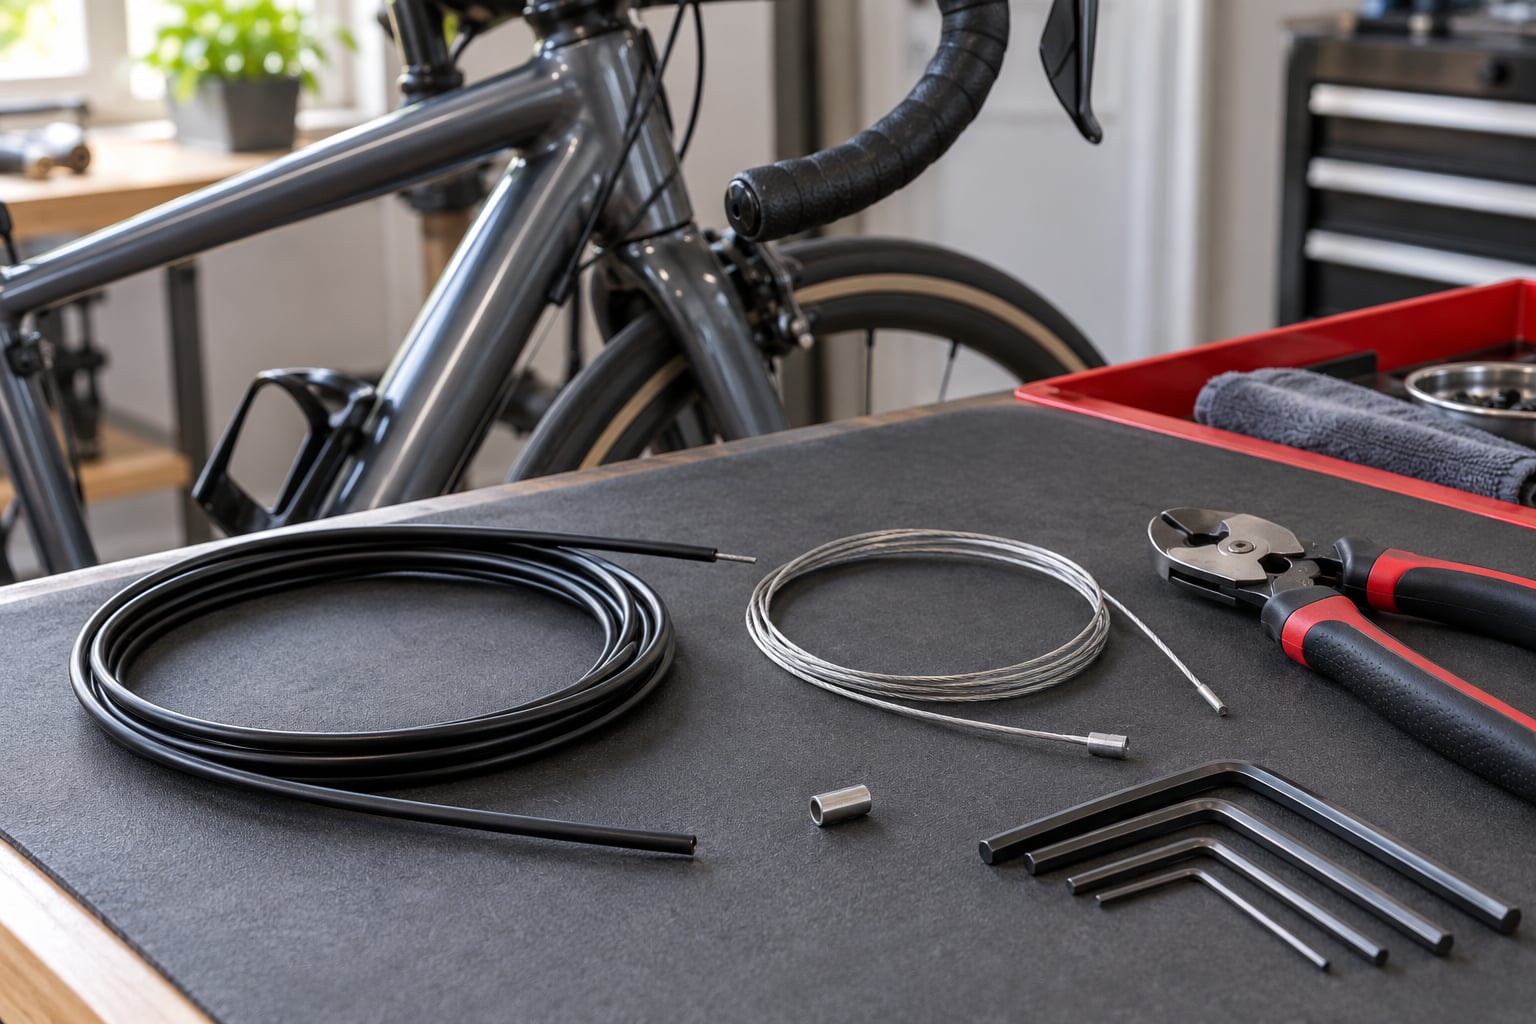
Replacing a bike cable is a two-part job: pull the old inner wire out, cut new outer housing to the same length, then thread a fresh cable through and re-tension it. Give yourself 20 to 30 minutes the first time and about ten once you have done it twice.
Knowing how to replace a bike cable yourself takes less time than the ride to a shop that does it while you wait. You need nothing exotic. A cable cutter, a couple of hex keys and a new length of inner cable and outer housing will do it. The reason it matters: a worn cable adds friction and stretch inside the housing, which is what makes shifting sluggish or skipped and braking vague. A frayed tail can also snap mid-ride.
This guide covers mechanical brake and shift cables on road, mountain, gravel and e-bike frames. Hydraulic brake lines and electronic shifting wires are sealed systems with bleed procedures and connector pairing — different job entirely.
Table of Contents
- What You Need
- Step-by-Step: How to Replace a Bike Cable
- How to Remove the Old Cable From a Shifter
- How to Remove a Brake Cable Safely
- How to Fit and Route the New Cable
- How to Trim and Secure the Cable End
- How to Adjust Shifting and Braking
- How to Test the Replacement
- Common Mistakes
- Maintenance and Safety Tips
- Frequently Asked Questions
- Do I need a special tool to replace a bike cable?
- Can I replace a brake cable and shifter cable with the same kind of cable?
- How do I know if my cable is the right length?
- Why does my new shifter cable not shift smoothly?
- What is the little barrel adjuster on my bike cable for?
- How often should I replace bicycle cables and housing?
- Start With the Tension, Not the Cable
What You Need
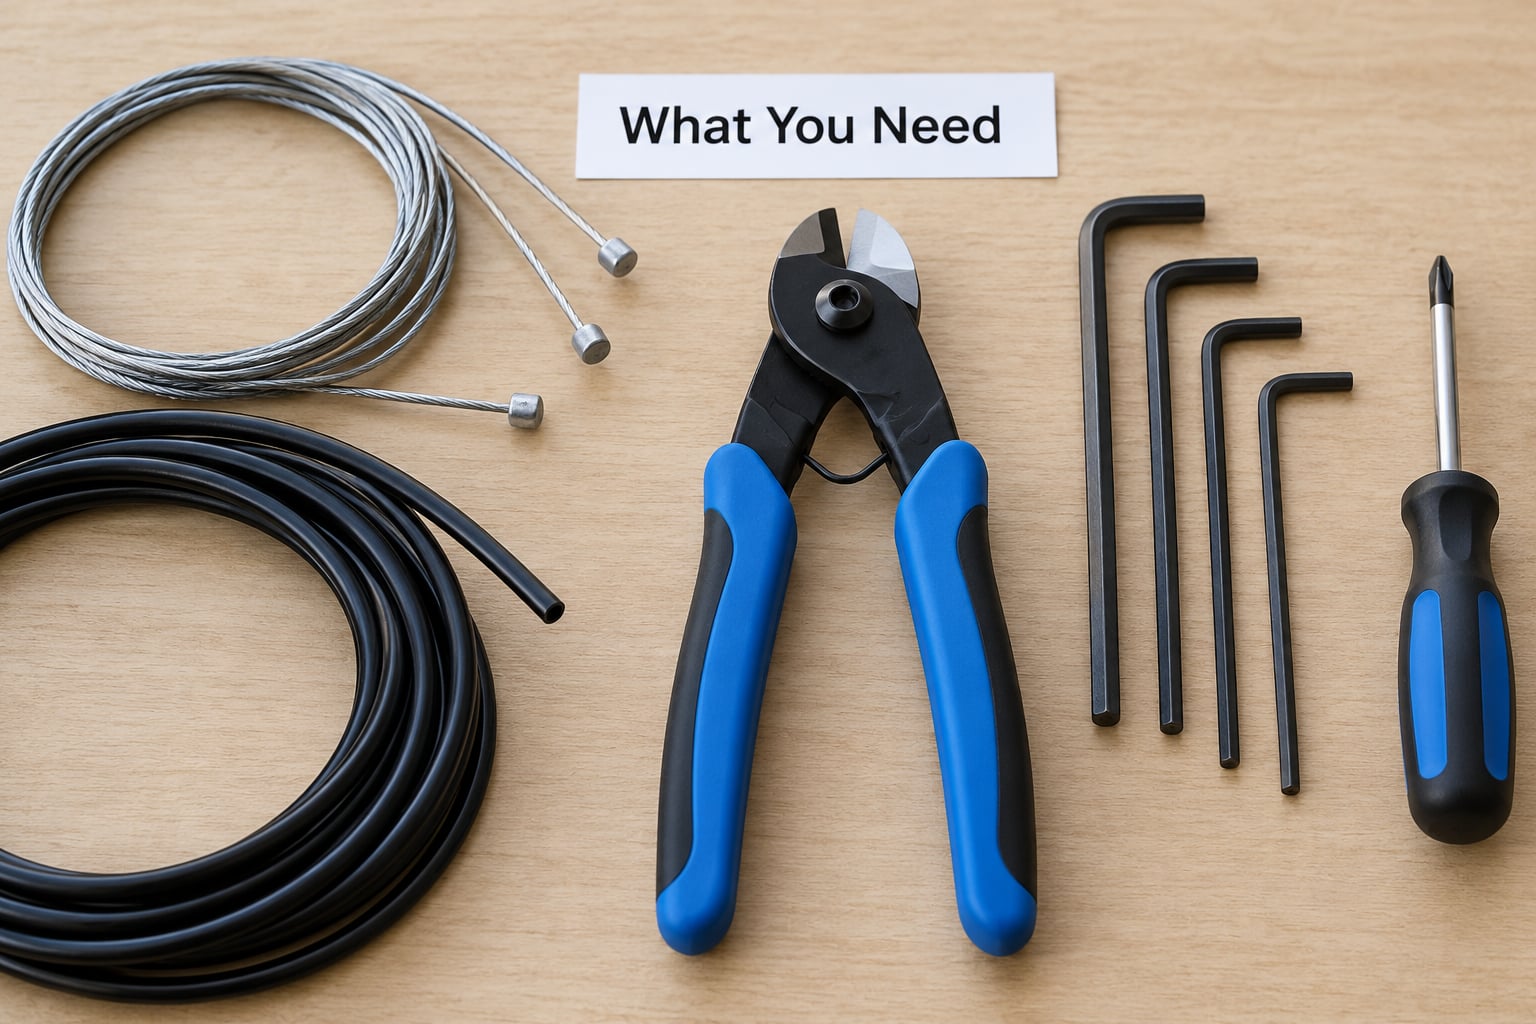
Gather everything before you open a shifter. Half-finished jobs usually start because the right ferrule was on the kitchen counter.
- Cable cutter or housing cutter. Cuts the inner wire and outer housing square. Do not use pliers or general wire cutters — they crush and split the housing.
- Hex keys (usually 2, 3, 4 and 5 mm). Handlebar clamp bolts, pinch bolts, lever reach adjusters.
- Small flat-blade screwdriver or pick. Opening shifter cable anchor ports on Shimano Rapidfire and similar models.
- Old inner cable (optional). Your routing guide through internal frame entries.
- Ferrule or end cap. Caps the cut end of housing and holds the liner.
- Cable end cap and crimper. Seals the cut cable tail so exposed strands cannot fray into your leg.
- Thin plastic tube or brake cable guide. Essential for threading housing through an internal frame.
- Fine flat file. Squares off a slightly ragged housing cut so the ferrule seats properly.
- Drip fluid or wet lube. Drip at the ports before threading so new housing and cable install easily.
Brake cable and shift cable are not the same part. Brake cables are around 5 mm outer diameter with a larger, wider cable head and a barrel-topped tip. Shift cables are thinner, closer to 2.8 mm, with a small head and a smooth tip that seats in the derailleur or derailleur clamp.
Housing must match too. Brake housing has a thicker, stiffer wall, sometimes lined with a steel coil, because a brake cable needs stiffness to pull the lever. Shift housing is thinner and often spiral-wound for low friction. Fitting brake housing to a derailleur wastes compression and makes indexing miserable; fitting shift housing to a brake gives you a mushy lever.
Are bike shifter cables universal? Mostly, and that is where mistakes happen. Shimano, SRAM and Campagnolo all run on the same basic 2.8 mm inner wire and 5 mm outer housing dimensions, but the shifter cable port, the shape of the cable head and the location of the anchor bolt differ between brands and model families. Campagnolo uses its own proportions and is the most likely to need a branded cable. Check the port on your own shifter before buying.
Before you start:
- Shift the rear derailleur to the smallest cog (hardest gear) to release cable tension. A cable under load will spring off the derailleur when you loosen the pinch bolt.
- Squeeze the brake lever and wedge a hex key or a cloth behind the caliper brake arm to hold it away from the rim. For rim brakes, this keeps the pads from closing before you disconnect the cable.
- Take a photo of the frame before anything comes off. Cable routing is rarely obvious once the frame is bare, and a photo makes the refit obvious.
- Note how many cables run through each guide. Mixing up a front brake and rear brake run is a genuinely bad afternoon.
Step-by-Step: How to Replace a Bike Cable
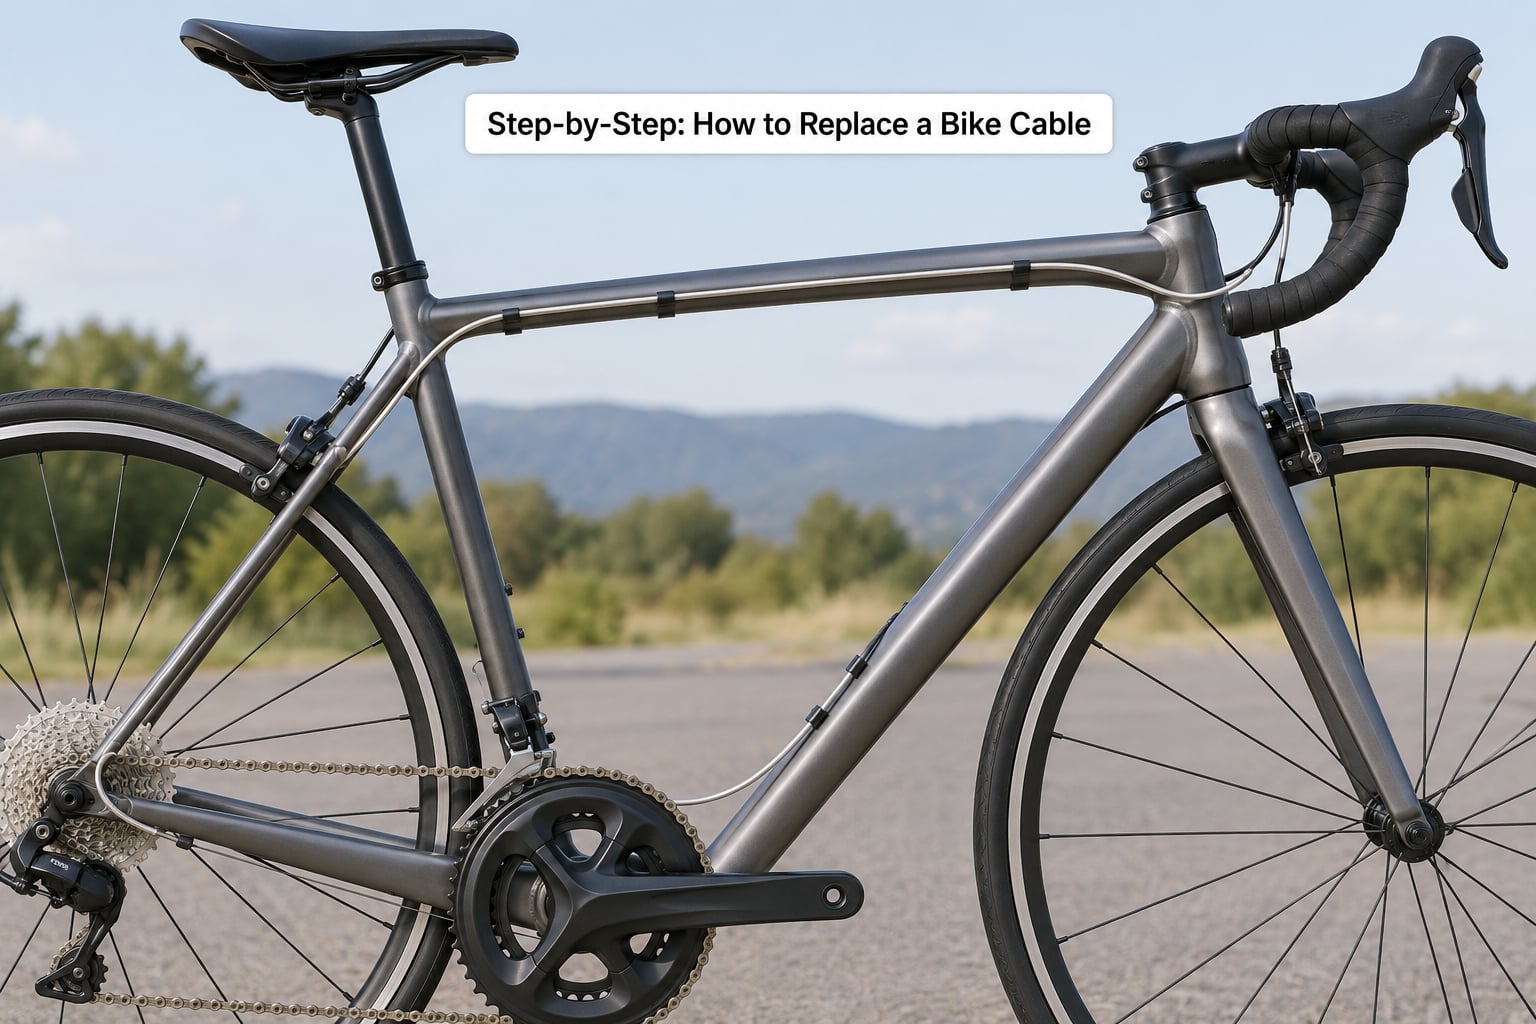
Do these seven phases in order. Nothing here is hard; it is just fiddly.
- Release the tension. Shift to the smallest cog, or wedge the brake lever for a caliper, V-brake or cantilever.
- Remove the old cable. Cut the cable at the derailleur or brake, loosen the pinch bolt and pull it out. Leave the housing in place for now.
- Use the old housing as a length template. Pull the inner wire out a piece at a time and compare.
- Cut and prepare the new housing. Cut square, file the end flat, ream the nylon liner open with a pick or an awl, then fit the ferrule.
- Fit and route the new inner cable. Drip fluid at the ports, thread the wire through the lever, the housing and the frame stops, then seat it in the derailleur or brake clamp.
- Tighten the pinch bolt and tune tension. Finger tight plus a small turn with a 4 mm key, then set the barrel adjuster.
- Trim and cap, then test. Leave about 1.5 to 2 inches of spare cable, cut it square, crimp a fresh end cap and ride-test every gear and both brakes.
How to Remove the Old Cable From a Shifter
Work at the derailleur end first, because that is where the tension lives. Loosen the pinch bolt with a 4 mm key and lift the cable out of its groove. Pull the whole wire back through the frame.
At the lever, the anchor varies by brand. Shimano Rapidfire-style shifters have a port with a hinged cover or a small plastic plug — flick it open with a pick and pull the cable from the anchor bolt. SRAM X.5, X.7 and X.9 use a rubber grommet in the barrel of the shifter, and higher-end SRAM and Campagnolo shifters hide the anchor under a top cover held by one small screw.
If the cable will not come out, stop pulling. Cable stuck inside housing is the most common complaint on r/bikewrench, and the answer is the same every time: if the old wire will not slide out easily, the housing liner is damaged, so replace the housing too rather than fighting it. Do not reuse housing that was split, crushed or kinked during removal.
How to Remove a Brake Cable Safely
Hold the lever open first — wedge a hex key behind the caliper arm or pull the barrel adjuster all the way out to create slack. Never disconnect a brake cable with the lever released, because the cable will whip back under tension.
At the caliper, back the barrel adjuster fully out, then loosen the anchor bolt or pinch bolt and lift the cable out of the arm. On cantilever and V-brake levers the cable can come out of the top of the lever body once the pinch bolt at the lever is loose. On caliper brakes it comes off the caliper side. Cantilevers have two cables, so repeat for both.
Note the barrel adjuster position before you start. Turning it clockwise adds tension; this is how you reset pad clearance after the new cable goes in.
How to Fit and Route the New Cable
Pull the old inner wire out fully but keep the housing in place, and compare the new housing against the old length section by section. Cut the new housing with the proper housing cutter so the end is square, not crushed.
For internal routing, this is where jobs stall. Drip a little fluid at both frame ports, then use the old cable as a guide — feed the old wire into the entry port and pull it from the exit port, tape your new cable or housing end to it, and pull the whole thing through. If the old cable is gone, a curved plastic brake cable guide or a length of aquarium tubing through a 4 mm internal routing tool does the same job.
Route the housing in gentle curves. A tight bend or a twist in the housing adds drag that no amount of barrel adjustment will fix. Where the cable enters a frame stop, make sure the housing seats fully in the ferrule and the stop, and that the wire exits cleanly.
At the shifter, thread the wire through the lever or shifter body, leaving about 1.5 to 2 inches sticking out past the anchor bolt before you clamp it. At the derailleur, the cable sits in the pinch bolt groove under its head, with the short tail on the tail side and the housing pushed fully into its stop. Tighten the pinch bolt just enough to grip — a 4 mm key, snug, no more. Over-tightening crushes the cable and gives you the same sluggish shifting you were trying to fix.
How to Trim and Secure the Cable End
Leave 1.5 to 2 inches of spare cable past the pinch bolt. More than that and it flops into the wheel; less and you have no room to trim if the indexing is off.
Cut it square with a cable cutter so the strands are even, then slide on an alloy end cap and crimp it with a cable crimper or firm, even pliers. A capped tail cannot fray, and frayed strands near a spinning wheel or a road rider’s calf are the reason most people end up doing this job at all.
How to Adjust Shifting and Braking
Turn the barrel adjuster a quarter turn at a time. Clockwise pulls more cable and tightens indexing; counterclockwise gives slack. Then shift through every gear from smallest to largest cog. One click of the shifter should move the chain exactly one cog. Two gears or no gear means you need tension; delayed engagement in the other direction means slack.
For indexed shifters, a two-turn window is normal. Outside that range, use the limit screws — the H and L screws on the derailleur body — not the barrel adjuster. For a friction shifter, the barrel adjuster is your fine tuning for the whole range.
For brakes, after the new cable goes in the pads may sit too far from the rim or too close to lock. Turn the barrel adjuster to bring the pads to roughly a millimetre of clearance, then use the pad adjustment at the caliper to center them. Check the lever does not touch the handlebar when the brake is fully pulled, and adjust lever reach if your levers have that dial.
How to Test the Replacement
Stand over the top tube, unweighted, and run through the sequence: shift every gear up, shift every gear down, then pull each brake individually. Lift the bike and spin the wheel, listening and watching for rubbing. Turn the handlebars lock to lock and check nothing is taut or catching on the housing.
Roll the bike forward under load and brake hard once on each side. If a lever feels spongy, pulls to the bar, or you cannot hold a wheel, the cable is not seated or the brake is not adjusted — do not ride it until that is fixed.
Common Mistakes
Nearly every problem after a cable change comes down to tension, routing or the wrong part. Here is what to look for.
- Shifts hesitate or slip under load, then correct themselves. Usually cable tension too high for indexing. Back the barrel adjuster off a quarter turn at a time.
- Shifts late or not at all in one direction. Tension too low, or a stretched cable. Wind the barrel adjuster in; if it takes more than two full turns, replace the cable.
- Housing feels tight or the cable sticks in bends. A sharp bend, a twist, or a crushed housing end. Reroute in smooth curves and recut the ferrule end square.
- Cable will not come out of the shifter. Corrosion or a damaged nylon liner. Replace the housing rather than reusing it.
- Shifting fine, but the lever feels soft. Brake cable head not seated, or wrong cable type. Reseat the head in the caliper clamp and confirm you used a brake cable.
- Pads sit millimetres from the rim after the change. Brake tension was reset to zero when you removed it. Reset the barrel adjuster, then re-centre the pads.
- Rubbing that appears only in one gear position. Cable or housing too close to the chainring. Reroute with more clearance and check at the tightest cross-chained gear.
Other mistakes worth naming: using pliers to cut housing, which splits the liner; over-tightening pinch bolts until the wire is flattened; trimming the tail to nothing, which leaves nothing to trim if indexing is off later; and keeping old housing because it is still smooth-looking. The liner wears from the inside long before the casing looks tired.
Maintenance and Safety Tips
Replace cables and housing every 6 to 12 months, sooner on a commuter bike that gets wet or dusty. Replace them immediately if you see frayed strands at the derailleur end, rust on the exposed wire, noise when shifting, or a brake lever that reaches the bar.
A drop of wet lube on the exposed sections at each end slows corrosion. Drip fluid at frame ports before threading new housing so it slides instead of fighting you. Never force a cable with the pinch bolt as a lever — if it will not seat, the head is the wrong type and you will just score the bolt. And do a quick brake and shift check before every ride; a cable is the cheapest part on the bike and the one most likely to let go without warning.
Frequently Asked Questions
Do I need a special tool to replace a bike cable?
No. You need a cable cutter, a small hex key set and a screwdriver or pick. A ferrule, an end cap and a crimper make the job tidier but are not mandatory. The one tool worth buying is a proper housing cutter, because pliers and wire cutters crush the housing liner and cause the sluggish shifting you are trying to fix.
Can I replace a brake cable and shifter cable with the same kind of cable?
No. Brake cables are thicker with a wider head and a barrel-topped tip, and they run in brake housing. Shift cables are thinner, with a small head and smooth tip, in thinner shift housing. They look similar and some bike-shim hybrids accept either, but using the wrong one costs you braking feel or derailleur indexing.
How do I know if my cable is the right length?
Use the old housing as a template before you remove it, comparing each run section by section and adding a few extra millimetres for the frame stops. For the inner cable, leave about 1.5 to 2 inches past the pinch bolt after it is clamped. Too short and you have no trim left if indexing is off; too long and the tail flaps around the wheel.
Why does my new shifter cable not shift smoothly?
Almost always cable tension. If the chain hesitates or shifts two gears, turn the barrel adjuster counterclockwise a quarter turn at a time. If shifting is late in the other direction, wind it in. Sharp bends and twists in the housing cause the same symptom, so check the routing. A cable that needs more than two full turns of the barrel is stretched and should be replaced.
What is the little barrel adjuster on my bike cable for?
It is the fine tension control where the cable enters the lever, shifter or derailleur. Turning it clockwise pulls more cable through and raises tension, which tightens shift indexing and pulls brake pads closer to the rim. It should take most of the adjustment; the limit screws on the derailleur only handle end-of-range stops, not indexing.
How often should I replace bicycle cables and housing?
Every 6 to 12 months is the usual interval, and sooner on a bike ridden in rain, dust or road salt. Replace sooner still if you see frayed strands at the derailleur, rust on the exposed wire, noise while shifting, or a brake lever that reaches the handlebar. New inner cable in old housing feels better but never as good as a fresh pair of both.
Start With the Tension, Not the Cable
If you only do one thing from this guide, make it step one: shift into the smallest cog and check whether the barrel adjuster fixes your shifting before you pull anything apart. Most complaints that feel like a dead cable are just wrong tension.
When you do replace it, take the whole job in one go — inner cable, outer housing, ferrules and a fresh end cap — and follow the seven phases in order. Working through how to replace a bike cable end to end takes twenty minutes of attention now, which is cheaper than a snapped cable halfway across a bridge.