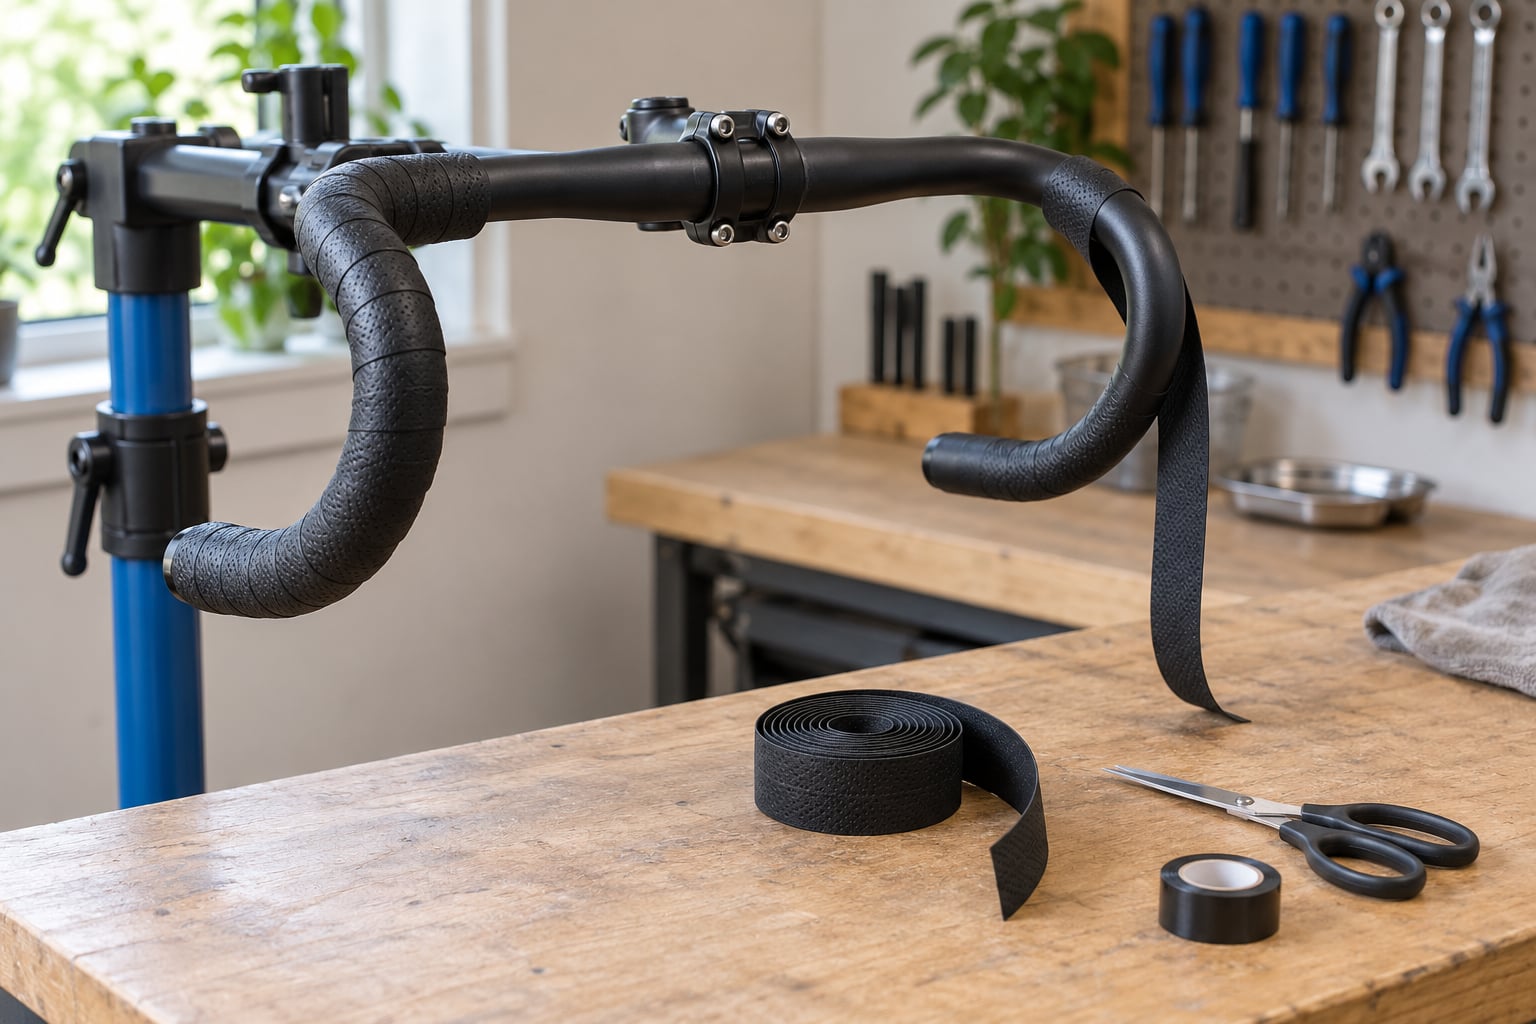
Replacing bar tape takes 20 to 40 minutes and needs a roll of tape, some finishing tape, a cloth and steady hands. You pull the old tape and plugs off, clean the bare bar, then wrap from the bar ends out to the stem at even tension and finish with an angle cut. Nothing about it is permanent, so a wrap you don’t like comes straight back off.
Two rules do most of the work. Wrap from the outside of the bar toward the frame, so the tape tightens under your grip instead of loosening, and keep the tension identical from the drop to the stem. Everything else is detail.
The rest of this guide walks the whole job in order, including what to do when the old tape has been heat-sealed onto the bar and refuses to move.
Table of Contents
- What You Need
- Step-by-Step: How to Replace Bar Tape
- Set Up the Bars and Shifters
- Start the Tape at the Correct Point
- How to Wrap Handlebar Tape With Even Tension and a Small Overlap
- Finish the Wraps and Add the Plug
- Install the Shifters and Check the Result
- Common Mistakes and Pro Tips
- Frequently Asked Questions
- Can I replace bar tape without removing the brake and shift levers?
- How do I keep bar tape from coming loose on my handlebars?
- How much should bar tape overlap?
- Do I need to shorten the brake or shift cables when rewrapping the bars?
- What if my new bar tape is too thick for the old brake lever hoods?
- Conclusion
What You Need
Gather everything before you take anything off. Half-finished jobs start when you realise mid-wrap that the finishing tape is sitting in the kitchen drawer.
- Bar tape — about 1.5 m per drop bar, so two bars means two rolls with a spare in hand. Most modern road tape is universal and stretches to fit.
- Finishing tape — the two or three narrow strips supplied with the roll, or a short length of black electrical tape as a substitute.
- Plug caps — screw-in bar end plugs, plus any separate trim cap or cable-end finishing bits your levers use.
- A soft cloth and isopropyl alcohol — for lifting adhesive residue off the bar without scratching the finish.
- Scissors and a few Allen keys — tape shears if you cut it with a knife against the bar, and the shifter clamp may need a key to reseat.
- Optionally a hair dryer — only if the old tape has been heat-sealed or cemented on.
Check the plug diameter before you buy. Plugs come sized for 15mm internal bar ends or 17mm external bar ends, and a mismatch is the single most common reason a fresh wrap looks unfinished. Most road drop bars use the 31.8mm clamp standard with 23.8mm or 25.4mm bar ends, so confirm yours by measuring inside the open end of the bar.
If you ride in the rain or do long gravel days, a 3mm thick tape with a tacky texture suits you better than a 1.6mm race-thin roll. On rough surfaces and in a hot climate, a perforated or gel-backed tape keeps your hands from buzzing over long stretches.
Step-by-Step: How to Replace Bar Tape
Set Up the Bars and Shifters
Move the shifters into their smallest cog, lowest click position. They park out of your way and come off and on much more easily.
Take off lights, a computer mount and anything else clamped to the bars. Then loosen the shifter clamp and slide the brake levers and shifters off the bar ends, leaving the bare bar clamped in the stem. Centre the bar in the stem so you have the same amount of exposed alloy on both sides when you finish.
Pull the plug caps out and unwind the old tape from the bar ends. If a wrap has delaminated, or an old owner ran a hot gun over the tape to glue it down, stop pulling and use heat: hold a hair dryer with a narrow nozzle into the open bar end for a minute or so, then peel while the adhesive is soft. Riders restoring bikes in the bikeforums vintage threads swear by this after a propane torch, though a dryer is far kinder to the bar.
Wipe the bar with a cloth dampened with isopropyl alcohol until the old layer is only a faint film. It worked when you can see bare alloy rather than grey glue. You have succeeded when the bar looks clean enough that you would happily touch it.
Start the Tape at the Correct Point
Peel about 10 cm of backing off the end and stick the exposed strip squarely onto the inside face of the bar end, right at the very tip. Leave the strip running past the end of the bar with the adhesive facing outward, so the tape’s own tail is trapped by the wrap you are about to add.
Most riders start at the drops, and for good reason: starting at the bar end is where the wrap ends up with an exposed edge that cuts into your palms when you drop down into the hoods. Riders on r/bikewrench described exactly that problem before switching to starting at the drops instead.
Make the first full wrap perfectly flat against the bar. You have succeeded when the tape sits without bubbles, gaps or twists and the edge of the strip lines up with itself.
How to Wrap Handlebar Tape With Even Tension and a Small Overlap
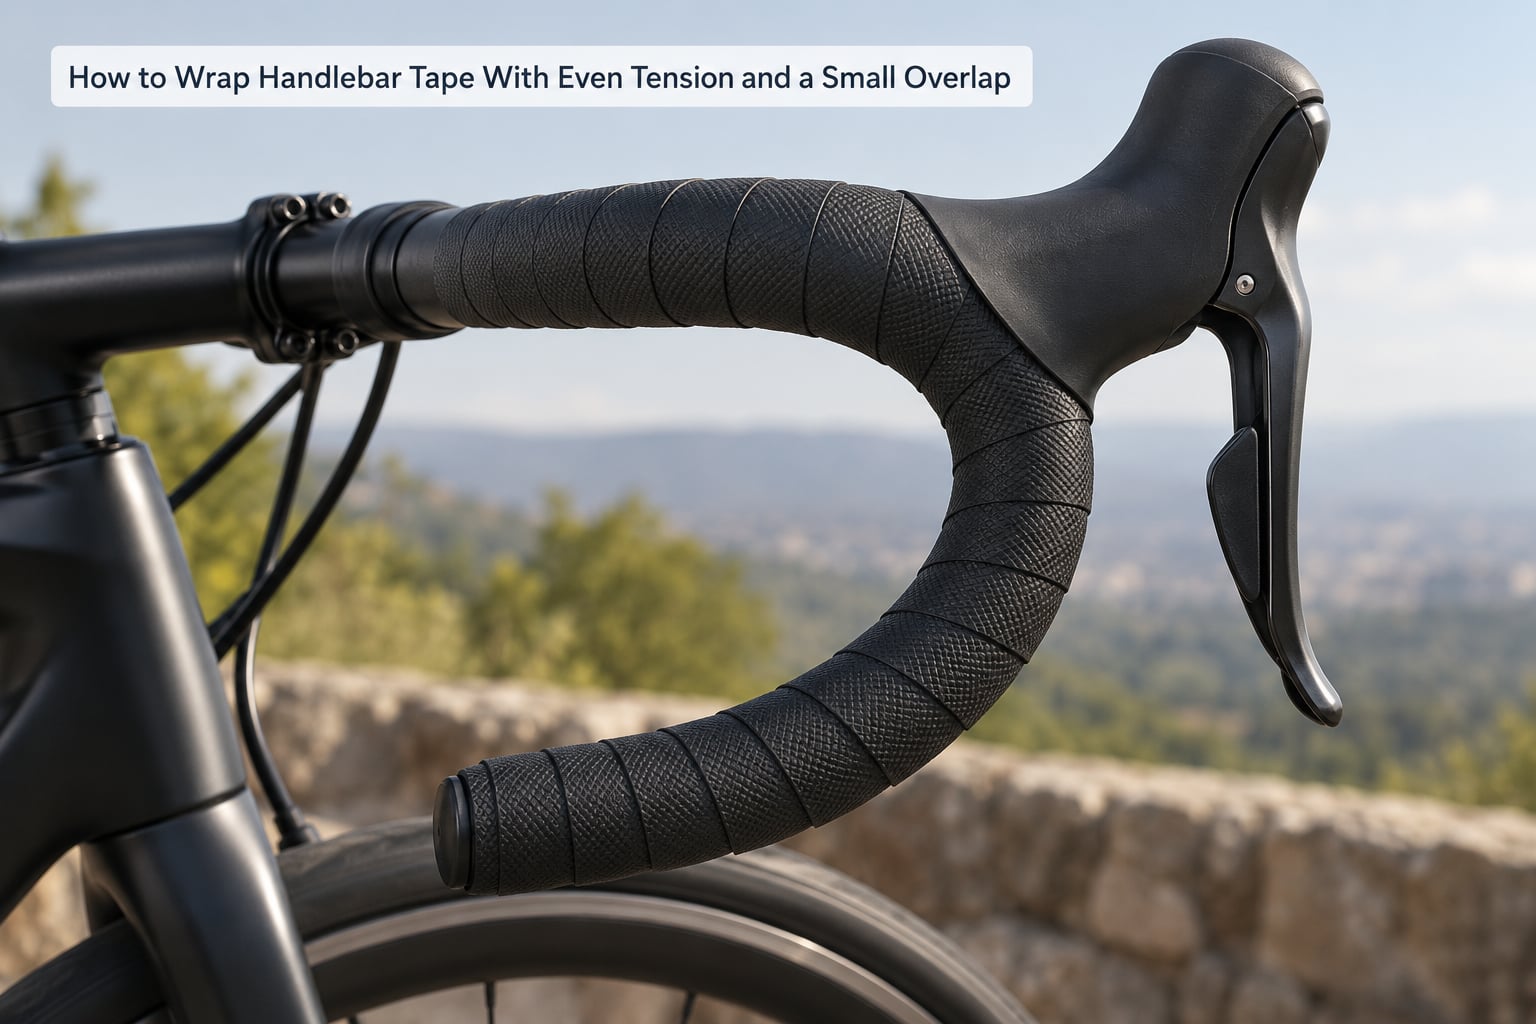
Peel the backing back as you go, keeping about 8 cm of adhesive exposed so the tape stays controllable. Hold the roll under light tension and wrap up from the drop toward the frame, so the overlap sits on the outside of the previous turn.
Overlap each turn by roughly a third to a half of the tape width. Thin 1.6mm race tape can take a narrower overlap; thick 3mm gel tape wants more, or the layers sit lumpy under the hoods.
Keep pulling the tape tight the whole way round. It feels firmer than you expect at the start and relaxes into place as you wrap the next turn over it. The test is simple: tug the wrapped section gently. If a full turn lifts at the edge, you are too loose there and should redo that section before moving on.
Correct wrinkles immediately, as soon as you see them. A crease fixed on the spot costs nothing; the same crease left for two more turns is baked in. If a wrap goes wrong at any point, unwind back to the last good turn rather than trying to correct forward.
Finish the Wraps and Add the Plug
Leave 2 to 3 cm of bare bar between the last wrap and the stem on a traditional cockpit. That gap is where a computer or a light mount goes, and it is worth more than the tape you save by wrapping right up to the clamp.
Finish the tape with a small tab: fold the last couple of centimetres back on themselves, press it flat, and tension that final wrap so nothing sags. Trim the excess with scissors, cutting on a slight angle so the raw edge runs parallel to the stem instead of sticking out at a corner.
Press your finishing strip over the end of the tape, running it in the same direction as the wrap so it cannot peel back. Then screw the bar end plug in by hand and tighten it with fingers only. The wrap should be firm under the plug, not compressed. If you have to lean on the plug to get it in, you have used too much tape at that end.
Install the Shifters and Check the Result
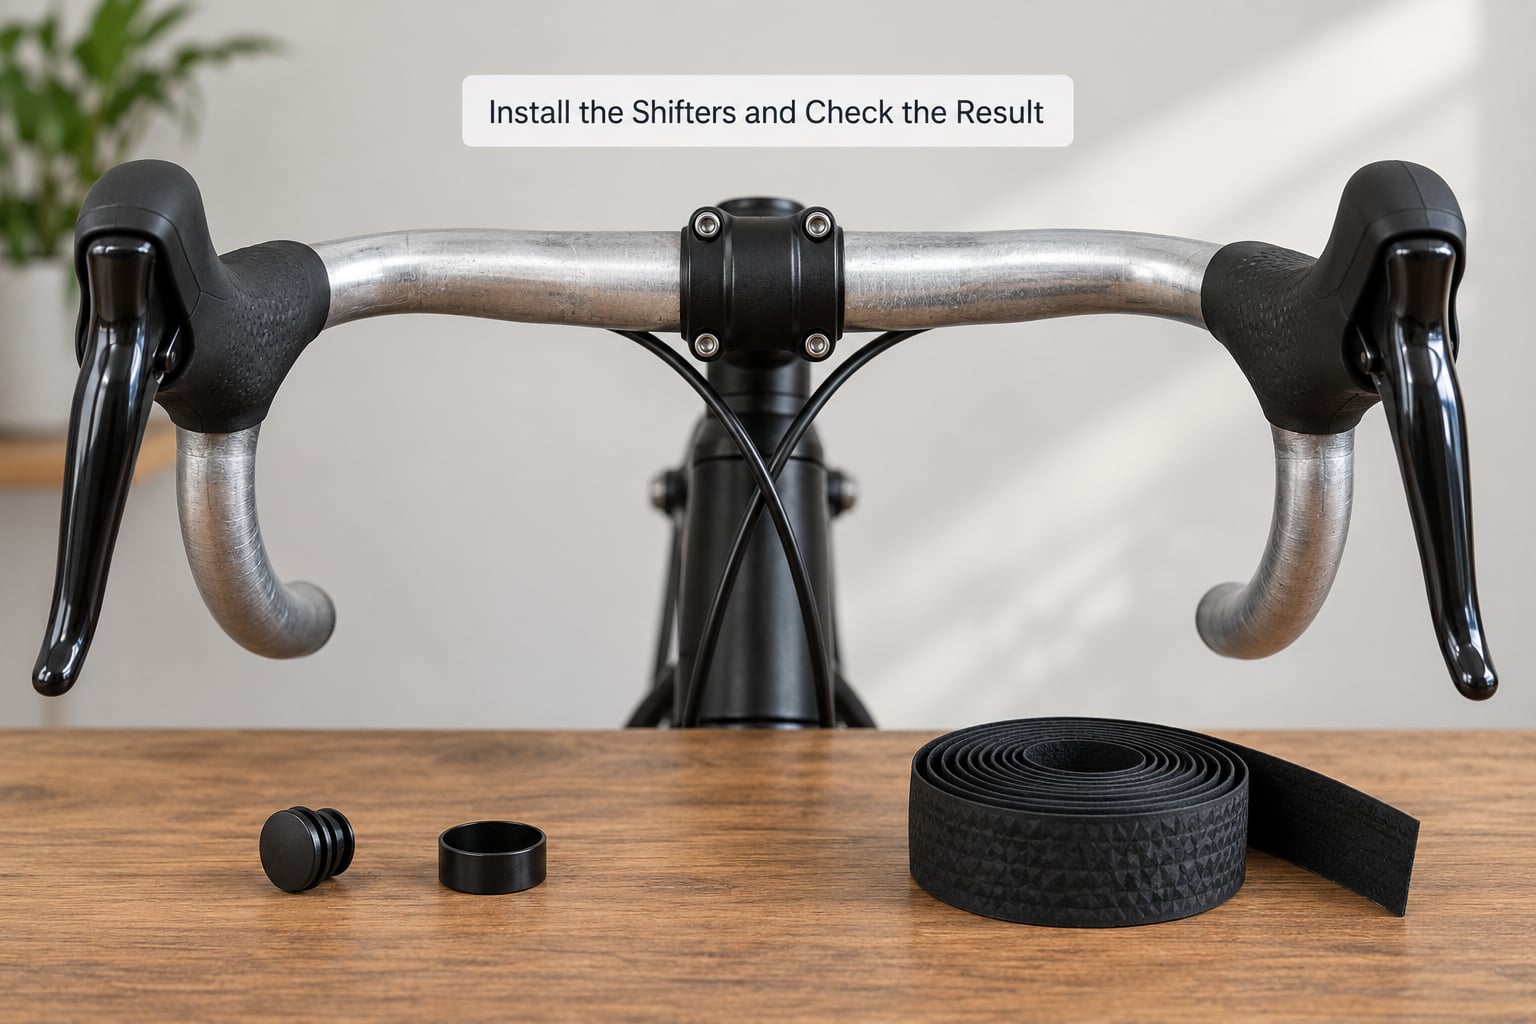
Slide the brake levers and shifters back onto the bar and tighten the clamp at the position you ride them. Check that the lever bodies sit where your hands naturally fall before you crank anything down.
Watch the cable and hose routing as you tighten. Mechanical brake and shift cables, hydraulic hoses and electronic wire housings all need to exit below the lever with enough slack to turn the bars fully left and right without pulling anything tight. A cable trimmed too short during an earlier wrap is a separate repair job entirely.
Finish any cable ends with the small caps or crimps that came with the levers, then do a full inspection before you ride. Look for loose tape at the drops, wrinkles beside the hoods, tape riding up into the lever clamp, and bare bar showing where the wrap pulled back. Squeeze both brake levers and shift through the whole range. Each control should feel the same as it did before.
Then ride it. Anything you find loose on a twenty-minute spin with tape still slightly tacky can be re-wrapped; anything you find after a long ride in the rain probably needs the whole job redone.
Common Mistakes and Pro Tips
Almost every bad bar tape job comes down to one of the same handful of errors. Each of them is fixable without starting from scratch.
Tape loosening on the first climb. Usually wrapped in the direction that lets the overlap work loose, or wrapped with no tension at all. Unwind to the bar end and redo it, this time pulling from the outside of the bar toward the frame.
Tape digging into your hands in the drops. The same root cause, seen from the other side. The exposed edge ends up facing your palms when you move down onto the hoods. Starting at the drops instead of the bar ends solves it.
Wrapping so tight the lever feels harsh. Tension is for keeping layers together, not for squeezing the bar flat. If the wrapped section is visibly dented under the tape, back off the pull and lay the next turn a little looser.
Uneven overlap that bunches beside the hoods. Thick tape wrapped with a narrow overlap creates a lump right where your little finger rests. Widen the overlap, or use the two cheater strips supplied with the roll to fill the gap beside each lever body.
Skipping the finishing tape. The end of the wrap will lift within a few rides. One strip of electrical tape across the last turn costs nothing and is the whole difference between a job that lasts and one that unravels on the road.
Forgetting the plugs, or crushing the wrap. A bar end with no plug collects grit and water and rattles. Tighten it with fingers only. Over-tightened, it flattens the tape into a bulge you feel every ride.
Cutting cables too short to reach. Never shorten a cable or housing just because it is awkward to refit. If it will not reach with the lever in its riding position, the lever is mounted too far inboard; move it out before you touch anything else.
Two extras worth knowing. Double-wrapping the drops with cork tape underneath adds real comfort on rough roads, and riders on r/cycling pair plain cork tape with a tennis racquet overgrip on top for the same reason. Gel sleeves and gel pads fit under the tape for the same outcome. Just add the extra layer before you start wrapping, not after.
Frequently Asked Questions
Can I replace bar tape without removing the brake and shift levers?
You can, but most riders do not. Wrapping the drops and the tops is easy with the controls in place; the awkward part is the section directly under the lever bodies. Sliding the levers off takes a minute and gives you a much better finish, especially the overlap where tape crosses the hoods.
How do I keep bar tape from coming loose on my handlebars?
Keep steady tension through every turn and wrap from the outside of the bar toward the frame, so the overlap tightens when you grip. Finish the end with a strip of electrical tape running in the same direction as the wrap, and tighten the bar end plug firmly but only by hand. Most loose tape traces back to skipping that final strip.
How much should bar tape overlap?
About a third to a half of the tape width on a standard road wrap. Thin race tape can take less, while thick gel tape needs more overlap so the layers do not bunch into a lump beside the brake hoods. If you can see daylight between turns, increase the overlap before you carry on.
Do I need to shorten the brake or shift cables when rewrapping the bars?
No. Cable and housing lengths stay as they are. The only thing that changes is the lever position, so if a cable looks short it means the lever has been mounted too far inboard. Slide the levers back out to where your hands fall, which usually restores the slack you need to turn the bars fully.
What if my new bar tape is too thick for the old brake lever hoods?
Switch to thinner tape, or move the lever clamp slightly outboard. Thick 3mm gel tape under a narrow hood adds bulk and can stop the lever returning cleanly. A 1.6mm or 2mm roll fits most older hoods, and a single layer keeps the same overall thickness as the old setup did.
Conclusion
Start with a clean, centred bar, keep the same tension from the drops to the stem, and leave a 2 to 3 cm gap at the stem for your mounts. Wrap from the outside in, fix wrinkles the moment they appear, and finish the end with tape rather than hope it holds. Then squeeze the brakes, shift through the gears and look over the whole wrap before you ride away.