Adjusting rim brake pads comes down to three separate jobs: centre each pad on the rim’s brake track, angle it with a little toe-in, then set the gap at the cable clamp and fine-tune it at the barrel adjuster. Most riders who learn to do it in that order never need a bike shop again. You need a 4mm and a 5mm Allen key, about ten minutes, and a wheel you can spin freely.
Riders on r/bikewrench say the same thing over and over: the brake is rarely the problem. A wheel sitting slightly proud of the dropouts will rub forever no matter how carefully you align the pads. So do the inspection first, adjust second.
Everything here applies to the three cable rim brake types you will meet — V-brake (linear pull), cantilever, and the traditional road caliper — and the guide notes where each one behaves differently. Last checked for 2026, and worth reading through once before you touch a bolt.
Table of Contents
- What You Need
- Step-by-Step
- Step 1: Inspect the Brakes and Wheel
- Step 2: Loosen the Brake Cable or Cable Clamp
- Step 3: Set Even Pad Clearance
- Step 4: Center Each Pad on the Rim
- Step 5: Reconnect and Secure the Brake
- Step 6: Test Braking and Fine-Tune
- Common Mistakes
- Frequently Asked Questions
- How do I know if my rim brake pads need adjusting?
- Should rim brake pads touch the rim when the brake is released?
- How do I center a rim brake pad on the wheel?
- What is the correct gap between rim brake pads and the rim?
- Why does my brake lever pull the wheel forward?
- When should I replace rim brake pads instead of adjusting them?
What You Need
You need very little, and most of it you already own.
- A 4mm Allen key for the cable pinch bolt on most V-brakes and cantilevers. Shimano levers use a 4mm hex on the barrel adjuster; some brands take 5mm.
- A 5mm Allen key for the pad bolt on most bolt-on pad holders. Shimano cartridge pad holders usually take a 6mm hex, so check what your pads use.
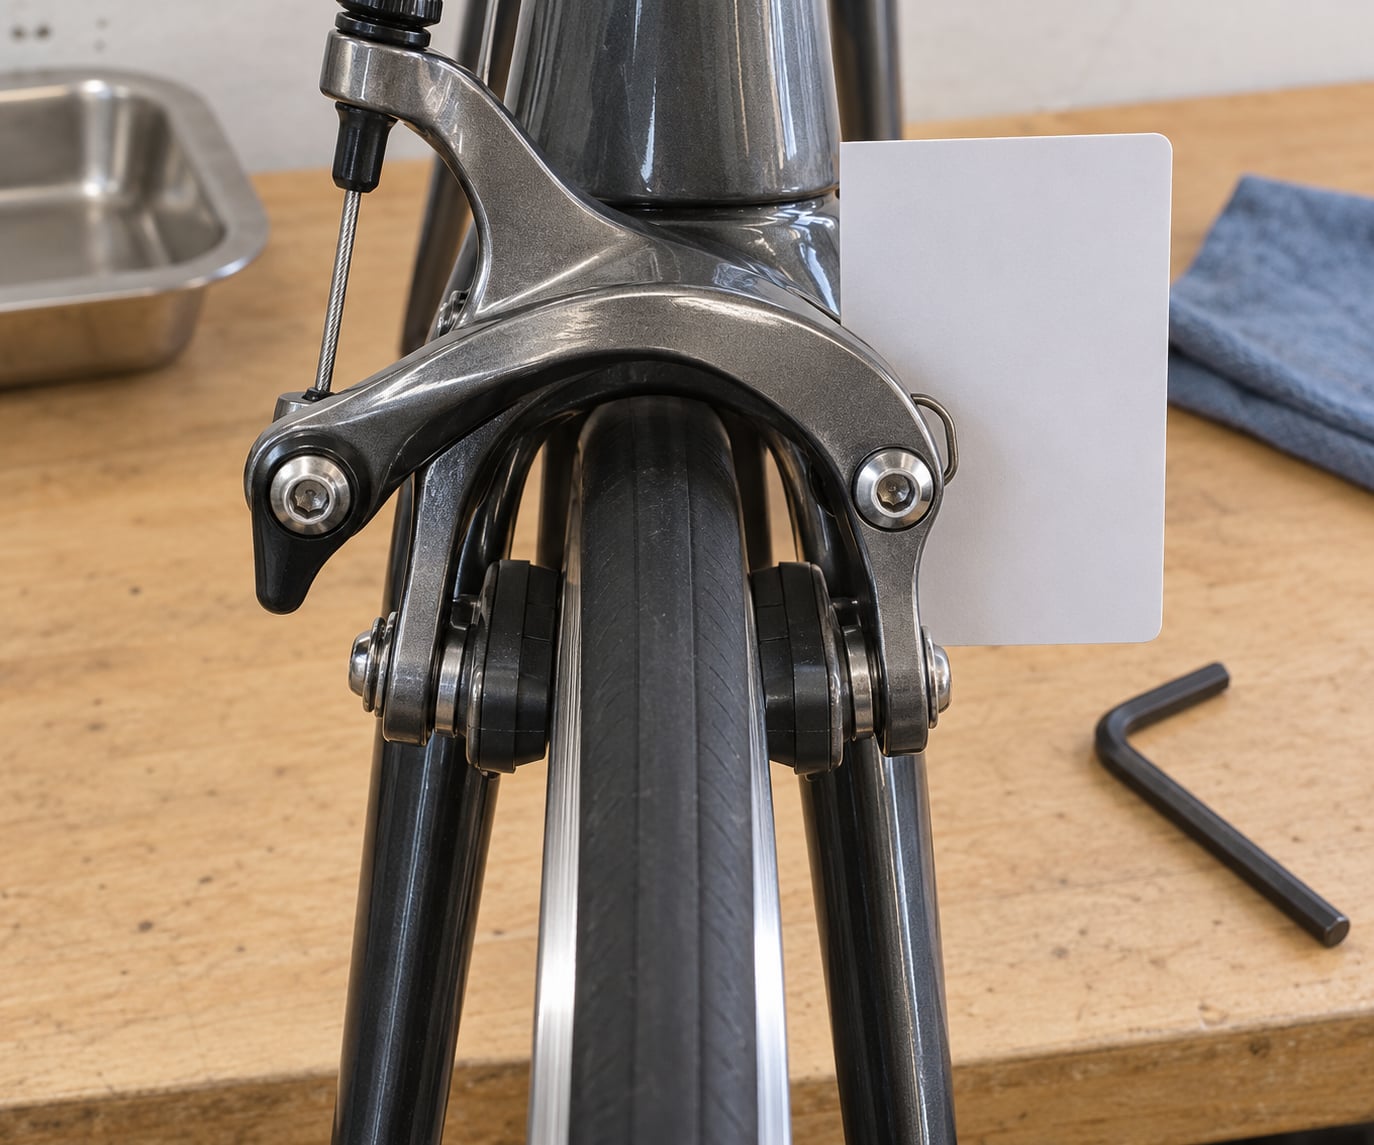
- A business card or a strip of thin plastic — the classic tool for setting a consistent gap and toe-in.
- A clean cloth and a little isopropyl alcohol or brake cleaner to wipe the brake track before you judge anything.
- Fine grit paper or 1200 grit wet-and-dry if a pad is glazed after a long descent.
- Optional: cone washers if your pad carriers are old enough that the washers have flattened.
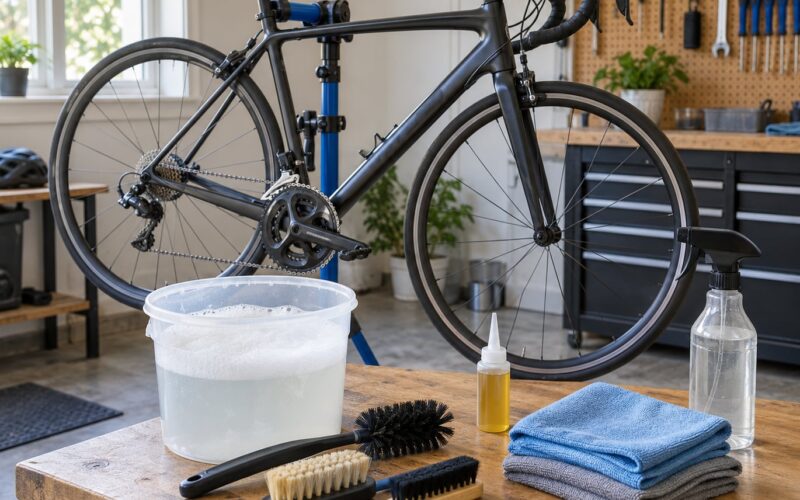
Before you start, put the bike in a stand or turn it upside down with the saddle against something solid. A stand is easier on your back, but the job is entirely doable with the bike inverted, and plenty of people do it in a doorway.
Check three things first. Is the front wheel fully seated in the dropouts with the quick release properly clamped? Are the tyres pumped up, because a soft tyre squashes and drags? And is the braking surface on each rim clean and free of chain oil and sealant splatter? Oil on that track will stop your pads gripping no matter how well they are set.
Look at the pads too. Most have a wear line moulded into the side. If the pad has worn below it, replace the pads before adjusting anything. Also check the arms and pivots for cracks or play — a brake arm with visible movement in the pivot is a replacement, not an adjustment.
Step-by-Step
Work from the mechanics out: seat, clearance, alignment, toe-in, then tension. Changing the cable tension before the pads are positioned is the single most common reason an adjustment fails on the first attempt.
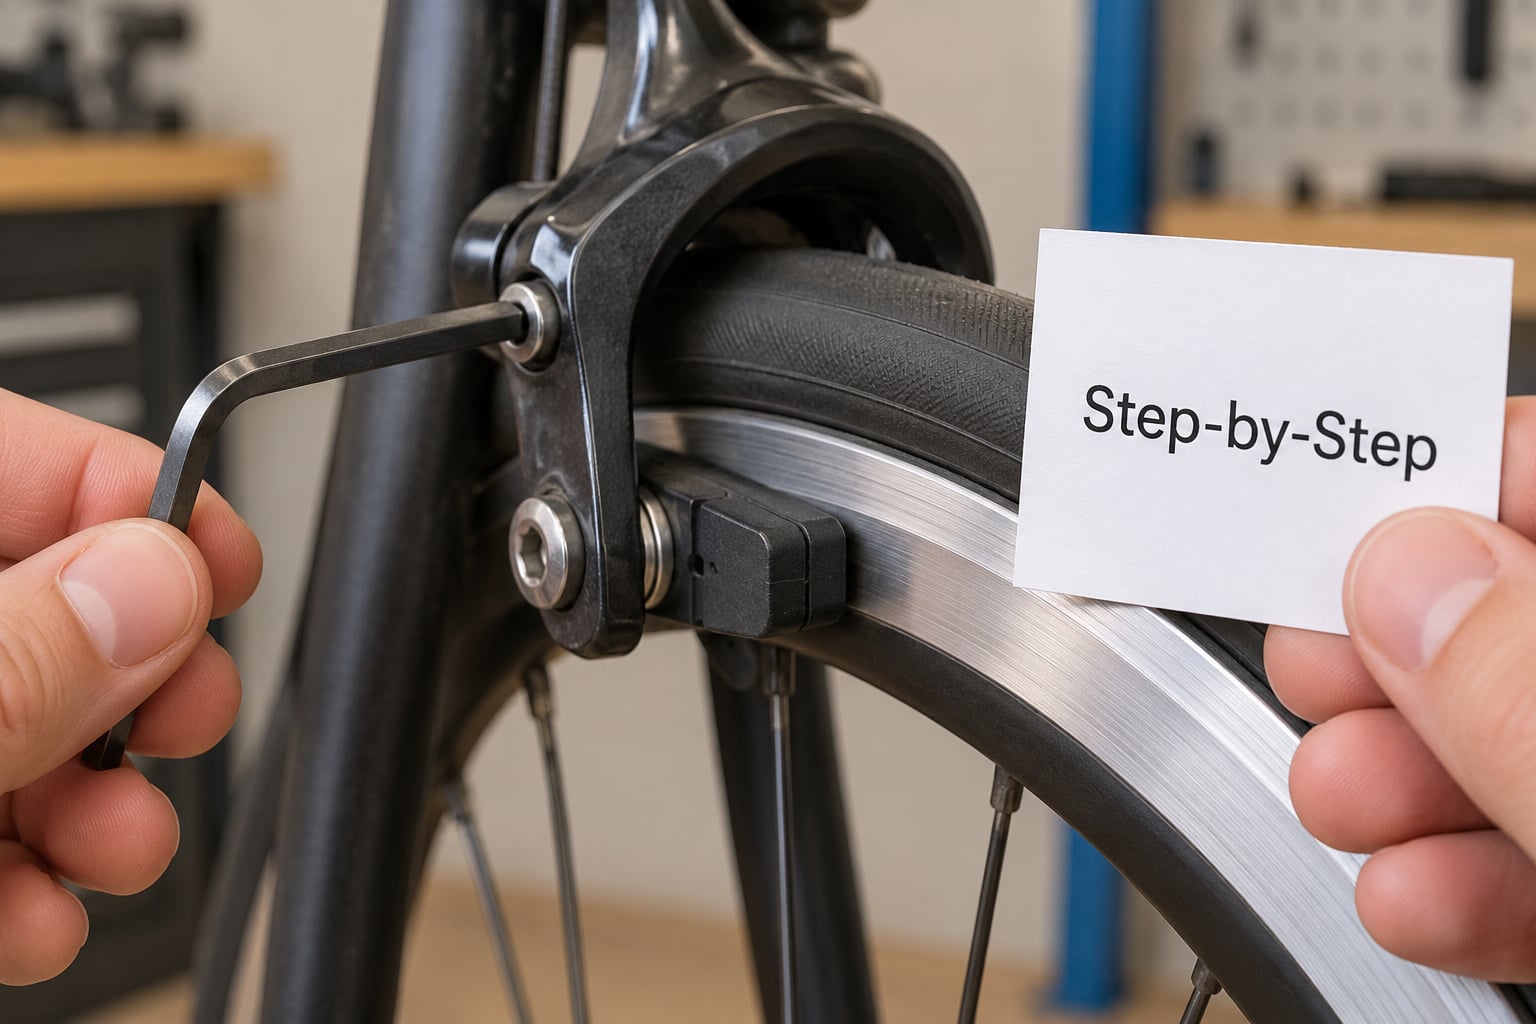
Step 1: Inspect the Brakes and Wheel
Spin the wheel and watch the gap between pad and rim from above. If it is not even all the way round, look at the wheel in the dropouts before touching an adjuster.
Confirm the pads are the right type for your rims. Alloy rims want alloy-compatible pads; carbon rims need pads specified for carbon, because the wrong compound can overheat and delaminate the rim. Rim brake pads are not interchangeable with disc brake pads.
Step 2: Loosen the Brake Cable or Cable Clamp
Turn the barrel adjuster at the lever counterclockwise by hand for two or three full turns, until the cable is slack. That gives you adjustment range back without having to rebuild anything.
Then loosen the cable pinch bolt at the caliper or brake arm by a few turns. On a road caliper this is the bolt holding the cable at the caliper’s cable stop. Hold the arms so the pads are clear of the rim and free up the cable by hand — do not stretch the housing to do it, that just creates friction you will feel through the lever.
Step 3: Set Even Pad Clearance
Squeeze the lever to bring both pads near the rim, then set each pad roughly parallel to its braking surface with equal space top and bottom. Slip a business card between pad and rim and use it as a gauge.
The targets are small and specific. ENVE’s setup guide calls for 1 to 2mm between pad and rim. V-brakes conventionally sit at about 1mm, road calipers run further out at 2 to 3mm so the lever does not bottom out on the bars. Forum riders are largely agreed that most people run their pads far too close.
You do not need millimetre precision here. Even, free of the tyre, and clear of the rim wall is the whole job.
Step 4: Center Each Pad on the Rim
Each pad should sit squarely over the machined brake track, covering most of its width without running over the rim edge or hanging past the tyre sidewall. Look down at the pad from above: the top edge should be at the same height as the rim wall, not above it.
The top of the pad must never touch the tyre. A pad set too high will wear a hole in the sidewall, and you will not notice until the tyre fails.
On a modern Shimano cartridge pad system such as the R-series holders, the cartridge is fixed in the holder and you only swap the pad itself, so this step is skipped entirely on those brakes.
Step 5: Reconnect and Secure the Brake
Pull the cable taut with the pads at their correct gap, then tighten the cable pinch bolt firmly while holding the arm so it cannot move. Tighten the pad bolts until snug, then check by trying to twist the pad by hand: if it does not move, that is tight enough. Over-tightening only rounds the bolt head, and rounded bolt heads are the top question on r/bikewrench.
On V-brakes and cantilevers, balance the two arms with the spring balance screws at the pivots. Turn one side a quarter turn at a time, checking that the arm sits in the middle of its travel rather than at the end. If a screw is at the end of its range, add or remove a washer under the pivot bolt to move the balance point instead of forcing the screw.
One myth worth killing early: the quick release cam on a V-brake releases the arms so you can take the wheel out. It is a wheel release, not an alignment tool. Alignment happens at the pad bolt, the cable clamp and the barrel adjuster.
Step 6: Test Braking and Fine-Tune
Spin the wheel hard. It should spin freely with no audible rub and no visible wobble in the pad. If one pad rubs and the other does not, go back to centring rather than to the barrel adjuster — a barrel adjuster moves both pads at once.
Squeeze the lever. It should feel firm within about a third of the lever’s travel, not bottom out, and the wheel should stay put in the dropouts when you pull hard with the bike standing still. If the lever pulls the wheel forward, the pads are too close or the quick release is under-clamped.
Then ride. Most rubbing that appears only while pedalling is frame and fork flex, which is exactly why pads need a little clearance and a little toe-in. Squealing usually means either a glazed pad or no toe-in at all.
A quick pre-ride check riders call the 30/30/30 rule: squeeze both levers 30 times, spin each wheel 30 seconds, and check both tyre pressures are within 30 psi of each other. It takes a minute and catches a surprising amount.
Recheck the gap after your first ride and again after a few hundred kilometres, because new pads bed in and settle.
Common Mistakes
Most adjustment problems are one of a handful of things going wrong, so fix the cause rather than fighting the symptom.
- Pads angled to the rim — the pad face should sit parallel to the braking surface in side view. Loosen the pad bolt, square it up, retighten.
- Toe-out — the front edge of the pad sits further from the rim than the rear edge. This causes howl, poor braking and pad wear. It is worse than having no toe-in at all.
- No toe-in — aim for about 0.5mm of toe-in on a road caliper and up to 2mm on a cantilever or V-brake, measured by sliding a business card between pad and rim from front to back. The front should be slightly tighter. Some centrepull designs do not need toe-in; their pivots sit near the fork crown.
- Gap set by the quick release — move the pad position at the pad bolt and set cable tension at the pinch bolt. The cam releases the wheel.
- Lever bottoms out on the bars — back the barrel adjuster out to give pads more clearance, and check the lever reach is not turned in too far.
- Contamination — a fingerprint or a drop of chain oil on the pad or brake track reduces stopping power dramatically. Clean both with alcohol and grit the pad lightly, or replace it.
- Lubricant on the pad — never use it. It is the fastest way to make rim brakes useless.
- Over-tightened pad bolt — if it spins without gripping, stop. Put a strip of grip tape or a rubber band around the bolt head for grip and tighten slowly; if the threads are stripped, the bolt needs replacing.
- Spring balance screws maxed out — one arm sitting higher than the other is a washer problem, not a screw problem. See step 5.
Frequently Asked Questions
How do I know if my rim brake pads need adjusting?
Listen for rubbing or squealing while spinning the wheel, check that the wheel spins freely with no audible drag, and see whether the brake lever pulls to the bar before the wheel slows. Pads touching the tyre, rubbing only when you pedal, or a lever that bottoms out are all clear signals. If the pads are worn below the moulded wear line, adjust nothing and replace them instead.
Should rim brake pads touch the rim when the brake is released?
No. Released pads should sit clear of the braking surface so the wheel spins freely. Use a business card as a rough gauge: it should slide between pad and rim with a little resistance on a V-brake, with slightly more room on a road caliper. What you must never allow is pad-to-tyre contact, which will wear a hole in the tyre sidewall.
How do I center a rim brake pad on the wheel?
Loosen the pad bolt, squeeze the lever to bring the pad to the rim, and look down at it from above. The pad should sit fully within the machined brake track, level with the rim wall and centred side to side. Tighten the bolt only when the position holds, then confirm by twisting the pad by hand and checking the wheel still spins free.
What is the correct gap between rim brake pads and the rim?
Aim for 1 to 2mm on most cable rim brakes, per ENVE’s setup guidance. V-brakes are usually set nearer 1mm, while road calipers commonly run 2 to 3mm so the lever does not reach the handlebar. Clearance also needs to account for frame flex while pedalling, so err slightly further out rather than too close.
Why does my brake lever pull the wheel forward?
Usually the pads are set too close to the rim, or the quick release is not clamped firmly with the wheel properly seated in the dropouts. Increase clearance with the barrel adjuster at the lever, and check the wheel sits centred in the frame before tightening anything else. If the wheel creaks or the lever feels vague, the cable may be corroded inside its housing.
When should I replace rim brake pads instead of adjusting them?
Replace them when the friction material is worn below the moulded wear line, when the pad is cracked, glazed beyond cleaning, or contaminated with oil that will not come off, or when the pad holder is bent or cracked. No amount of adjustment will fix a worn pad, and a cartridge system makes replacement quick because only the pad changes, not the holder.
Start with the wheel. Confirm it is seated in the dropouts, then set the pad gap, then centre and toe-in, and only then touch the barrel adjuster for feel. Ten minutes in the stand, and your brakes will stay quiet and predictable for months.