Breaking in a new bicycle saddle takes riding miles, not a secret product. Fit it properly first, ride 30 to 60 minutes at an easy pace for the first few outings, then add roughly 15 to 20 percent more time each week. A foam or gel saddle usually settles in over 100 to 200 miles, while a stiff vegetable-tanned leather saddle can take 200 to 500 miles. If you searched for how to break in a new saddle and landed on talk of fenders and stirrups, this guide is about the bicycle kind.
There are two things happening at once and riders usually only notice one of them. The saddle is changing shape under you, and your body is learning a new position. Most of the discomfort in the first fortnight is the second half, not a material that has failed to soften.
Table of Contents
- What You Need
- How to Break In a New Saddle: Step-by-Step
- Check Your Fit Before the First Ride
- Begin With Short, Easy Rides
- Build Time Gradually
- Adjust Saddle Position as You Learn the Fit
- Use Pressure-Relief Techniques
- Confirm Comfort on a Long Ride
- Stop and Reassess if You Notice These
- Common Mistakes
- Frequently Asked Questions
- How long does it take to break in a new saddle?
- Should a new saddle feel uncomfortable during the break-in period?
- Do leather saddles take longer to break in than synthetic saddles?
- How do I know if my new saddle is the wrong size or shape?
- Can saddle soreness from a new saddle turn into a serious problem?
- Should I get a bike fit after changing saddles?
- Conclusion
What You Need
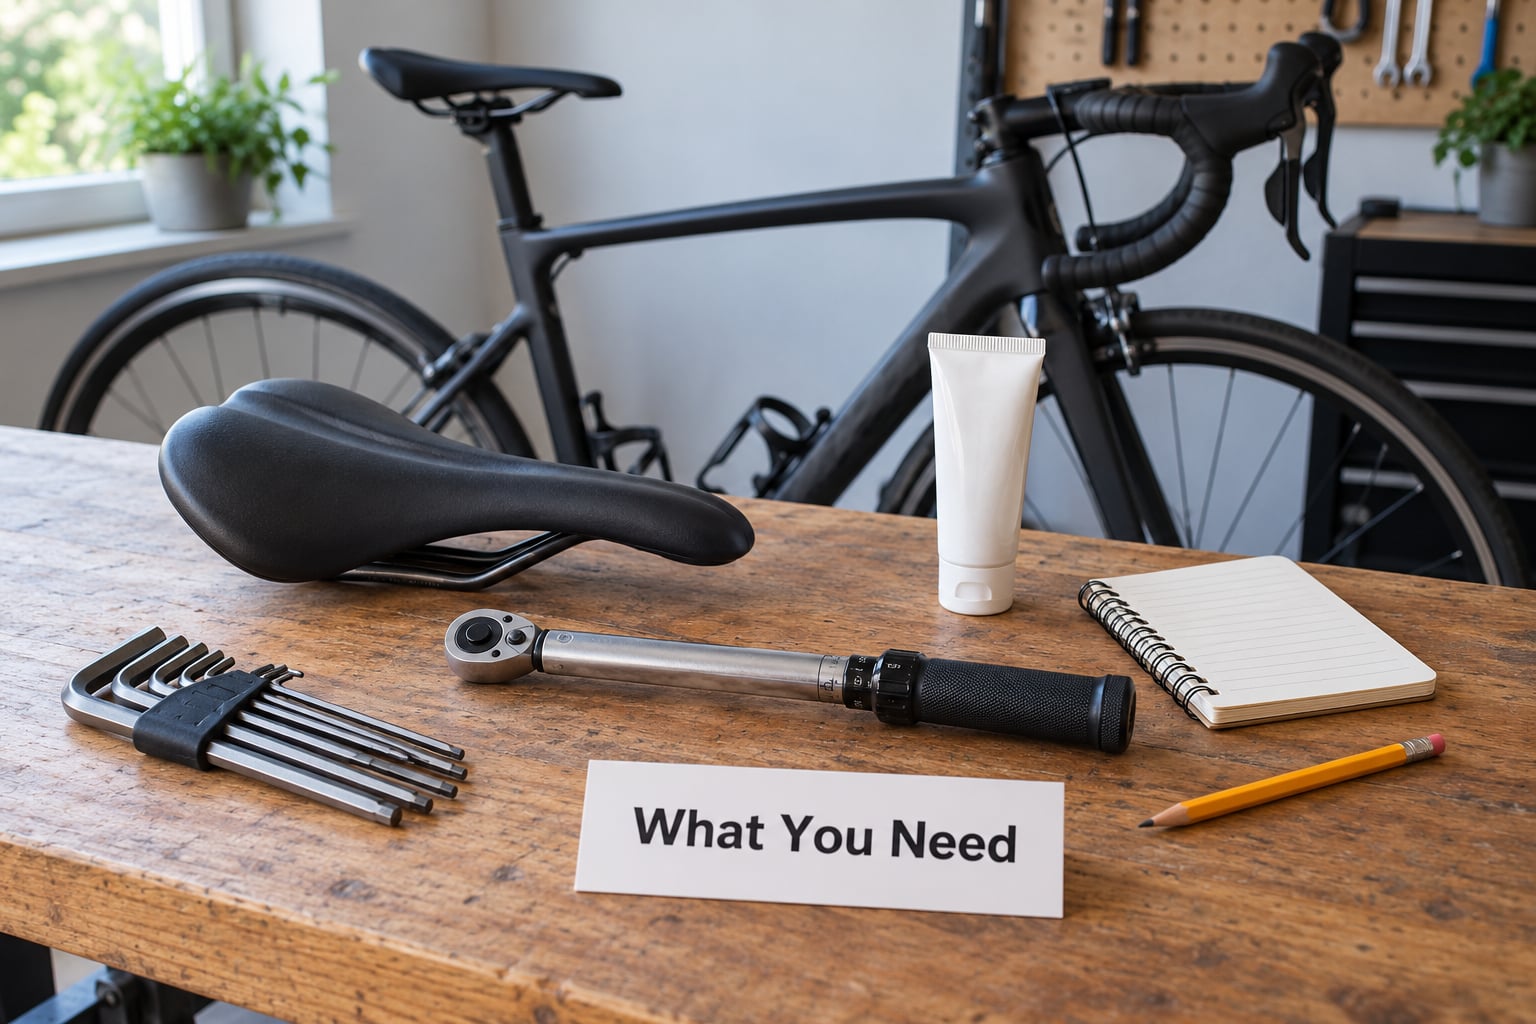
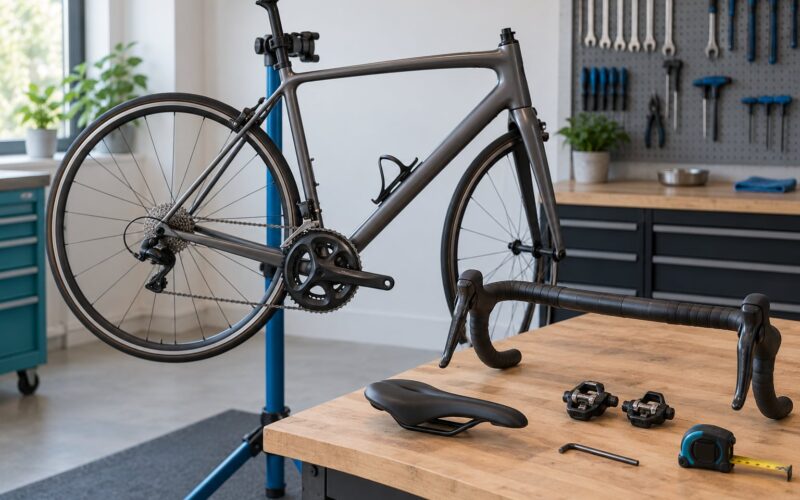
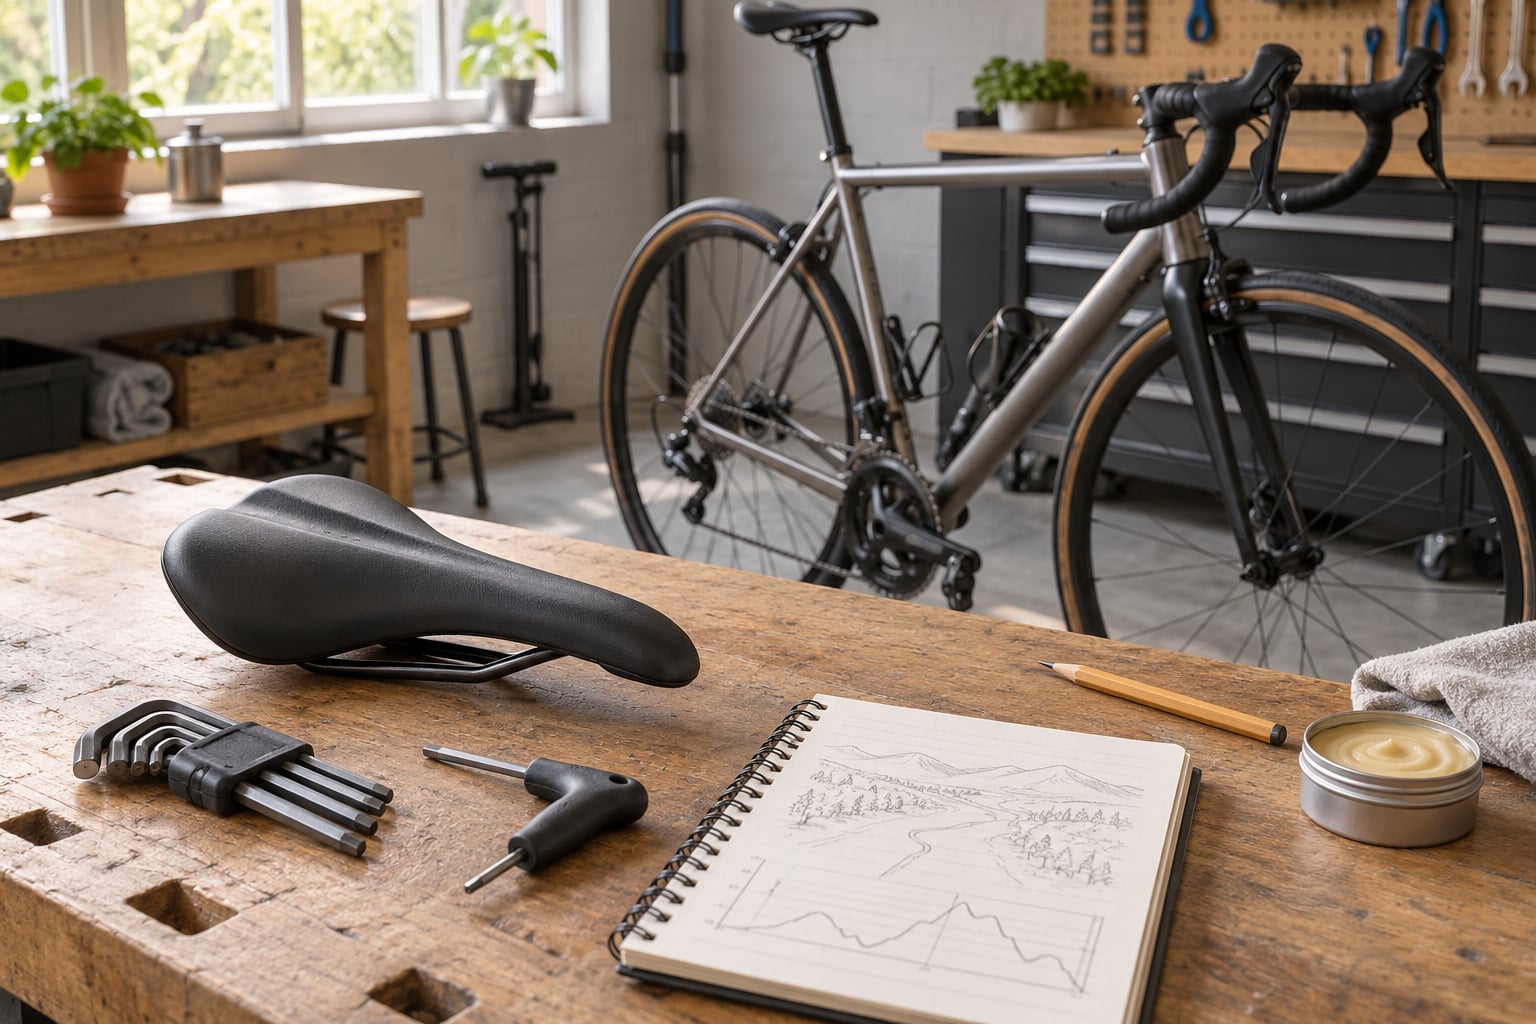
Before the first ride you want a bike that already fits, the new saddle in hand, and a way to mark and measure what you do. Working through the setup with the same tools you have used before is what keeps the experiment clean.
- A properly fitted bike. Change one thing at a time, and that means the saddle is the only new variable on a frame you already ride comfortably.
- The replacement saddle. Know its width in millimetres. Most riders measure somewhere around 100 to 140 mm across the sit bones, and a saddle much narrower than that is the most common cause of early sore days.
- A pencil or a fine marker to trace your current saddle position on the seatpost before you loosen anything.
- Torque-compatible tools. Allen keys, a hex driver that fits, and for a leather saddle with a tension bolt, a hex key small enough not to slip.
- Chamois cream or anti-chafing balm. Apply before every ride for the first month, not only before long ones.
- A ride log. A phone note is fine. Ride number, miles, minutes in the saddle, and a comfort score from 1 to 10 is enough to spot a trend.
How to Break In a New Saddle: Step-by-Step
Check Your Fit Before the First Ride
Mark your current saddle height and fore-aft setback before removing anything, then set the new saddle to those same numbers. Setting the new saddle to your old position is the honest baseline: if you tweak three variables at once, you will never know which one helped.
Check that the saddle is level by putting a spirit level or a phone on the flat top surface. A nose tilted even slightly upward pushes noticeably more pressure into the soft tissue between your legs, which is the area most likely to give you trouble. Set the height with a heel-to-pedal method: sit back, lock the heel on the pedal at the bottom of the stroke, and your leg should be almost straight with a small knee bend.
If the saddle feels narrow, move it back a fraction of an inch before you judge the shape. Small fore-aft shifts often fix a pressure point that looks like a fit problem.
Begin With Short, Easy Rides
Your first three or four rides should be 30 to 60 minutes at a conversational pace on flat roads close to home. Stay somewhere you can stop easily, because the point of the first rides is to notice your body, not to test the saddle. Do not take the new saddle on a century or a long hilly ride in week one.
Warm-up riding style matters more than anything else here. Sit back and stay upright rather than dropping into an aggressive position, because a forward position loads the perineum differently from the position the saddle was tested in.
Build Time Gradually
Increase ride duration by 15 to 20 percent per outing, not per week, and keep one easy ride in the week even as the harder ones get longer. Here is a workable four-week ramp for a road rider with three or four sessions a week.
| Week | Ride duration | Weekly distance | Terrain | What to expect |
|---|---|---|---|---|
| Week 1 | 30 to 45 minutes | 15 to 25 miles | Flat, near home | Noticeable awareness of the saddle, mild pressure points, no lasting soreness |
| Week 2 | 45 to 60 minutes | 30 to 40 miles | Flat with a couple of short climbs | Hard edges soften, standing occasionally starts to feel normal |
| Week 3 | 60 to 90 minutes | 45 to 60 miles | Rolling roads, one group ride if it is relaxed | Saddle feels settled, riding position feels familiar again |
| Week 4 | 90 to 120 minutes | 60 to 85 miles | Your normal weekend route | Comfort score stabilises and stops bouncing ride to ride |
Leather stretches on a longer clock. If your saddle is vegetable-tanned, expect the plan above to need six to twelve weeks before it feels genuinely broken in, and expect a visible imprint of your sit bones in the leather at around 100 miles. That imprint is the point, not a defect.
Adjust Saddle Position as You Learn the Fit
Make small changes in response to a specific symptom rather than general discomfort. A hot spot under one sit bone is usually width or fore-aft position. Feeling like you are sliding forward is a setback problem. Lower back ache on a long ride usually points at tilt or handlebar reach instead of the saddle itself.
Move in small increments, a quarter inch or a couple of degrees at a time, and give each change two or three rides before deciding. Riders who adjust on every ride never build a fair picture of what is working.
On a leather saddle with a tension bolt, check the tension after the first hundred miles or so, and make no more than a quarter turn at a time. Tightening a bolt hard enough to move the leather can pull the rails out of the leather and end the saddle’s life early.
Use Pressure-Relief Techniques
Breaking in is active work during the ride, not just time in the saddle. Stand and shift back weight every five to ten minutes on longer rides and on every climb. Vary your hand position on the drops, the hoods and the tops, which changes your torso angle and takes pressure off the same points.
Wear proper bib shorts with a decent chamois and skip the underwear. A waistband and two leg cuffs sitting under a saddle is a reliable way to create a hot spot that has nothing to do with the saddle breaking in. Apply chamois cream before every ride in the break-in period and again before any ride over two hours.
Take shorter recovery stops on long rides rather than one long stop. Standing for a minute and walking changes blood flow in exactly the area under pressure.
Confirm Comfort on a Long Ride
Your final test is a normal ride of 90 minutes or more on familiar roads. The saddle feels ready for regular long-distance riding when you stop thinking about it, when you can hold your position without shifting to get comfortable, and when you finish and feel nothing more than a normal post-ride ache.
Redness that fades within an hour or two of stopping is normal. If you get off the bike and the imprint is still there after a few hours, or the skin is tender to the touch the next day, you went too far on that ride.
Stop and Reassess if You Notice These
Some symptoms are never part of a normal break-in. Numbness in the perineal area, tingling that builds through a ride, sharp soft-tissue pain between your legs, pain that gets worse across a ride instead of better, or a saddle that rocks under you all point to fit rather than break-in. Stop riding on it and reassess the width, the tilt and the setback, or see a bike fitter or your GP if the numbness continues.
Riding a numb saddle for weeks is how temporary pressure turns into a months-long problem. This is general information rather than medical advice, and anyone with ongoing numbness, tingling or skin damage should get it checked rather than wait it out.
Common Mistakes
Riding out severe pain. The idea that a painful ride builds character is the single most damaging belief in this topic. Serious pain does not make a saddle mould faster.
Buying on looks and ignoring width. A saddle too narrow for your sit bones will never break in, no matter how many miles you spend on it. If you can measure your sit bone width on corrugated cardboard or aluminium foil at home, do it before you buy the next one.
Changing several variables at once. New saddle, new height, new handlebar drop and new saddle cream in the same month means none of them get a fair test.
Riding in thin shorts or loose trousers. Chafing will be blamed on the saddle and it is actually the fabric.
Ignoring numbness. Nerve compression is not toughness training. Treat it as a stop signal.
Oiling a new leather saddle hard to speed things up. A light coat of conditioner is reasonable before the first ride, and Brooks’ own care guidance is to not over treat the leather. Heavy early conditioning softens the fibres, the saddle sags, and you end up tightening the bolt constantly until the rails start to pull out. One thin coat, then leave it alone for months.
Wet-weather shortcuts. Do not soak a leather saddle, do not use heat to dry one, and never tension a wet leather saddle. Air it at room temperature. The same advice kills the old idea of moulding a saddle with hot water or wrapping it in plastic, both of which damage leather and do nothing for foam.
Making the first ride the hard one. Riders who want to get a saddle over with quickly usually end up abandoning it. Small and often beats one long test ride every time.
Frequently Asked Questions
How long does it take to break in a new saddle?
It depends on the material. A foam or gel saddle usually settles over 100 to 200 miles, roughly two to four weeks of regular riding. A vegetable-tanned leather saddle takes 200 to 500 miles, closer to two or three months. Short and frequent rides get you there faster than one long weekend effort, because what moulds a saddle is repeated pressure over time, not one long session.
Should a new saddle feel uncomfortable during the break-in period?
Some discomfort is normal and it should get easier ride by ride. Firm pressure on your sit bones for the first hour or two is the usual experience. What is not normal is sharp soft-tissue pain, numbness, tingling, or discomfort that is worse at the end of a ride than at the start. Those mean fit, not break-in, and no amount of extra riding will sort them.
Do leather saddles take longer to break in than synthetic saddles?
Yes, considerably. Leather is a solid material that compresses and takes a permanent set over time, so it gradually matches your sit bones and then holds that shape for years. Foam and gel compress quickly and feel comfortable sooner, but they also flatten and stop supporting your sit bones sooner. Choose based on how much long-term shape you want rather than how the first week feels.
How do I know if my new saddle is the wrong size or shape?
A fit problem announces itself quickly. If the discomfort is concentrated between your legs rather than on your sit bones, the saddle is probably too narrow. If you keep sliding forward or backward, the fore-aft position is off. If it rocks, the rails or clamp need attention. Give any new saddle three or four rides totalling six to eight hours before deciding, and adjust or return it after that.
Can saddle soreness from a new saddle turn into a serious problem?
It can, and that is why early warning signs matter. Repeated pressure on soft tissue can cause bruising, broken skin and swelling that takes far longer than the saddle itself to resolve. Numbness or tingling during a ride should end the ride and prompt a fit check. If skin is broken, or numbness continues after a rest, see a healthcare professional rather than riding through it.
Should I get a bike fit after changing saddles?
Not always, but it is worth it if the saddle is a different width or shape from your old one, or if discomfort shows up in your lower back, knees or hands. A saddle swap that changes your effective position can change everything above it too. If your old saddle was well fitted and the new one is the same shape and width, a careful self-check of height, level and setback is usually enough.
Conclusion
Start with the part people skip: set the new saddle to your old height, level and fore-aft position, then confirm the width suits your sit bones. Take the first rides short and easy, add 15 to 20 percent more time each outing, and log how each one felt.
Most saddles are fine once you give them the miles. The ones that are not usually tell you early, through numbness or soft-tissue pain rather than through the gentle firmness that a healthy break-in feels like. Ride those miles, and if something feels wrong, change the setup instead of your expectations.