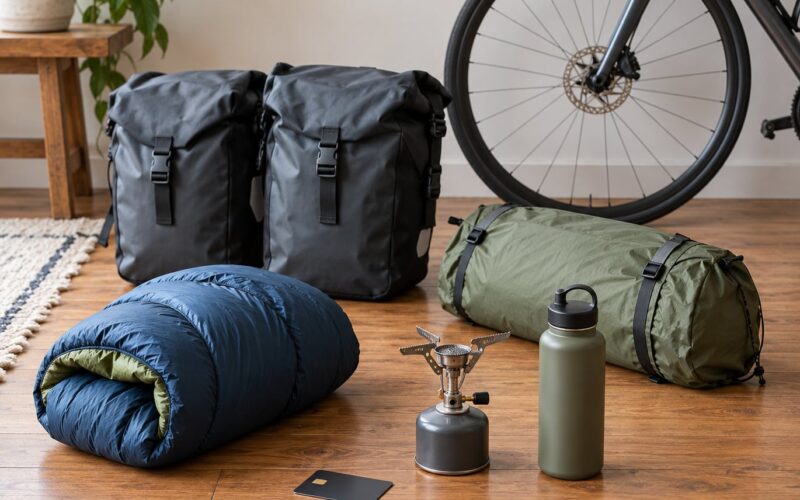
The short answer: carry gear on a long bike ride by putting your heaviest, densest items low and between the axles, light bulky items high and at the ends, and the things you need mid-ride in a top tube bag. Panniers, bikepacking bags, or a backpack plus jersey pockets all work fine. The load decides how the bike handles, not the bag.
Before anything else, settle one question, because it changes the whole list. Are you riding a long day from home and coming back tonight, or are you sleeping out for a few nights? A self-supported century needs a repair kit, spare tube, extra food, a rain shell and lights. A three-day trip adds a shelter, a sleep system, cook kit and food for 72 hours. Riders routinely overpack because they use a week-long list for a day ride.
This guide covers both, with a clear split. It was built for club riders and anyone riding a double century on a road bike with no rack and no idea where to start.
Table of Contents
- What You Need
- Ride essentials
- Repair supplies
- Clothing
- Food and hydration
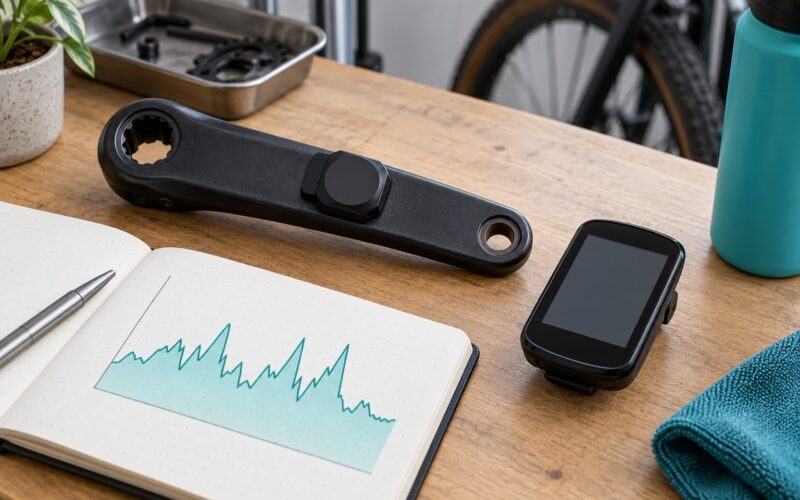
- Navigation and electronics
- Personal and safety items
- Choosing a bag or container
- Step-by-Step: How to Carry Gear on a Long Bike Ride
- 1. How to Choose the Right Carrying System
- 2. How to Carry Gear Without a Rack or Mounting Points
- 3. Pack Light and Organize by Need
- 4. Distribute and Secure the Weight
- 5. Plan for Food, Water, and Weather
- 6. Test the Setup Before the Long Ride
- 7. Common Mistakes While Packing
- Common Mistakes and Quick Fixes
- Frequently Asked Questions
- What is the best way to carry gear on a long bike ride?
- Should I use a seat pack or a backpack for a century ride?
- How much gear should I carry for a double century?
- Where should heavy items be placed in bike bags?
- How do I carry tools, a spare tube, and a pump on a road bike?
- How do I keep food and water accessible without making my bike unstable?
- Where to Start: the First Hour of Packing
What You Need
Pick your gear before you pick your bags, and pick the smallest set that covers the worst realistic conditions on the route. Check the forecast, look for resupply points, note the longest gap between them, and only then start choosing.
Ride essentials
Phone, wallet or cash, keys, ID, a bike computer or phone mount, and a small bell if your local law wants one. These go on your body or in reach, never buried.
Repair supplies
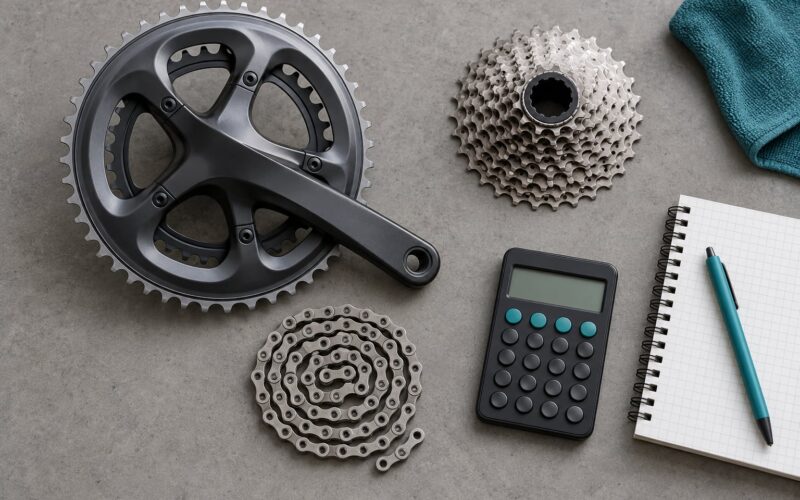
A multi-tool with a chain breaker, a mini pump or shock pump, tyre levers, a spare tube or tubeless plugs with a valve core tool, a master link or quick link, a small tube of chain lube, and for tubeless riders a bottle of sealant. Riders regularly carry two quick links, because a bent or broken link at mile 70 ends the ride.
Clothing
Wear your layers rather than packing most of them. For a long day ride that means a base layer, a windproof vest or jacket, and gloves. Add a spare pair of socks if the route has gravel or water crossings, and nothing heavier unless the temperature genuinely drops.
Food and hydration
Rice or oat bars, dates or dried fruit, a couple of gels or chews, and enough drink for the distance between refill points plus a reserve. A full standard bottle weighs roughly 500 g, so two bottles already add a kilo to a setup. Plan refills rather than carrying the whole day at once.
Navigation and electronics
A phone with offline maps downloaded, a power bank, and a light with a fresh battery. Route files on a bike computer beat bars of signal. On remote routes, a satellite messenger is a heavier insurance policy most long day riders skip.
Personal and safety items
A small first aid kit, toiletries for a whole day, sunscreen, a small towel, and identification. A hundred-rider event usually has a support crew; a solo century does not.
Choosing a bag or container
Judge any carrying system on four things: capacity for your list, empty weight, how the weight sits on the bike, and whether you can reach things without unpacking. Ignore capacity you will not fill. A 20-litre handlebar bag that you stuff with 3 kilos of food makes descents unpleasant.
| Ride type | What to carry | Typical total load | Bags that suit it |
|---|---|---|---|
| Long day ride (100-160 km) | Tools, spares, food, layers, lights, water | 3-6 kg including water | Backpack, saddle bag, top tube bag |
| Double century (200 km plus) | All of the above plus more food, spare socks, bigger battery | 6-10 kg including water | Backpack plus seat pack, or two panniers |
| One-night overnight | Day kit plus shelter, sleep system, headtorch, cook kit | 9-14 kg | Handlebar bag, saddle bag, frame bag, top tube bag |
| Multi-day, resupply every day | Shelter, sleep kit, clothing, repair kit, smaller food load | 10-16 kg | Panniers and rack pack, or a full bikepacking set |
Step-by-Step: How to Carry Gear on a Long Bike Ride
1. How to Choose the Right Carrying System
Three systems cover almost everything: rack panniers, soft bikepacking bags, and a backpack with jersey pockets. Pick the one that matches the trip length, the bike and how much weight you actually need to haul.
Panniers and a rack pack swing to the side, hold the most volume of anything, and suit heavy loads on an upright bike. The trade-off is ground clearance on rough roads and the side-to-side sway riders report on anything loose. Pack them with the weight close to the frame and buckle the rack so nothing can pivot.
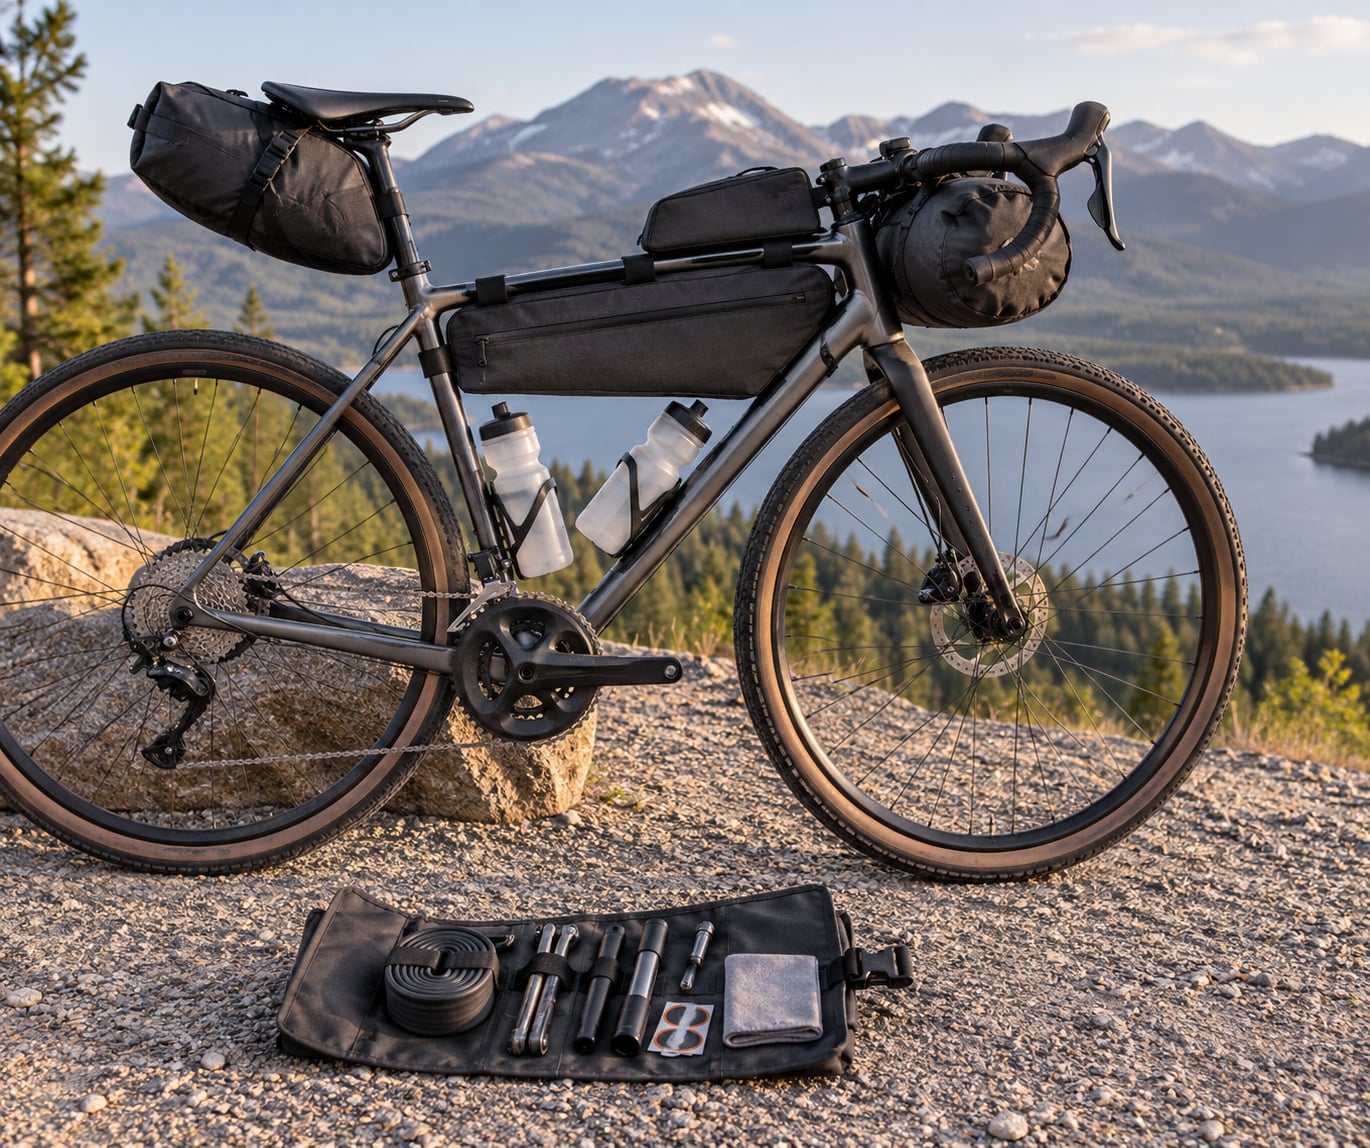
Bikepacking bags attach to the frame, bars and saddle. A handlebar bag or roll takes light bulky items, a frame bag takes dense heavy ones, and a seat pack under the saddle holds sleeping kit. Low, central and quiet, which is why most long-distance riders end up here.
A backpack and jersey pockets is the most underrated option for a long day ride. Nothing to install, no rack needed on a road bike, and you can hand-carry a box onto a train. It costs you some back and shoulder comfort over ten hours, and sweat sits on everything inside it.
| System | Capacity | Empty weight | Handling effect | Best for |
|---|---|---|---|---|
| Top tube bag | 0.3-1 L | 60-120 g | None if it sits clear of the cables | Snacks, tubes, phone, keys |
| Backpack | 15-30 L | 400-900 g | On the rider, not the bike | Long day rides with no rack |
| Saddle bag | 4-15 L | 150-350 g | Sways unless it is strapped high and tight | Light bulky kit, spares |
| Handlebar bag | 3-12 L | 200-500 g | Heavier steering, cable rub | Jersey, insulation, cook kit |
| Rack panniers | 15-40 L | 700-1800 g | Side sway, needs clearance | Heavy multi-day loads |
| Frame bag | 2-6 L | 150-400 g | Best of all, low and central | Tools, cook kit, dense gear |
Two rules decide the rest. Keep handlebar and roof loads light, because weight up there makes steering heavier and vaguer on rough, twisty tarmac. And keep saddle bag weight similar to handlebar weight; a lopsided bike weaves on descents.
2. How to Carry Gear Without a Rack or Mounting Points
Road bikes without rack mounts and bosses are not stuck. A backpack handles a full day-ride load on its own, and the rest of the trick is knowing where things sit.
A top tube bag is the best upgrade for a road bike, bolted to the tube between the headset and the seat tube. Keep it short of the cables and the bar, or it will rub every time you turn. Strap-on rolls, a corkboard-style frame carrier under the bottle cage, and a bar bag mounted on a strap all work.
Use jersey pockets for the things you need at a light: a tube, a pair of gloves, a bar. Weight in a jersey pocket is noticeable in crosswinds, so keep it under roughly 300 g. A backpack handles the rest, with the water bottles in the frame cages and the repair kit in a bag that opens without unpacking the top.
Forum riders make the same point on r/bikepacking and r/bicycletouring: a small saddle bag or a strap-on roll plus a top tube bag covers more than most people think they need. Borrow one for a long ride before buying anything.
3. Pack Light and Organize by Need
Overpacking is the single most common complaint in cycling forums. People carry far more than they use, then lose track of what is in which bag, which is the exact problem that shows up at 6 a.m. in the rain.
Start with your list on paper, then walk your bike and ask for each item: do I actually need two of these, or one? Drop the second pair of shoes, the full tool set, the coffee grinder, the second stove. For a day ride, the honest list is short enough to recite from memory.
Group items by job, not by bag: everything repair-related in one pouch, all food in one place, all electronics together. Then use small stuff sacks or packing cubes so a single pouch comes out intact. Fragile items such as a bike computer or a light get a layer of clothing wrapped around them. Nothing loose at the bottom of a bag, because nothing stays at the bottom of a bag.
Keep what you reach for at the top: snacks, tube, phone, cash. Tuck the rest underneath. If you find yourself unpacking a handlebar bag to find a tube, the packing is wrong.
4. Distribute and Secure the Weight
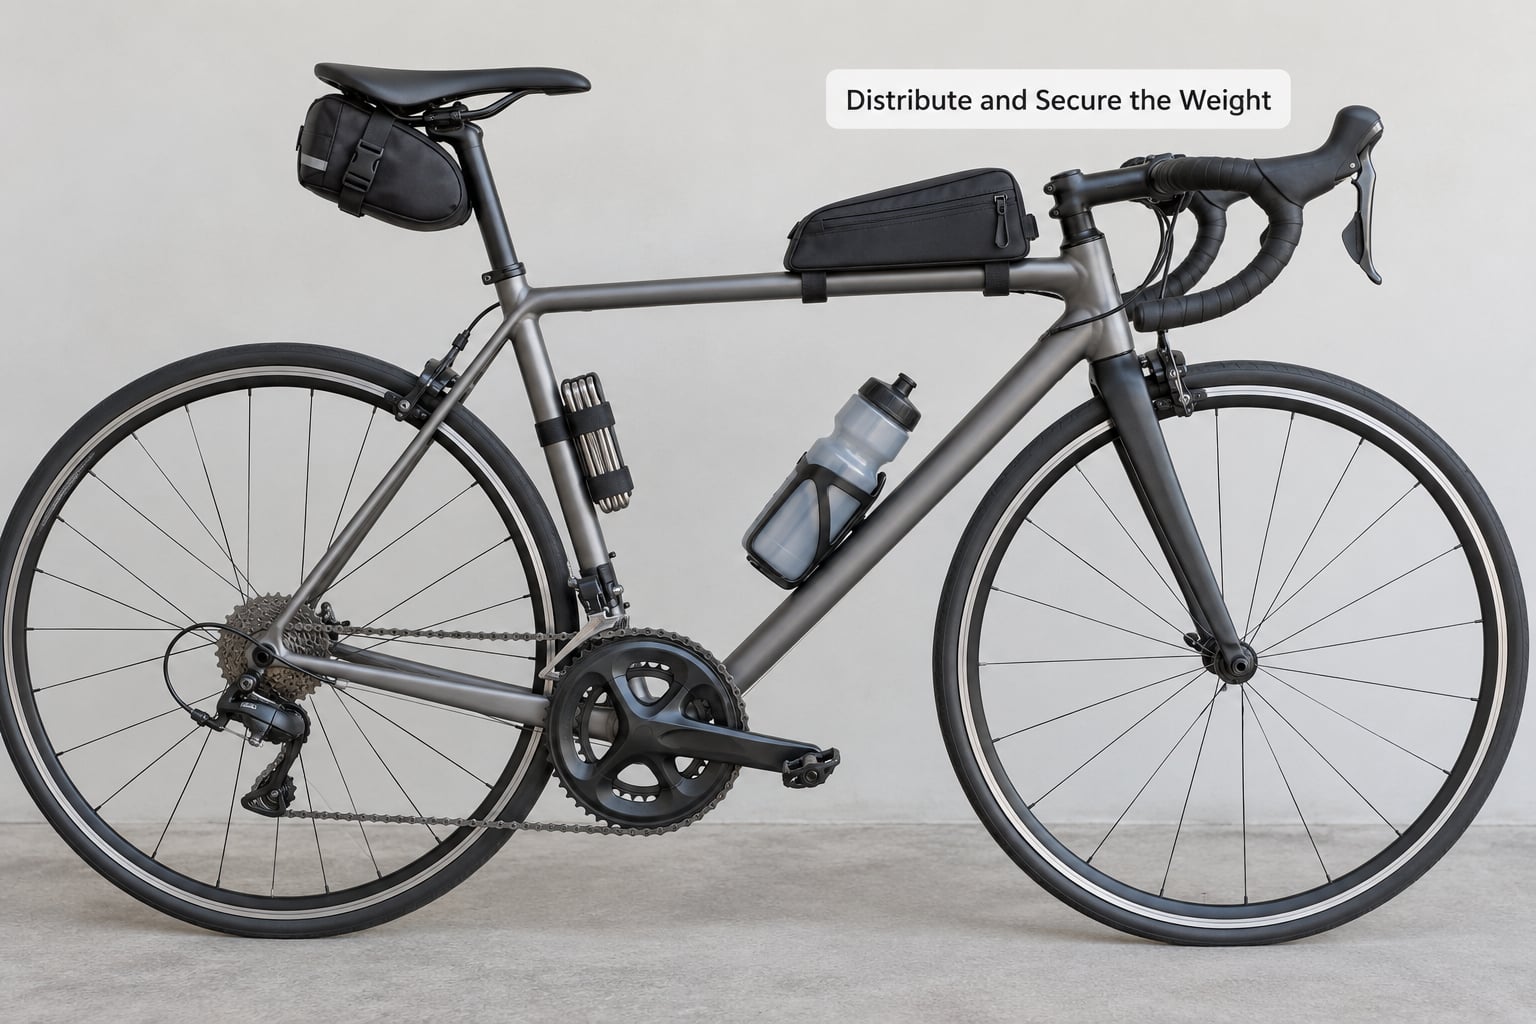
Here is the governing principle, and it is worth learning by heart: heavy items go low and between the axles, light bulky items go high and at the ends. Weight low and central is what keeps a loaded bike calm.
Water, cook kit, tools and camera bodies belong in the frame bag, low in the frame triangle. Sleeping bag, shelter and insulation go in the handlebar bag or high in a seat pack. A heavy item low in a saddle bag still works, but only if the bag sits close to the seat post, so check how far back it hangs before you commit to it.
Then secure it. Cinch every strap so the load cannot shift, including the compression straps on a roll-top bag. An overstuffed bag puts strain on zips and seams, and zips fail on a road with no bike shop for 60 km. If a bag sways when you rock the bike side to side, tighten it or move weight forward.
Two checks catch most problems. Lift the bike by the saddle and see whether it sits level, and watch the front wheel while walking the bike. If the bars feel vague or the front wheel dips, something up front is too heavy. On a loaded bike, a heavy handlebar bag is the single biggest cause of vague steering and bad cornering, because it lengthens and stiffens the steering geometry.
5. Plan for Food, Water, and Weather
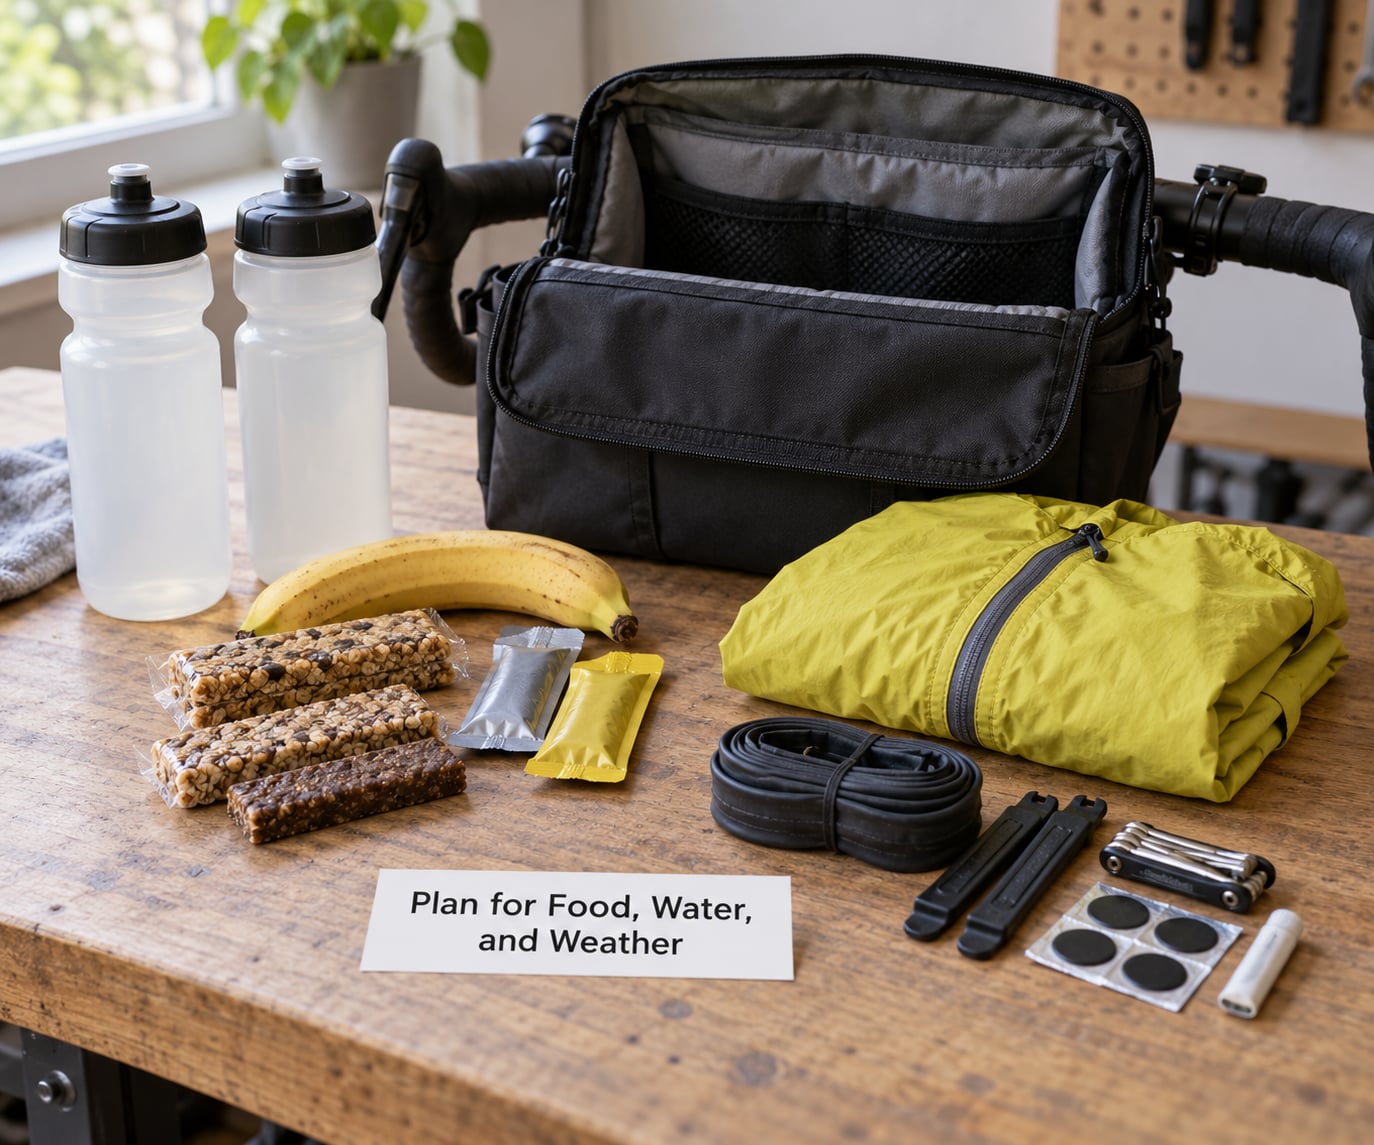
Water is the heaviest thing most riders carry and the easiest to plan around. Two full bottles is roughly a kilo, so map your refill points and ride between them. A standard bottle holds about 500 g when full, and a refill every 40-60 km beats carrying four bottles.
Keep one emergency reserve you do not plan to drink, in case a resupply tap is off or the route runs long. In heat, plan refills for every 30 km and add electrolytes to the food rather than the bottle.
For food, eat something every 30-40 km rather than one big stop at mile 90. Bars, dates and chews ride best, and a wrapped sandwich turns into a liability on a warm day. Keep the day’s food in one pouch with a zip so you are not digging for it.
For weather, carry a packable rain shell and put it where you can reach it without opening a bag. Once it rains, your frame bag is the first thing a rider is asked to open while traffic goes past. On a cold trip, dry bags for your sleeping kit inside a pannier, since a wet sleep system ruins a trip faster than a cold one. Add a dry bag for electronics in heavy rain.
6. Test the Setup Before the Long Ride
Do not try camping gear for the first time on night one. A shakedown ride of 60-90 minutes with the full load tells you nearly everything, and it should include one decent climb and one rough or gravel section.
On that ride check five things: every strap and bolt for tension, whether the saddle bag or panniers sway over bumps, whether you can reach food and tubes without stopping, whether the bike tracks straight, and whether your shoulders and lower back stay comfortable once you are properly loaded. Add a brisk 20-minute stint at speed to see whether anything flaps or shifts under load.
Check the load again after 20 km on the real ride. Compression sacks settle, straps loosen, and bottles that were full are half empty. Tightening two straps at a stop takes a minute and prevents most of the wobble riders report on long rides.
7. Common Mistakes While Packing
Five failures account for most unhappy long rides, and each has a quick fix.
Carrying too much. If a bag has slack when zipped, you are carrying weight you will not use. Take it out and re-test the ride.
Heavy items high or at the front. That is steering weight. Move it to the frame bag or low in a seat pack.
Straps loose, bags unsecured. Nothing should be able to move when you rock the bike.
Items buried. Move them up. If you cannot find your tube in the dark, repack the bag.
No test ride. A short loaded ride before the real one prevents nearly all of this list.
Common Mistakes and Quick Fixes
Packaging problems and riding problems are usually the same problem seen from two sides. These are the ones riders actually hit, and what to do about each.
| Problem | What it feels like | Quick fix |
|---|---|---|
| Overpacking | Heavy bike, zips under strain, items unused | Halve the list, ride again, cut what stays unused |
| Heavy handlebar load | Vague steering, slow direction changes | Move dense items to the frame bag, keep bars light |
| Uneven weight | Side-to-side sway, weave in corners | Balance bag weights left to right and front to back |
| Loose straps | Flapping on descents, rattle, bounce | Cinch everything, then re-check at 20 km |
| No rain or night layer | Cold, wet, hard to see after dark | Pack a shell and lights in an outer pocket |
| No shakedown ride | Bag rub, saddle sore, shifting load discovered on the route | 60-90 minutes loaded, including a climb and rough surface |
| Missing repair kit | Stranded after a puncture | Tubes or plugs, pump, levers, multi-tool, quick links |
How you adapt the system depends on the ride. Shorten the load for a hut-to-hut route where food and shelter are bought, and extend it for a resupply-free route. Gravel and off-road surfaces need low, tight loads and no bags hanging off the bars. Hot desert routes need more water capacity and less clothing; cold spring routes need the opposite. Riders carrying more body weight, or anyone riding a smaller frame, usually get a better result with a backpack than with low, tight frame bags, because the load rides on the rider’s centre of mass.
Riders on bikes with no mounting points are not left out: a backpack, a top tube bag and a bar bag cover the same ground as a full bikepacking setup for a day ride.
Frequently Asked Questions
What is the best way to carry gear on a long bike ride?
Keep weight low and between the axles, heavy and dense items in a frame bag or low in a saddle bag, light bulky items such as shelter and insulation high in a handlebar bag, and snacks, tube and phone in a top tube bag. For a self-supported day ride, a backpack plus a top tube bag beats a full bikepacking setup on a road bike. For multi-day, add a handlebar bag and a seat pack and strap both down tight.
Should I use a seat pack or a backpack for a century ride?
A backpack wins for a century, because you need under about 5 kg and the load rides on your body rather than adding sway to the bike. A seat pack suits a rider who prefers to keep weight off their back and is also adding camping kit, but it needs tight straps and balanced weight or it moves side to side. Many riders use both, with the heavy items in the seat pack and light items up top.
How much gear should I carry for a double century?
Budget roughly 6 to 10 kg including water for a 200 km plus ride, and assume you do not need a shelter or sleep system. Water alone is about a kilo, so plan refills rather than carrying the day at once. Add more food, a spare pair of socks, a larger power bank and a second light for darkness at either end. Test the full load on a longer shake-down ride first.
Where should heavy items be placed in bike bags?
Low and between the axles, which means the frame bag, the lower half of a seat pack, and panniers hung close to the frame. Water, cook kit, tools and cameras belong there. Keep the handlebar bag, roof rack and top of the saddle bag for light bulky items such as a sleeping bag, jacket and shelter, because weight up high makes steering heavier and vaguer.
How do I carry tools, a spare tube, and a pump on a road bike?
Without a rack, use a top tube bag for the tube, tyre levers and a multi-tool, a bar bag or small saddle bag for the mini pump, and a quick link if you run a derailleur. Tubeless riders carry plugs and a valve core tool plus a small bottle of sealant instead of a tube. Add a rag, a little chain lube and a cash card for a taxi or a spare tube if nothing else works.
How do I keep food and water accessible without making my bike unstable?
Water goes in the frame cages where it adds no stability problem, and you refill every 40 to 60 km rather than carrying the whole day. Food rides in one small pouch in a top tube bag or the outer pocket of a handlebar bag, with short, dense items so nothing swings. Keep bars, dates and chews in date order, use one for every 30 to 40 km, and leave room for a second refill of water capacity if the route is hot.
Where to Start: the First Hour of Packing
Do one thing first: write the shortest list that covers a puncture, a flat meal, a dark finish and a broken chain. Then put the heavy stuff low and central, keep the bars light, and ride the setup for an hour before you ride it for ten.