A bike computer does three jobs for navigation: it works out where you are, compares that position against a route you loaded onto it beforehand, then tells you when to turn and warns you when you stray off the line. Set it up in that order — charge, update, mount, download, plan, transfer, start — and the whole thing takes about twenty minutes. Once a route is saved on the device you never need your phone again on the bike.
Exact menu names differ between Garmin, Wahoo, Hammerhead and the cheaper generic units, so I have kept the steps brand-agnostic and added a quick reference further down for the main platforms. What matters is the sequence, not the button labels.
Table of Contents
- What You Need
- Terms you will meet on the way
- How to Use a Bike Computer for Navigation: Step by Step
- Step 1: Charge and Update the Bike Computer
- Step 2: Mount the Computer So You Can Glance Down Safely
- Step 3: Set the Display and Units
- Step 4: Download Maps or Route Data
- Step 5: Create and Transfer a Route
- Step 6: Start Turn-by-Turn Navigation
- Step 7: Read the Prompts: How to Use a Bike Computer for Navigation at Speed
- Step 8: Save the Ride and Plan for Failures
- Common Mistakes That Break Navigation
- Where Each Brand Keeps the Navigation Menu
- Bike Computer vs Your Phone: Which Should You Navigate With?
- Road, Gravel or MTB: Does the Setup Change?
- Frequently Asked Questions
- Can I use a bike computer for navigation without my phone?
- Should I use a bike computer or my phone for navigation?
- How do I download a route onto a bike computer?
- Why is my bike computer giving me the wrong location?
- My bike computer keeps saying off course — what should I do?
- Conclusion
What You Need
You need the computer itself, a mount that fits your handlebar or stem, and the charging cable or dock that came with it. A phone or desktop computer is needed to plan and transfer routes, but only before the ride, never during it.
- Bike computer with GNSS (GPS) and enough internal storage for map regions.
- Mount — a handlebar or out-front mount, plus the two bolts or strap that fix it. Check the bar diameter matches the clamp.
- Charging cable or dock — the proprietary one from the manufacturer, not a phone cable.
- Smartphone or computer running the manufacturer’s companion app, signed in to your account.
- Route data — either offline map regions for the area you are riding, or a GPX file for the specific route.
Some brands also ship a bar-end remote or a mount with a computer cradle for your phone. Neither is needed for navigation.
Terms you will meet on the way
- GPX — the near-universal route file format. If a route planner lets you download a file, download the GPX version.
- Course or route — Garmin usually says “course”, Wahoo says “route”, generic units say “track”. Same thing: a stored line you follow.
- Breadcrumb navigation — following the recorded line directly, with no street names or turn list. Common on MTB and gravel devices.
- Track-up vs north-up — whether the map rotates so your direction is always at the top, or stays fixed to north. Track-up is easier to read while riding.
- Off-course alert — the warning that fires when your position drifts more than a set distance from the stored line.
How to Use a Bike Computer for Navigation: Step by Step
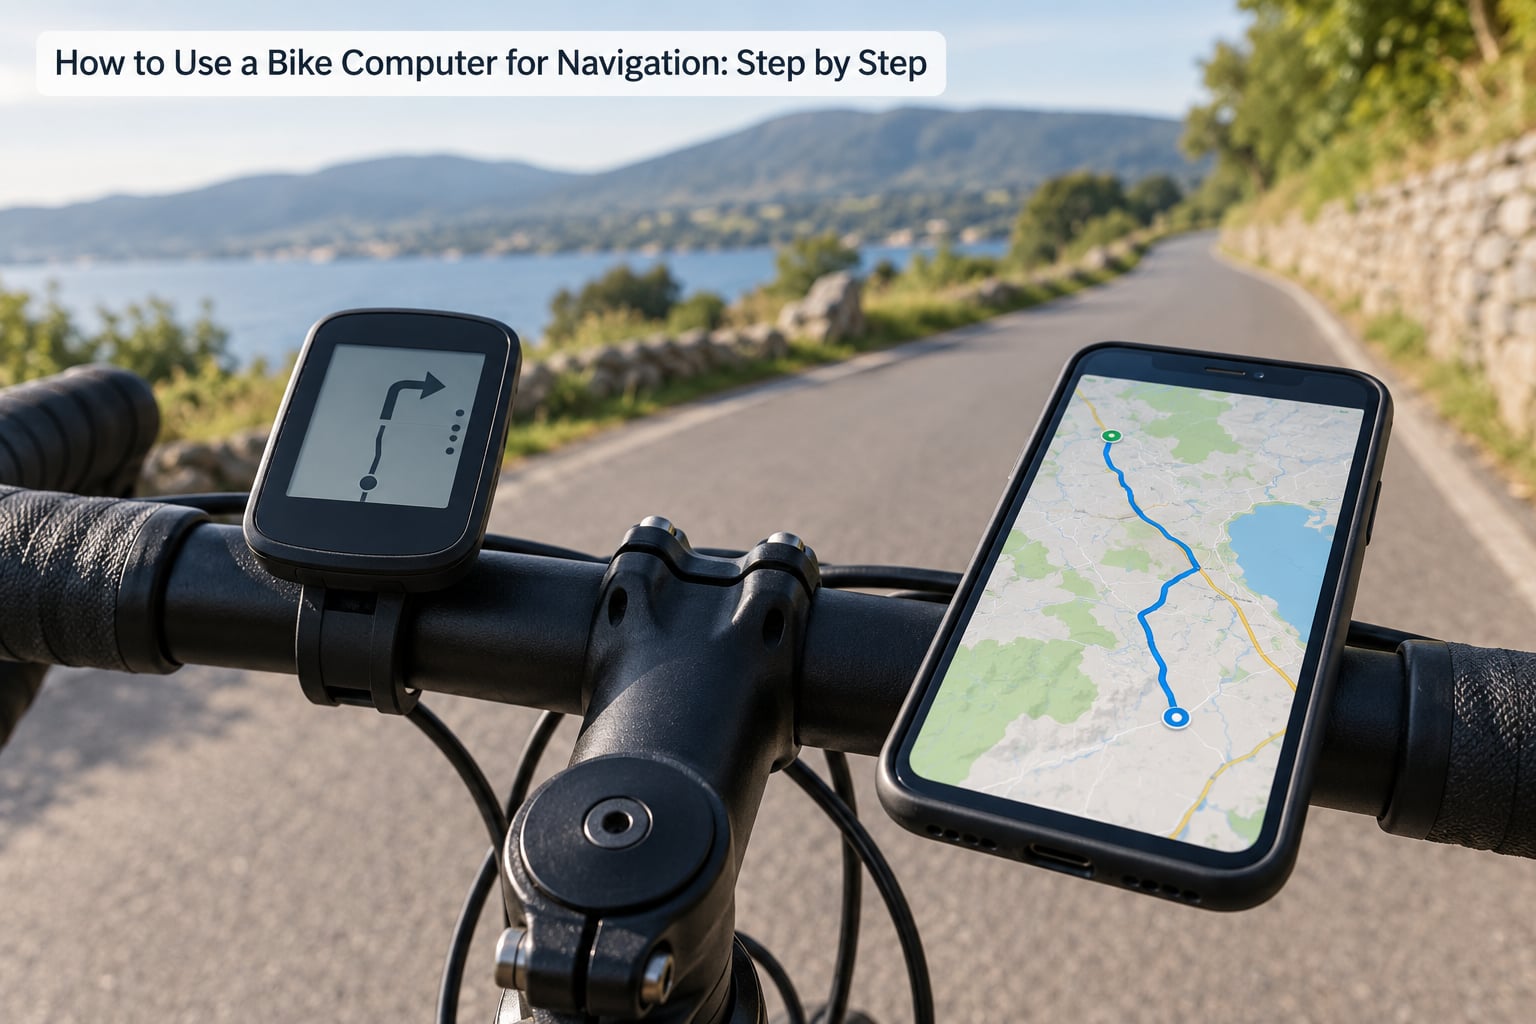
The order below matters. Each step assumes the one before it is done, so a half-finished setup usually means something was skipped — nearly always the map download or the route transfer.
Step 1: Charge and Update the Bike Computer
Charge the unit fully before you rely on it. A cold start with a half-empty battery gives you poor GPS acquisition and a short ride, and riders who panic about flat batteries end up carrying their phone anyway.
- Install the manufacturer’s companion app — Garmin Connect, the Wahoo ELEMNT or BOLT app, Hammerhead’s companion app, or the app listed in the manual.
- Sign in and let the app detect the device over Bluetooth or the USB connection.
- Run any pending firmware update. It is often quicker than it sounds and worth doing on Wi-Fi.
- Check for a map or software update in the same app, then let it finish and keep the device plugged in until it reboots.
You know it worked when the device boots back up and the app shows the current software version rather than an update prompt. Do this the evening before a ride, not at the roadside.
Step 2: Mount the Computer So You Can Glance Down Safely
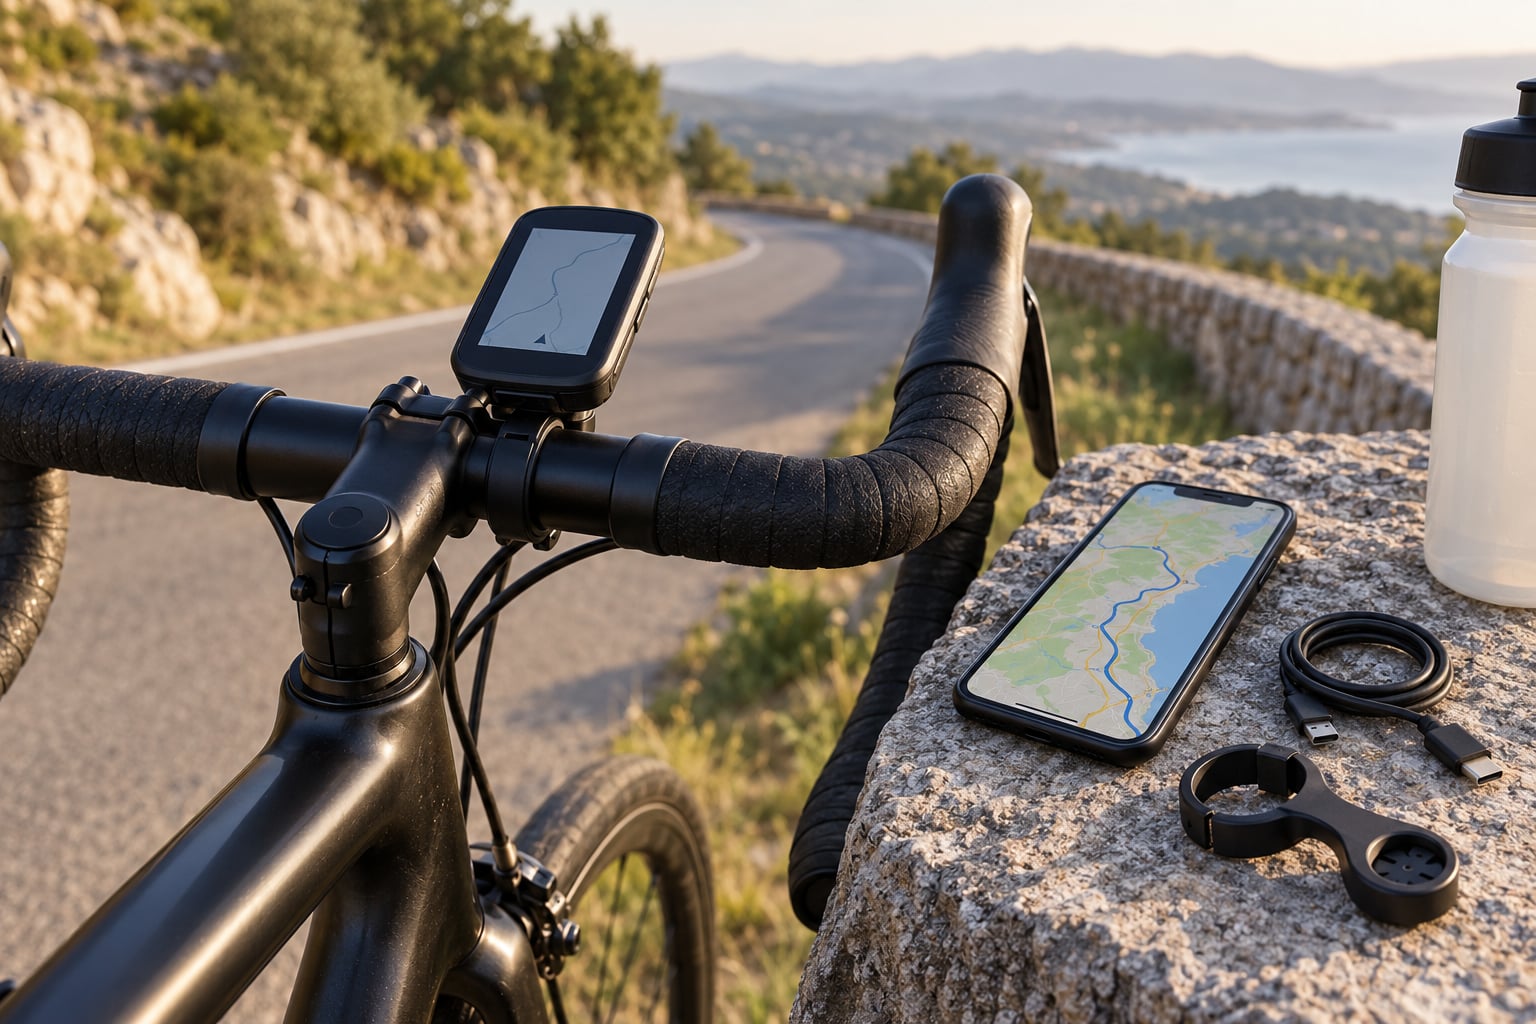
Mount it on the stem for a straight-ahead glance, or on the handlebar just behind the bar tape so you can see it by dropping your eyes. Either works; the out-front position is easier to read, the behind-the-bar position is neater with integrated bars.
- Tighten the bolts in small increments so the face sits square and level. A computer tilted a few degrees reads badly in sunlight.
- Check it cannot rotate when you turn the bars — grab it and rock the bike.
- Leave a fingertip’s gap between the mount and any accessory so you can reach the cable without moving it.
- Make sure the mount does not sit in front of a brake lever or cable where a bump could snag it.
Set the angle so the screen faces your eyes when your hands are on the drops or the hoods. This is the single cheapest fix for a computer you keep twisting to read.
Step 3: Set the Display and Units
Set the things you will actually look at while riding, then leave the rest alone. Menu labels vary by device and firmware, so look for the equivalent setting rather than the exact wording.
- Distance and speed units — miles or kilometres, and whether speed shows as mph or km/h. Decide once; mixed units mid-ride are genuinely confusing.
- Time format — 12 or 24 hour, and whether elevation is in feet or metres.
- Brightness and auto-sleep — set a mid-range backlight for daylight and switch on auto-sleep so the screen wakes when you move or press a button.
- Map orientation — choose track-up for riding, north-up if you are stopping often and studying a map.
- Alerts — turn alerts and off-course alerts, with vibration if the device supports it. Vibration is easier to feel than to hear in traffic.
Lastly, put the fields you care about on the navigation page: next turn prompt, distance to next turn, remaining distance, and current speed. Everything else can live on other pages.
Step 4: Download Maps or Route Data
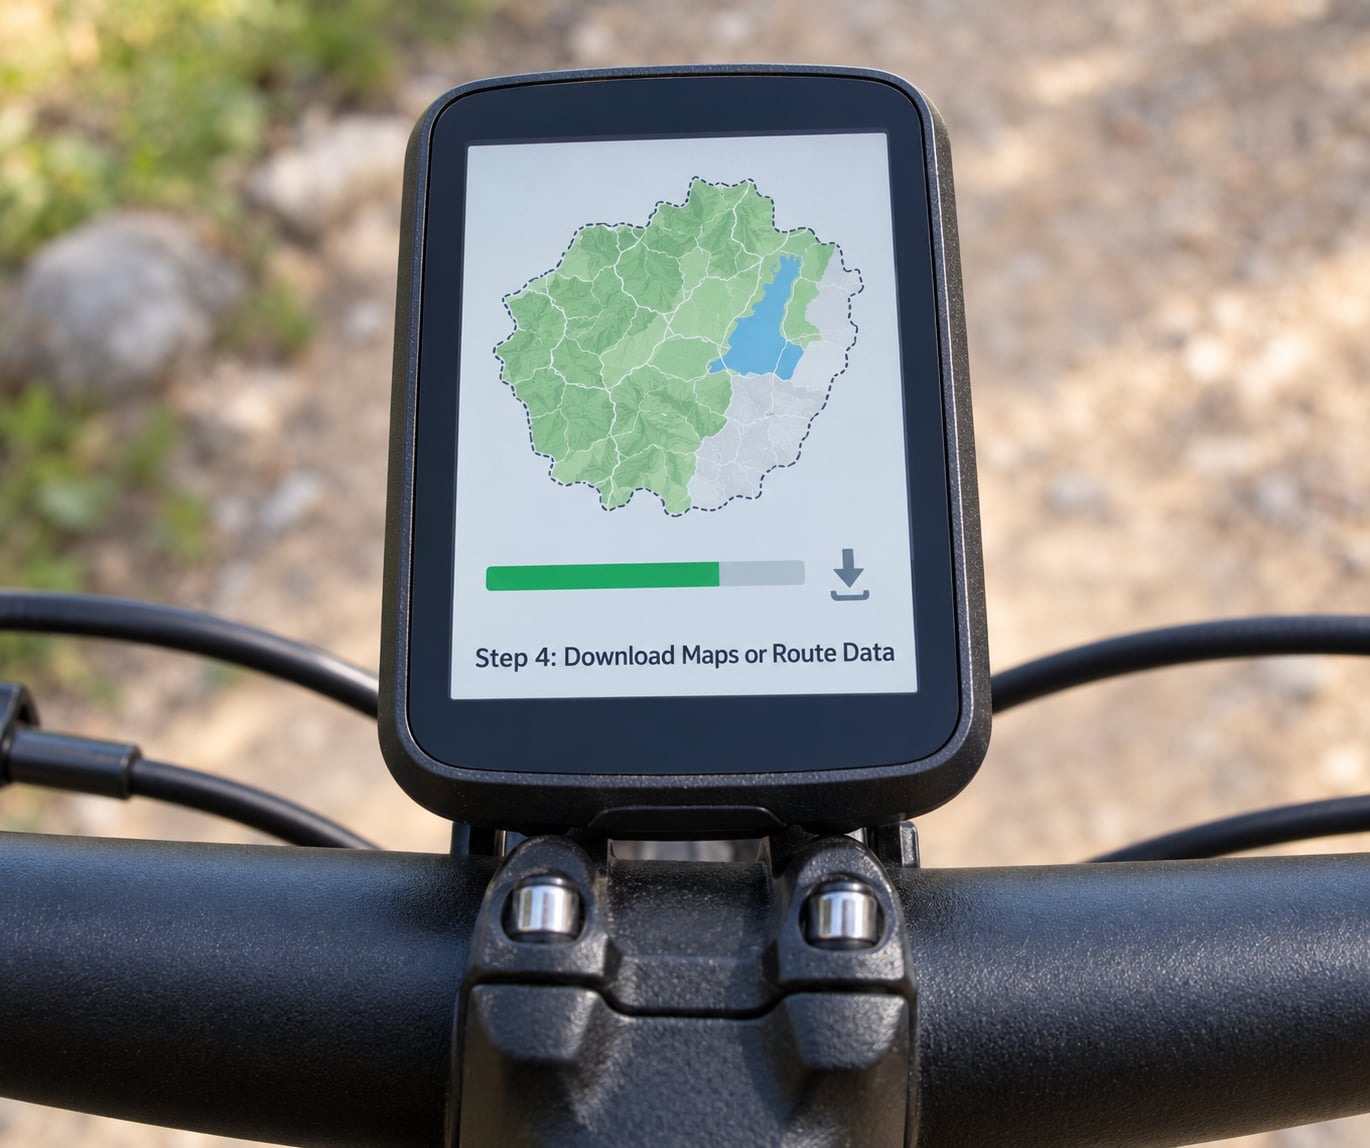
Nothing about navigation works in the moment unless the map or route is already on the device. Do this at home on Wi-Fi, before you leave.
- Open the map or region download option in the companion app. On many devices this sits under device settings, map manager, or a “Maps” tab.
- Pick the region you are riding. Whole-country downloads are large; regional downloads are usually enough for a day ride.
- Check the storage bar first. If the device is nearly full, delete unused regions before adding new ones.
- Confirm the download finished, then unplug and check the device’s own map list shows the region.
You know it worked when the device draws streets with no phone in range. Test that at home before you rely on it in the hills.
If you only need one specific ride rather than a whole area, skip the region download and just transfer the GPX file in Step 5. Breadcrumb following works from the route line alone.
Step 5: Create and Transfer a Route
This is where most riders get stuck, because the route is on their phone and there is no obvious way to move it. Route planning happens in a browser or an app; the transfer happens through the manufacturer’s app or a cable.
Plan the route first. In the planning tool, set the start and finish, choose a road-cycling profile if the tool offers one, add waypoints for fuel or lunch, then check the distance and elevation profile before you commit. A loop planned as a “there and back” is not the same as a loop with waypoints, and the profile tells you whether you have climbed 900 metres or 90.
Then move it across. These are the common routes:
| Method | How it works | Good for |
|---|---|---|
| Direct sync in the companion app | You create or import the route in the app and it appears on the device after a sync | Garmin, Wahoo and Hammerhead riders who plan in the same ecosystem |
| Send the GPX file to the app | Download the GPX, share it to the companion app on your phone, then sync | Routes from Ride with GPS, Komoot, Strava, CycleStreets or an event organiser |
| USB cable as a storage drive | Plug the device into a computer, open it like a USB stick, copy the GPX into its folders | Desktop planning, offline use, one-off transfers |
| microSD card | Put the file on a card in the device’s folder structure, then insert it | Devices with a card slot and large map libraries |
On wireless models, keep the phone and the device close together during the sync and the transfer usually completes in under a minute. On cable transfers, check the file landed in the right folder before you unplug — a GPX in the wrong folder is the usual reason a route never appears.
How do you know it arrived? Open the device’s course or route list and look for the route name. Do that check the night before, not at the top of a climb.
Step 6: Start Turn-by-Turn Navigation
On most devices the navigation menu is a dedicated button, an item on the start menu, or one of the pages you swipe to. Garmin-style units put courses in a list under navigation; Wahoo-style units keep routes under the navigation tab; generic units often have a “Track” or “Course” entry on the main menu.
- Power the unit on outdoors, away from walls and metal, and leave it still until it locks onto satellites — usually 60 to 90 seconds. A full lock shows the satellite icon solid rather than searching.
- Open the course or route list and pick the route you transferred.
- Run the preview if the device offers one. A quick pass over the map catches a badly-planned route before you commit to it.
- Confirm the start, then start recording the ride at the same time so your track lines up with the route.
Starting indoors is the most common single cause of a device that seems broken for the first five minutes of the ride.
Step 7: Read the Prompts: How to Use a Bike Computer for Navigation at Speed
Once rolling, the screen shows you the same handful of things, and knowing what they mean turns navigation from guesswork into a glance.
| What you see | What it means |
|---|---|
| A turn arrow with a distance, for example 200 m | The next manoeuvre is that far ahead — the arrow shows the direction, the number is how far |
| The street name under the arrow | The road you turn onto, so you can also spot it by sign or tarmac change |
| A bar or line that shrinks as you ride | Your progress along the route; when it empties you have arrived |
| Remaining distance and remaining time | What is left of the route, useful for judging whether to push on or cut it short |
| An off-course banner | Your position is more than the set distance from the line — check whether you have actually left the road |
| A climb or gradient readout | Confirms you are on the intended road if the distance and street name are ambiguous |
Glance frequency is a riding skill, not a setting. Look when the prompt changes, at junctions, and every few minutes in between — long, straight, flat road is the safe time to study the screen. Keep your eyes up in traffic and at every corner, and if you need to read something properly, pull over first.
Use the buttons without taking your eyes far off the road: zoom in and out to see a junction or a trail fork clearly, scroll through pages to check remaining distance, mark a lap at a checkpoint, and adjust the backlight if you are riding through a dark wood or into low sun.
If you do drift off the line, most devices offer an automatic re-route or a “back on track” line that leads you to the nearest point on your route. Accept it, ride the re-route, and if the device keeps warning while you are clearly on the route, the usual cause is the alert distance being set too tight rather than an actual mistake.
Step 8: Save the Ride and Plan for Failures
When you get home, stop the recording rather than just switching the device off, so the file is written and saved. Most devices show a summary with distance, time, speed and elevation; check the distance is roughly what you expected, since a wrong wheel or speed sensor setting shows up there immediately.
Build a backup habit. Carry the route on your phone as well as the computer, keep a paper cue sheet for multi-day rides, and start each ride with a full charge. A bike computer runs for hours rather than the few hours a phone manages with its screen on, but it is not immune to a dead battery on a long day in the cold.
If you ride with no phone at all, tell someone your route and expected time. That is the real safety answer to riding without a signal.
Common Mistakes That Break Navigation
- Setting off without downloaded maps. The device draws nothing until it finds a signal and a map region. Fix: download the region before you leave and check it renders at home.
- Starting navigation before the GPS lock. The unit records the start point as wherever it thinks it is. Fix: wait for a solid satellite icon, usually 60 to 90 seconds outdoors.
- The mount is too low or tilted. You end up looking at the screen sideways, which is worse for balance and reading. Fix: level it on the stem or just behind the bar tape.
- Leaving the device flat in a bag to update overnight. Updates often need the device on a flat surface, plugged in. Fix: read the app’s instruction rather than assuming.
- Not previewing the route. You find out at the first junction that the planner routed you through something you did not want. Fix: preview the map before starting.
- Depending on live phone tracking instead of a downloaded route. It fails in exactly the places you ride — valleys, forests, rural lanes. Fix: load the route onto the computer and treat the phone as backup.
- Off-course alerts set too tight. Trees, cuttings and tall buildings throw the position estimate around, so the warning fires when you have not actually left the route. Fix: increase the alert distance to around 50 to 100 metres on open roads.
- Route files in the wrong folder. A GPX copied to the device’s root rather than its course or route folder is simply ignored. Fix: use the app’s own sync, or check the folder structure in the manual.
Where Each Brand Keeps the Navigation Menu
The steps above are identical everywhere. Only the labels change, so if you know your platform’s wording you can skip straight to the right button.
| Platform | App used for syncing | Where routes live on the device | Term used for the stored line |
|---|---|---|---|
| Garmin Edge | Garmin Connect or Garmin Connect IQ | Navigation menu, then Courses | Course |
| Wahoo ELEMNT, BOLT, ROAM | Wahoo ELEMNT app | Navigation tab, then Routes | Route |
| Hammerhead Karoo | Hammerhead companion app | Navigation, then saved routes | Route |
| Generic budget units | Manufacturer app, often a simple Bluetooth sync | Main menu, then Track or Course | Track |
One thing worth knowing: organising events — audax brevets, gran fondos, sportive rides — publish a GPX file for participants. Download it and send it to the device’s app the same way you would send any other route, and you will follow the exact course the organisers intended.
Bike Computer vs Your Phone: Which Should You Navigate With?
The honest answer is that the two do different jobs. The phone is better at planning and rerouting on the fly; the computer is better at telling you what to do while you are riding at 30 km/h in traffic.
| Consideration | Bike computer | Phone |
|---|---|---|
| Glancing safety | Sits in your line of sight, readable in a fraction of a second | Requires picking up and unlocking, and the map moves under your thumb |
| Battery | Runs for many hours, measured in a full day of riding | Constant GPS and screen use drains it in a few hours |
| Signal | Works with no mobile coverage at all once the route is stored | Live rerouting needs signal; offline maps help but still eat battery |
| Screen in sun | Transflective and transflexible screens stay readable in bright light | Often washes out in glare, especially with a case on |
| Mounting | Fixed, secure, out of the way | Needs a stem or bar mount, and the case adds bulk |
| Planning | Poor — it is not where you plan | Excellent — planners, search and rerouting all live here |
Plenty of riders do both: plan and save on the phone, ride from the computer, keep the phone in a jersey pocket with offline maps as a fallback. That is the setup I would recommend to anyone starting out.
Road, Gravel or MTB: Does the Setup Change?
Road riders mostly want turn-by-turn prompts with street names, because junctions on a B-road are ambiguous. Set the alert distance generously and the prompts do most of the work.
Gravel and MTB riders have fewer street names to work with and more forks, so breadcrumb following usually makes more sense. The device draws the line ahead and you follow it, which works well on mapped singletrack and breaks down where no track exists. If you ride trail that is not mapped, take the planned line as far as the last known point and treat the map as a hint rather than an instruction.
Whichever you ride, the safety rule is the same: set the route before you roll, glance only at prompts and junctions, and never stop in traffic to work the screen.
Frequently Asked Questions
Can I use a bike computer for navigation without my phone?
Yes, as long as the route or map region is already stored on the device and it has GNSS. Your phone is used to create, edit and sync routes before the ride, then it can stay in a pocket or at home. Without a phone you give up live rerouting and search, so keep a paper cue sheet for multi-day touring.
Should I use a bike computer or my phone for navigation?
A bike computer is easier to read while riding because it sits in the handlebar line of sight, runs for a full day, and keeps working when your phone has no signal. A phone is far better for planning, searching and rerouting on the fly. Most riders use both: plan on the phone, ride from the computer.
How do I download a route onto a bike computer?
Create or import the route in the manufacturer’s app or a route-planning service, connect the device, and run the sync or transfer command. On wireless models keep phone and device close together during the transfer. With a USB cable, open the device like a storage drive and copy the GPX file into its course or route folder.
Why is my bike computer giving me the wrong location?
A weak satellite signal, tall buildings, dense tree cover, or a case around the device can all reduce accuracy. Keep the mount firm, move the unit away from metal accessories and other electronics, and wait outdoors with a clear view of the sky. First fix of last resort is a GPS reboot from the device settings.
My bike computer keeps saying off course — what should I do?
Check whether you have genuinely left the route before changing anything; cuttings, woods and high buildings cause false position estimates. If you are on the road, increase the off-course alert distance so the banner stops firing spuriously. If you are truly off route, accept the re-route or follow the back-on-track line to the nearest point.
Conclusion
Do these five things in this order and you will not have to think about it again on the next ride: charge the computer fully, run the software and map updates, download the map region or route file, confirm the route appears in the device’s course list, and verify the mount is level and readable. Then wait for a solid satellite lock before you set off, start recording, and let the prompts do the work. Everything after that is just glancing down at a junction — which is the whole point of using a bike computer instead of your phone.