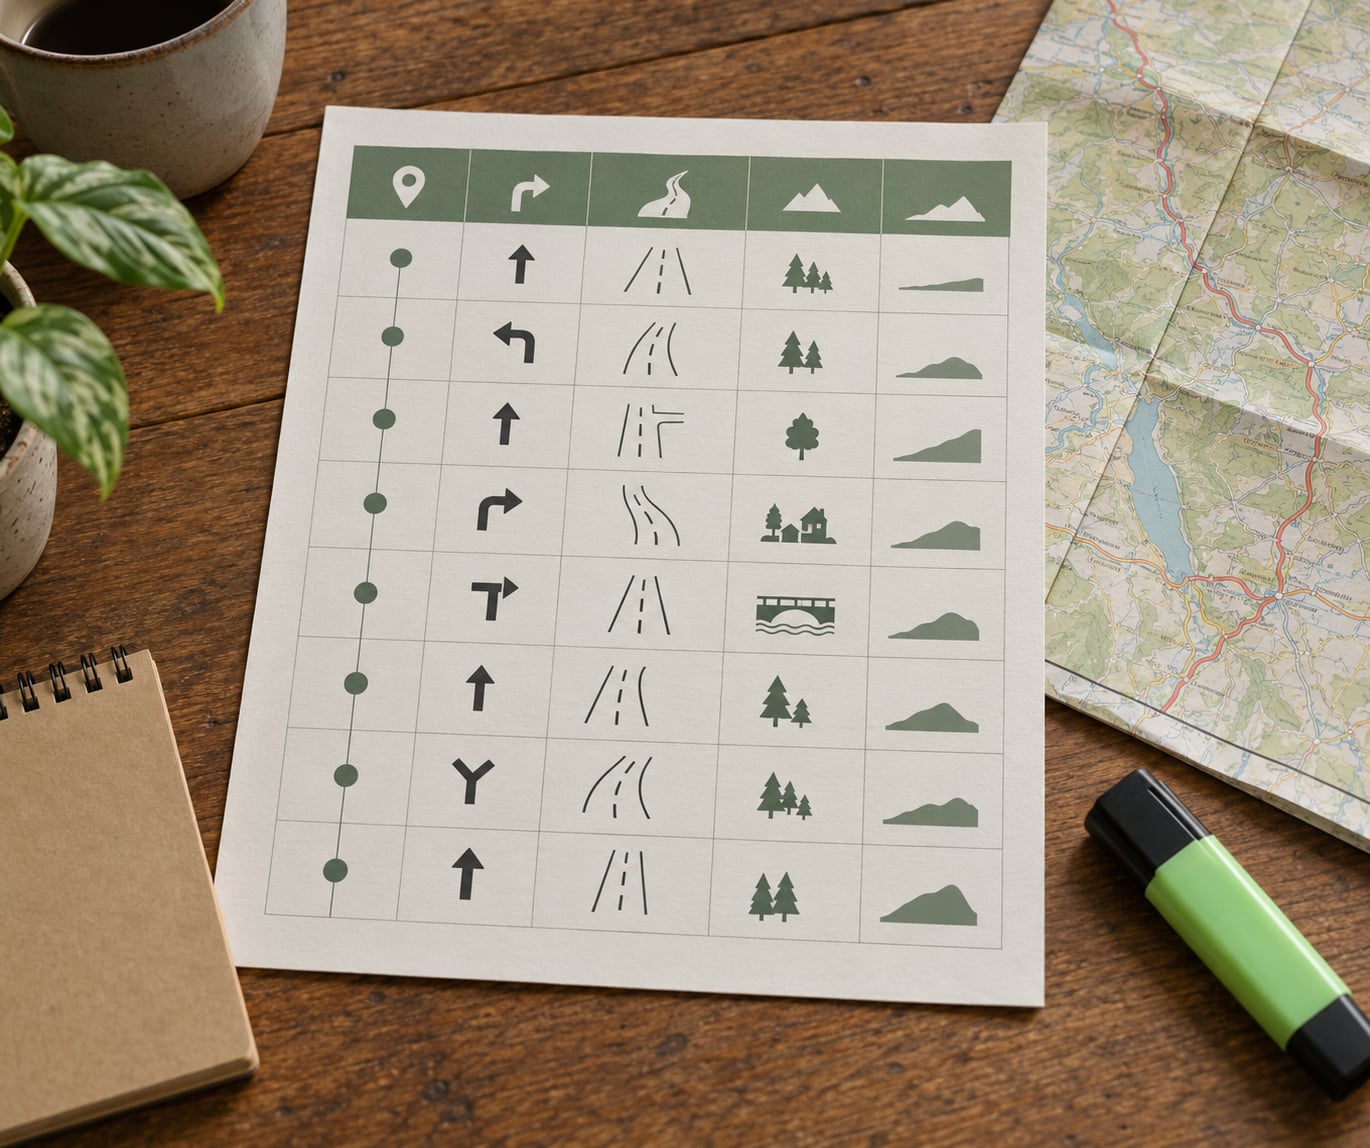
A cycling cue sheet is a written list of turn-by-turn directions for a route. At every junction where a rider could go wrong, it gives four things: the distance ridden so far, the direction of the turn, the name of the road you end up on, and a short note with a landmark, water stop or hazard. (It is spelled cue sheet, not queue sheet.) Building one takes 30 to 60 minutes with a routing tool, or longer if you are working from a paper map with no phone at all.
Most of the value is in the notes column, not the numbers. A rider cruising at 15 mph needs to know that the turn is at the water tower, not that it is a left.
Table of Contents
- What You Need
- Step-by-Step: How to Write a Cue Sheet for a Bike Ride
- Choose a Clear Cue Sheet Format
- Add Directions, Distances, and Decision Points
- Mark Road Hazards and Route Changes
- Include Elevation, Timing, and Support Information
- Review and Test the Cue Sheet
- Common Mistakes
- Frequently Asked Questions
- How detailed should a bike ride cue sheet be?
- Should I use a cue sheet if I have a GPS?
- What is the best format for a printed bike cue sheet?
- How do I calculate cumulative distance on a cue sheet?
- Should a cue sheet include elevation and road hazards?
- How do I make a cue sheet for a group ride?
- Conclusion
What You Need
Everything below is free unless you already own a bike computer. Gather these first and the writing itself takes very little time.
- The route. Decide the exact roads before you write anything. A route borrowed from a club forum post or a downloaded file may not go where its author thought it did.
- A mapping tool. RideWithGPS and Komoot both plan routes and export turn lists. Strava Routes works for paved loops. MapMyRide is still around and still exports printable notes. Google Maps cycling directions is fine for a hand-verified check.
- Distance and elevation data. The same tools report total distance and elevation gain. Write both at the top of the sheet.
- A GPX file or a paper map. A GPX file is only a line of points until somebody traces it onto real roads. A paper road map with a highlighter still works fine and is the method many club riders prefer.
- Ride logistics. Start time, regroup locations, water and food stops, expected pace, and who the sweep is.
- Safety details. Emergency contact number, the nearest clinic or hospital, and the bail-out junction for anyone who cannot hold pace.
- Output. A printer, a plastic sleeve or bar mount, and a way to share a copy digitally, either a PDF or a photo of the paper sheet for the ride group chat.
Step-by-Step: How to Write a Cue Sheet for a Bike Ride
- Plan the route and confirm it exists. Look for gaps where the line jumps between roads that do not meet.
- Walk the route and mark decision points. Only junctions where a rider could plausibly end up on the wrong road.
- Give every decision point a cumulative distance. The miles from the start, not from the previous turn.
- Write the direction and the road name. One of each, in that order, in plain words.
- Add a landmark note. Something visible from the road, in five words or fewer.
- Add the support rows. Regroup, water, food, mechanical shortcut, bail-out, emergency contact.
- Proof the sheet. Check it against the map and the GPS, then have a second rider follow the draft.
- Print and share a backup. Paper at the start line, PDF emailed or posted, photo in the group chat.
That is the whole process. The rest of this section covers each step in detail, starting with the layout you should use.
| At mile | Turn | Onto | Note | Stop |
|---|---|---|---|---|
| 0.0 | Start | Depot | Briefing 8:00, wheels 8:15 | |
Five columns is enough. Add a second table for the climb summary and a short header block with the ride name, date, distance, elevation gain, pace and sweep rider.
Choose a Clear Cue Sheet Format
The format depends on who is riding and what hardware they carry. Paper wins for groups with mixed equipment, because it works on a phone in a pocket.
| Format | Best for | Weak spot |
|---|---|---|
| Printed PDF from a routing tool | Club rides, centuries, anything with regroup points | Notes are generic, no local landmarks |
| Hand-built sheet in a spreadsheet | Rides with hazards, bail-outs or a changed route | Takes longer to build |
| Phone offline maps plus a photo of the sheet | Riders without a bike computer | Battery, and glare on a phone screen |
| Bike computer turn prompts | Riders with a Garmin or Wahoo running a line | Silent failure when the line drifts onto a parallel road |
| Highlighted paper map | Slow groups, gravel routes, no electronics at all | No distances, riders have to estimate |
How many cues belong on the sheet depends on the distance. A short social spin needs eight to twelve. A century earns fifteen to twenty-five, and a multi-day tour needs one page per leg with the overnight stop named. Past about forty lines, riders stop reading, and a sheet nobody reads is decoration.
Add Directions, Distances, and Decision Points
Cumulative distance is the number that matters. It lets a lost rider look at any odometer or GPS readout and know exactly where they should be, which means a gap of two miles in the sheet is obvious within seconds.
List a junction as a decision point when the rider could end up on the wrong road: any signed T, any unmarked fork, any place where a highway entrance or a frontage road splits the road, and the point where the route leaves a road you have been on for miles. Straight-through crossings do not need a row.
| At mile | Turn | Onto | Note | Stop |
|---|---|---|---|---|
| 0.0 | Start | Depot | Head north, wheels 8:15 | |
| 3.4 | R | Canal Rd | At the water tower, cross the tracks | Water |
| 9.1 | L | Mill Lane | Narrow lane, no center line | |
| 14.6 | Continue | River Rd | Railroad crossing, look both ways | Regroup |
| 21.0 | R | Ridge Rd | Climb starts here, 4 miles at 6% | Food |
| 27.3 | Bear R | Old Quarry Rd | Follow the pavement, not the map line | Regroup, bail-out |
| 33.8 | R | Depot | Return leg, same route in reverse | |
| 45.0 | Finish | Depot | Contact: 555-0142 |
Write directions the way you would say them out loud: right, left, bear right, continue, sharp right. Never use compass bearings or turn numbers without the road name next to them.
Landmark notes follow one rule: describe something a rider can see from the saddle, not something they need to reason about. Use a water tower, a gas station price sign, a big yellow awning, a school with a white fence. Write the note in five words or fewer so it fits one column.
- Good: At the water tower, cross the tracks
- Good: Bear right at the Dairy Queen
- Bad: Turn left on the road that runs parallel to the river
- Bad: Continue for a while, then look for the turn
Mark Road Hazards and Route Changes
Hazards get their own short note in the same row as the nearest junction, or a standalone row if the danger sits between two cues. The set worth carrying on almost every sheet: railroad crossings, unmarked or signalled-stop intersections, rough pavement and washouts, construction zones with a narrowed lane, and any segment where the road has no shoulder.
Detours and route changes are where cue sheets earn their keep, and they are the number one reason to put a date on the sheet. Add a line at the top with the date the route was last checked, and if a detour is active, mark it on every copy the group holds. A rider following a stale printout into a closed bridge is a real problem, not a hypothetical one.
For long rides, put the emergency contact and the nearest hospital in the header where anyone can read it without flipping the page.
Include Elevation, Timing, and Support Information
Support rows are what separate a cue sheet from a bare turn list. Put the start and finish location at the top, then add a row at every point where the group is meant to come back together.
- Regroup points. Name them and give a time, for example regroup at the quarry gate by 10:20. A regroup without a time is a suggestion.
- Water and food. Store names work better than mile markers, and note whether a store is a shop or a gas station with a pump.
- Elevation. List climbs with a start mile, length and average grade. A 4-mile pull at 6 percent is rideable; 1.5 miles at 11 percent is not the same thing.
- Estimated riding time. Give a range based on the slowest rider in the group, not your own pace.
- Bail-out or mechanical shortcut. Name the junction where a dropped rider can turn off toward home, a shortcut back to the start, or a shop with a pump.
For bikepacking and multi-day routes, add a resupply note at each town: what is available, opening hours if you know them, water points between towns, and where to sleep. Riders on tour carry the sheet for days, so page numbers and the overnight stop at the top of each page remove a lot of guesswork.
Review and Test the Cue Sheet
Nobody in the history of cycling has skipped this step and enjoyed the consequences. A cue sheet that looks right on a screen is wrong at least once, usually at a fork that does not appear on the map at all.
Check every turn against both the map and your GPS line. Confirm the segment distances add up to the stated total. Read the notes out loud at normal speed, because that is roughly how a rider will scan them at 15 mph in the middle of a climb.
Then have a second person follow the draft. The best version of this is to ride the route yourself first, at the pace of the slowest rider you expect. A sheet that works on a fast solo recon can still lose a group at a busy four-way stop.
Last, test the output. Print it and read it at arm’s length on a bike, in daylight, with sweat and gloves in the way. Then print a second copy, sleeve both, and put one in a bar mount or folded in a bar bag.
Common Mistakes
Trusting a borrowed route. Shared files and forum routes are frequently mis-mapped, and the failure shows up as a turn onto a road that dead-ends. Ride the first ten miles yourself or verify the junctions on street-level imagery before you hand the sheet out.
Waypoints that do not follow roads. A route built from points rather than roads will not produce a sensible turn list, because the tool cannot know which way you are meant to leave the junction. Build routes along roads so the turn-by-turn output is trustworthy.
Too many cues. A forty-line sheet is unreadable at speed. Cut straight-through crossings, minor residential turns, and any row that repeats the previous one.
Notes that need thinking. If a rider has to interpret a note while riding, it is not a note. Replace descriptions with something visible: a building, a sign, a pole, a bridge.
No regroup or bail-out row. This is the mistake that separates riders. Mark where the group re-forms, when, and where someone who has had enough can peel off.
Segment distance where cumulative is needed. Both columns are useful, but the cumulative number is the one that lets a lost rider self-locate. Include it on every row.
Mixed units. Miles on one page and kilometres on the next is a classic. Pick one, state it in the header, and stay with it. An audax control sheet or a touring sheet often needs both, clearly labelled.
One copy only. Paper gets wet and phones run out of battery. Email a PDF, post it to the ride listing, and take a photo of the printed copy into the group chat.
No date on it. Construction changes and a sheet from last season is a trap. Print the date the route was last ridden in the header.
Frequently Asked Questions
How detailed should a bike ride cue sheet be?
Enough that a rider who has never seen the route can follow it without stopping. As a rule of thumb, eight to twelve cues cover a short social spin, fifteen to twenty-five cover a century, and a multi-day tour needs one page per leg. List every junction where someone could end up on the wrong road, skip straight-through crossings, and keep notes under five words. If your sheet runs past forty rows, riders will stop reading it.
Should I use a cue sheet if I have a GPS?
Yes, and most ride leaders hand out both. A bike computer or phone gives you the next turn automatically, but it fails silently when the line drifts onto a parallel road or the battery dies. A cue sheet gives the group a shared reference that does not depend on electronics, plus the details no device will tell you: regroup times, water stops, hazards and the bail-out junction. Treat the sheet as the plan and the device as a helper.
What is the best format for a printed bike cue sheet?
A portrait page in a plastic sleeve, or a bar mount if you can find one, with a five-column table reading At mile, Turn, Onto, Note, Stop. Put the ride name, date, total distance, elevation gain, pace, emergency contact and sweep rider in a header block above the table. Print two copies, one for the rider and one for the group, and add the date the route was last ridden so nobody follows stale directions.
How do I calculate cumulative distance on a cue sheet?
Add each segment distance to the running total from the previous row, so the second row shows the distance from the start, not from the last turn. Most routing tools do this for you when you export turn-by-turn directions, and the column is usually labelled At or Cum. If you are building by hand, work along the route adding each leg and check that the final cumulative number matches the total distance printed on the sheet.
Should a cue sheet include elevation and road hazards?
Yes, both, kept short. List climbs with a start mile, length and average grade, because riders pace themselves against a number rather than a feeling. For hazards, add a brief note at the nearest junction or a standalone row: railroad crossings, unmarked intersections, rough pavement, washouts, construction narrowings and segments with no shoulder. Keep each note to a few words so the whole sheet still fits on one page per leg.
How do I make a cue sheet for a group ride?
Build one sheet for everybody, mark a named regroup point every fifteen to twenty miles with a time attached, and name the sweep rider in the header. Hand paper copies out at the briefing, not at the start line, and post the same PDF with the ride listing so people can print their own. Agree what happens when someone falls off the back: a named rejoin point, a bail-out junction, and a phone number they can call. Then wait ten minutes after the announced start before you leave.
Conclusion
Start by mapping the route and confirming it follows real roads, then list only the junctions where a rider could go wrong. Write each one as distance plus direction plus road name plus a five-word note, and finish with regroup, water, food, mechanical and emergency rows. Proof the sheet against your map and GPS, hand it to a second rider to follow, then print it, sleeve it, and share a digital copy. That last step is what keeps a group together when the sheet is the only thing in anyone’s pocket.
All the tool and format details here were rechecked for 2026, since routing apps change what they export more often than anyone announces.