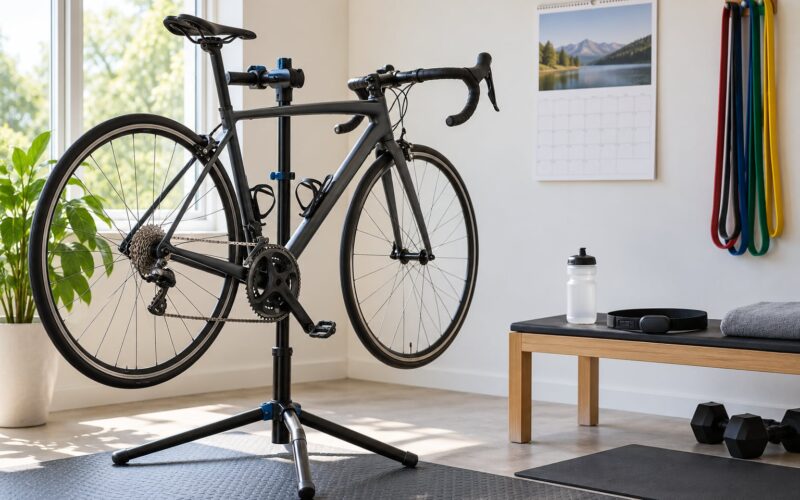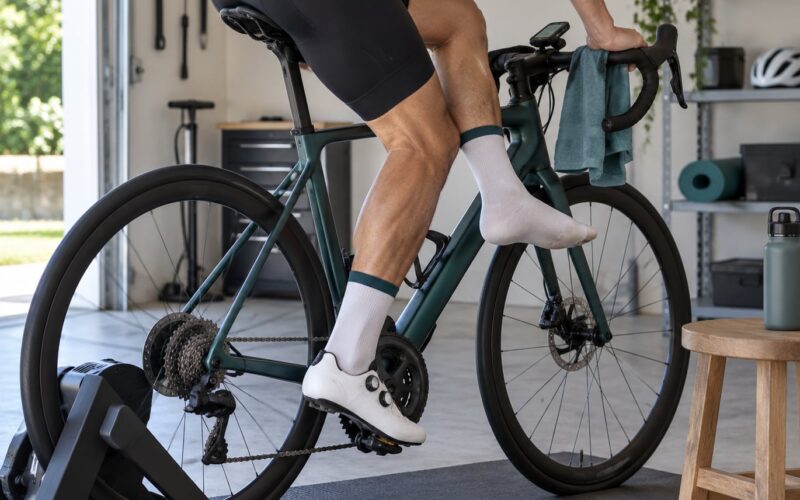
If you want the short version: sit on the brake hoods to start, move up to the tops when you climb, and drop down into the drops for descents and sprints. Brake with one index finger, shift with your thumb, and change hand position every fifteen to twenty minutes. Learning how to use drop bars properly takes about five rides before it stops feeling strange.
Drop bars are not harder to ride than flat bars. They are just unfamiliar, and unfamiliarity feels like difficulty until your hands learn where three different positions live. Most of the riders who panic on their first descent are not bad riders, they are riders gripping the drops like a motorcycle handlebar and wondering why the steering feels twitchy.
This guide covers cockpit setup first and riding technique second, because a position problem looks exactly like a technique problem when you have never ridden drops. If you take the setup steps in the order given here and then spend a few rides on the hoods, the drops stop being frightening.
One more thing worth saying early: you do not have to ride the drops to be fast. Experienced road riders spend most of their time on the hoods. The drops are a tool for descents, sprints and short aero efforts, not a badge you have to earn.
Table of Contents
- What You Need
- Step-by-Step: Set Up and Ride with Confidence
- How to use drop bars properly in a seated position
- Choose a comfortable hand position
- Set the reach and drop for your body
- Learn the brake levers before riding
- Use the drops while pedaling and cornering
- Practice descending and emergency control
- Common Mistakes
- Frequently Asked Questions
- Should beginners use the tops, hoods, or drops while riding?
- How do I know if my drop bars are set correctly?
- Why do my hands hurt or go numb on drop handlebars?
- Can I use drop bars in a road bike’s lowest position while climbing?
- How do I brake safely if I cannot comfortably reach the levers?
- How long does it take to get comfortable riding in the drops?
- Conclusion
What You Need
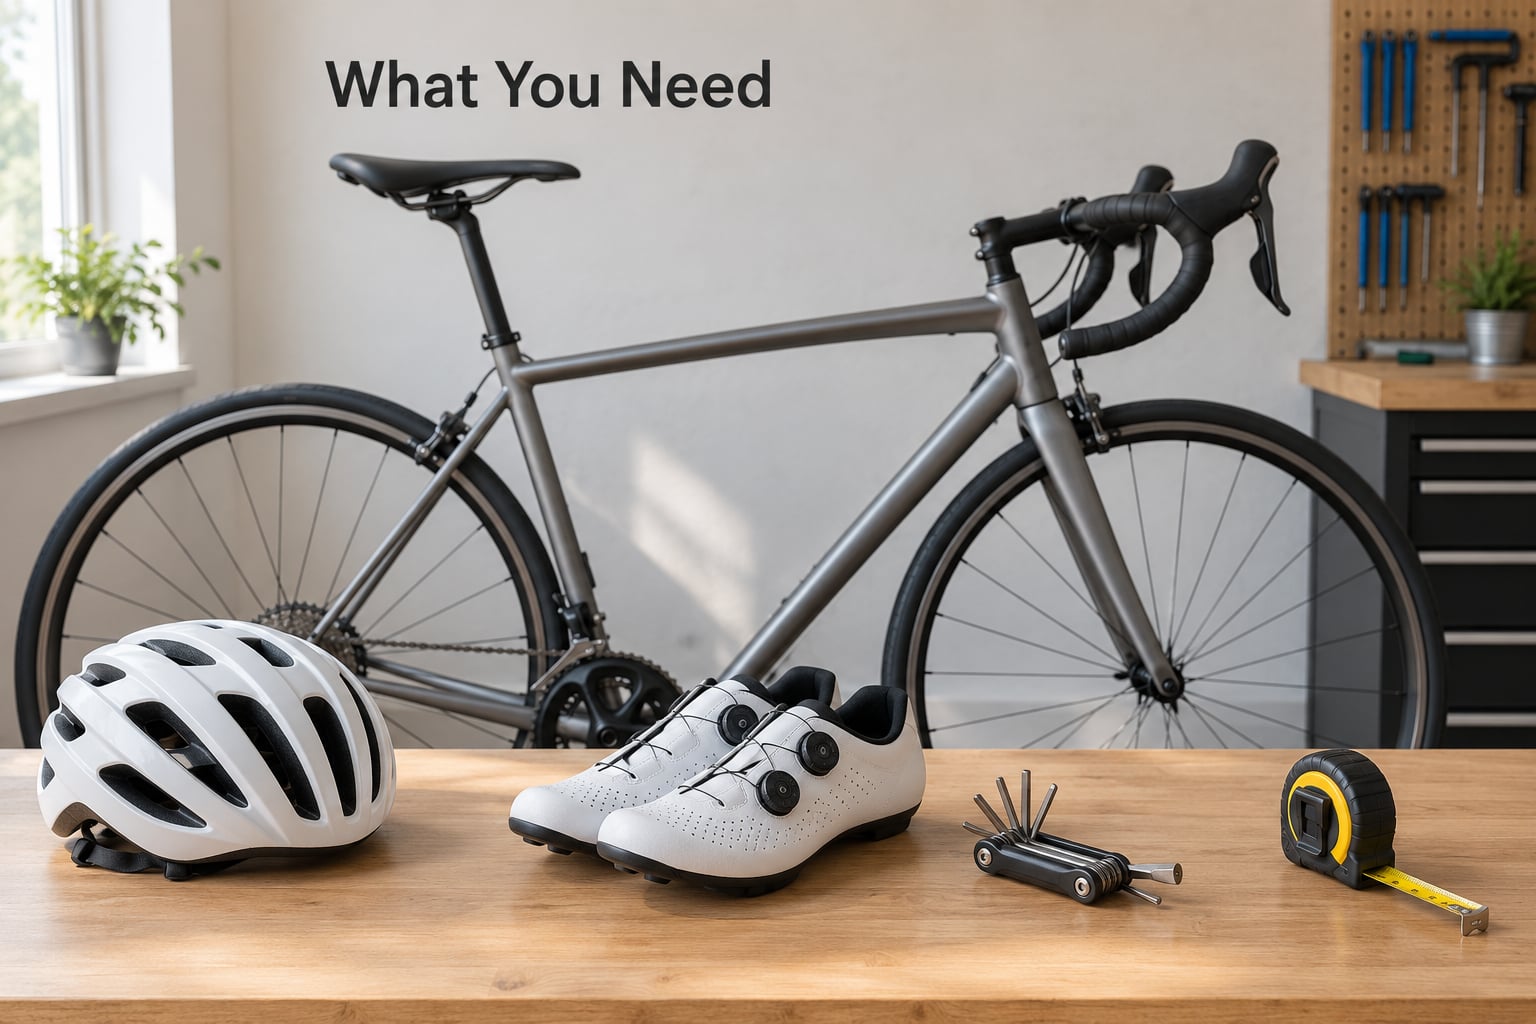
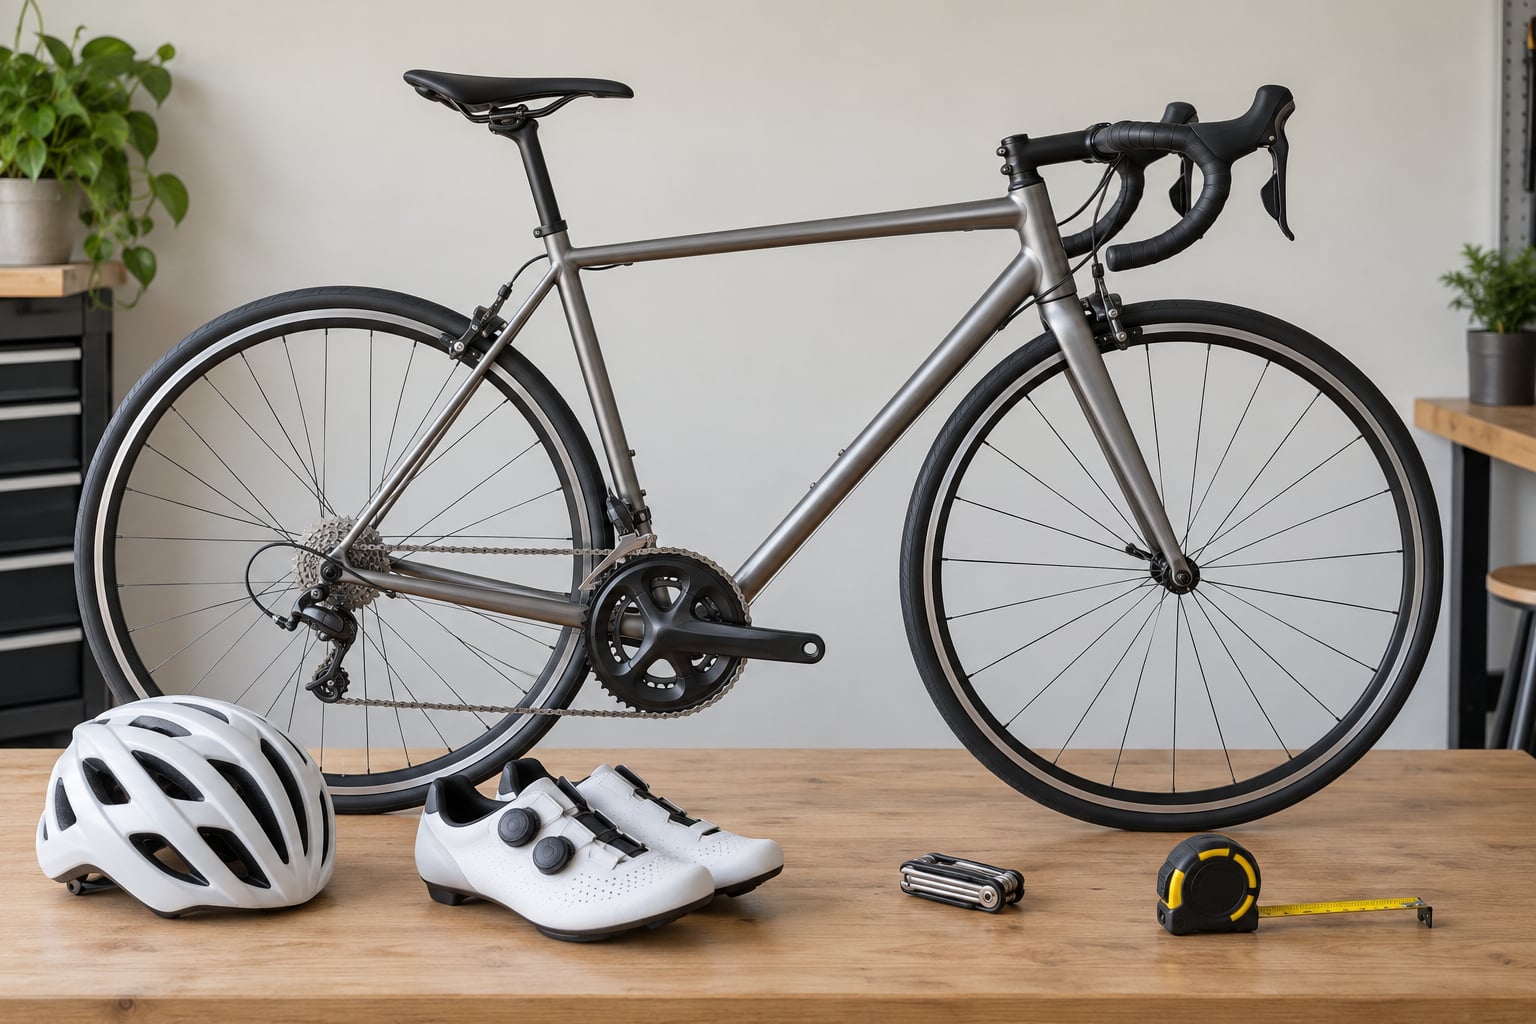
A road bike with drop bars already fitted, and a cockpit that has been set up for you rather than for the shipping box. If you have just unboxed a new bike, expect the bars to need work before anything else.
Cycling shoes and a properly fastened helmet. Shoes because a loose heel or a bad cleat setting shows up as knee pain long before it shows up as a foot problem, and a helmet because the first rides on drops are exactly when you should not be taking chances.
A few tools. Allen keys in the sizes that fit your stem clamp and brake lever clamp, a tape measure, a spirit level, a spare roll of bar tape or grips, and a spare lever hood if your bike has an older pair going brittle.
Optional but useful: a bar end plug set, a second saddle to swap between positions, and chamois cream for longer days. None of that is required to get comfortable, it just makes the first month less annoying.
Step-by-Step: Set Up and Ride with Confidence
How to use drop bars properly in a seated position
Sit back in the saddle with your hands on the hoods, index fingers hooked lightly over the brake levers, thumbs resting under or alongside the shift paddles. Your elbows should have a visible bend. If your arms are straight or locked, you are bracing against the steering, which is why the bars feel nervous.
Hold the bar lightly. You should not be able to white-knuckle it, because the braking force comes from your index finger on the lever, not from squeezing the bar. Riding on the drops is the one case where a firmer grip makes sense, and even then it is a relaxed fist rather than a death grip.
Keep the upper body quiet. Your shoulders should stay down and relaxed, your head level with your spine rather than poking forward, and your knees tracking in line with your toes. A rocking bike while seated is almost always a tension problem in the hands and shoulders rather than a core strength problem.
Change position on purpose. Every fifteen to twenty minutes, or any time you feel pressure building, move a hand. That habit is the whole reason drop bars are comfortable over distance, and it is worth more than any amount of grit.
Choose a comfortable hand position
The tops are the flat, straight section of the bar next to the stem clamp. They put your hands in front of you with your torso more upright, which is why riders move up there when the road tilts upward and when they want to get out of the saddle without having weight on their hands.
The hoods are the rubberised covers that sit on top of the brake and shift levers. This is your default position for everything that is flat, fast or busy. You get the leverage of being further forward and slightly lower, brake access under one finger, shift access under your thumb, and enough variety in the wrist angle that it does not get painful for hours.
The drops are the curved hook section below the levers. They give you the lowest and most aerodynamic position, plus more steering leverage because your hands are further from the head tube. That extra leverage is also why a beginner feels twitchy down there: the same small hand movement turns the wheel more.
Position by context. Climb on the tops or the hoods depending on how hunched you want to be. Ride general road miles on the hoods. Take the drops for descents, sprints, tailwinds and any stretch where you want to hold an effort. Stay on the hoods in traffic, on gravel, in bad weather and for the first month.
Hand position is context, not commitment. Long-distance riders report that rotating between positions is what prevents numb hands and fatigue, and plenty of riders who came from flat bars say they had numb fingers on the old bike and none on this one.
Set the reach and drop for your body
Set the saddle first, then the cockpit. This is the order fitters work in and the one riders search for most often: get your saddle height and fore-aft settled, because a saddle that moves changes your relationship to the bars. Chase the bars first and you will be adjusting them again every time you move the saddle.
Now think about reach, which is how far the bars stretch forward from the stem clamp, and stack, which is how high the bars sit above the head tube. A long reach and low stack put you stretched out and low, which is fast and tiring. Shorter reach and more spacers give you a more upright position, which is more comfortable and easier to learn on.
Bar width matters too. Bars that are wider than your shoulders make it awkward to reach the levers from the drops. Narrow bars on a broad frame put your hands close together, which feels nervous. Most riders land somewhere between shoulder width and shoulder width plus an inch or so per side, and gravel riders often widen further for control on rough surfaces.
The hoods are the fit reference point. There is a long-running argument about whether the tops or the hoods should be the position you measure your fit from, and fitters generally measure from the bar top or stem clamp while noting that the hoods sit well ahead of that point. The practical version for you is simple: if your hands feel comfortable and reachable on the hoods, your bars are close enough. Riders coming from long-reach race geometry often find that swapping to a shorter stem and adding spacers is the single change that makes the bike feel friendly.
Then set the levers. Angle the lever body down slightly, roughly five to ten degrees from horizontal, with the curved part of the lever following the underside of the bar. A straightedge held against the bar with an Allen key on the lever clamp is a quick way to get both levers matching. Check that you can pull each lever with one finger without moving your hand position.
If your hands go numb or you cannot reach the levers at all, look at lever reach first. Most integrated brake and shift levers have a small adjustment screw or insert that changes how far the lever sits from the bar. That costs almost nothing and fixes a surprising number of comfort complaints.
Learn the brake levers before riding
On a standard road bike, the left lever operates the front brake and the right lever operates the rear brake. On most current bikes the levers also shift, but the left lever still shifts the rear derailleur and the right lever still shifts the front. Learn that mapping before you need it, not during an emergency.
Brake with one finger. Hook your index finger over the lever, pull smoothly and progressively, and squeeze the lever rather than pulling the bar back toward you. On the hoods you get the leverage for hard braking. In the drops the lever sits further away, so it takes more hand strength to reach, which is fine for a controlled descending pace but not what you want in a panic.
Use both levers together when you need to slow down quickly, front lever first or level with the rear, because the front brake is the one that actually stops the bike. Practise squeezing both evenly on a quiet road and again at walking pace in a parking lot until it feels ordinary.
Watch what your braking does to your position. Grabbing the brake levers while on the tops can yank the handlebar and unsettle the front wheel, so on the tops use the lever blades instead of the hoods. Never brake hard while you are shifting.
Use the drops while pedaling and cornering
The move down to the drops should be a slide of the hands along the curve, not a hop. Unweight the hands slightly, let them travel down the hook, and settle into the curved part of the bar with your thumbs wrapped or hooked around the front of the drop. Keep pedaling smoothly throughout so the transition happens on a stable bike.
Use the drops when they earn their place: a descent where you want more steering authority, a sprint, or a stretch in a tailwind. The lower position cuts drag and puts you further forward, and the extra leverage makes steering inputs smaller and more precise, which is genuinely useful at speed.
Cornering in the drops works well because of that leverage. Turn by pressing the inside drop gently with the outside hand doing a little counter-push, keeping your upper body quiet, and looking through the corner rather than at the road directly in front of you. Hold the drops for the duration of the corner, then return to the hoods on the exit.
Return to the hoods whenever the surface gets rough, wet, loose or unfamiliar. There is no loss riding the hoods through a technical section, and there is no prize for staying in the drops on bad tarmac.
Practice descending and emergency control
Start on a short, shallow hill you have ridden before. Sit on the hoods, hold a light grip, and get used to the steering responding before you add speed. Most of the fear on a first descent is the bike amplifying small inputs, and that sensation fades as your hands get used to it.
Work on speed control rather than speed. Brake before the corner, not in it. On a straight descent, alternate between the tops and the hoods so you are practising position changes under a steady load, and stay seated until you trust the front wheel.
Know what to do if the front wheel goes light. That usually means you are gripping too hard and steering too abruptly. Soften the grip, level the bars, look where you want to go, and let the wheel come back down under you. Rocking backward and forward on the saddle does nothing to help.
Learn to fall properly before you need it. Slide your hands off the bars, tuck your elbows and chin, and let yourself go down the side of the bike with your shoulder and hip rather than catching yourself with an outstretched arm. Hands are the part riders are most afraid of losing, and prepared riders stop trying to save the bike at the last instant.
Most of the improvement happens in the first five rides. If discomfort is still there after a few weeks of regular riding, that is a setup problem rather than a familiarity problem, and it is worth a proper fit session.
Common Mistakes
Mistake: the bars are rotated too far back, so the hoods have dropped below where they should be and you cannot see the road properly. Why it happens: shops often set the bars out of the box with too much rotation, and riders assume it is normal. Fix: rotate the bars back until the hoods sit level with or slightly below the bar tops, then tighten the stem clamp bolts properly in stages.
Mistake: your back and shoulders are hunched and your hands feel close to your body. Why it happens: over-rotated bars combined with a stem that is too long for you. Fix: add spacers and shorten the stem before you change anything else, and check that your elbows have a visible bend when you are on the hoods.
Mistake: you grip the drops with both hands and white-knuckle everything. Why it happens: drops look like a handlebar, so riders hold them like one. Fix: hold the bars with a relaxed grip, brake with the index fingers, and save the firm grip for sprints and out-of-the-saddle climbing.
Mistake: you brake with the wrong lever for the situation, or you pull the bars into your body. Why it happens: riders coming from flat bars brace against the bar and pull on it rather than squeezing the lever. Fix: squeeze the lever with one finger, keep the levers reachable with a light pull, and use the lever blades rather than the hoods when your hands are on the tops.
Mistake: you shift hard while pedaling at full power, especially across several sprockets. Why it happens: riders watch the road and shift during a hard effort without thinking about it. Fix: shift before you load the pedals, keep the fingers loosely curled over the lever, and move one click at a time under load.
Mistake: your hands go numb on long rides. Why it happens: usually levers that are too far away, bars that are too wide, or holding one position for hours without moving. Fix: check lever reach, check bar width against your shoulders, and rotate hand positions on a timer rather than waiting for the pain.
Mistake: you keep changing the setup because riding feels awkward. Why it happens: the order is wrong, so you are adjusting the bars to fix a saddle that has not been set yet. Fix: saddle first, then stem and reach, then lever angle, then lever reach, then tape or grips. One change at a time, then ride before you judge it.
Mistake: you assume your discomfort means the bike is wrong. Why it happens: riders who have never used drops treat the learning curve as a fit fault and start swapping parts. Fix: give it five rides. If it is still wrong after that, it is a fit problem, and then a fitter session is the right move.
Frequently Asked Questions
Should beginners use the tops, hoods, or drops while riding?
Start on the brake hoods. They put your hands in the most useful place for control and braking while keeping the least pressure on your hands and wrists, and they give you both brake and shift access under one finger and one thumb. Move up to the tops for climbing and down to the drops for descents, sprints and fast tailwind sections once riding feels settled.
How do I know if my drop bars are set correctly?
Three checks. Your elbows should have a visible bend with hands on the hoods. You should reach each brake lever with one finger without shifting your hand. And the hoods should sit level with or slightly below the bar tops rather than rotated far back. If all three fail, change the stem spacers and bar rotation before you try anything else.
Why do my hands hurt or go numb on drop handlebars?
Most cases come down to four things: levers set too far from the bar, bars wider than your shoulders, a wrist angle with your knuckles pointing sideways, or simply holding one position for hours. Check lever reach first since it is cheap to adjust, then bar width, then get into the habit of changing hand position every fifteen to twenty minutes. Persistent numbness is worth a fitter rather than another ride.
Can I use drop bars in a road bike’s lowest position while climbing?
Yes, many experienced riders take short pulls on the drops while climbing because the lower position uses a different set of muscles and eases a fatigued back. It is not required, and for a first few weeks the tops or hoods are easier to control out of the saddle. Try it on a long, steady climb rather than a short sharp one and see whether your hands and back prefer it.
How do I brake safely if I cannot comfortably reach the levers?
Do not ride the bike until it is sorted. First check the lever reach adjustment, which is a small screw or insert and usually moves the lever closer to the bar. Then check that the lever body is angled slightly down rather than up. If you still cannot get a light one-finger pull from the hoods, get a bike shop to set the levers properly before your next ride.
How long does it take to get comfortable riding in the drops?
Most riders feel normal within three to five rides, which is roughly two to four weeks of regular riding. The early twitchiness comes from amplified steering inputs and fades as your hands learn the bar. If you are still uncomfortable after five or six rides of regular use, treat it as a setup problem rather than a learning problem and see a fitter.
Conclusion
Start with the cockpit. Set the saddle, then the stem and reach, then the lever angle and lever reach, and only then ride. Put your hands on the hoods, check you can reach both levers with one finger, and go for five rides without trying to be fast.
After that, use the drops when a descent or a sprint earns them, and move your hands in between. Most people who learned how to use drop bars properly end up wondering why they spent so long worried about a position they now use for a couple of minutes at a time. This guide was checked for 2026, and the setup order in particular is worth re-reading before every new bike.