To set up tubeless road tires you clean the rim bed, cover the spoke holes with airtight rim tape or a rim strip, fit a tubeless valve, mount the tire so both beads sit in the rim valley, add liquid sealant, then inflate quickly so pressure seats the bead. Most of that is straightforward. The bead seating is the part that catches people out.
The honest bit first: setting up tubeless road tires takes about 20 to 30 minutes for the first wheel and gets faster every time after that. It is not fiddly once you know the sequence, but if you follow a guide that skips the rim valley or rushes the inflation, you will spend an hour fighting a tire that will not go on.
This guide walks through the whole process, then gives you a ranked ladder for the one problem that actually stops riders: a tire that refuses to seat.
Table of Contents
- What You Need to Set Up Tubeless Road Tires
- Step-by-Step
- Check Rim and Tire Compatibility Before You Start
- Inspect and Prepare the Rim
- Install the Tire Without Pinching the Tube
- Add Sealant and Inflate the Tire
- Check Pressure, Sealant, and Ride Readiness
- Common Mistakes When You Set Up Tubeless Road Tires
- Common Mistakes and How to Fix Them
- Frequently Asked Questions
- How much air pressure should I run in tubeless road tires?
- How much tubeless sealant do I need?
- Can I use tubeless road tires on a rim with rim tape?
- Why will my tubeless tire not seat on the rim?
- Can I use a CO2 inflator to seat a tubeless tire?
- How should I repair a large puncture in a tubeless road tire?
- Conclusion
What You Need to Set Up Tubeless Road Tires
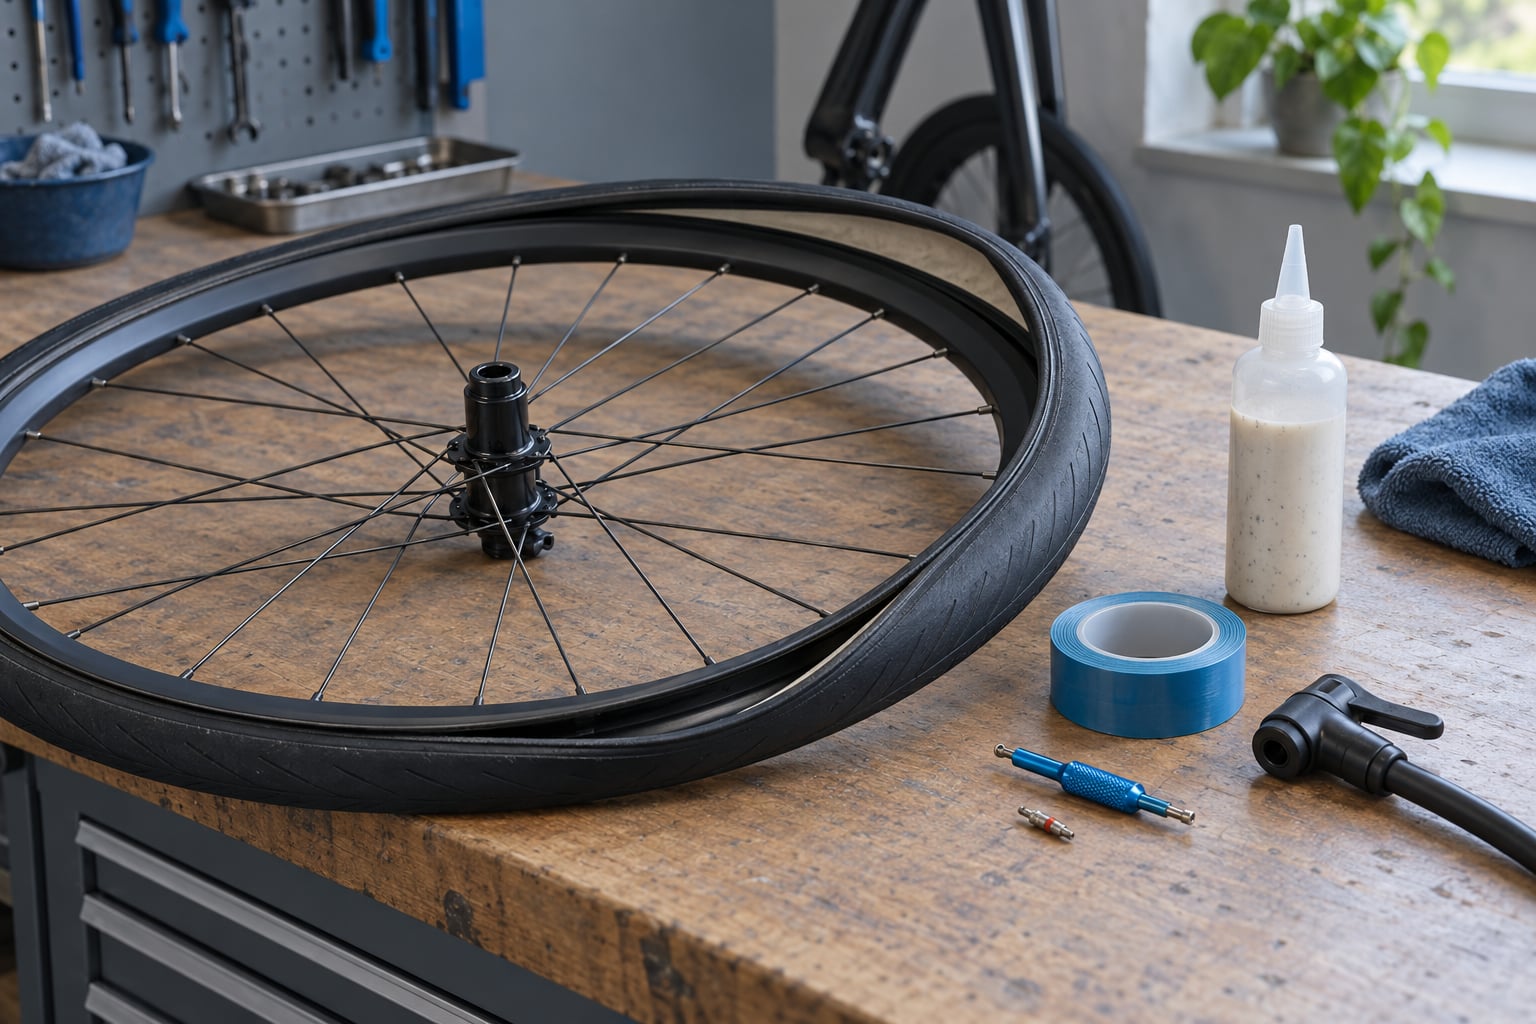
You need six things. Four are required, two make the job much easier.
- Tubeless-ready rims. Rims marked TLR or tubeless ready. Some brands ship them sealed, others expect you to tape them yourself.
- Tubeless-compatible road tires. Clincher-style casings labelled tubeless compatible or tubeless ready. An ordinary clincher with an inner tube will not work this way.
- Rim tape and a tubeless valve. One per wheel. Rim strips are the sealed-plastic alternative to tape.
- Liquid sealant. Roughly 30 to 60 ml per road tire, depending on width. A syringe-style injector is easier than pouring through a valve.
- A high-volume pump. A floor pump works. A tubeless inflator with a large chamber or a booster tank makes seating far less stressful.
- Isopropyl alcohol and a rag. For cleaning the rim bed and the bead seat before you tape or mount.
Helpful but optional: plastic tire levers, a bead jack for stubborn casings, a valve core tool, a soapy water bottle, a ratchet strap, and a plug kit for roadside repairs.
Two compatibility checks decide whether this is possible at all. First, the rim must be tubeless-ready. Second, the tire must be tubeless-compatible. Do not fit a tubeless tire to a rim designed only for clinchers with tubes, and do not run a standard clincher tubeless on a TLR rim.
Step-by-Step
Check Rim and Tire Compatibility Before You Start
Confirm the rim is tubeless-ready and the tire is tubeless-compatible before anything else, because it saves an afternoon of work. Rims usually carry a TLR or tubeless-ready marking on the decals, and the manufacturer’s page will confirm it if the rim is unmarked.
Road wheels need to be 622 mm, and the tire has to have enough clearance at your intended width. Check the rim maker’s maximum tire width, which is usually printed on the rim wall near the valve or on the bead seat.
One warning worth repeating: tubeless tires and standard clinchers are different constructions. Mixing them is the fastest route to a bead that will not hold.
Inspect and Prepare the Rim
A leak almost always traces back to the rim bed, so inspect it before you tape anything. Look for stretched or peeling rim tape, exposed spoke holes, and a rough or contaminated bead seat.
Remove old tape with a plastic scraper rather than a metal one, then clean the rim bed and the bead seat with isopropyl alcohol and a rag. Let it dry fully. Any grease, sealant residue or moisture left under new tape turns into a slow leak weeks later.
Apply tubeless tape or fit a rim strip so it covers every spoke hole with a continuous layer, with no bubbles and no gaps. Pull it tight as you go and press it into the center channel. Wrap it slightly past the valve hole on one side and the last spoke hole on the other.
Tuck the tubeless valve through the valve hole from the inside of the rim and tighten the lock nut so the stem stands straight and perpendicular. A crooked valve makes the mount harder and can cause the bead to blow off during inflation.
Then remove the valve core with a valve core tool. Air needs to move fast to seat the bead, and the core is the biggest restriction in the system.
Install the Tire Without Pinching the Tube
Mount the tire dry first, with no sealant inside. That keeps the bead clean and makes seating far more likely to work.
Place one bead of the tire on the rim and work it around by hand, starting opposite the valve. Push the bead into the rim valley, the central channel between the spoke beds, as far around as you can. The valley is what keeps the rim’s effective diameter small, which is what lets the tire seat at normal road pressures.
Then add a little air, just enough to shape the tire, and finish the second bead with your thumbs or plastic tire levers. Never use levers with metal cores, and never twist a lever past 90 degrees. You will cut the casing and the bead.
Finish the mount at the valve. Start opposite the valve, tuck the last section into the valley, and stop at the valve stem so you are working against the valve’s resistance at the end rather than fighting it in the middle.
Before inflating, run your fingers around the whole bead and check that no section is sitting proud on top of the bead seat. One proud section is enough to stop the tire seating cleanly.
Add Sealant and Inflate the Tire
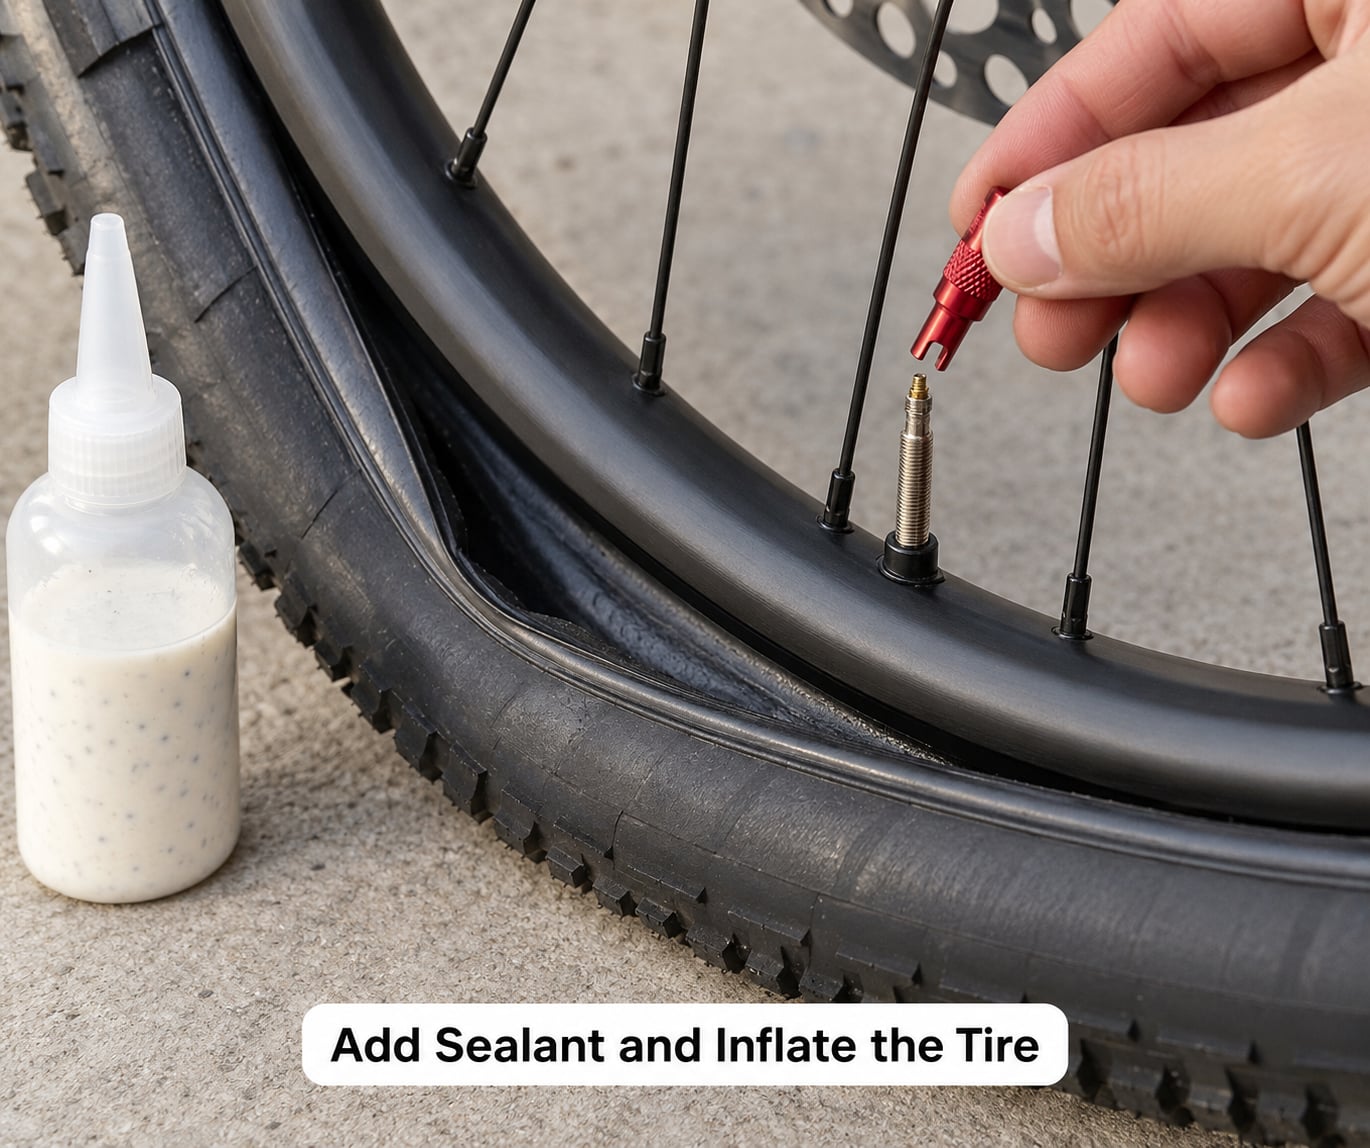
Add 30 to 60 ml of liquid sealant for a 25 to 32 mm road tire, and scale up from there for anything wider. Here is the useful range:
- 25 mm road tire: about 30 to 40 ml
- 28 mm road tire: about 40 to 50 ml
- 30 mm road tire: about 45 to 55 ml
- 32 mm road tire: about 50 to 60 ml
- 35 mm and wider: 60 ml or more
You can inject it through the valve with a syringe-style injector, which is the cleanest method. If you do not have one, deflate the tire, lift one bead out of the rim near the valve, pour the sealant in, and press the bead back into place.
Seating the bead first and adding sealant afterwards also works, and you can bleed a little air and push sealant through the valve on an already-seated tire. The order matters less than getting the volume right.
Now inflate quickly. A large burst of air in two or three seconds gives the bead a better chance than a slow squeeze, because the bead needs to move toward the rim center before it locks into the hook. Add a drop of dish soap to the bead to help it slide.
Some riders set the wheel aside overnight with the core out so the beads creep into place by themselves. That works about as often as it does not, which is why most people reach for more air instead.
Check Pressure, Sealant, and Ride Readiness
Check that the tire shape is even all the way round with one continuous bead line, then reinstall the valve core and inflate to riding pressure.
Rough road pressures for a 75 kg rider on 28 to 32 mm casings sit somewhere around 75 to 95 psi, and you can go softer on rough tarmac or in winter. Use your tire and rim makers’ maximum figures as the ceiling, not the target.
Spin the wheel and look for sealant squeezed out around the bead. A small amount is normal. A steady stream of sealant at one spot means that bead edge is not seated.
Expect to top up pressure after the first night. A fresh setup loses a little air while the bead and rim find each other, and that usually settles down within a day or two. If you are still losing air a week later, you have a leak, not bedding-in.
Finish with a short low-speed test ride close to home. Listen for escaping air, check the tire shape once you are rolling, and look at the rim after the ride for wet sealant or a strip of rim tape pulled loose. If you get 10 to 15 km without drama, you are ready for a longer road ride.
Common Mistakes When You Set Up Tubeless Road Tires
Almost every failed road tubeless setup comes down to one of a handful of mistakes, and all of them are fixable.
- Riding on an untaped rim. Spoke holes leak air before they ever get a chance to seal. Tape or strip first, every time.
- Mixing a standard clincher with a tubeless rim. The bead will not hold. Use tubeless-compatible casings.
- Underfilling or overfilling sealant. Too little and cuts will not seal; too much and the extra slings out and adds weight you carry up every climb.
- Twisting tire levers. Pushing a lever past 90 degrees cuts the casing. Use plastic levers, or thumbs only.
- Leaving the valve core in. The bead will often not seat with the core installed.
- Ignoring slow pressure loss. A fresh setup loses a little; a steady decline does not stop on its own.
Common Mistakes and How to Fix Them
Start at the top of this list and work down. Each step is cheaper and faster than the one below it, and most tires seat before you reach the bottom.
- Put both beads in the rim valley. Walk the tire with your hands and press the loose bead into the center channel all the way around. This fixes most cases on its own.
- Finish the mount at the valve. If you completed the bead opposite the stem, you are pushing against the tightest point on the rim. Unseat and redo it, ending at the valve.
- Add soapy water to the bead. A drop of dish soap is enough lubrication to let the bead creep.
- Take the valve core out again. Confirm it is genuinely removed and the hole is clear.
- Use a burst of CO2 or a booster tank. A fast 3 or 5 second blast, well above your normal pressure, moves the bead toward the rim center.
- Use a ratchet strap. Wrap it around the circumference of the mounted tire and crank it down. Riders on r/bikewrench report this sealing stubborn road pairings that a floor pump could not.
- Use a bead jack. This tool levers one bead into the valley opposite the valve while you finish the other by hand.
- Seat with an inner tube as a last resort. Inflate the tube to push the bead into place, then deflate and remove it. Be aware that the tube can leave the bead glued hard to the rim and make the next removal genuinely difficult, so this is a rescue step, not a routine one.
Some tire and rim combinations are simply awkward. Riders regularly report pairs like Vittoria Corsa Control on Zipp 303S or Continental GP5000 TL on Mavic Cosmic Pro UST taking several attempts, while nearly identical casings go on first try on a different rim. If you have followed the ladder and nothing seats, the pairing may be the problem rather than your technique.
Two other failures show up repeatedly after a successful setup. Dried sealant plugging the valve core looks exactly like a slow leak, and a twist of the core usually frees it. Sealant residue baked onto the bead seat can also mimic a puncture until you clean the rim.
Frequently Asked Questions
How much air pressure should I run in tubeless road tires?
Start near the middle of your tire maker’s recommended range rather than at either extreme. For a rider around 75 kg on 28 to 32 mm road casings, roughly 75 to 95 psi is a sensible road range, and you can drop lower for comfort on rough tarmac. Never exceed the maximum printed on the tire or rim, and check pressure before every ride for the first week while the setup beds in.
How much tubeless sealant do I need?
Plan on 30 to 60 ml per road tire, and match it to the tire volume. A 25 mm tire takes about 30 to 40 ml, a 28 mm takes 40 to 50 ml, and a 32 mm takes 50 to 60 ml. Anything from 35 mm upward needs 60 ml or more. Too little leaves cuts unsealed; too much slings out of the tire and adds weight you carry on every climb.
Can I use tubeless road tires on a rim with rim tape?
Yes, and that is exactly what the tape is for. Tubeless rim tape or a plastic rim strip seals the spoke holes so the air inside the tire has nowhere to escape. The difference is convenience: tape is cheaper and lighter but takes more care to apply smoothly, while a rim strip arrives molded and sealed. Either works, as long as every spoke hole is fully covered with no bubbles or gaps.
Why will my tubeless tire not seat on the rim?
The usual causes are a bead sitting proud instead of in the rim valley, finishing the mount away from the valve so you fight the tightest point, a stiff cold casing, a crooked valve, or inflating too slowly. Work both beads into the rim valley by hand, finish at the valve, add a drop of dish soap, remove the valve core, and inflate with a fast burst of air. A ratchet strap is the next thing to try.
Can I use a CO2 inflator to seat a tubeless tire?
Yes, and it is one of the faster ways to seat a stubborn bead because it dumps a large volume of air in a couple of seconds. The drawback is that the cartridge is nearly empty afterward, so you will need another way to reach riding pressure. Most riders keep a floor pump or a tubeless inflator for pressure and reach for CO2 only as a seating aid.
How should I repair a large puncture in a tubeless road tire?
Sealant handles small cuts on its own, but a large hole needs a plug. Insert a tubeless repair plug through the hole from the inside, push it through the casing, trim it flush with a utility knife, and reinflate. Check that the tire holds air at riding pressure for a few minutes before you set off. Carrying a spare tube and a mini pump as a backup is still sensible.
Conclusion
Start with the compatibility check, because it costs nothing and it is the one step you cannot undo later. Fit the tire dry with both beads in the rim valley, finish the mount at the valve, take the valve core out, and add 30 to 60 ml of sealant for a standard road tire.
Inflate in one fast burst rather than a slow build, then check the bead line all the way round before you install the core again. Give the tire a short low-speed test ride close to home, and only then commit to a long road ride. Top up pressure for the first few days, and check the sealant every couple of months.