Single leg drills on the bike are short sessions where you pedal with one leg while the other hangs, hovers or rests on the pedal. They expose the left-right power gaps that normal riding hides, and they sharpen the smoothness of your pedal stroke. Most riders only need five to ten minutes, twice a week, on a flat road or on a trainer.
Nobody is good at this on the first attempt. Most riders can manage ten revolutions before the crank starts knocking, and the cadence they normally hold quietly drops into the 70s. That gap is the whole point of the exercise, so treat the first session as a diagnostic rather than a workout.
The six drills below build on each other, from an easy cadence you can hold for a minute to short bursts you can slot into a group ride. Move through them in order, and only add speed or resistance once one leg can circle smoothly for a full minute.
Table of Contents
- What You Need
- Step-by-Step: How to Practice Single Leg Drills Safely
- 1. Single-Leg Pedaling at an Easy Cadence
- 2. Single-Leg Pedaling at Race Cadence
- 3. Single-Leg Figure-Eight Pedaling
- 4. Single-Leg Pedaling with Added Resistance
- 5. High-Cadence Single-Leg Spin
- 6. Single-Leg Pedaling in a Group or Event
- Common Mistakes
- Frequently Asked Questions
- What are the benefits of single leg drills on the bike?
- How long should I practice single leg pedaling?
- Are single leg drills safe for beginners?
- Should I use resistance during single leg drills?
- Will single leg pedaling improve my climbing?
- Can I do these drills while riding in a group?
- Conclusion
What You Need
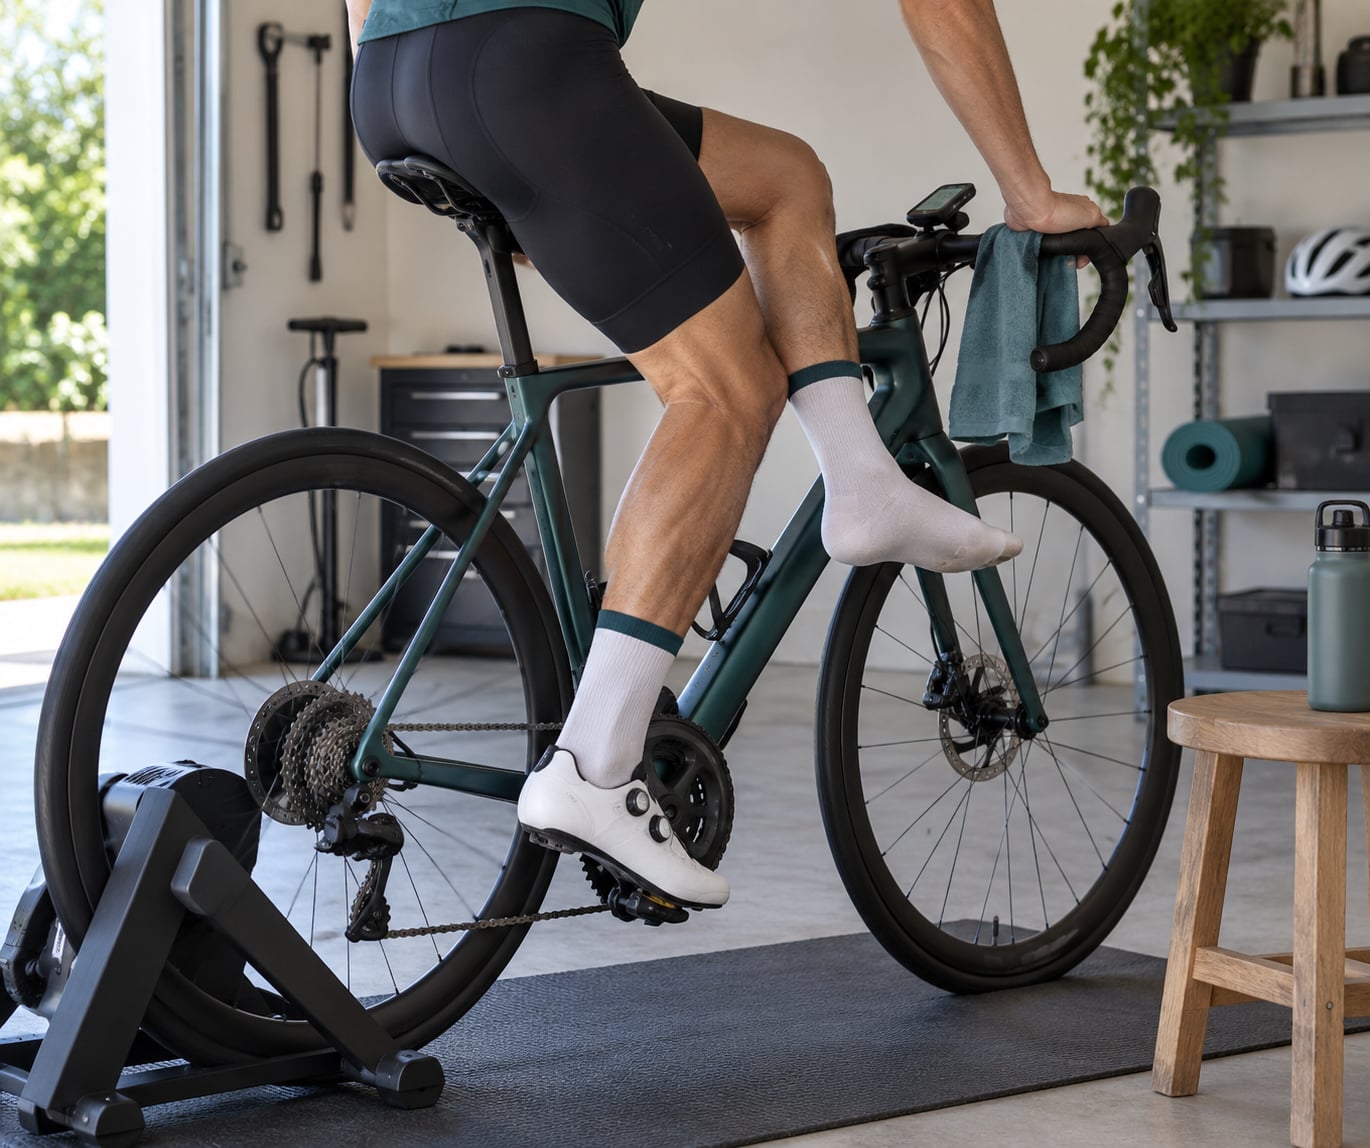
You need a bike that is safe to ride one-handed at low speed, and a place where you can coast without traffic pressure. That means a flat, straight road away from junctions, a quiet indoor trainer, or a stationary bike if you genuinely do not want to roll outside.
- A road bike or trainer. Clipless pedals are fine and give you the most realistic pedal path. Flat pedals make many riders learn the movement faster because the foot can come off the pedal freely, so they are a reasonable starting point for anyone who clips in and out nervously.
- A stable setup for the free leg. The most common question from riders is what to do with the leg that is not working. Let it hang straight down, hook the toe around the back of the crank arm, or rest the heel lightly on a low stool or the seat stay. Dangling is the simplest and it works fine.
- Easy clothing and shoes. Nothing special, but flat-soled shoes make it easier to notice how much you are twisting through the instep.
- A trainer setting you already understand. If you ride indoors, know how to drop the target before you start, because the effort changes fast on one leg.
- Two minutes of free road. A flat road with no cars is worth more than an elaborate test. If the road is not safe, do the session indoors.
On a smart trainer, expect ERG mode to be harder. The flywheel resists slowing down, so when your one working leg drops through part of the stroke, the trainer pushes back and the leg has to fight the wheel. Many riders who fight constant crank knocking in ERG mode find it settles immediately when they switch to resistance mode and set the resistance by feel.
Step-by-Step: How to Practice Single Leg Drills Safely
Set up with both feet on the pedals, ride for two minutes, then unclip one foot and place it lightly on the top tube or let it hang. Keep your saddle flat and your weight in the pedals. Before you start turning anything up, do one set of ten revolutions on each leg to learn which one feels weaker.
Here is the order to work through, with the numbers that matter for each one.
- Easy single-leg: about 80 rpm, 3 x 60 seconds per leg, for learning the movement.
- Race cadence: about 100-110 rpm, 3 x 30 seconds per leg, watching level hips and quiet shoulders.
- Figure-eight: about 70 rpm, 3 x 45 seconds per leg, for hip stability and ankle control.
- Added resistance: self-selected, about 60 rpm, 4 x 20 seconds per leg, to force drive through the whole arc.
- High-cadence spin: about 120 rpm, 6 x 15 seconds per leg, for smoothness under speed.
- Real-ride application: normal riding cadence, 30-60 second moments, carrying the stroke into traffic.
1. Single-Leg Pedaling at an Easy Cadence
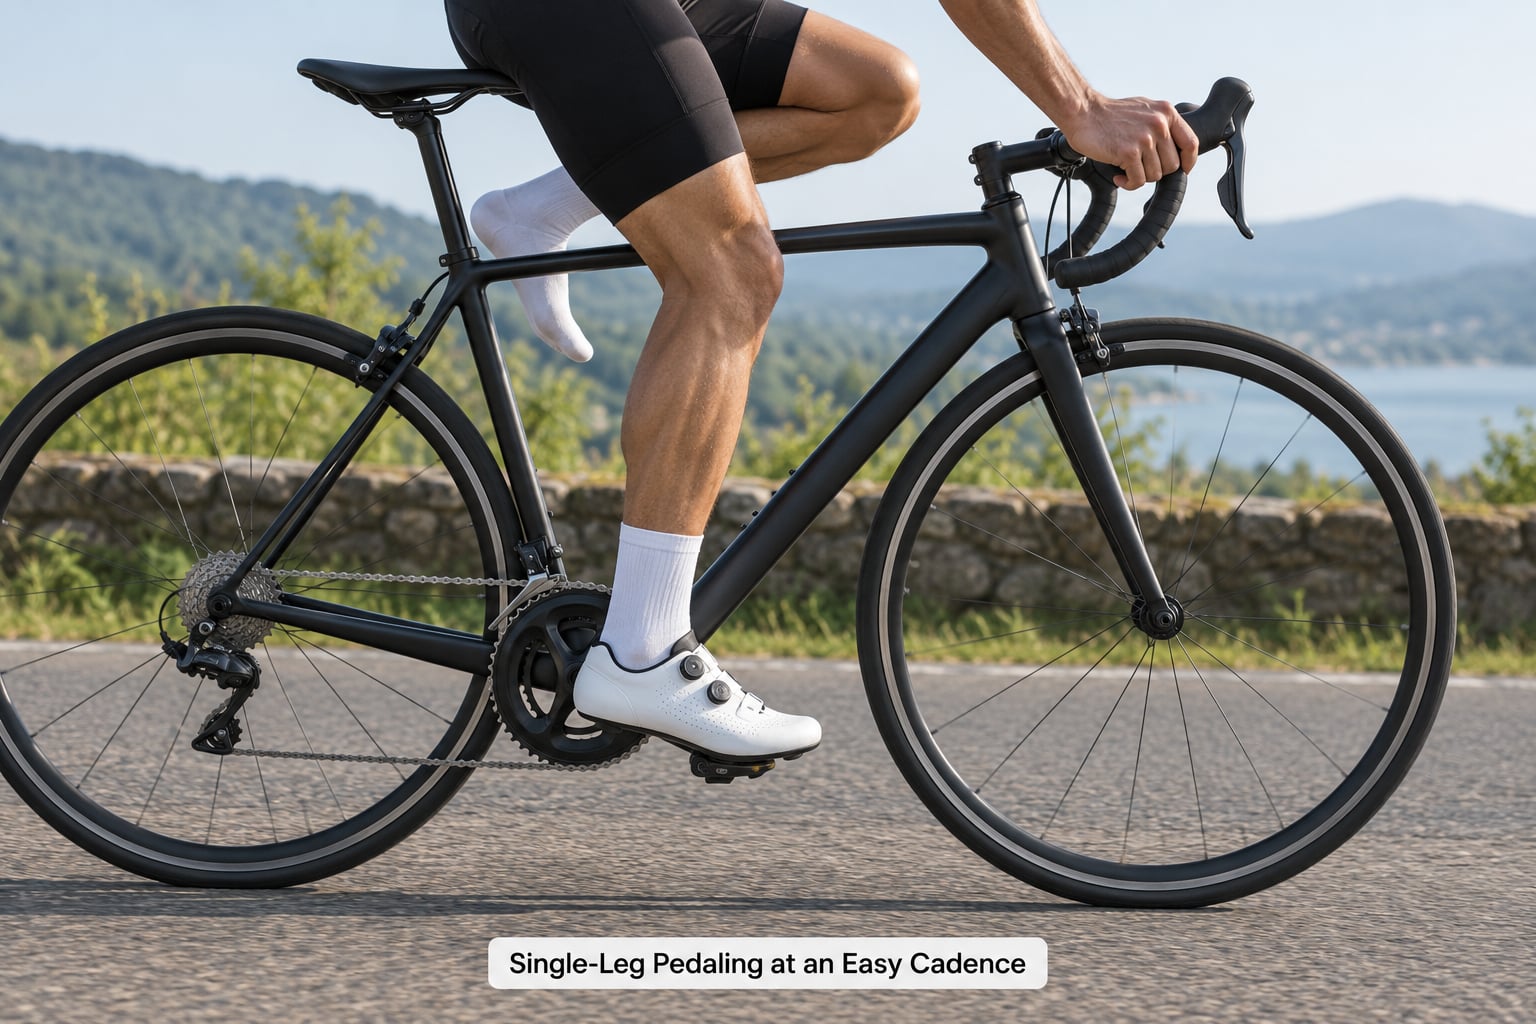
Start at roughly 80 rpm, which is slower than you think and about where most riders feel comfortable for a couple of minutes. Hold one revolution per second and let the working leg circle through the entire loop with no pause at the top.
The free leg stays heavy and relaxed. If you lift it high or hold it rigid, you create a hip tilt that steals effort from the leg doing the work. The sign that it is going well is a quiet upper body: shoulders level, head still, no rocking in the saddle.
Do three rounds of one minute per leg with easy spinning in between. When a full minute feels boring rather than hard, you are ready to move on.
2. Single-Leg Pedaling at Race Cadence
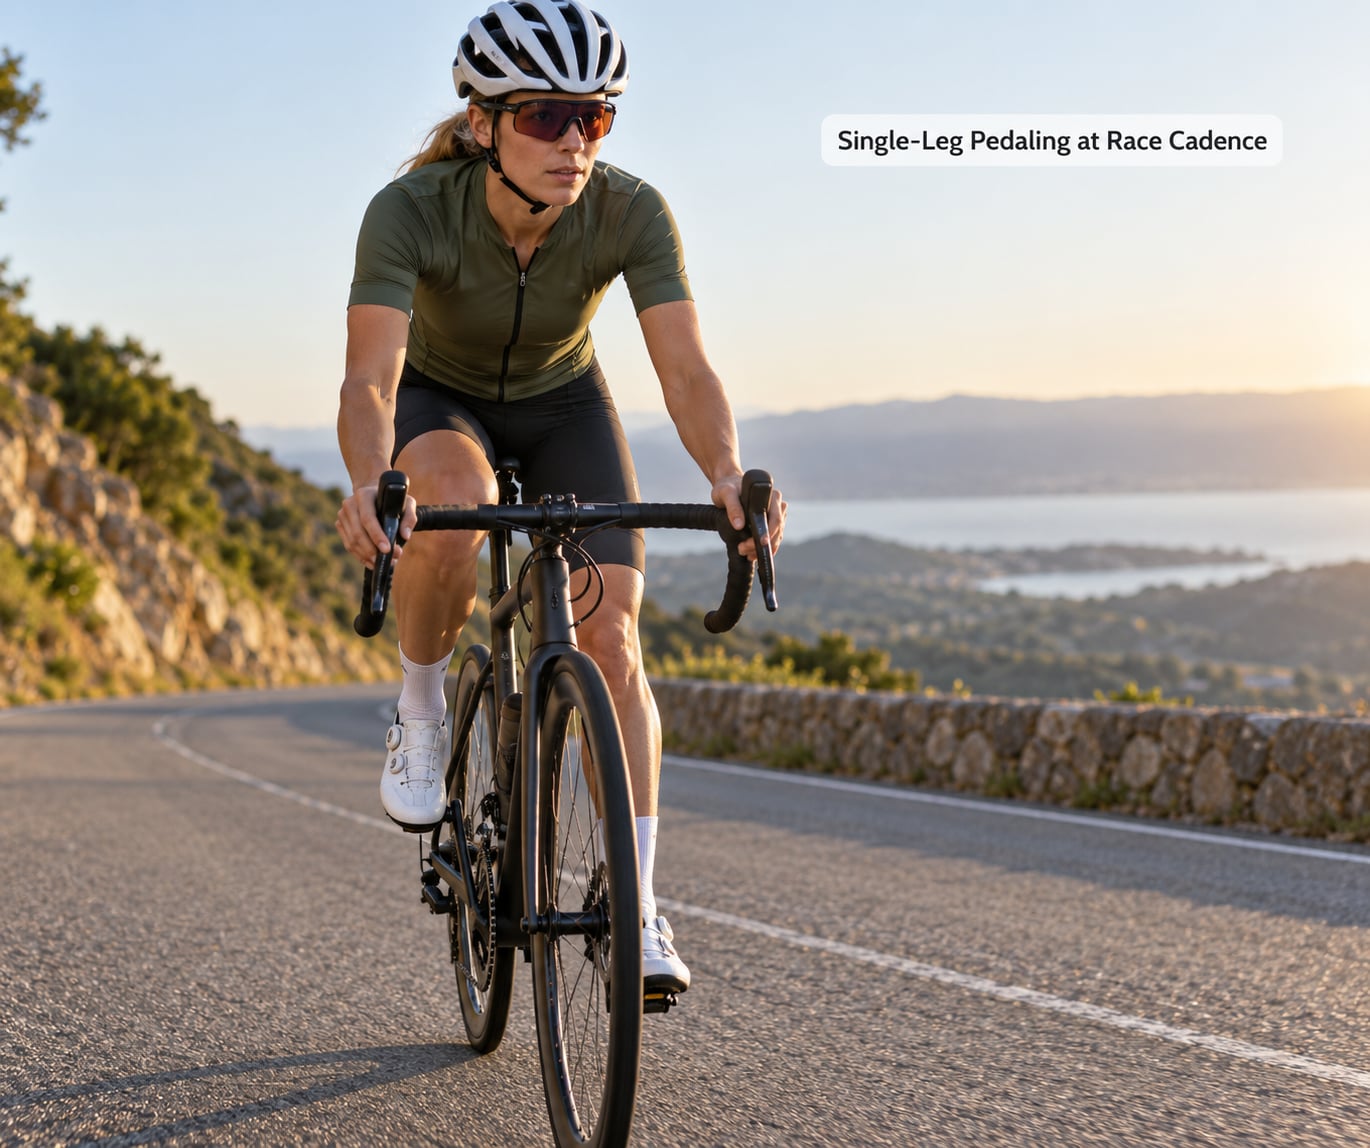
Push the cadence to around 100 to 110 rpm and keep everything else the same. This is where the practice starts to feel uncomfortable, because your usual cadence is only smooth because both legs are covering for each other.
Watch the hips rather than the feet. A hip that drops on the free-leg side is the fault you are looking for, and it usually shows up first at the faster cadence. Keep the shoulders quiet and do not let the knee shoot forward over the toe to force the pedal through the top.
Three rounds of 30 seconds per leg is plenty. Sit up and spin normally for a minute after each set.
3. Single-Leg Figure-Eight Pedaling
The figure-eight drill shifts your working leg in and out across the bike as you pedal, so the hip has to control a moving load instead of a fixed one. Stay seated, drop to a slower cadence near 70 rpm, and move the knee in toward the frame center line, then back out, over a slow figure eight.
Do it in small movements first. Large sweeps feel dramatic and simply twist the whole torso, which defeats the purpose. The target is a level pelvis with the working knee tracing a small, slow path.
Run three rounds of about 45 seconds per leg. This drill builds the hip stability that keeps a knee tracking over the pedal rather than drifting in toward the frame, which is one of the reasons riders get knee pain on long rides.
4. Single-Leg Pedaling with Added Resistance
Shift up a gear or raise trainer resistance until one leg can still finish each revolution without a knock, then hold that setting. The point is a deliberate stroke, not a struggle. If you cannot complete a revolution, you have gone too far.
Stay seated the whole time. Standing on one leg is a different exercise and a good way to lose balance, and straining against a heavy gear produces exactly the mashing habit these drills are meant to remove.
Work in four rounds of 20 seconds per leg with generous recovery. Beginners often find even a modest gear tough here, which is normal. In resistance mode you control the load with the resistance knob rather than with gearing, which keeps it consistent across bikes.
5. High-Cadence Single-Leg Spin
This one looks like interval work: six short bursts of about 15 seconds per leg at a high cadence near 120 rpm, separated by easy two-legged spinning. Even out of the saddle is fine here, because the burst is too short for your balance to drift.
There is a line between useful high cadence and simply bouncing. If your hips are leaving the saddle more than a few millimetres on each revolution, or your shoulders are pumping, slow down. The goal is quiet feet and a rising cadence, not the highest number the bike can produce.
Riders who get this right usually notice the same thing afterwards: the same effort produces a higher cadence, because the stroke has stopped costing energy.
6. Single-Leg Pedaling in a Group or Event
On the road, single-leg work belongs in short, deliberate moments rather than in the middle of a bunch. The best slots are a climb where you are already working one side, the first minutes of a warm-up before everyone settles into a line, or the first thirty seconds after a stop when you are standing up anyway.
Never take a hand off the bar in traffic, and do not do it on a descent. If you ride with others, warn the group, stay on the side where you are visible rather than hidden in the wheel, and pick a road with a hard shoulder.
Set the expectation that this is a short sharpening tool, not a replacement for normal group technique. Some riders get the same effect from a 9-to-3 drill or from single-leg circle pedaling, and plenty of experienced cyclists think the value of drills is overplayed. What nobody argues with is the diagnostic value of ten revolutions on each leg.
Common Mistakes
Crank knocking. The most common fault, and the reason many riders give up. It happens when the free leg cannot carry the pedal through the top of the stroke, so the crank loses momentum and drops. The fix is to drop the gear, drop the cadence and shorten the interval, then rebuild. Switching a smart trainer from ERG to resistance mode also fixes it for many riders.
Twisting the hips. If your working knee travels in a wide arc or your shoulders rotate, you are turning the whole torso instead of driving from one leg. Shrink the movement until you can pedal without moving your shoulders at all.
Lifting the free leg too high. Holding the non-pedaling leg up near your knee creates a hip tilt and a core brace you cannot sustain. Let it hang, or rest it lightly. Heavier than relaxed is the failure mode here.
Bouncing in the saddle. Rising off the saddle on every revolution looks like effort and costs smoothness. Sit down and keep the weight in the pedals, especially during the longer sets.
Chasing cadence you cannot hold. Forcing your normal cadence on one leg is where the knocking starts. Let the cadence drop in the early sessions and let it come up on its own over a few weeks.
Mashing to get the pedal down. Overloading the downstroke to force the leg over the top adds load exactly where the stroke does not need it. Think about pulling the pedal back through the bottom instead.
Practising where it is not safe. Single-leg work at low speed needs space. If the only flat road near you has traffic on it, the session belongs on the trainer, where the worst outcome is dropping the intensity.
Treating it as normal pedaling. The whole exercise is abnormal on purpose. If you can hold it with both legs on, you have gone too easy to learn anything from it.
How you know the practice is working is straightforward: hold a full minute on your weaker leg, at the cadence you started with, without a knock. Note that number and the cadence you reached. Within four to eight weeks of twice-weekly work, the time you can hold and the smoothness of your normal stroke are the two things worth tracking.
Frequently Asked Questions
What are the benefits of single leg drills on the bike?
They reveal the left-right power gap that normal riding hides, which recreational riders often carry at several percent without feeling it. Because one leg has to produce force and stabilize the hip on its own, the practice builds hip stability and knee control, and it removes dead spots from the top of the stroke. Most riders report a smoother, quieter pedal stroke within four to eight weeks of twice-weekly work.
How long should I practice single leg pedaling?
Five to ten minutes per session, twice a week, is enough. Start with three rounds of one minute per leg at an easy cadence and build from there. Longer sessions do not produce better results because the quality of the stroke drops as fatigue sets in. Some riders prefer ten-repetition sets with frequent switches, which is a good way to keep quality high early on.
Are single leg drills safe for beginners?
Yes, and there is no reason to wait until you are fit. The drills are hard for everybody at first, including experienced riders. Beginners often get a smoother result sooner because they have less established bad habits to unlearn. Use flat pedals if clipping in and out makes you nervous, start on flat ground, and keep both hands on the bars until the movement is automatic.
Should I use resistance during single leg drills?
Only after the easy version is smooth. Add resistance by shifting up a gear or raising the trainer setting until each revolution takes real effort but still completes without a knock. Stay seated, and back off if you feel yourself straining or standing up. On a smart trainer, resistance mode suits these sessions better than ERG mode because the effort does not surge when the working leg slows.
Will single leg pedaling improve my climbing?
Indirectly, yes. It will not make you dramatically stronger on a climb, but a smoother stroke means less energy wasted per revolution, and the hip stability work supports the position you hold out of the saddle. The measurable gains come from correcting an imbalance that is costing you power on one side. Most riders find it pairs well with real climbing work rather than replacing it.
Can I do these drills while riding in a group?
You can, but keep it brief and safe. The sensible slots are the first part of a warm-up, the first seconds after a stop, or a section of a climb where you are already seated. Do not do it in traffic, on a descent, or with a hand off the bar. Tell the group, stay where you are visible, and use it as a short sharpening tool rather than a substitute for normal group riding.
Conclusion
Start with drill one and stay at an easy cadence until a full minute on each leg feels ordinary. That is the whole foundation: a relaxed free leg, a level hip, and a working leg that completes the whole circle without knocking.
Then move through race cadence, figure-eights, resistance, high-cadence bursts, and finally the short road applications. Add speed or load only after the slow version is clean, and keep sessions to five or ten minutes twice a week. Track how long you can hold each leg and the cadence you reach, because those two numbers are the only honest measure of progress.