Handling is a trainable skill, not a personality trait, and you can improve it with short, boring repetitions of a handful of drills. To improve bike handling skills, work on balance and steering first, add controlled braking in a straight line, then layer on cornering, descents and group riding — in that order, on a quiet surface, at walking-pace speeds. Most riders who practise consistently for four to six weeks notice the bike feels calmer and their shoulders stop aching by the end of a ride.
What follows is a progression, not a list of tricks. Each drill has a pass mark, and you move on when you hit it rather than when a session feels good. That distinction matters, because the riders who plateau are usually the ones who practise the fun drills on day one and skip the slow ones.
Table of Contents
- What You Need
- Step-by-Step
- 1. Practice steering and balance at walking speed
- 2. Master smooth cornering and line choice
- 3. Develop controlled braking in straight lines
- 4. Practice gradual descents and braking zones
- 5. Build confidence with low-speed technical turns
- 6. Practice changes of direction and emergency avoidance
- 7. Improve gear changes and pedaling control
- 8. Put handling skills into group-riding practice
- Common Mistakes
- Frequently Asked Questions
- How long does it take to improve bike handling skills?
- What surface should I use for bike handling drills?
- How often should I practise bike handling drills?
- Why does my bike feel twitchy and unstable?
- How do I stay relaxed and stop being nervous on descents?
- Should I use a road bike or a mountain bike to practise?
- Conclusion
What You Need
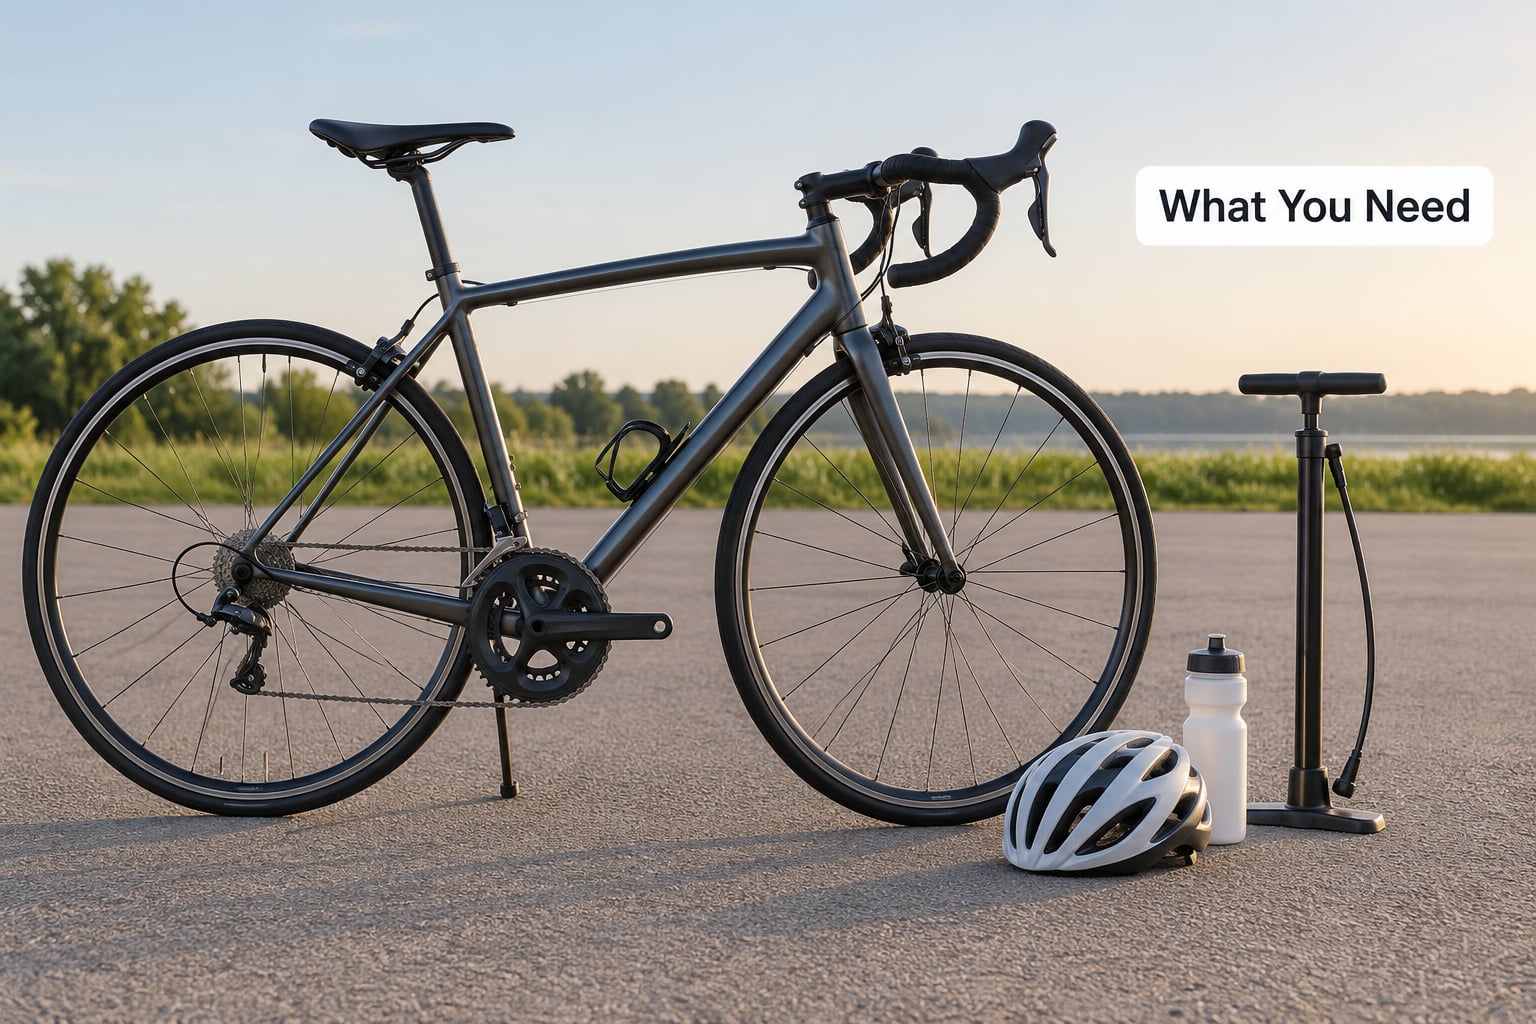
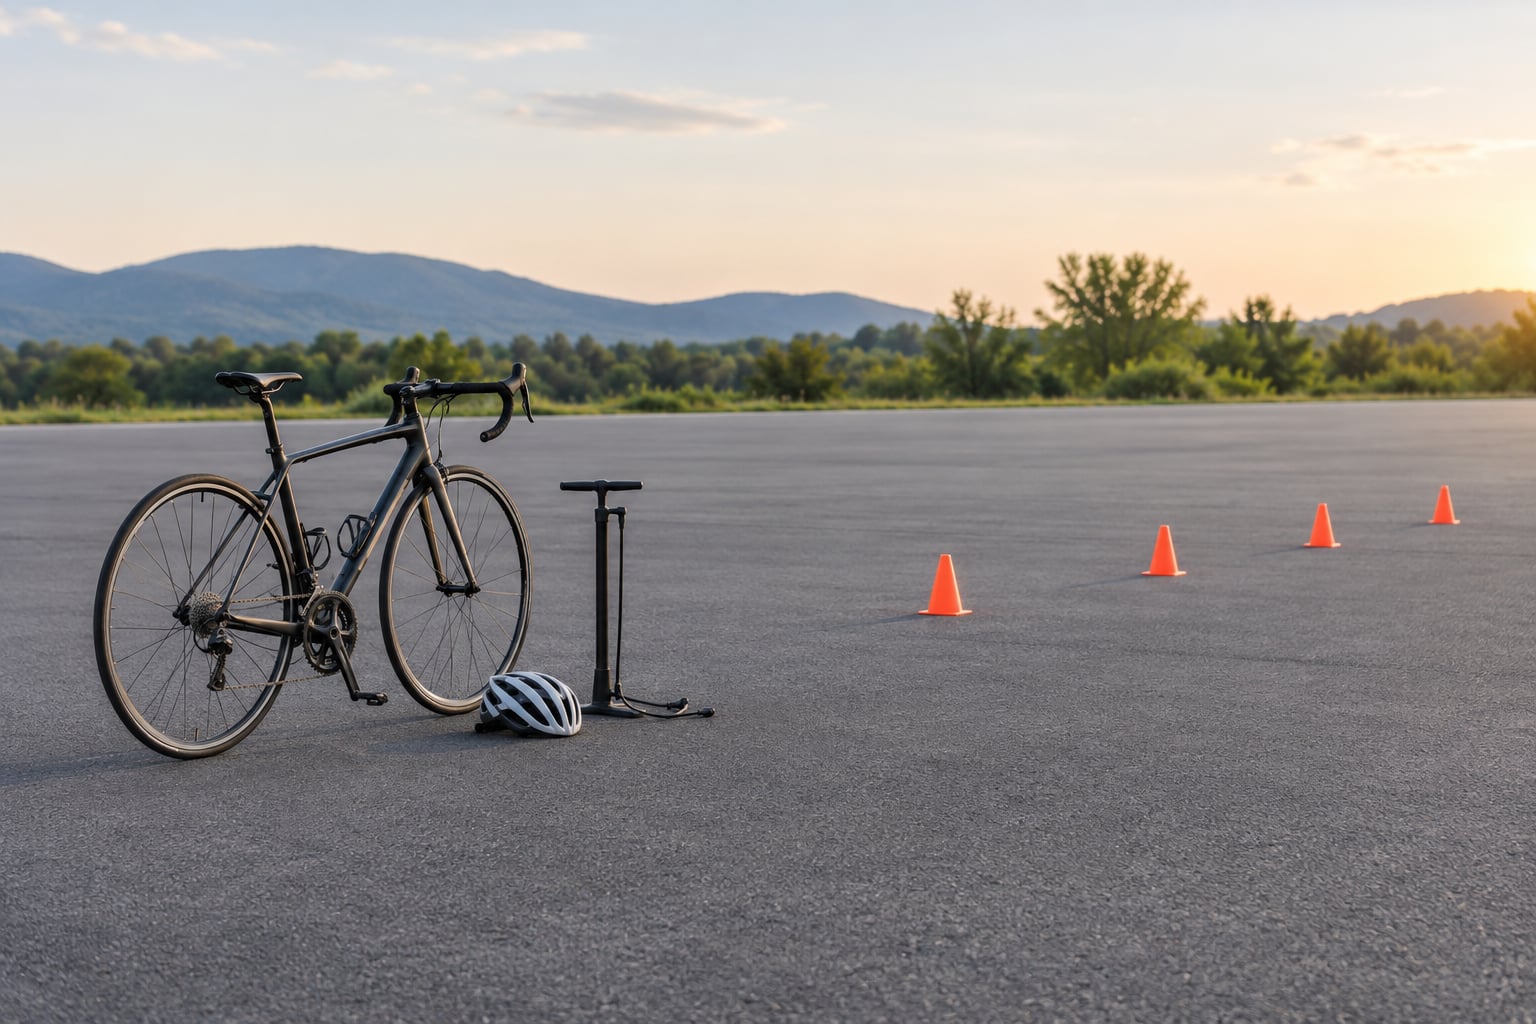
You need very little. A road bike in working order, a flat patch of tarmac you are allowed to be on, and about 30 minutes. A quiet car park at a low-traffic time is what most riders use, and forum riders reach the same conclusion independently: an empty lot beats a windy back road because you can stop whenever you want without crashing.
Check the bike before you ride, not after something goes wrong. Look at tyre pressure with a gauge rather than by thumb, and set it to the range printed on the tyre sidewall for your weight. A soft tyre understeers into corners and makes a perfectly good bike feel nervous.
Run both brake levers with the bike in a hand. They should feel the same when squeezed halfway. If one bites much harder, your controlled braking drill will teach you the wrong habit, and that habit will show up on a wet descent.
Wear a helmet every session, including the parking lot ones. A fall at walking pace onto tarmac still hurts. Carry a spare tube, a pump or CO2, and a multitool, and keep your phone with you.
Start slower than feels necessary. The first ten minutes should be at a speed you could stop with your feet down inside two seconds. Once handling feels automatic at that pace, the same drill at a genuinely quicker pace is the next step, and it is a big one.
Step-by-Step
Eight drills, ordered so that each one gives you the control the next one needs. Do them in order for your first month, then rotate the ones that felt weakest into your warm-up for the rest of the year.
1. Practice steering and balance at walking speed
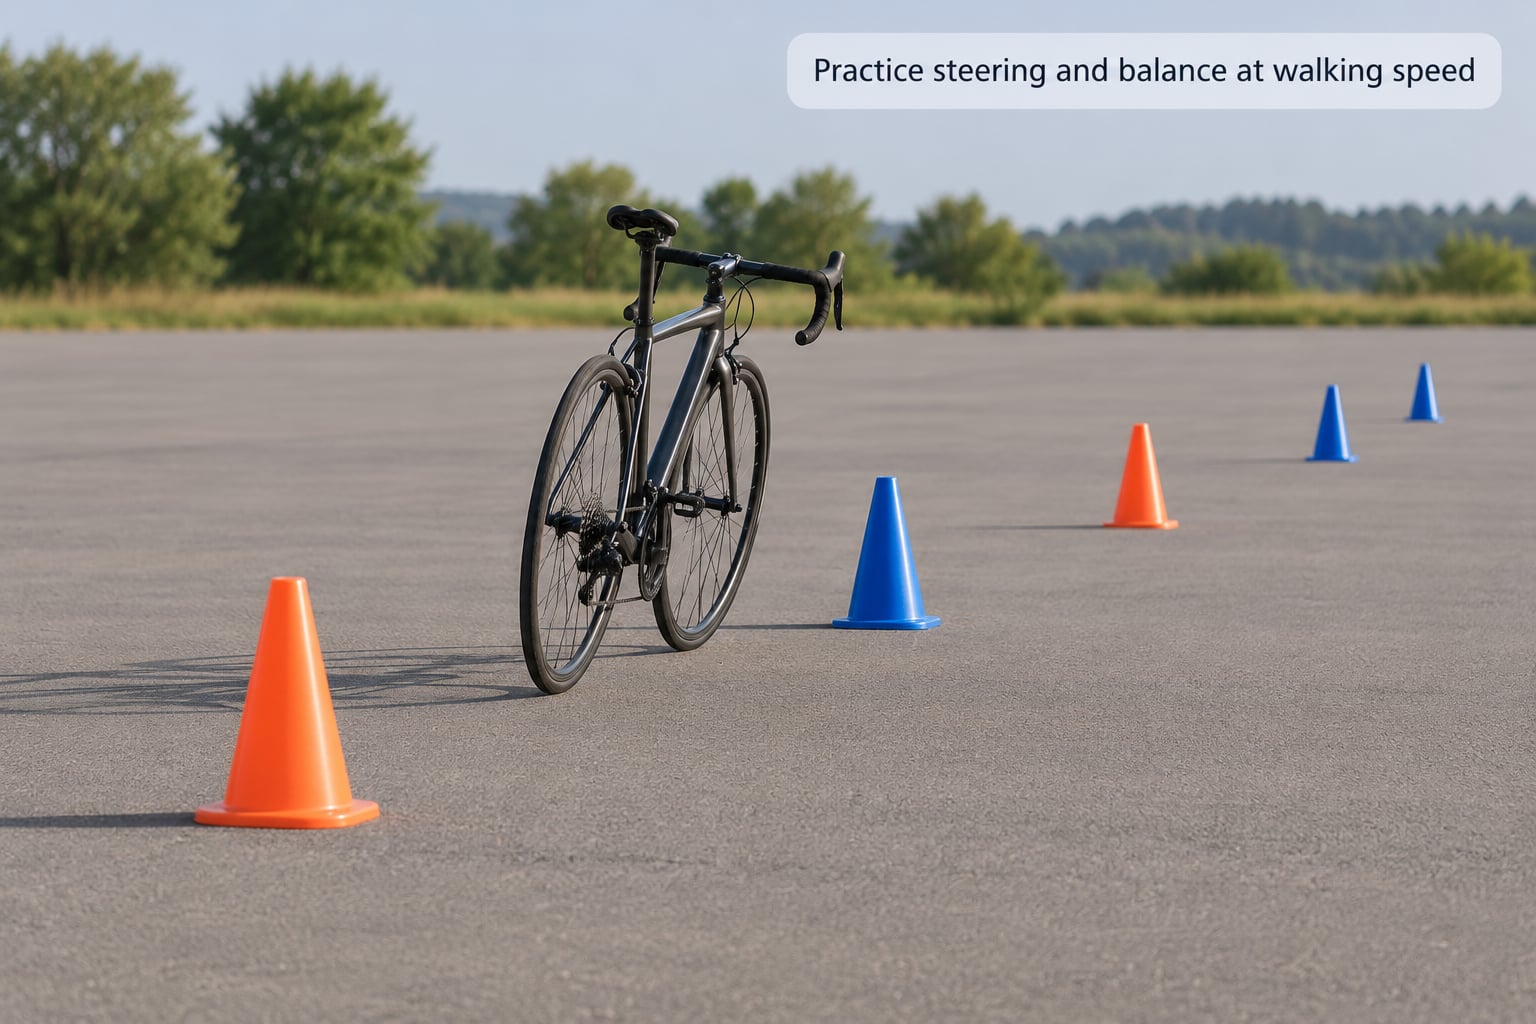
Balance comes from small, frequent steering corrections, not from gripping harder. Set a slalom line with widely spaced cones — roughly 3 to 4 metres apart — and ride through it one cone at a time at walking pace. Move a hand briefly to the bars, then the other, then both, and keep your eyes on the rider ahead of you rather than on the front wheel.
Make each input small. A 5 cm handlebar nudge with a relaxed upper body does more than a sudden 30 cm yank, because the bike tracks the small input instead of snapping toward it. Keep your elbows bent and your shoulders down; tension above the waist is what makes a bike twitch.
Pass mark: three clean runs where you can ride the slalom with both hands on the bars, stop the wobble within about a metre of any wobble starting, and hold a straight line between cones without constant bar fiddling. Then drop the cone spacing to roughly 2 metres and ride it again.
2. Master smooth cornering and line choice
Cornering is three decisions in order: where to aim, how fast to arrive, and what the bike is doing under you. Decide the line first. Aim for an early apex on a tight turn, a late apex on a fast sweeping one, and stay off the white line or the gutter debris that costs you the same grip for less corner.
Brake before the turn, while you are upright, in a straight line. Braking mid-corner is the single most common cause of a low-side fall, and it feels slower than it is. Once leaned, your steering is your main control and the brakes are close to useless for direction.
Look through the corner at the exit, not at your front wheel or the kerb beside you. If your gaze drops, your steering follows your gaze and you run wide. Hold a light grip on the brake hoods, keep the upper body quiet, and let the bike lean under you rather than throwing your weight into the turn.
Pass mark: a cone-marked oval you can lap at a moderate pace with a smooth line, no abrupt bar inputs, and both pedals staying roughly level with the ground through the turn.
3. Develop controlled braking in straight lines
Pick a flat, straight stretch with nothing to hit at the end. Start at a slow, fixed speed and build to a brisk one, feathering both brakes progressively rather than grabbing either one. A smooth stop is the goal: no front-wheel skids, no rear-wheel lock, and the bike tracking straight the whole way down.
Shift your weight back by dropping your heels and softening your arms, so the braking load sits on the saddle instead of over the front wheel. If you brake and pitch forward onto the bars, you have already created the crash. Many riders brake harder than they need to simply because they are gripping the levers too tightly.
Measure it. Note the speed at which you start braking and the distance you cover, then repeat it three times at the same speed. If the third run is longer than the first, your braking is inconsistent, and inconsistency is what makes a road corner unpredictable. Bring the stopping distance down by looking further ahead and starting to brake earlier, not by braking harder.
Pass mark: three straight-line stops at a fixed speed, all three within about half a bike length of each other, with no locked wheel on the painted centre line.
4. Practice gradual descents and braking zones
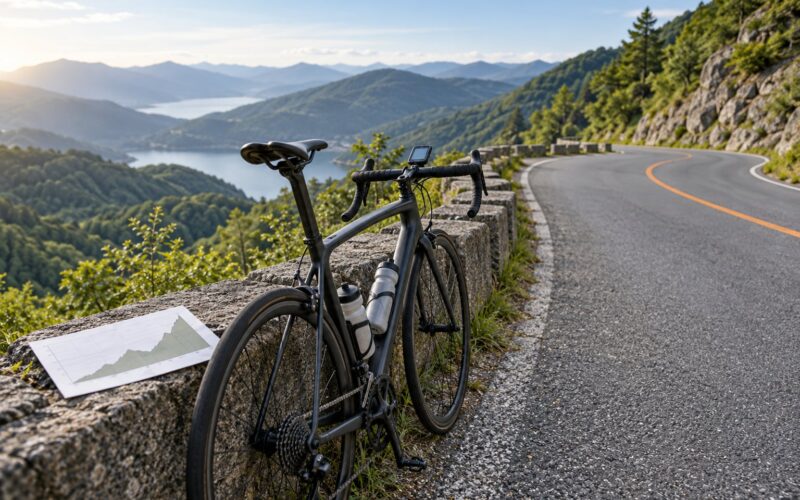
Descents are where handling turns into confidence, and confidence is mostly a planning problem. Before a steep section, pick the line you will hold for the whole run, then control your speed so that the steepest part is the easiest part. Entering fast because the gradient looked gentle for a second is how riders end up in a hedge.
Work in braking zones. Brake firmly to a slow speed in a straight line, hold it through the flat or gentle part, then release before the next turn so the bike is rolling and steering again. Successive turns on a long descent are a rhythm problem, and the rhythm is set by the first turn, not the fifth.
Keep off the front brake through a lean, look well past the turn, and if the gradient gets steeper than the line you chose, ride it rather than reaching for more brake. Forum riders are consistent about this: a slow descent on a quiet road builds far more skill than a fast one on a busy road, and a lot more nerve than staying at home.
Pass mark: ride a familiar descent of roughly 5 to 8 percent at a speed you chose in advance, without a sharp grab on either brake mid-corner and without putting a foot down.
5. Build confidence with low-speed technical turns
Tight turns at low speed teach lean control, pedal clearance and balance in a way open corners cannot. Set a small cone circle you can turn inside while staying seated, at the speed where you can barely stay upright. That edge of control is the interesting part.
Keep the inside pedal up and clear of the ground — a scraped pedal is a fall — and let the outside pedal drop slightly, with a bend in the knee, if you need to lower your centre of mass. Looking inside the turn makes a tight corner feel tighter; looking at the exit makes it manageable.
The failure mode is speed, not skill. If you are wobbling, you are carrying too much momentum, not trying too hard. Slow down, straighten the bars, and roll into it again. Controlled handling means a predictable lean angle, a quiet upper body and a line you chose in advance.
Pass mark: five consecutive slow turns, alternating direction, with no pedal strike and no foot down, at a speed you can hold without gripping the bars.
6. Practice changes of direction and emergency avoidance
Avoidance is a steering and braking problem with a very short time limit. In a genuinely empty area, roll toward a soft, unmissable target — a traffic cone — check over your shoulder, signal, and swerve around it in a smooth arc rather than a sharp stab. Then recover your line on the far side and carry on.
The correction riders get wrong is the front brake. Grabbing it mid-swerve locks the wheel and puts you down; keep both brakes available but light, keep the bike more upright than you think you need, and steer with your arms and body rather than throwing the bars across.
Keep this on tarmac with no traffic. Practising emergency avoidance beside moving cars teaches a twitchy response that carries into traffic, and the point of the drill is a smooth, committed arc, not a panic reflex.
Pass mark: a smooth swerve and recovery, twice in a row, with the bike staying upright throughout and the handlebars returning to straight without a fight.
7. Improve gear changes and pedaling control
Every abrupt movement of the bike costs you balance, and a gear change under load is the most common one riders never think to train. Practise shifting to a lower gear at a light, steady effort while holding a straight line, and use a brief pause in the pedal stroke rather than pushing hard through the shift.
Chase a smooth cadence. Circles rather than a rough scribble, feet passing through the bottom of the stroke without a jerk, and the saddle carrying most of your weight while the upper body stays quiet. A relaxed upper body is what allows the front wheel to follow a line without you steering it constantly.
Train choosing the gear before you need it. On a rise that tightens, decide the gear early and settle into it, rather than spinning, grinding and dropping the chain under pressure, which is exactly the moment you need your balance for something else.
Pass mark: a whole minute of riding in one gear with a smooth stroke and no bar movement, plus five gear changes without wobble or a chain noise.
8. Put handling skills into group-riding practice
Solo drills are where the skill lives, but riding in a line is where you test it. Start with a short, slow, flat club ride and stay a comfortable distance behind the wheel in front — roughly one to two seconds — where you can see the tyre and the shadow of the rider ahead without riding into their back wheel.
Match speed to the rider in front rather than the rider beside you. That single habit removes most of the twitchiness people feel in a group. Hold a straight, consistent line so the rider behind you can predict you, and signal and look before you move out, so the group is never surprised by a sudden position change.
Then add one small task per ride: sit up and stretch on a straight section, take a bottle from your cage at a fixed cadence, or change position on a climb. Those tiny challenges, done repeatedly, are what riders describe as the thing that made the bike feel automatic — and they are also the difference between a rider who is comfortable and one who is merely managing.
Pass mark: a full ride at group pace with no wheel touches, no sudden moves the group had to react to, and your shoulders relaxed at the end.
Common Mistakes
These are the errors that show up again and again, and each one has a matching correction. Read the symptom honestly; most riders are doing at least two of them without noticing.
Gripping the bars too tightly. The symptom is a steering input that arrives late and arrives hard, and shoulders and forearms that ache within half an hour. The fix is a light grip on the hoods, bent elbows, and a deliberate check every few minutes to notice whether your hands have crept tighter.
Looking down at the front wheel. The symptom is drifting wide on exits and a wobble that appears on any straight line. The fix is a gaze target 10 to 20 metres ahead of the front wheel, and a commitment to holding it even when the surface looks interesting.
Braking while leaned over. The symptom is sudden speed loss, a twitch, or a low-side fall. The fix is braking upright before the turn and steering through the corner instead, treating the brakes as nearly unavailable once you are on the lean.
Making sudden line changes. The symptom is a bike that feels unpredictable in a group, and riders behind you braking hard. The fix is scanning early, signalling with your hand, holding a consistent line, and moving gradually rather than across.
Riding the inside pedal into the ground. The symptom is a clunk and a wobble exactly when you are least expecting one. The fix is a slight rise of the inside pedal through tight turns, with the outside pedal kept level-ish to give you something to stand on.
Practising where you cannot stop safely. The symptom is tension that follows you home. The fix is a car park, a wide path, or a quiet loop, and keeping sessions short enough that you finish feeling better than you started.
Over-reliance on the brakes through corners. The symptom is corners taken far slower than necessary and a general sense of being held back. The fix is corner-entry speed control, one hard braking phase in a straight line, then rolling through the turn.
Treating drills as a replacement for riding. Riders report the opposite of what they expect: obsessing over drills, dropping their base fitness, and getting slower overall. The fix is treating a 30-minute drill session as a weekly supplement, never as a substitute for the endurance riding that keeps you strong at the end of a long day.
One honest note on the limits of practice: drills on flat, dry tarmac can create confidence that a steep, loose descent will punish. Muscle memory is useful, and it is not a substitute for judgement. Build the skill slowly, then meet the real conditions gradually — a short easy route first, and lengthen it as the calm feeling lasts.
Frequently Asked Questions
How long does it take to improve bike handling skills?
Most recreational riders report a noticeable change in about four to six weeks of consistent work, and that assumes two or three short sessions a week rather than one long one. A month of twice-weekly 30-minute drills usually fixes balance, straight-line braking and low-speed turns, while cornering at speed and descending calmly take longer, often three to six months, because they need judgement as well as technique.
What surface should I use for bike handling drills?
Flat, dry, even tarmac is the best surface, and an empty car park at a low-traffic time is the most common choice. A wide shared path works too. Skip painted kerb lines, drain covers and gravel while learning, because they add grip changes that make balance harder to read. The surface matters less than having enough room to stop safely without a car in front of you.
How often should I practise bike handling drills?
Two or three short sessions a week beats one long one, because the skill you are building is motor control rather than endurance. Twenty to thirty minutes is enough, and most of it should be easy pedalling with real focus on smooth inputs. Keep one longer, harder ride in your week for fitness, and treat the drills as a supplement rather than a replacement for it.
Why does my bike feel twitchy and unstable?
Check the obvious causes before blaming your technique. Tyre pressure that is too low makes the bike wander and wash wide in corners, and a front wheel that is not properly fastened can change the handling entirely. Bar position, lever reach and saddle height all change how the bike feels under you, and a small adjustment often matters more than weeks of drills. A bike shop fit check is worth an hour.
How do I stay relaxed and stop being nervous on descents?
Fear is usually a planning problem rather than a fitness one. Pick your line before you start the descent, control your speed so the steepest section is the easiest, brake upright in a straight line, and look well past each turn. Breathe out slowly and deliberately on the sustained part, and let your speed be lower than you think you need for the first few descents. Repetition in low-risk settings is what changes the feeling.
Should I use a road bike or a mountain bike to practise?
Practise on whichever bike you actually ride, because skills that transfer are the ones that match your real machine. A road bike is twitchier and rewards light hands and a precise line, so it is the harder teacher of low-speed control. A mountain bike leans differently and absorbs obstacles, which makes it more forgiving while you learn. If you ride both, run the same drills on each and expect different speeds for the same corner.
Conclusion
Improve bike handling skills in one order, because each stage makes the next one possible: balance and steering at walking pace, then smooth cornering, then straight-line braking, then descents, tight low-speed turns, avoidance, gear control and finally group riding.
Start on the next ride. Take an empty car park, set four cones, and spend twenty minutes on the slalom drill until the wobbles stop. Hit the pass mark, come back next week, and add the braking drill. Slow and repetitive beats fast and impressive — and keep the hard endurance riding in the plan, because a rider who can only handle the flat has traded away something they wanted to keep.