Knowing how to climb hills on a road bike comes down to four things: shift into a low enough gear to keep turning the pedals smoothly, start well below your maximum effort, hold a relaxed upright position on the tops of the handlebars, and pace the whole climb rather than the first 500 metres. Get those right and a steep gradient stops being something you survive and starts being something you ride away from. Goof any one of them and your legs will tell you about it two-thirds of the way up.
Worth saying up front: nobody gets dropped for riding slowly. The riders who get dropped are the ones who emptied the tank early and then had nothing for the last third. Ride your own hill, take as long as you need, and walk the section if you have to. There is a finish line either way, and nobody at the top is keeping score.
The rest of this guide walks through the whole process, from reading the route profile before you set off to the training that makes next summer’s climbs easier. It is written for club riders and anyone who wants a century or a gran fondo without the last two hours becoming a sufferfest.
Table of Contents
- What You Need
- Step-by-Step: How to Climb Hills on a Road Bike
- 1. Plan the Climb Before You Start
- 2. Start Easier Than You Think You Need To
- 3. Choose a Gear That Keeps Your Cadence Smooth
- 4. Hold a Stable, Relaxed Position
- 5. Manage Your Effort Over the Entire Climb
- 6. Fuel and Hydrate Without Overeating
- 7. Train for Longer and Steeper Hills
- Common Mistakes
- Frequently Asked Questions
- Should I sit or stand when climbing a hill?
- What gear should I use going uphill on a road bike?
- How do I stop my legs from burning halfway up a climb?
- How hard is a 10% climb?
- Is walking up a hill cheating?
- How do I train for hill climbing if I live somewhere flat?
What You Need
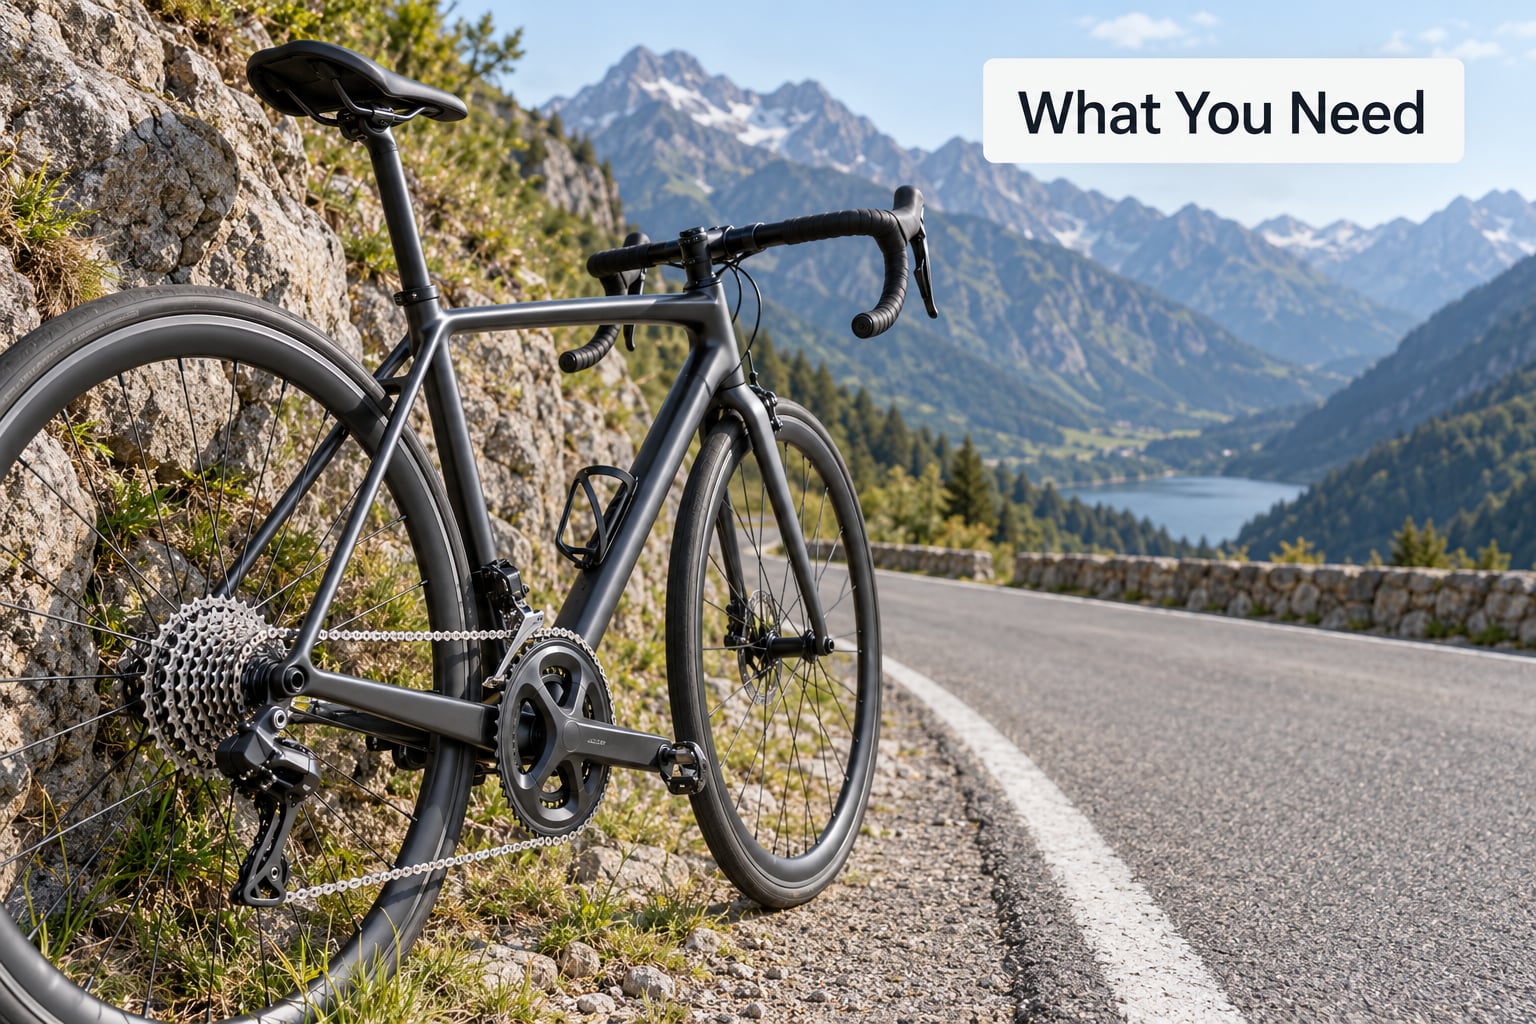
You do not need a climbing-specific bike. Almost all of the work happens between your ears and your legs, and the equipment side is mostly about not being in a gear that traps you.
Gearing that gives you options. A road bike that climbs well usually has a compact chainring, or a lower gear ratio in the big ring, plus a cassette with at least 11 sprockets. The useful number is the ratio between the smallest front ring and the largest rear sprocket. The lower that number, the easier the climb. If your easiest gear still makes your legs scream on a 10% ramp, that is a bike-fit problem, not a fitness problem, and no amount of willpower fixes it in the moment.
Tires at the right pressure and a clean chain. This sounds boring and it genuinely changes how a hill feels. Under-inflated tires roll like a heavy suitcase, and a dry chain under load adds a stutter that makes you surge forward and burn extra watts on every pedal stroke.
A base of fitness that lasts 20 minutes. Climbing is an endurance event with a punch in the middle. The riders who suffer most are the ones whose comfortable hard effort lasts four minutes. If you can hold a hard-but-controlled pace for 30 minutes without your form falling apart, most road climbs are within reach.
Fuel and fluid in your pockets. A climb is the worst place to discover you forgot your gels, because you cannot eat a full meal while riding at threshold. A bottle, a couple of gels or a bar, and a normal breakfast is enough for most climbs.
A willingness to go slowly. This is the item riders skip, and it is the one that decides most group rides. Starting easy feels wrong because your body wants to go fast when it feels effort. It is not a signal to speed up. It is just effort.
Step-by-Step: How to Climb Hills on a Road Bike
1. Plan the Climb Before You Start
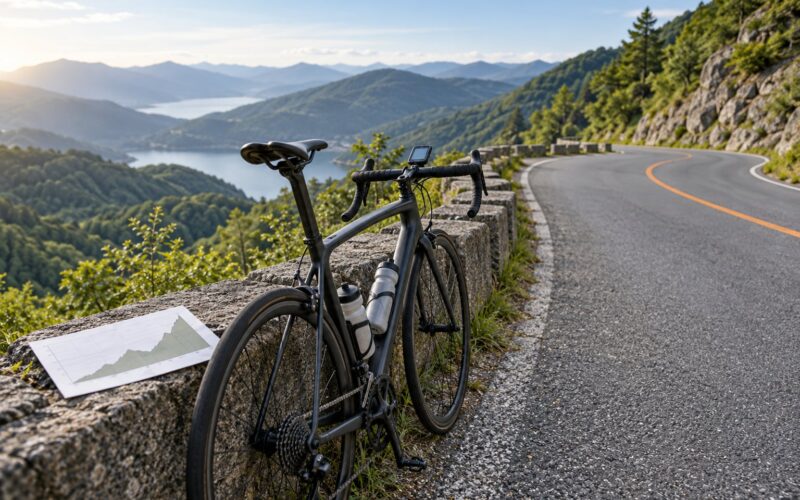
Look at the elevation profile before the road starts rising, not after. Modern route tools and most bike computers will show you where the steepest ramps sit, and that changes how you ride the whole thing. A climb with two nasty ramps in the last third is a different ride from one that is steep from the start, even at the same average gradient.
Estimate the time honestly. A rough rule: multiply the climb length in miles by the average gradient percentage, and treat the result as a rough number of minutes. A 10-mile climb averaging 7% is roughly a 70-minute effort for a recreational rider, and a one-hour effort is very different from a two-hour one for fueling and pacing.
Then decide whether the climb fits today. If you slept badly, you are sick, or you already burned your legs on a fast flat spin an hour ago, the smart move is to ride it at a conversational pace, or to take the bypass route. Knowing in advance that a climb is too much is a skill, not a weakness.
2. Start Easier Than You Think You Need To
The most common climbing mistake is going too hard in the first two minutes because everyone around you stood up and accelerated. The road will still be there when they have finished sprinting.
Start at an effort where you could comfortably say a full sentence, and hold it. A good test: your breathing should be deeper than flat riding but still controlled, roughly three breaths per pedal stroke once you settle in. If you are gasping after 30 seconds, you have already spent the climb.
For a short, steep ramp, a harder start is fine because the effort is over quickly. For anything longer than five minutes, an easy start almost always wins. Riders who pace the first half properly routinely pass riders who launched at the front.
3. Choose a Gear That Keeps Your Cadence Smooth
Cadence means how many times you turn the pedals per minute. Somewhere around 70 to 90 rpm feels natural for most riders on a climb, and the exact number matters far less than staying in a range where you are not grinding.
The rule is simple: shift before the gradient steepens, not after. Look a little way down the road, and as the road tilts up, drop one gear at a time until your legs are turning at a comfortable speed. Shift one gear at a time under load and the chain stays quiet. Slamming across four sprockets at full pedal force is how chains come off on a climb.
Using a bigger gear is not more training, it is just a faster decline. The forum consensus on this is not subtle: riders who over-gear to prove they are strong usually blow up and then blame their fitness. A gear that feels slightly too easy for the first thirty seconds is usually the right one.
One honest reframe for beginners: there is no single correct gear. What matters is that the gear lets you hold your chosen effort with a quiet upper body and even pressure on the pedals. You can climb the same hill three times in three gears and all three rides can be good.
As a rough guide, here is what the common gradient numbers feel like for a recreational road rider. Speeds vary enormously with fitness, weight and weather, so treat these as orientation, not a target.
| Gradient | What it feels like | Typical club speed | Cadence target | Gearing |
|---|---|---|---|---|
| 5% | Comfortable, conversational, barely feels like a climb | 10-13 mph | 85-95 rpm | Middle of the cassette, barely needs shifting |
| 8% | Noticeable, sustainable for an hour | 8-11 mph | 80-90 rpm | Third or fourth sprocket up from the bottom |
| 10% | Hard, near the limit of many riders’ sustained effort | 6-9 mph | 75-85 rpm | Second or third sprocket, small ring on a compact |
| 12% | Serious; effort becomes breathing-limited | 5-7 mph | 70-80 rpm | Small ring, one or two sprockets from easiest |
| 15% | Steep ramp rather than a climb; out of the saddle helps | 4-6 mph | 65-80 rpm, variable | Easiest gear, weight back and down |
| 20% | Grit section, often ridden in short bursts | 3-5 mph | Unsteady, weaving works | Easiest gear available, expect to slow down a lot |
As a rough answer to the question that comes up constantly: a 6% hill is a gentle false flat that most riders will not notice they are climbing, while a 10% climb is genuinely hard and will take most recreational riders somewhere between 30 and 60 minutes for ten miles.
4. Hold a Stable, Relaxed Position
The single most repeated tip in cycling forums, and the one most riders ignore, is about your hands. On a road bike, climb with your hands on the tops of the handlebars, not on the hoods and definitely not in the drops. Tops of the bars give you the most upright, stable position with the least steering input, and the drops put you in an aerodynamic tuck that is pointless at 8 mph.
From there, keep the elbows soft and slightly bent, shoulders down and relaxed, and your back roughly flat. A locked elbow turns every bump in the road into a jolt through your arms, and tense shoulders are pure wasted energy. If you could shake your hands loose at the tops, you are probably close enough.
Seated climbing is the default for long efforts. Staying in the saddle keeps your weight centred over the bottom bracket, which is where you want it when the pedals are loaded. Stand for short steep ramps, for a brief change of position, or when you simply need a different muscle for a minute. Standing is easy to do badly: too much weight on the bars, rocking side to side, and pedalling with a fast, uneven stroke all burn energy you cannot spare.
On a clear, empty road, a gentle side-to-side weave helps. Shift your hips a few inches from side to side so the upper body stays quiet over a high cadence. It is a real technique used in races, but skip it when traffic is close, on wet descents, or on cambered roads where you already need both hands for grip.
5. Manage Your Effort Over the Entire Climb
Pacing is the part riders understand intellectually and abandon emotionally halfway up. The effort on a climb should feel roughly like your hardest sustainable pace, and it should feel like that the whole way. Not easy at the start and impossible at the end. Most of how to climb hills on a road bike is holding that effort flat rather than finding one heroic pace and hoping it lasts.
Use three signals together. First, breathing: a controlled but noticeably deeper rhythm, exhaling on the downstroke. Second, the talk test: you should be able to get a few words out, but not chat comfortably. Third, perceived effort on the standard 1 to 10 scale, holding steady at about a 6 or 7 for a long climb.
Hold something back for the ramps. Most climbs have a steep pitch, a flat middle and another kick near the top, and riders who pace perfectly then empty themselves on the final ramp are the ones who walk. If the profile shows a headwind on the exposed section, plan for that too, because a tailwind on the way out and a headwind on the way home means you spent your effort in the wrong place.
Set markers. Pick a tree, a sign or a switchback and commit to reaching it at a controlled pace, then pick the next one. It turns a single endless wall into a series of short problems, which is far easier on the head than trying to hold one thought for an hour.
6. Fuel and Hydrate Without Overeating
Most climbs do not need any eating at all if you had a normal breakfast. Climb a bit longer than 60 to 90 minutes and the calculus changes, especially in cold weather when you do not feel thirsty.
A practical target for most riders is roughly 30 to 60 grams of carbohydrate per hour once an effort passes about an hour, and more for very long days. That is a couple of gels, a bar, or a bottle of mixed drink. Take small, frequent sips rather than gulping, because a stomach full of cold fluid is a problem you cannot solve mid-climb.
On very long climbs or climbs in heat, add electrolytes. Above about two hours of riding, the fatigue you are feeling is more often glycogen running out than a lack of will, and riders who keep eating through the middle of a long climb tend to finish far better than riders who saved all their eating for the end.
Try all of this on a training ride before race day. The single most common nutrition problem on climbs is new, untested food eaten at the worst possible moment.
7. Train for Longer and Steeper Hills
Technique will carry you a long way, but climbing fitness comes from three things: sustained power, repeatability, and enough strength to hold your position without your upper body collapsing.
Long endurance rides. The most transferable climbing session is simply a steady three to four hour ride that includes two or three longer climbs at a controlled effort. This builds the thing that actually fails on a mountain road, which is the ability to hold a decent power for an hour rather than the ability to sprint up a one-minute ramp.
Hill repeats. The most useful workout on this list, and the one riders skip. Do three to five repeats of three to five minutes up a steep hill, at a hard but sustainable effort, with several minutes of easy spinning between. The advice that comes up again and again in the forums is to repeat the same familiar climb rather than chasing new ones, because familiarity is what lets you practise pacing rather than just surviving.
Threshold work. Functional threshold power, or FTP, is the highest power you can hold for about an hour. Ride near it for long stretches on the flat and climbing fitness follows. Riders who jump straight to VO2 max intervals often get faster over two minutes and slower over two hours, which is the wrong trade for mountain roads.
Strength and core work. Two or three short sessions a week of squats, deadlifts, step-ups, side planks and single-leg work. Weak hips and a weak core show up on the bike as rocking side to side and a back that gives out halfway up. If you carry a pack, or ride with a heavy setup, the effect is amplified.
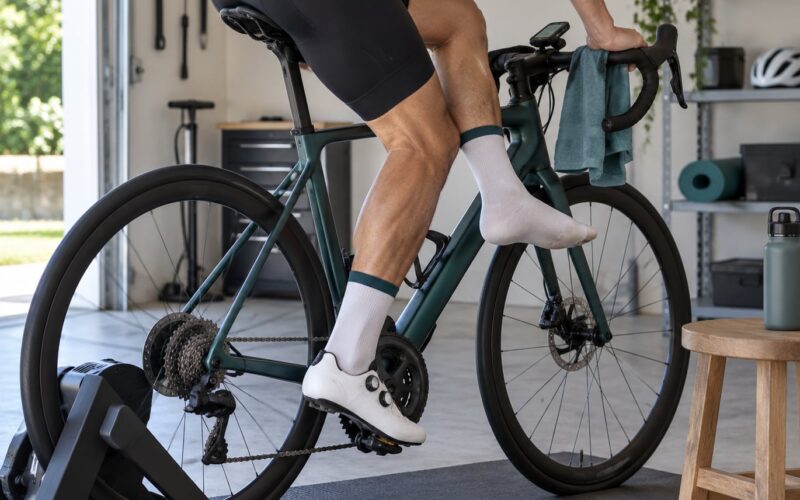
No hills nearby? A smart trainer handles this better than most people realise. Set maximum resistance and use a low gear, so the flywheel spins down fast and the effort feels like real climbing rather than a spinning wheel. Short efforts at high resistance build the same climbing-specific strength that you would get outdoors, and the variable resistance you get from a real road is genuinely hard to reproduce any other way.
Get fitter before you get lighter. Riders debate weight loss endlessly. The useful version of the argument is simple: raising your power-to-weight ratio by adding watts helps a lot more than trying to lose a few kilos, and crash dieting on the eve of a big climbing day makes you slower on the day itself. Fix the fitness first.
Common Mistakes
Almost every rider I know who dreads hills is making at least one of these six mistakes. Each one has a simple fix.
Going too hard at the bottom. The fix: start at an effort you would describe as embarrassingly easy and hold it for the first five minutes. It will feel slow and slightly silly. That is the correct feeling.
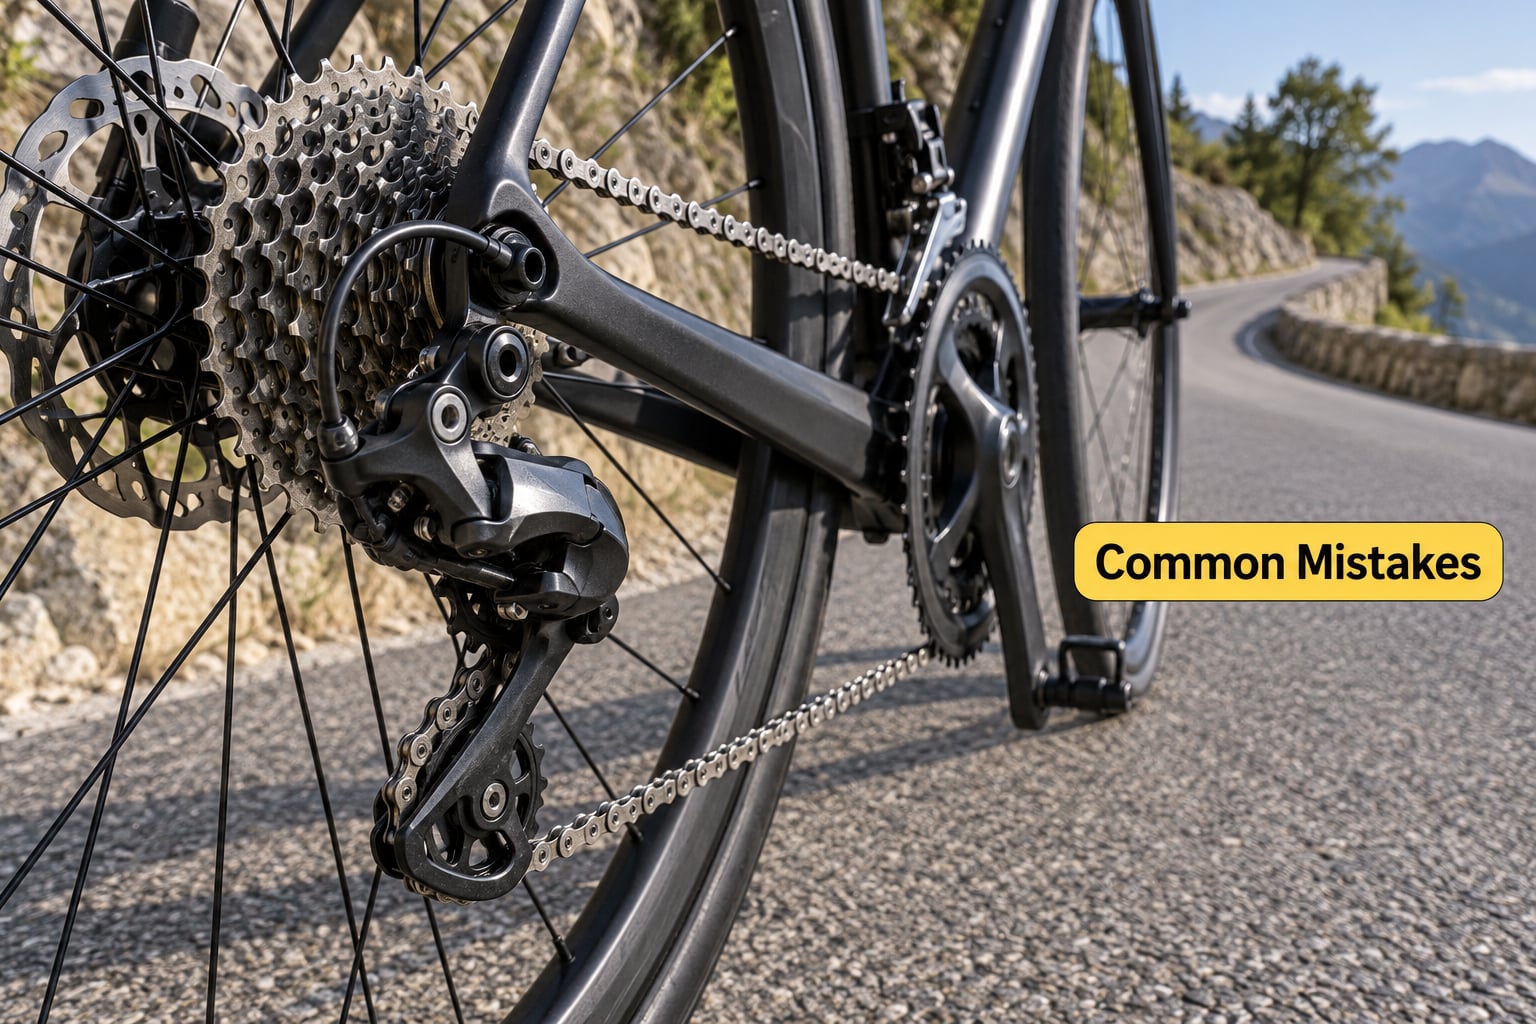
Shifting too late. The fix: look down the road and change gear before the gradient hits, one sprocket at a time. Chasing the grade after the fact means your cadence drops, your stroke gets hard, and you lose the smoothness that makes climbing efficient.
Holding too big a gear to prove a point. The fix: use the gear that keeps you smooth. Big gears feel like effort but behave like overload, and they are why so many riders report their legs burning halfway up with no way to recover.
Riding in the drops. The fix: hands on the tops. You gain a much more stable, upright position and lose nothing at climbing speeds.
Tensing up. The fix: check your jaw, your shoulders and your hands every few minutes. Gripping the bars hard and hunching over are the two most common ways riders waste energy without knowing it, and the more you relax, the better the climb goes.
Weaving or drifting where other riders are close. The fix: weave only on clear roads with room, and always signal or call what you are doing. A quiet bike is a safe bike, and group etiquette matters more than any small gain in efficiency.
And when the legs are gone, do not panic and do not stop dead in the lane. Drop to the easiest gear, keep turning the pedals at a low, easy cadence, and breathe through it. Sitting upright and coasting a short section recovers more than sprinting does. If the climb is still beating you after a couple of minutes, walk it. You will still finish, and you will still have the rest of the ride to enjoy.
A few final tips: look well down the road rather than at your front wheel, keep your hands quiet so you can feel small changes in resistance, and always shift back to a comfortable gear on the descent before the descent catches up with you.
Frequently Asked Questions
Should I sit or stand when climbing a hill?
Sit for anything long, anything above about 8%, and any climb where you are already near your limit. Sitting keeps your weight over the pedals and is far more efficient over time. Stand for short steep ramps of a minute or two, or when you need a different muscle. Standing burns more energy per minute, so it is a tool rather than a default. If you stand, weight your hips back and down, keep the bars light, and keep the legs turning smoothly.
What gear should I use going uphill on a road bike?
There is no single correct gear, which is the most reassuring thing anyone can tell a beginner. Use whichever gear keeps your legs turning at a comfortable cadence of roughly 70 to 90 rpm without grinding. Shift one sprocket at a time, and shift before the gradient steepens rather than reacting to it. If a hill hurts in a big gear but feels fine one gear easier, you found the problem.
How do I stop my legs from burning halfway up a climb?
You usually cannot fully fix it in the moment, so prevent it. Over-gearing and starting too hard are the two causes, and both are decisions made in the first 30 seconds. Once the burning starts, drop two sprockets, sit up, breathe deeply through the nose and mouth, and back the effort off until your legs come back. Stopping dead on the road is not recovery, so stay pedalling in a light gear instead.
How hard is a 10% climb?
A 10% grade is genuinely hard for most recreational riders, which is why plenty of experienced cyclists call it the hardest category of road climb. At the same speed you need roughly 10% more power than on the flat. A club rider might hold somewhere around 6 to 9 mph on a sustained 10% ramp, and it will feel close to your maximum for a long time. Trained riders hold faster, but the gradient punishes anyone who starts too fast.
Is walking up a hill cheating?
No, and thinking otherwise is one of the biggest reasons beginners stop riding hills at all. Walking takes thirty seconds, gets you to the same place, and lets you rejoin the group in working order. On a day when your legs are gone, walking a ramp and then riding the rest of the climb is often the smarter version of the same effort. Get back on at the top and keep the rest of your ride intact.
How do I train for hill climbing if I live somewhere flat?
An indoor trainer handles it well. Set the resistance to maximum and use a low gear so the flywheel spins down quickly and the effort feels like real climbing instead of a spinning wheel. Do three to five efforts of three to five minutes with easy spinning between, plus one long steady ride a week with a few climbs held at a hard but controlled pace. Back that up with two or three short strength sessions and you will notice a difference within a month.
So the honest answer to how to climb hills on a road bike is unglamorous: ride the same route, start slower than feels right, put your hands on the tops, pick the gear that keeps your legs smooth, and hold the effort the whole way up. Do that on your next familiar hill and the one that used to frighten you will look like a normal part of the ride. Which is exactly what it is.