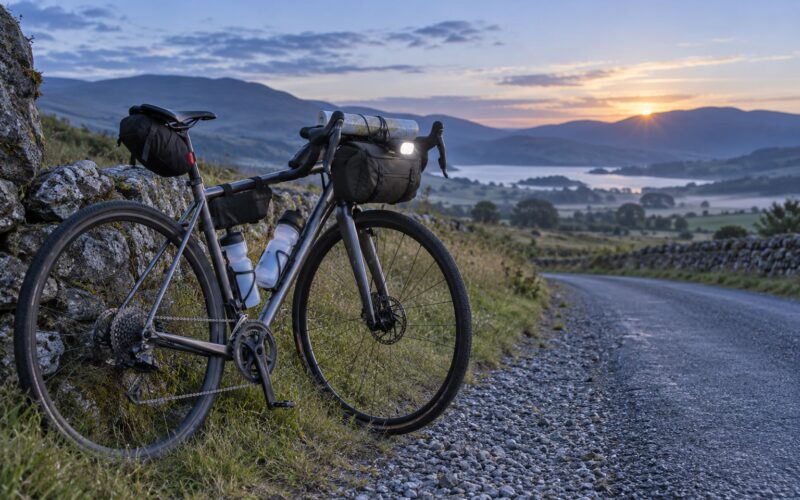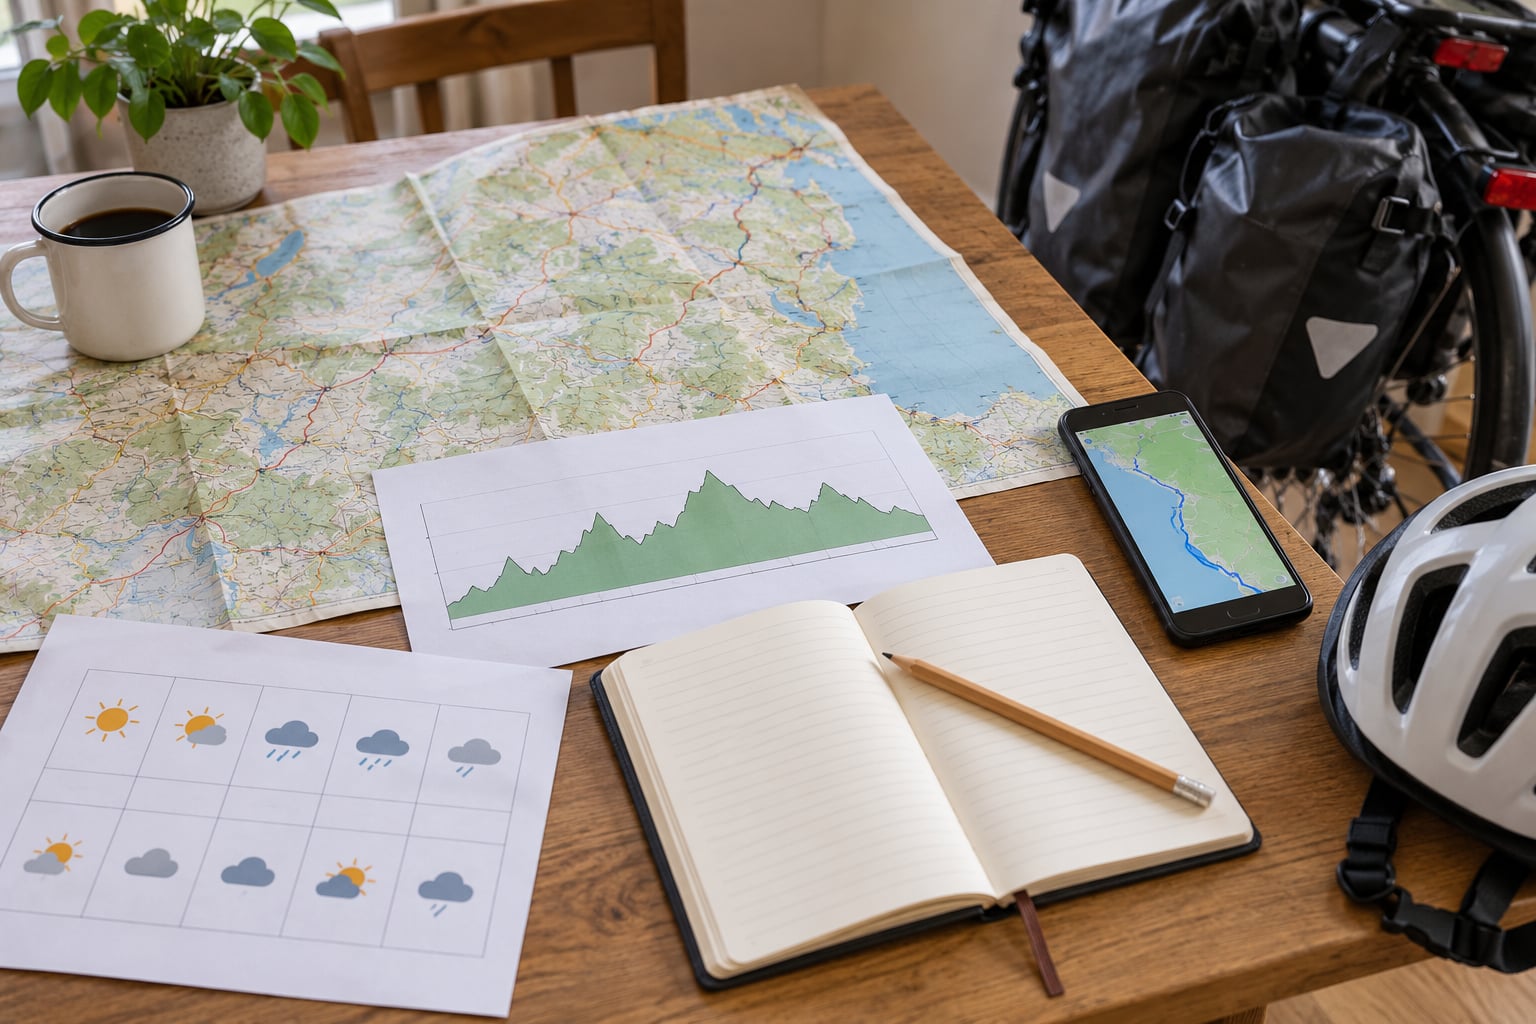
To plan a bike tour in the US, you decide the region and season, set a daily mileage target you can actually ride back to back, line up lodging and campsites, budget for food and transport, and pack a repair kit with an offline route. Done in that order, a multi-day ride becomes a series of ordinary days. Skip a step and the trip usually falls apart on logistics, not legs.
Most tours that go wrong were planning failures, not fitness failures. Riders book beautiful-sounding routes, load 60 pounds of gear, plan 70-mile days, and discover on day three that the campsites are first-come and the road is a truck route. This guide is the sequence I work through before anything gets booked.
Allow a full weekend of desk planning for a first tour. Route design, booking and gear testing take longer than people expect, and a trip planned in two evenings is a trip built on guesses.
Table of Contents
- What You Need
- Route planning tools
- Documents and reference material
- Equipment checks
- Fitness and time
- Logistics you have to decide early
- Step-by-Step: How to Plan a Bike Tour in the US
- 1. Set the scope: how to plan a bike tour in the US
- 2. Choose a region and season
- 3. Build a route with realistic daily mileage
- 4. Check roads, permits, and access
- 5. Plan lodging and food stops
- 6. Set the budget and transport plan
- 7. Check weather, daylight, and safety
- 8. Match the tour to rider fitness
- 9. Pack and prepare a route packet
- 10. Run a final rehearsal and contingency check
- Common Mistakes
- Overestimating daily mileage
- Choosing a route by map distance alone
- Ignoring wind and heat
- Booking only one lodging option
- Relying on cell service
- Packing too much
- Trusting app-suggested routes blindly
- Having no bad-weather plan
- Skipping the recon or the paperwork
- Frequently Asked Questions
- How many miles should I plan per day on a US bike tour?
- Is a self-supported bike tour in the US suitable for beginners?
- Should I choose camping or hotels for a US bike tour?
- How do I carry everything I need on a multi-day bike tour?
- Can I plan a bike tour around national parks and scenic byways?
- How far in advance should I book a long-distance cycling tour?
- Conclusion
What You Need
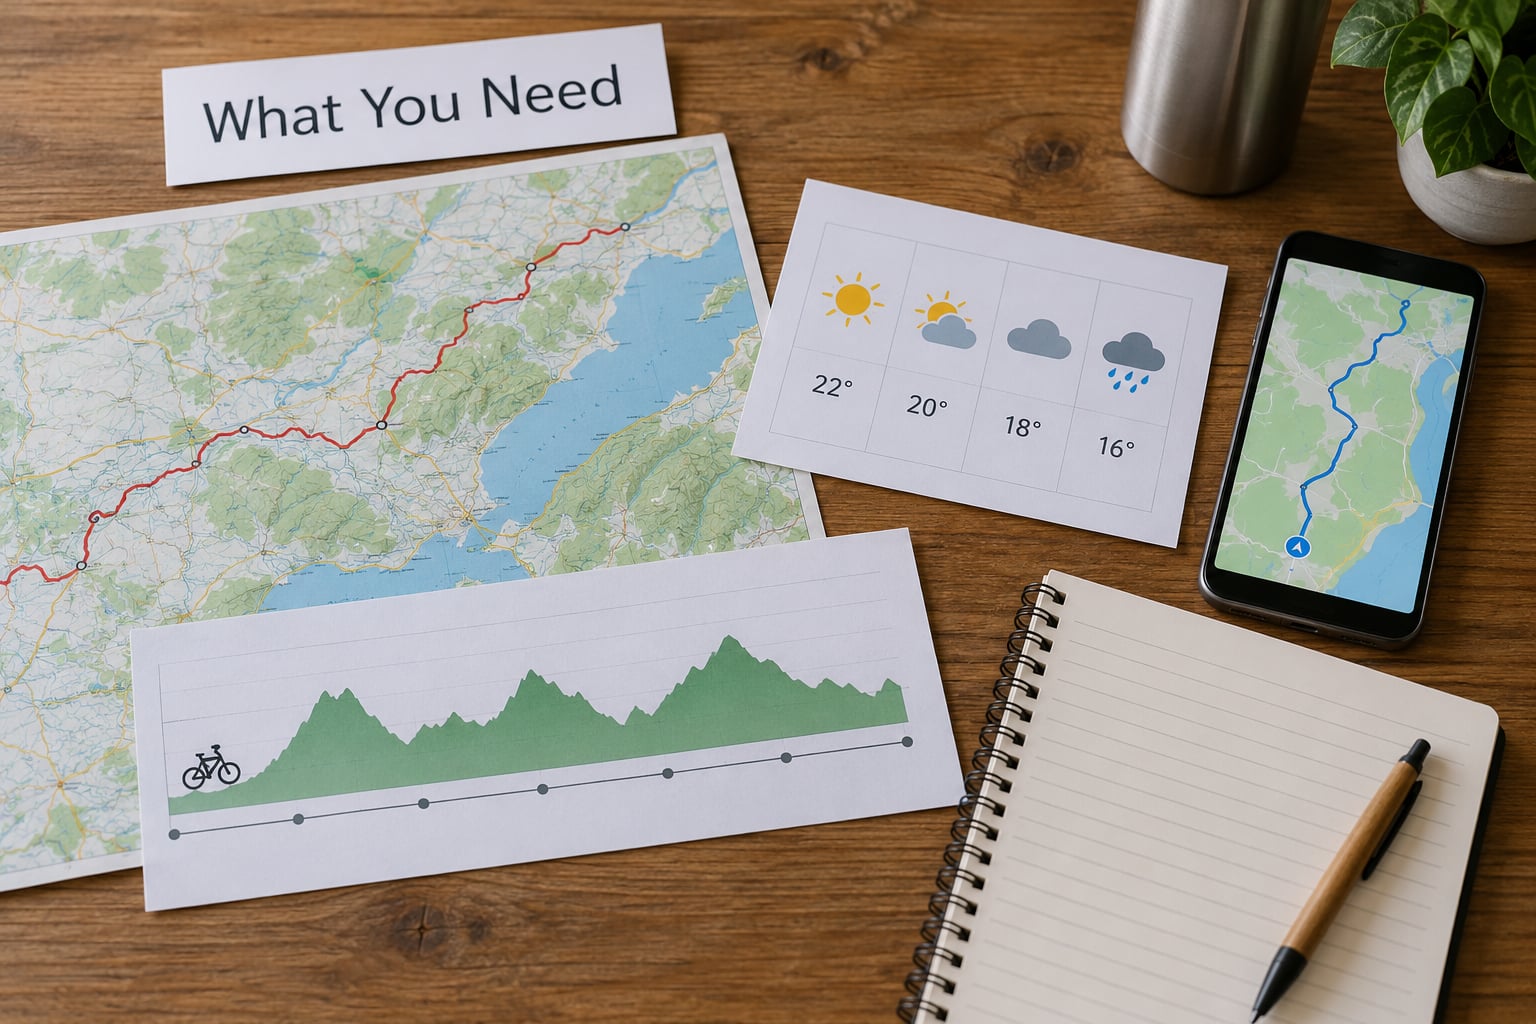
You do not need much before you start. You need enough information to make decisions with, and everything else comes later, once the route has a shape.
Route planning tools
A route planner that builds bike routes rather than car routes, plus a paper backup. RideWithGPS, Komoot and Gaia GPS all let you draw a track, see the elevation profile, and export a GPX file for offline use. Google Maps and Strava are fine for spotting towns and confirming that a road exists, but their default cycling routes happily send you onto highways with shoulders measured in inches.
- A route planner with an elevation profile and GPX export
- A paper map or printed route sheet for stretches with no signal
- A state bicycle map or regional bike map for the states you will cross
- Satellite or street-level imagery for any rural stretch you have not ridden
Documents and reference material
Identity, insurance and a way to get home if the trip collapses. Riders carry a driver license, health insurance card, a photocopy of emergency contacts, and cash. Emergency numbers for the counties you cross are worth writing down, since cell coverage decides whether a phone is useful at all.
Equipment checks
Your bike, your bags, and the knowledge to fix a flat on the roadside. Before departure you want to know the bike carries your weight without drama, that the rear rack is rated for a loaded touring setup, and that you can change a tube in under ten minutes. If you cannot do that in a driveway, practice until you can.
Fitness and time
Your recent riding history, in hours. A weekend of 25 miles is not the same as 40 miles of midweek commuting plus a long Saturday. Write down the longest ride in the last six weeks, the longest back-to-back pair of days, and how much climbing your legs handled, because those three numbers set the ceiling on your itinerary.
Logistics you have to decide early
Trip length, budget range, self-supported versus supported, camping versus lodging, and who is coming. Each of these narrows the route options. Group size affects which campsites and lodging will take a booking, and it changes how fast you ride.
Step-by-Step: How to Plan a Bike Tour in the US
1. Set the scope: how to plan a bike tour in the US
Write the trip down in one paragraph before you look at a map. How many days, how many miles per day, what riding hours per day, what carrying setup, what lodging style, what terrain tolerance, and what total cost range you can absorb. This paragraph is the filter for every later decision.
Riders who skip this step end up with a route that is technically fine and personally wrong. A loaded rider with two kids has a completely different day than a solo rider chasing distance.
When you plan a bike tour in the US, the useful framing is the trip type. Three shapes cover almost everything: a weekend overnight with one or two days of riding, a week-long loop with a fixed start and end, and a point-to-point or crossing trip where every day is new ground and there is no easy exit.
2. Choose a region and season
Pick the region for its terrain and season, not for its photograph. Each part of the country has a different riding personality, and the same week can be perfect in one region and punishing in another.
The Pacific Coast offers moderate distances between towns but frequent headwind, and spring brings rain on the coast ranges. The desert Southwest is rideable in late winter and spring before the summer heat pushes distances past what is sensible, and summer there is only for early starts and riders with a strong water plan. The Rockies and the high desert passes are a season business: late June through September for most roads, with snow still possible on the highest passes into early summer. The Appalachia and the Gulf Coast are humid in midsummer, which changes how far you can ride between water stops.
Fall brings quieter roads and better light across much of the country, at the cost of shorter daylight hours and a higher chance of a cold morning. Spring gives you long days and mud on forest roads, sometimes through June.
The season choice is really a weather-window choice. Pick a two-week window, then accept that a few days inside it is your window. A tour built around a single holiday weekend is a tour built around bad weather.
3. Build a route with realistic daily mileage
Set daily targets in riding hours first, then convert to miles. Miles lie because they ignore wind, grade, road surface, stops and how tired you are on day five. Hours do not lie in the same way.
Rough ranges, adjusted for a loaded bike, back-to-back days and ordinary North American terrain:
| Rider level | Daily miles | Riding hours | What that looks like |
|---|---|---|---|
| First multi-day tour | 25 to 40 | 4 to 6 | Short hops, one long rest stop, arrive before dark |
| Comfortable intermediate | 40 to 60 | 6 to 8 | Longer days, real climbs, some pushing on a bad-headwind day |
| Experienced, trained | 60 to 85 | 8 to 11 | Long mountain stages, early starts, careful fueling |
| Any level, headwind day | Cut by a third | Varies | A tailwind can add miles; a headwind can halve your progress |
On r/bicycletouring, the number that comes up most often for a first multi-day trip is around 30 miles a day, roughly 50 km. Veterans in those threads keep repeating the same warning: plan 60 to 80 mile days without back-to-back training and you will be cooked by day three.
Now build the route against those targets. Look at the elevation profile for each stage, not for the whole trip. Ten thousand feet of climbing packed into one day ruins a week. Spread the climbing out, and put the biggest climb on the day you sleep at the lowest elevation.
Then check surface. A paved 50-mile day and a gravel 50-mile day are not the same day, and chunky gravel will eat your tires and slow you to a crawl on climbs. A lot of riders learn this the hard way, planning smooth tarmac routes that turn to county gravel in the last 20 miles.
4. Check roads, permits, and access
Verify the road rules before you commit, not after you are standing at a closed gate. The US has a patchwork of bicycle restrictions that differ by state, county, city and land agency, and some of the most scenic roads close for the season or ban loaded bikes entirely.
Here is the resource list worth working through:
| Resource | What it gives you | Best use | Offline |
|---|---|---|---|
| Adventure Cycling Association routes | Mapped bicycle touring routes with lodging, water and repair notes | Cross-country and regional touring, day-by-day stages | Yes, paper and digital maps |
| U.S. Bicycle Route system | Numbered national routes and state variants | Long-distance road touring on paved roads | Yes |
| American Discovery Trail | A coast-to-coast network with more gravel and dirt options | Adventurous point-to-point trips | Yes |
| Great Divide Mountain Bike Route | A 2,800-plus mile off-paved mountain route | Singletrack-capable riders with a serious support plan | Yes |
| Rail-Trail network | Converted railroad corridors, generally flat and paved | Beginners, families, anyone wanting easy multi-day miles | Yes |
| State DOT bicycle maps | On-road bike routes, shoulders, advisories | Confirming road conditions and shoulders state by state | Paper, free |
| WarmShowers | Host listings for bike-friendly lodging | Booking a spare night or an emergency place to stay | List, not maps |
Then check permits and access. National parks and national forests may require a campsite permit or reservation even for a night, and some popular corridors fill weeks ahead in peak season. Dispersed camping usually means camping outside developed sites under specific rules about distance from roads, water and developed campgrounds, and it is often illegal or restricted near trailheads, overlooks and private land. Read the land agency’s rules for the specific corridor rather than assuming.
Call ahead when a rule is unclear. A two-minute conversation with a ranger station or a county road department saves a wasted stage.
5. Plan lodging and food stops
Decide where you sleep before you decide how far you ride, because overnight spacing sets your mileage. Aim to place every night’s stop somewhere you can reach with a comfortable margin, then treat that margin as the real distance limit.
Three lodging styles cover most riders:
- Bikecamping — you carry a tent or hammock and sleep at campgrounds, dispersed sites or permitted backcountry camps. Cheapest per night, most flexible, and the most gear to carry.
- Hotels and motels along a bike route — the standard on Rail-Trails and popular corridors. Bike-friendly properties usually offer secure storage, laundry, and breakfast. Book further ahead the closer you are to a bike event or holiday weekend.
- Hostels and bike inns — cheapest indoor option in most towns, and a good way to meet other riders. Per-person rates mean a group splits one room cost.
For every night, plan two options. A backup lodging in the same town costs nothing to hold and saves a bad day. Riders on forums describe the moment they learned this: a weather delay pushed them past a full campsite, and the backup booking was already made.
Then plan food. Every day on the bike needs roughly 2,500 to 3,500 calories depending on load, terrain and weather, and that has to come from somewhere. Map the grocery stores, bakeries and restaurants along the route, and identify the towns where you can buy a full resupply. A town with one small gas station is a resupply opportunity, not a meal plan.
Carry enough food for one extra meal beyond what you plan to eat. A missed resupply stops being a crisis. On arid routes, plan water capacity of 2 to 3 liters per rider and know where reliable sources are, because the distance between them matters more than the weight you are carrying.
6. Set the budget and transport plan
Build the budget in ranges rather than single numbers, and write down what each range covers. Costs change by region and season, so treat any figure you find online, including this one, as a starting point rather than a quote.
The categories that actually move your total:
- Getting there and back — flights, a long drive, or an Amtrak ticket. This is often the single biggest line on a US tour and it is the one riders most regret ignoring when they pick a region.
- Lodging — campsites and hostels sit at the bottom of the range, hotels and bike inns at the top. Per-person rates for a group shrink the gap sharply.
- Food — mostly determined by how often you eat out rather than by the miles.
- Transport and the bail-out — a bus or train ticket you never use still belongs in the plan, because it is what makes the trip relaxable.
- Gear amortization — tents, racks, panniers and touring tires last many seasons. Spread them across the trips you expect to take.
- Reserves — permits, campsite fees, showers, laundromats, replacement tubes and the odd roadside emergency.
The transport decision has a knock-on effect. If you have to fly in and your bike goes by air, or you take a train with a bike reservation, that changes your arrival time and your start-of-day energy. Build a day around the arrival if you can. Riders who land in the morning and ride 50 miles that afternoon usually have a rough first day.
Confirm whether bikes are allowed on the train or bus line that would get you out of a bad stage, and how the reservation works. Amtrak has specific bike rules and advance booking, and regional bus carriers vary. Knowing that now is what makes step 10 possible.
7. Check weather, daylight, and safety
Weather decides whether a good plan holds together. Look at the seasonal pattern for the region, then at the forecast in the week before departure.
Heat is the one that ends tours. In midsummer desert and inland-heat riding, start before sunrise, put your long stretch in the cooler middle of the day, and treat any day forecast above your tolerance as a rest or a shortened stage. Wildfire smoke has become a regular summer hazard across the West, and a day of heavy smoke is a rest day whether the forecast says clear.
Storms and wind drive the other failures. Check the wind direction against your route heading for each day, because a sustained headwind on a 60-mile day turns it into a 10-hour day. When the forecast shows a front, have a shorter route ready.
Daylight is a routing constraint, not a footnote. Compute sunrise and sunset for your dates and build each day to finish with a margin, usually at least an hour before dark, because breakdowns happen in the last hour. Add a front light and a rear light that runs long, and understand the state law on lights and reflectors where you are riding.
Write down emergency contacts and the local emergency number for each county on the route. Then think about road hazards honestly: debris, glass, railroad crossings with rough plates, and trucks on roads with no shoulder. Assume a mechanical stop is a normal part of the day, and that you are one multi-tool away from a longer delay.
8. Match the tour to rider fitness
Compare the itinerary to what you have actually ridden in the last two months, not to your fitness two years ago. The most reliable test is back-to-back days in training, because day two of a tour feels nothing like day one.
Eight weeks out, a plan should include: two back-to-back days at your planned daily distance, a long climb day with the load you will carry, and one longer ride at touring pace with full weight on the bike. If you cannot complete that block without being wrecked, either shorten the daily mileage or lengthen the trip by adding a rest day.
Most of your days should be easy enough that you can still enjoy the scenery, and the hard days should be deliberate, spaced, and followed by a recovery day. Riders who make every day a sufferfest finish early and remember the trip as a blur of pain.
The 75/25 effort rule is useful here too. If you spend more than a quarter of each day at 75 percent effort or harder, the plan is too hard. Reduce miles, add flats, or add a rest day until the hard days are the exception.
Adding a rest day is not a failure to plan. It is the cheapest insurance on a tour, because a rest day absorbs a blown tire, a missed booking or a headwind without ending anything.
9. Pack and prepare a route packet
Overpacking is the most common beginner mistake on bike tours. Riders pack out of fear, end up hauling 60 pounds, and quit on day two. For most two-week trips, a well-chosen kit comes to 25 to 35 pounds including water, before food.
Build the kit around this list:
- Navigation — phone with the GPX file downloaded for offline use, a mount, a power bank, and a paper route sheet for the days that go dark
- Repair — pump, two spare tubes, patch kit, tire levers, multi-tool with a chain breaker, and the Allen keys your bike takes
- Clothing — a rain shell that actually keeps rain out, a warm layer for evening descents, gloves, and a change of clothes for the coldest morning on the forecast
- Shelter and sleep — tent or hammock, sleeping bag and pad rated a few degrees below the overnight low
- Water and food — bottles or a reservoir, plus one spare meal beyond the plan
- Safety and health — helmet, lights, first aid, sunscreen, and any medication you need
- Documents — license, insurance card, emergency contacts, and a small cash reserve kept in a separate place from your wallet
Also pack a dry bag or liner inside each pannier. A pannier is not waterproof by default, and a wet sleeping bag on a cold night ends a trip.
Then assemble the route packet. One document, printed and shared, that holds: the daily mileage and riding-hour target, the elevation profile screenshot, overnight booking confirmations, resupply town names, emergency contacts by county, the bail-out train or bus option with its reservation rules, and the regroup time and place for each day. Give a copy to someone not on the bike.
10. Run a final rehearsal and contingency check
Rehearse the trip the way you would test a bike. Load the bags with the weight you expect and ride 20 miles on familiar roads, then a climb with the load. Notice how the bike handles, whether anything rattles, and whether the bags are where you can reach them without stopping.
Then verify the plan itself:
- Offline maps downloaded and tested in airplane mode
- All bookings confirmed, with a backup night booked in each key town
- Rest days marked in the itinerary, not treated as wasted time
- Group communication set up, with a daily check-in time and a regroup rule that does not depend on cell service
- Cash reserve and at least one spare day positioned before the point of no return
- Someone at home holding the full itinerary with daily check-in deadlines
The bail-out plan is the step riders skip and then wish they had. Know the train or bus that covers your worst stretch, know how bikes are handled on it, and know what you would do if you missed a booking or the weather closed the road. Knowing you can quit a stage without quitting the trip changes how you ride the whole trip.
Common Mistakes
Almost every abandoned tour traces back to one of these. Each has a simple fix, and all of them are cheaper to fix on paper.
Overestimating daily mileage
Planning 70-mile days without back-to-back training is the most common planning error, and it is also the most predictable. Plan in hours, cut a third off any headwind day, and add a rest day every four to six days for a first tour.
Choosing a route by map distance alone
A 50-mile line on a map can be flat rail trail or 3,000 feet of gravel climb. Check the elevation profile, the surface type, and the satellite view for every rural leg before you commit.
Ignoring wind and heat
Wind direction against your heading can cut your progress in half, and summer heat in the desert and inland South decides the riding day on its own. Check both before each stage, and plan a short alternative for the same corridor.
Booking only one lodging option
First-come campsites and small-town rooms fill up, and a weather delay turns that into a night on concrete. Hold a second option in the same town for every night that matters.
Relying on cell service
Long stretches between towns have nothing. Download your maps and GPX files before you leave, carry a paper route sheet, and plan your regroup points around towns rather than scenic pullouts.
Packing too much
Weight is the thing riders regret most. Every item earns its place or comes out, and a 25 to 35 pound all-in load covers almost any two-week tour that does not need a stove and a tent for cold weather.
Trusting app-suggested routes blindly
Auto-generated bike routes regularly include dead ends, unpaved sections that were not labeled, and roads with no shoulder and heavy truck traffic. Riders on r/bicycletouring and r/cycling hit this constantly. Ride the shoulder in Google Street View, check satellite imagery, and confirm the road exists on a state map.
Having no bad-weather plan
A tour with only one version of itself is fragile. Build a shortened route for each day, a rest day that can absorb a blown day, and a bail-out transport option for each major segment.
Skipping the recon or the paperwork
A loaded test ride, a printed route packet and one conversation with a park or forest ranger take a few hours and remove most of the remaining uncertainty. Book the trip only after those are done.
Two habits serve you well across all of this. Tell your riding partners the plan in writing, so nobody is holding a different version of the route. And make the first trip short. A three or four day loop teaches you what back-to-back miles feel like, how you handle a broken spoke, and whether you actually like sleeping outside.
Frequently Asked Questions
How many miles should I plan per day on a US bike tour?
For a first multi-day tour, plan 25 to 40 miles a day, which is roughly 4 to 6 riding hours with a loaded bike. Intermediate riders usually manage 40 to 60 miles, and trained riders 60 to 85. Plan in hours rather than miles, cut a third off any day with a headwind, and add a rest day every four to six days. Back-to-back training rides are the only reliable test of whether your number is real.
Is a self-supported bike tour in the US suitable for beginners?
Yes, if you start short and stay realistic. Beginners do well on a Rail-Trail loop or a two to four day tour on paved roads with towns every 30 miles, and they learn more in one short self-supported trip than in a month of reading about it. Build up to longer trips gradually, carry a bail-out plan, and avoid remote routes with long gaps between water and food. The difficulty is usually logistics, not riding.
Should I choose camping or hotels for a US bike tour?
Camping suits riders who want flexibility of route choice, and it costs far less per night, but it adds weight and weather exposure. Hotels and bike inns suit riders who want lighter bags, dry sleeping, and a stable routine, and bike-friendly properties usually offer storage and laundry. Many riders mix them, camping mid-trip and taking a hotel after the longest stages. Book popular bike-route lodging well ahead of peak season.
How do I carry everything I need on a multi-day bike tour?
Most riders use a rear rack with two panniers plus a handlebar bag or top tube bag, keeping weight low and centered. A full bikepacking kit comes to 25 to 35 pounds including water for a two-week trip, and dry bags or liners inside each pannier matter more than most riders expect. Avoid stuffing a backpack, which affects handling and your neck. Test the setup loaded before the trip, on a climb.
Can I plan a bike tour around national parks and scenic byways?
Yes, and they make excellent routes, but access rules drive the itinerary. National parks and forests may require a campsite permit or reservation even for a single night, and popular corridors book out weeks ahead in peak season. Scenic byways vary widely in shoulder quality and truck traffic, so check the profile and imagery for each leg. Rules differ by state, county and agency, so verify the specific corridor rather than assuming.
How far in advance should I book a long-distance cycling tour?
Book bike-route lodging several months ahead for a summer trip on a popular corridor, and treat bike events, holiday weekends and late July as the crowded windows. Campsites on reservation systems open on their own schedules, often in the winter before your trip, so check dates early and reserve as soon as slots appear. Keep one flexible night near your start and one near your finish unbooked, so weather does not force you into a scramble.
Conclusion
Planning a bike tour in the US runs in one order: set the scope, pick a region and season, set daily targets in hours, research the roads and permits, place your overnight stops and resupply towns, build the budget, check weather and daylight, match the mileage to your training, pack light, then rehearse and write the bail-out plan.
Start with the first decision only. Write down your trip length, your daily mileage range, your riding hours, your region and your lodging style, then do not book anything until those five numbers make you want to ride. Everything after that, from the route to the repair kit, gets much easier once the scope is honest.